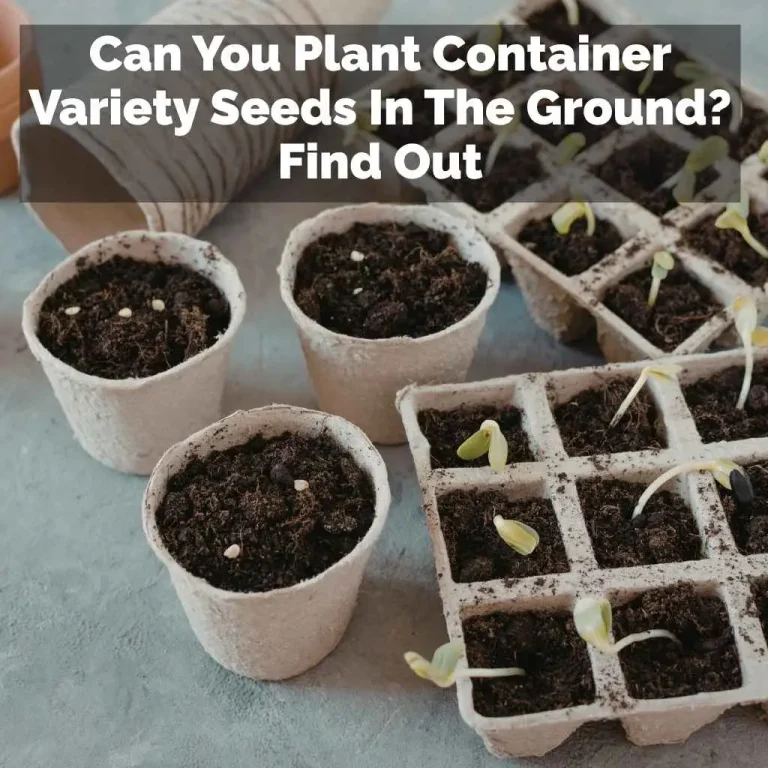
Seed Planting Guide for Beginners: Start Seeds Right
Use a three-part filter for a Seed planting guide for beginners: read the packet for timing and depth, match the crop to your light and space, then choose direct sowing or indoor starts based on frost date and equipment. I use that same filter every spring because if you miss on any one part, you waste seed, stall seedlings, and end up transplanting crops that never had the room or warmth to grow well. This guide covers what to plant, where to plant it, and a setup for windowsills, patios, or tables.
I’m a home vegetable gardener who has started seeds for years in raised beds, patio containers, and indoor trays under lights. My experience is mostly with spring vegetables, herbs, tomatoes, peppers, beans, cucurbits, and fall greens. I still treat the packet as the final authority, because local frost dates, humidity, elevation, and summer heat change timing a lot from one region to another.
Start with the seed packet, not the seed tray


How to read sowing depth, spacing, and germination time
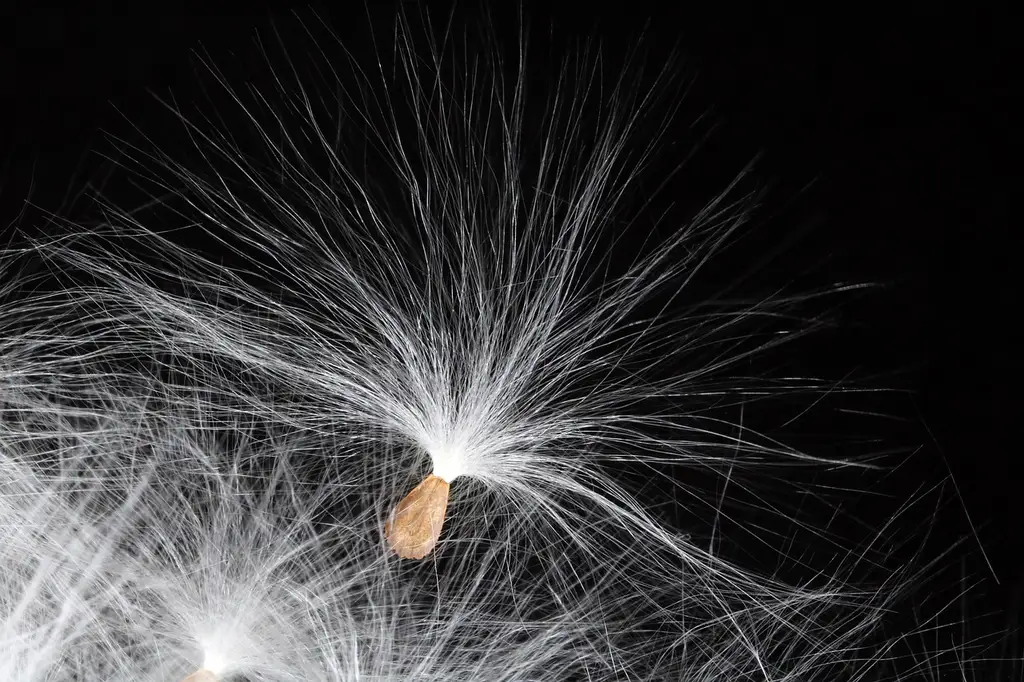
The seed packet is the decision sheet. Check sowing depth, spacing, germination time, days to maturity, direct sow or indoor start guidance, and light notes before you open it. Those lines tell you whether the crop belongs in open soil, a tray cell, or an indoor setup.
Sowing depth matters because the seed has limited stored energy. University and extension guidance commonly recommends following the packet first and, when no depth is given, using seed size as a general backup rather than a hard rule. Tiny seeds usually need only surface contact or a very light covering, while larger seeds tolerate deeper placement.
What temperature notes and light requirements actually tell you
Temperature notes tell you whether a crop is likely to wake up in cool soil or wait for real warmth. I use them to avoid sowing warm-season crops too early outdoors. Light notes tell me whether a seed should be barely covered and whether seedlings will need strong light immediately after sprouting.
For seedlings, weak indoor light is one of the fastest ways to fail. Extension guidance consistently recommends full sun outdoors for most vegetables and supplemental grow lights indoors when a windowsill is not bright enough. If your indoor light is poor, direct sow more crops and limit indoor starts.
How days to maturity affect indoor starts versus direct sowing
Days to maturity is mainly a timing tool, but it also shows how much season a crop needs after it emerges or is transplanted. Long-season crops often justify indoor starts. Fast crops usually do not and are often simpler by direct sowing.
Indoor seed starting can let gardeners begin while it is still snowing. I use it for peppers, tomatoes, and other crops that need a long run before harvest. For radishes or bush beans, starting indoors often adds work with little gain.
The packet clues that decide direct sow, tray sow, or indoor start
Use the packet like a routing tool. It usually gives the clearest answer faster than any general chart. If the packet conflicts with a rule of thumb, I follow the packet first and then adjust only for my weather, space, and light.
- If it says direct sow, start there unless weather or space makes that impossible.
- If it grows fast, dislikes root disturbance, or needs warm soil, direct sowing is often the cleanest path.
- If the seed is tiny, easy to misplace, or benefits from even spacing, tray sowing gives better control.
- If the crop has a long season, asks for an early start, or the packet recommends indoor sowing before outdoor planting, start indoors.
- If light is weak and daily care is limited, reduce indoor starts and shift more crops to trays outside or direct sowing later.
| Packet clue | What it suggests | Best beginner action |
|---|---|---|
| Direct sow named on packet | Crop handles outdoor start well | Plant in bed, raised bed, or container |
| Needs long season or early start | Outdoor season may be too short | Start indoors with steady light |
| Tiny seed and shallow depth | Needs controlled moisture and spacing | Sow in tray or shallow container |
| Wide spacing at maturity | May outgrow small cells quickly | Direct sow or use larger cells |
| Light needed for germination | Do not bury deeply | Press into mix and cover lightly if packet says so |
What do I need to start seeds as a beginner?
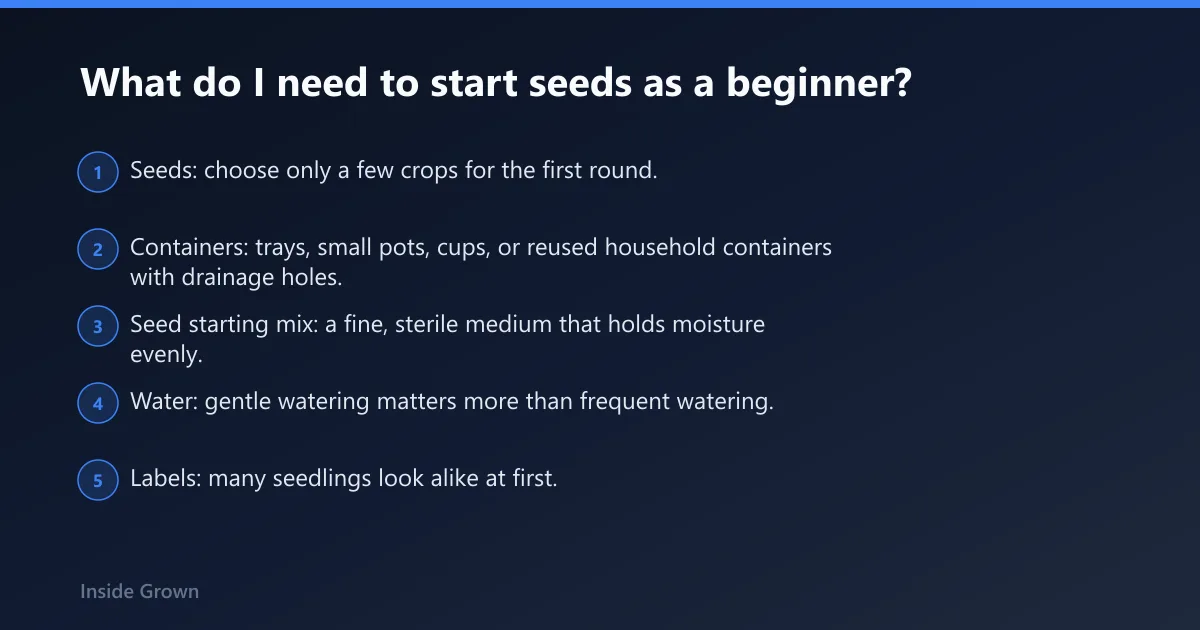
A beginner usually needs a short list: seeds, a container with drainage, seed starting mix, water, labels, and enough light for the crop chosen. Everything else is optional. The right setup depends more on packet clues and available space than on buying a large indoor seed station.
The short must-have list
Keep the first setup plain. Seed is cheaper than buying every transplant, but that advantage disappears if the setup is too fussy to water evenly. I get better beginner results from a simple tray and good timing than from extra gadgets.
- Seeds: choose only a few crops for the first round.
- Containers: trays, small pots, cups, or reused household containers with drainage holes.
- Seed starting mix: a fine, sterile medium that holds moisture evenly.
- Water: gentle watering matters more than frequent watering.
- Labels: many seedlings look alike at first.
- Light: outdoor sun for direct sowing, or a grow light when indoor light is weak.
Seed starting mix versus potting soil
Seed starting mix is usually finer and more even than regular potting soil, which helps small seeds stay in contact with moisture. That matters most for shallow sowing. I use it for trays because coarse potting soil can bury tiny seeds unevenly or leave dry gaps.
Potting soil is better suited to established roots. It may still work for larger seeds in larger pots, but in small cells it often causes uneven germination. For beginners, seed starting mix removes one variable and makes watering easier to judge.
Choosing a seed starting tray
Choose tray size by crop speed and root habit, not by what is cheapest in a stack. Small, quick crops tolerate tighter cells. Tomatoes, peppers, and cucurbits usually need more room if they will stay indoors for any length of time.
A seed starting tray should have drainage. Without it, the mix stays saturated and roots stall. A self-watering base can help busy beginners, but it still needs monitoring so the mix does not stay constantly soaked.
Burpee sells a 16-cell self-watering grow system. Burpee also sells a 16 XL cell seed starting tray. Those two examples show the tradeoff clearly: more water management help on one side, more root room on the other.
| Tray feature | Best use | Watch for |
|---|---|---|
| Higher cell count | Many small, fast crops | Cells dry fast and crowd roots sooner |
| Larger cell size | Tomatoes, peppers, cucurbits, longer indoor stays | Takes more mix and more table space |
| Drainage holes | All seed starting | Non-negotiable for beginners |
| Self-watering base | Busy schedules, dry indoor air | Do not leave mix constantly soaked |
Low-cost setups for renters, patios, and household-supply gardeners
Renters and patio growers do not need a greenhouse. A balcony planter, recycled cups with drainage, or a shallow tote with holes can all work. I have started plenty of greens and herbs that way when I wanted to keep costs low.
Windowsills work for some herbs and cool-season greens, but many warm-season seedlings become thin there. If the only indoor spot is a dim sill, I would cut back indoor starts and direct sow later instead.
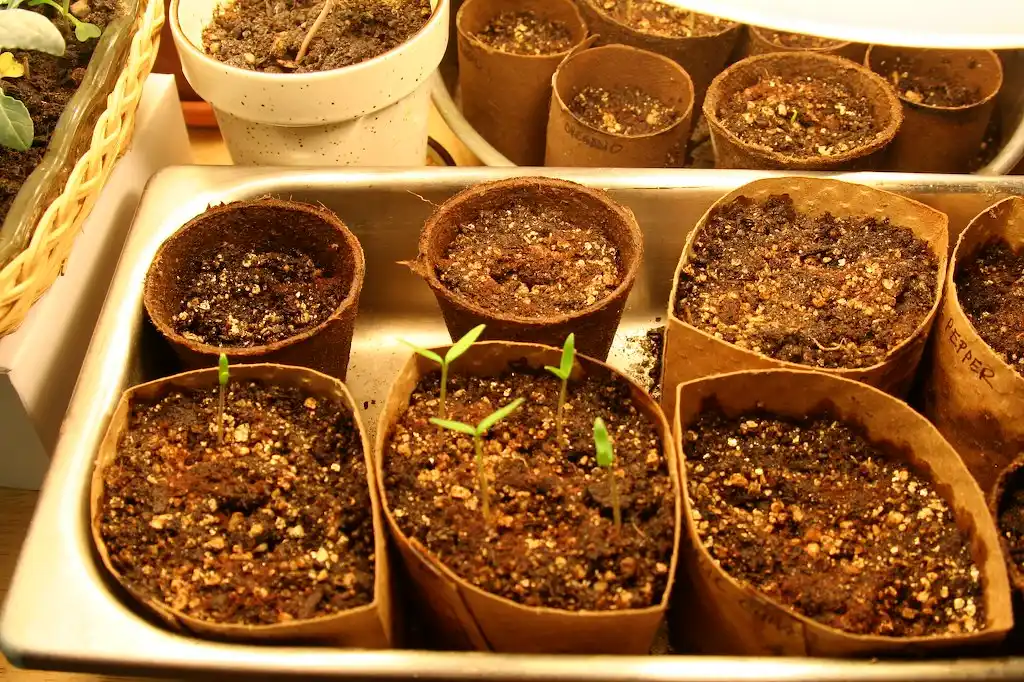
Should I start seeds indoors or plant them outside?
Start seeds indoors only when the packet, the season length, or the crop’s growth habit gives a real reason to do it. Otherwise, plant outside. Many beginner crops are easier by direct sowing because they avoid weak indoor light, root disturbance, and the daily care young seedlings demand.
Best crops to direct sow first
Direct sowing suits crops that emerge fast, dislike transplanting, or grow well once soil warms. Good beginner picks include radish, lettuce, spinach, peas, beans, carrots, beets, zucchini, and cucumbers when weather is suitable.
Root crops are the strongest case. Carrots and beets can be started in cells, but many growers get better shape and less transplant setback by sowing them where they will finish.
Best crops for trays or indoor starts
Tray sowing fits crops that benefit from spacing control and easy transplanting while young. Lettuce, brassicas, basil, and many flowers suit trays well. Indoor starts usually make the most sense for slower warm-season crops such as tomatoes, peppers, and eggplant.
Cucurbits sit in the middle. I only start them early when outdoor conditions are still poor, and then I use larger cells and move them out quickly so roots do not get cramped.
How frost dates, soil warmth, and space limits change the decision
Frost date is only part of the decision. Soil warmth matters just as much, and local conditions vary by region, elevation, and exposure. A bed can be frost-free and still be too cold for beans or squash to germinate well.
Space changes the plan too. With one patio table and no grow light, I would choose mostly direct-sown crops. With shelves and reliable light, I would add warm-season transplants. Crop exceptions matter too: peas tolerate cool conditions better than basil, and parsley is slower and more patient than cucumbers.
A simple decision path for beds, containers, balconies, and windowsills
- Garden bed available: direct sow cool-season crops and root crops first.
- Large outdoor containers: direct sow beans, lettuce, radish, bush cucumbers, or herbs if packet timing fits.
- Balcony with partial sun: use trays for greens and herbs, then move them outside early.
- Windowsill only: keep indoor starts limited to a few plants, and add a grow light if stems begin leaning or stretching.
How do I know which seeds are easiest for beginners?
The easiest seeds for beginners are the ones that match the setup on hand. Fast crops with simple spacing and little transplant stress are easiest outdoors. Forgiving indoor crops tolerate minor watering mistakes and recover after transplanting. Difficulty rises fast with tiny seed, slow growth, or crops that hate root disturbance.
Easy direct-sow seeds with low fuss
Radish and bush beans are often beginner-friendly because they emerge clearly and show failure fast. Lettuce and peas are also good first choices. These crops let a new gardener practice depth, spacing, and thinning without building a full indoor station.
Easy tray-sown or indoor-start seeds that forgive mistakes
Lettuce, kale, basil, and many brassicas handle tray sowing well. Tomatoes are a common indoor start because they recover after transplanting and often root along buried stems. Peppers need more patience and warmth, so they are usually less forgiving for a first attempt.
Seeds beginners often struggle with and why
Carrots can dry out before emergence. Cilantro can bolt fast in heat. Peppers may sprout slowly, which leads beginners to overwater. Cucumbers and squash outgrow small cells quickly, and tiny flower seeds are often buried too deeply.
What is the difference between heirloom and hybrid seeds?
Heirloom seed is described as open-pollinated, and heirloom seeds are said to grow true to type. That makes them the usual choice for seed saving. Hybrid seed is selected for performance traits, but saved seed from hybrids can be unpredictable in the next planting.
For a first season, neither type is automatically better. Heirloom seed appeals to growers who want seed-saving potential and stable traits. Hybrid seed may offer traits such as uniformity, disease tolerance, or stronger vigor in a given crop. Choose by fit, not ideology.
How deep should I plant seeds?
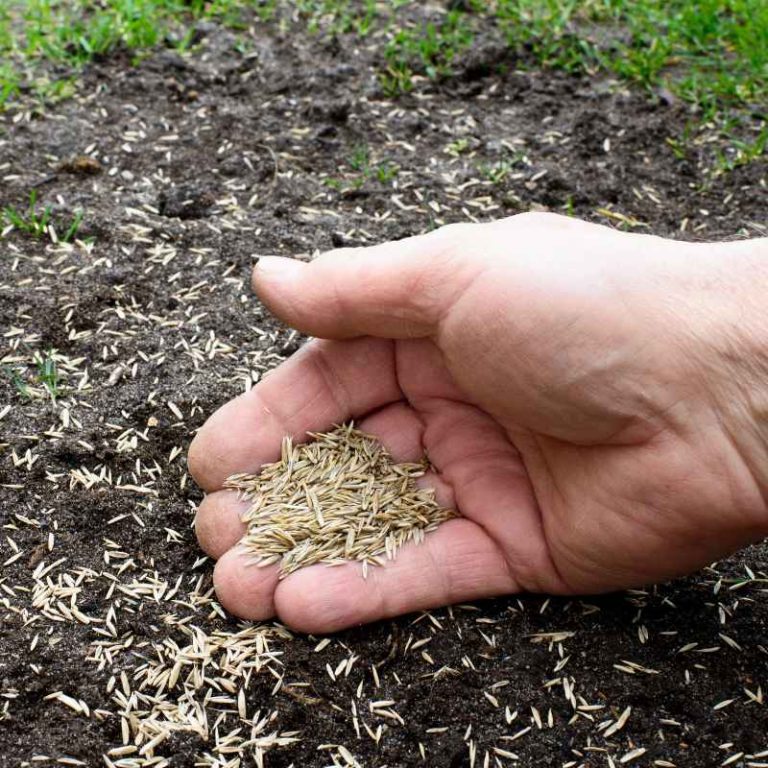
Plant seed at the depth on the packet first. If the packet is vague, use seed size as the backup rule: tiny seeds stay near the surface, medium seeds get a light cover, and large seeds can go deeper. Most beginner failures come from burying small seed too far.
A practical depth rule based on seed size and packet instructions
Very small seed should usually be pressed into the surface or covered lightly. If the packet mentions light requirements, do not bury it under a thick layer. Medium seed can take a shallow cover that stays moist. Large seed can be tucked in firmly so it stays in contact with the mix.
The main goal is simple: enough cover to hold moisture, not so much that the seed exhausts itself before emerging. That matches common extension guidance on planting depth and light-sensitive seed.
How many seeds should I put in each pot or cell?
For most beginner tray sowing, place only a few seeds in each cell instead of making a crowded patch. If seed is fresh and reliable, fewer seeds are needed. If seed is older, test it first rather than automatically sowing thickly.
Large single-stem crops such as tomatoes, peppers, and brassicas usually do best with one seedling kept per cell after thinning. Greens can be more flexible when crowding is intentional.
When to thin seedlings and when to keep extras
Thin once the strongest seedling is obvious and roots have started to claim the cell. Waiting too long turns a simple snip into a root-tangling problem. I keep extras only when crowding is part of the plan, such as baby salad greens.
Common sowing mistakes by crop type
- Root crops: transplanting too late or disturbing roots.
- Cucurbits: starting too early in cells that are too small.
- Greens: sowing too thickly, then skipping thinning.
- Herbs with tiny seed: burying too deep and letting the surface crust.
- Warm-season crops: sowing indoors without enough light for sturdy growth.
How do I keep seedlings alive after they sprout?
After sprouting, seedlings need stronger light, careful watering, room for roots, and a timely move outdoors. Most losses happen after germination, not before. Watch for true leaves, drying speed, and root fill. Those signs tell a beginner when to thin, pot up, harden off, or transplant.
When a grow light is needed and how far it should sit above seedlings
A grow light is needed when indoor light is too weak to keep stems short and upright. It supports sturdy growth that a windowsill often cannot provide. I keep lights close enough to prevent stretching and raise them as the canopy grows, following the fixture’s directions.
The exact distance depends on the fixture, so treat any number as general guidance unless the manufacturer or an extension source specifies otherwise. If seedlings lean, pale, or stretch fast, the light is too far away or too weak.
Watering without damping off or stunting roots
Seedlings need steady moisture, not constant saturation. Let the surface lose some shine before watering again while the root zone stays slightly moist. Bottom watering can help, but trays should not stand in water for long periods.
Airflow matters indoors. Crowded, wet, still air invites stem problems. I space trays enough that leaves can dry after watering.
True leaves, root development, and when to pot up
Wait for true leaves before judging seedling vigor. At the same time, check roots and drying speed. If roots are circling the cell edge or the mix dries unusually fast, the plant is ready for more room.
Pot up only crops that benefit from extra indoor time. If you want a fuller walkthrough, see transplanting seedlings for timing, root-ball cues, and ways to reduce setback.
When should I transplant seedlings into the garden?
Transplant seedlings when they have true leaves, a cohesive root ball, and weather that matches the crop’s needs. They should slide from the cell without falling apart, but they should not be root-bound. Warm-season crops also need outdoor temperatures that stay comfortably above chilling conditions.
Hardening off and transplant readiness
Hardening off is the bridge between indoor comfort and outdoor exposure. Move seedlings into brighter, windier, cooler conditions in stages over several days. Extension guidance consistently recommends a gradual transition because direct sun and wind can scorch or wilt tender indoor growth fast.
Transplant on a calm, mild day if possible. Water the root zone well after planting, then protect the top growth from drying out during the first days outside. For a step-by-step schedule, see hardening off.
Proof asset: beginner seed-starting checklist and one-page flowchart
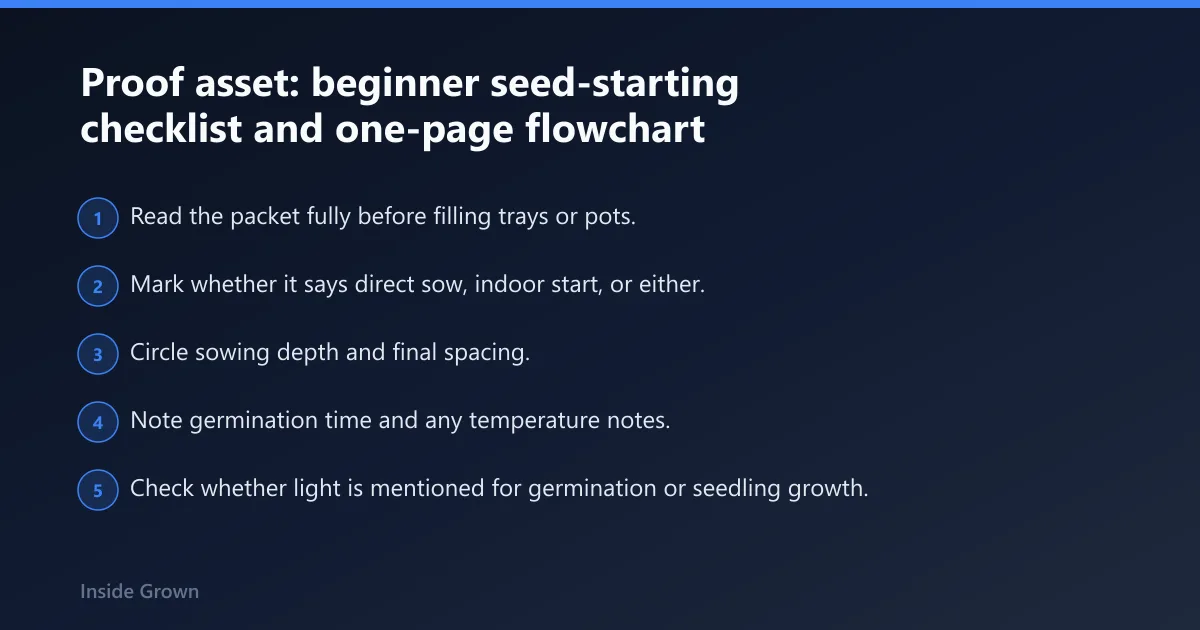
Pre-plant checklist tied to packet reading, depth, spacing, and timing
- Read the packet fully before filling trays or pots.
- Mark whether it says direct sow, indoor start, or either.
- Circle sowing depth and final spacing.
- Note germination time and any temperature notes.
- Check whether light is mentioned for germination or seedling growth.
- Compare days to maturity with the outdoor season and available space.
- Choose the setup: bed, container, tray, or indoor cell.
- Label before sowing, not after.
- Water the mix evenly before or right after sowing, depending on seed size and the packet.
- Write the sowing date so delays are obvious later.
Printable one-page flowchart: direct sow, tray sow, or start indoors
Step 1: Does the packet clearly say direct sow? If yes, go to direct sow unless soil is still too cold or the only growing space is indoors.
Step 2: If no, does the crop need a long season or an early start before outdoor planting? If yes, start indoors.
Step 3: If the seed is tiny, spacing is tight, or moisture control will be hard in the bed, sow in trays.
Step 4: If the crop dislikes root disturbance, do not leave it long in small cells. Either direct sow or use larger cells and transplant young.
Step 5: If daily care will be inconsistent, reduce indoor starts, choose a tray with drainage and optional self-watering support, or wait and direct sow later.
Old-seed viability test tracker: sample size, test duration, and pass thresholds
Some seeds can last for years before planting, but old seeds should be checked with a viability test first. Use this especially for leftover packets, home-saved seed, and any packet stored through heat or humidity.
| Tracker field | What to record | How to use it |
|---|---|---|
| Crop name | Example: basil, bean, lettuce | Keeps similar-looking seed lots separate |
| Seed age | Current season, saved, or old packet | Run the test when age is uncertain |
| Sample size | Counted sample from the packet | Makes the germination rate easy to calculate |
| Test duration | Until the normal packet germination window passes | Stop when no new seeds are sprouting |
| Germinated seeds | Number that sprouted | Divide by sample size for the germination rate |
| Decision | Pass, borderline, or resow heavily | Use pass for normal sowing, borderline for extra seed per spot |
A practical home threshold is simple. If most of the counted sample sprouts within the packet window, sow normally. If roughly half sprouts, treat the lot as borderline and sow more thickly. If only a few sprout, replace the packet for important crops and use the old seed only for low-stakes trials.
How to use borderline germination results to adjust sowing rate
Borderline seed should not be handled the same way in every crop. For direct-sown lettuce or radish, sow a bit more thickly and thin later. For a tray of peppers or tomatoes, old weak seed can waste space for too long, so replacing the packet is often the better call.
If you save leftovers from year to year, pair the test with better storage habits. I get the most reliable results when I keep packets dry, cool, and clearly labeled, and a separate guide on seed storage is worth using before the next season starts. For general viability guidance, extension and university sources recommend testing older seed lots instead of assuming the packet will still perform like new.
How do I avoid common seed starting mistakes?
Most beginner mistakes come from choosing the wrong setup for the crop, not from bad luck. Starting too many seeds indoors, using potting soil in tiny cells, burying small seed too deeply, and keeping trays too wet are the failures that show up most often in first attempts.
The mistakes that matter most by setup
- Direct sowing: planting into cold soil, then assuming the seed was bad.
- Tray sowing: using cells that are too small for crops that grow fast.
- Indoor starts: weak light, overwatering, and starting too early.
- Containers and patios: poor drainage and hot, fast-drying mix.
The fix: fewer crops, better match
Begin with a narrow crop list. Pick one direct-sow root crop, one direct-sow green, one tray-sown leafy crop, and one indoor warm-season crop only if strong light is available. That small mix teaches the decision system without filling every surface in the house.
I still garden this way when testing a new space or season: fewer crops, better fit, closer observation. It is a more reliable path than trying to start everything at once.
Frequently asked questions
Do old seeds still germinate well enough to plant?
Sometimes. Some seeds can last for years before planting, but old seeds should be checked with a viability test first. Use a counted sample, wait through the packet’s normal germination window, then decide whether the lot is strong enough for normal sowing, heavier sowing, or replacement.
How many seeds should I put in each pot or cell?
Use only a small number per cell for most crops, then thin to the strongest seedling once true leaves appear. Crowding wastes mix and increases weak stems. The main exception is greens grown for baby harvests, where a small cluster can be useful if crowding is intentional.
When should I transplant seedlings into the garden?
Transplant when seedlings have true leaves, hold together as a rooted plug, and the outdoor weather fits the crop. Do not wait until roots are packed tight. Harden them off first so sun, wind, and cooler nights do not shock soft indoor growth.
What is the difference between heirloom and hybrid seeds?
Heirloom seeds are described as open-pollinated, and heirloom seeds are said to grow true to type, which suits seed saving. Hybrid seeds are bred for selected performance traits, but saved seed from hybrids can vary widely, so they are usually chosen for the current crop rather than future seed stock.
How do I avoid common seed starting mistakes?
Read the packet before choosing the setup, keep the mix evenly moist rather than soaked, and do not start more indoors than the light can support. Most first-season trouble comes from poor matching: wrong tray, wrong timing, weak light, or crops that would have been easier by direct sowing.
Sources: Guidance in this article aligns with commonly published recommendations from university and extension programs for seed depth, light-sensitive germination, seed viability testing, hardening off, and vegetable light needs, including resources from Iowa State University Extension and Outreach, University of Minnesota Extension, Penn State Extension, University of Maryland Extension, and similar land-grant extension services. Always check the packet first, then adjust for your local frost dates, microclimate, and crop-specific exceptions.