How to Plant Seeds in Clay Soil Successfully
Plant seeds in clay soil by sowing shallowly, into a raised or lightly mounded bed, after the top 1 to 2 inches are moist but not sticky; cover fine seeds with a dusting of soil, and larger seeds no deeper than 2 to 3 times their width. If you sow too deep or in wet clay, seeds can crust over, rot, or wash out before they sprout. This guide shows how to manage moisture, seed depth, and bed structure so seeds establish reliably in heavy clay.
Why clay soil changes seed sowing
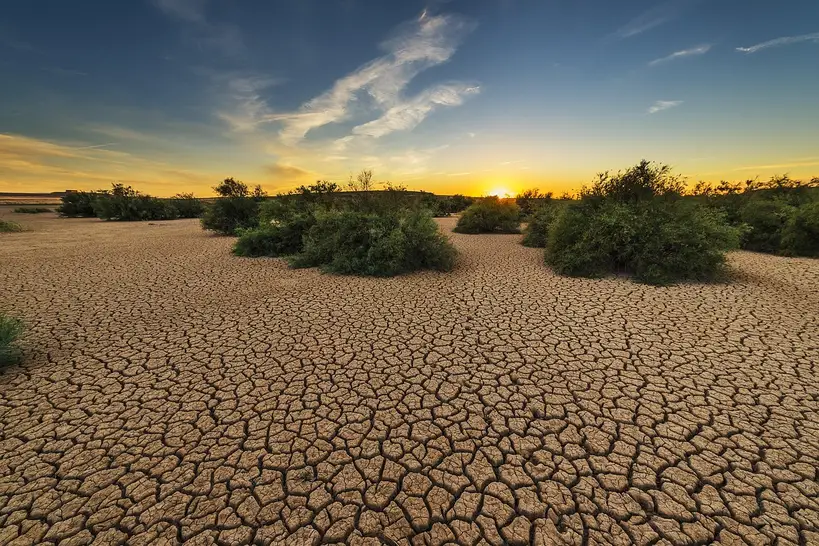


Clay soil has at least 30 percent fine clay particles. Those particles make it sticky when wet, dense when it dries, and easy to compact. Clay also drains slowly, holds nutrients and water well, and can swing from waterlogged to cracked fast. That is why seed placement matters more here than in looser soil.
What clay does to a seedbed
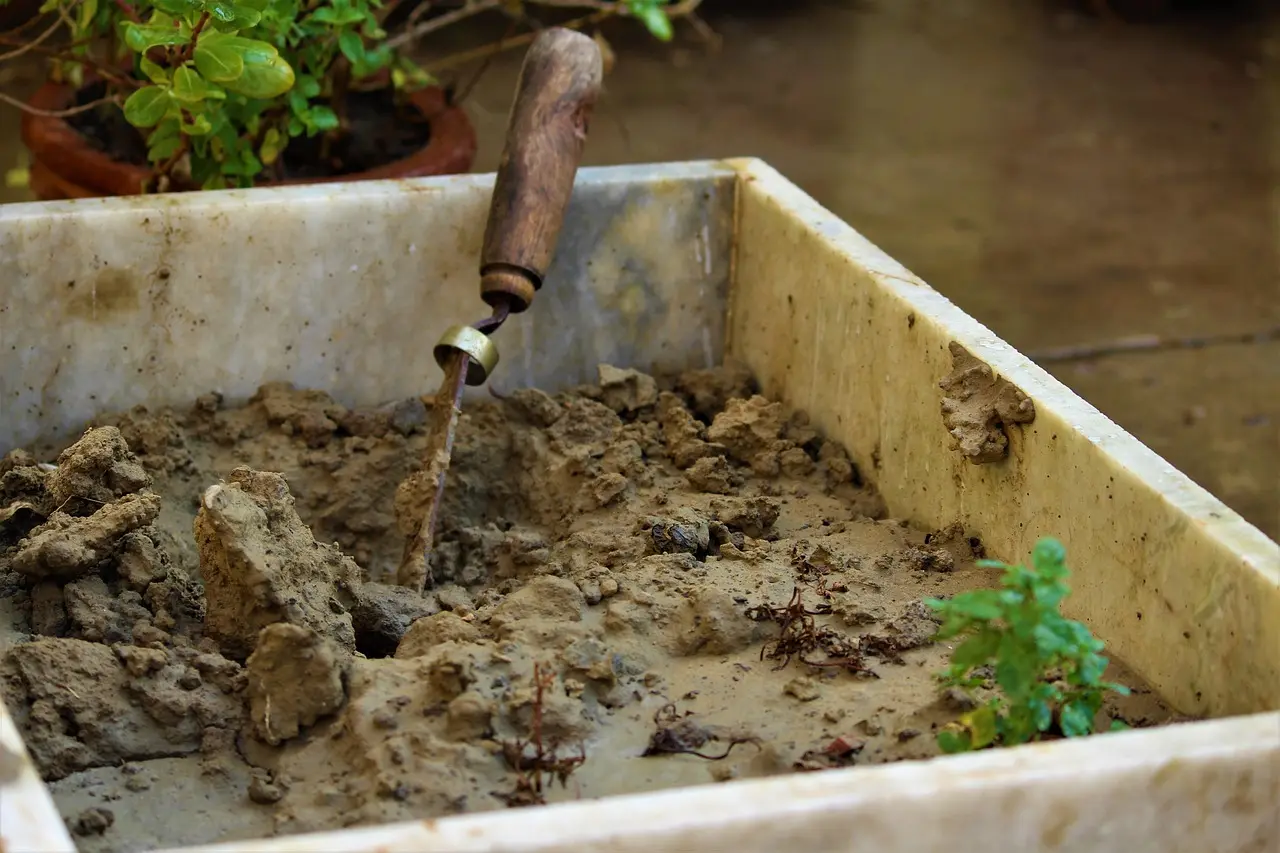
A seedbed on clay can seal over after rain or watering. That crust blocks small seedlings, pushes shallow seed upward, and leaves the surface hard before roots have taken hold. If the bed is too wet at sowing, the seed may sit in cold, air-poor soil and fail before germination.
Clay also warms more slowly in spring. BBC Gardeners’ World notes that clay soils take longer to warm up in spring, which makes early sowing riskier unless the site is sheltered or covered. That is one reason later sowing often works better than pushing seed into cold, saturated ground.
Which seed types struggle most?
Small, slow-germinating, and rot-prone seeds struggle first. Tiny seeds are easy to bury too deeply or wash into clumps. Slow germinators spend longer exposed to crusting, slumping soil, and poor air exchange. Seeds that dislike wet feet may fail in a clay pocket even when the rest of the bed looks fine.
Picture a packet of tiny flower seed scattered onto a flat clay border after a heavy shower. The surface seals, a thin skin forms, and the seed never gets enough contact with moist soil. The fix is not more water. It is better bed shape, gentler covering, and a sowing window when the top layer is crumbly.
How to prepare a clay seedbed
Prepare a clay seedbed by waiting until the soil is workable, clearing weeds, and opening the surface without pulverizing it. You want bare mineral soil that is moist but not waterlogged, with enough firmness for seed-to-soil contact and enough looseness for roots to move. Start with a small area rather than trying to remake the whole border.
Wait for workable soil, not sticky soil
Clay soil should be worked only when dry enough to avoid compaction. That does not mean powder-dry. It means the soil breaks apart in crumbs instead of smearing into a ribbon or sticking to tools. The same source describes clay soils as sticky, hard to work, and easily compacted, which is why timing matters.
RHS advises delaying planting on heavy clay until late winter or early spring. That is a practical window for many gardens, because freeze-thaw action can help break clay down, while the surface is still cool enough to handle before growth begins. Use local conditions, not the calendar alone.
Clear weeds and make a bare seedbed
Pull or cut weeds before sowing so young seedlings do not compete for light and moisture. A bare mineral seedbed gives tiny roots better contact with the soil surface and reduces the chance that debris holds too much water around the seed. Keep the surface clean, level, and free of big clods.
Add compost where the soil is already workable
Organic matter improves clay structure over time. Use well-rotted compost, manure, or composted bark, and mix it into the upper layer only where the soil can be worked without smearing. RHS suggests a 7.5cm layer of well-rotted organic matter in spring. Surface mulch also helps protect the top from crusting while the soil improves.
Sowing direct into organic matter is described as working well on clay soils, especially in raised beds. That makes sense where the native soil is very tight at the surface. The goal is not to replace clay everywhere. It is to create a better sowing zone in the place the seed needs it.
Plant seeds in clay soil shallowly, into a bed that is firm underneath and loose enough on top for roots to enter. Use the packet depth as the starting point, then lean toward the shallow end if the seed is small. Finish by settling the surface gently, not packing it tight.
Sow at the right depth for seed size
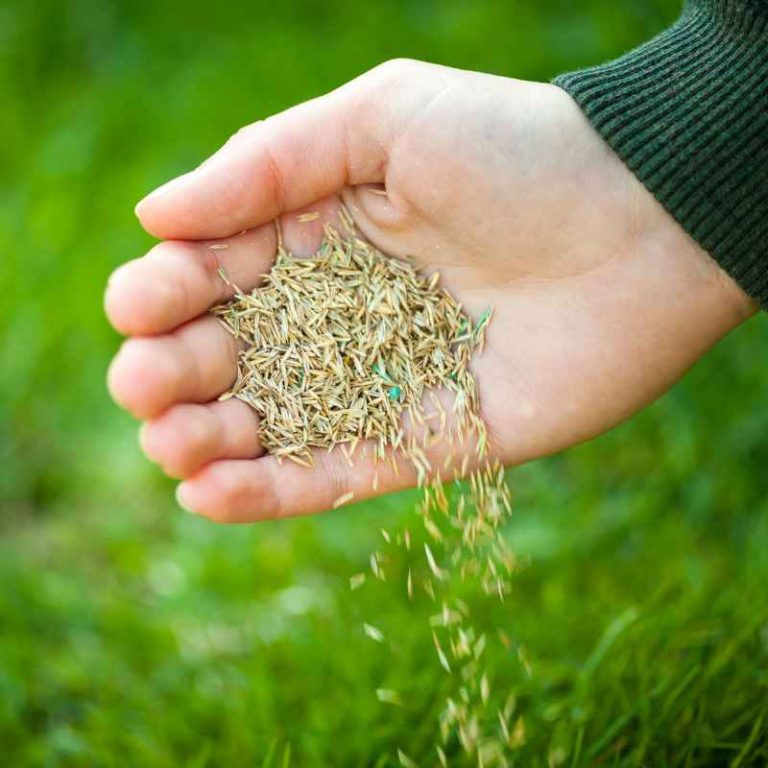
Tiny seeds should usually sit near the surface and get only a dusting of soil or compost. Larger seeds can go a bit deeper, but still only to the packet depth or up to 2 to 3 times their width. In clay, deeper sowing raises the risk of delayed emergence and rot.
Firm the surface for seed-to-soil contact
After sowing, press the surface lightly so the seed touches moist soil. The goal is contact, not compaction. A firm seedbed helps moisture move into the seed evenly, while a loose top layer can dry out fast or let seed settle into gaps and pockets. On clay, this step matters a lot.
Water lightly to settle seeds without puddling
Water with a fine rose, mist, or gentle sprinkler action so the top layer settles without sealing or washing seed aside. If water stands in shallow puddles, the bed is likely too wet or too flat for direct sowing. That means the bed is too wet or too flat for direct sowing. The surface should be moist, not glossy or soupy.
Say your lettuce seed is scattered in a low clay patch and the first watering leaves water sitting there for ten minutes. The likely failure is not lack of water. It is puddling and surface sealing. Raising the bed by a small amount and watering more gently will usually do more than adding more seed.
How do you stop clay from crusting?
Stop clay from crusting by protecting the surface, watering gently, and keeping the top layer evenly moist after sowing. A crust forms when a bare clay surface bakes or slams shut after rain. Fine seed fails first, because it cannot push through a hard skin or stay anchored in the soil.
Use fine covering only where needed
Cover seed with the thinnest layer that still matches the seed size. For very small seed, a dusting is often enough. For larger seed, use enough soil to hide it from light and drying, but not enough to block emergence. Thick covering on clay can harden into a cap.
Protect the surface from hard rain
If rain is forecast, a light fleece, cloche, or temporary cover can reduce washout and surface sealing. Keep the cover high enough for air movement. You are trying to soften the impact, not trap the bed in wet shade. Remove covers once the danger of crusting has passed.
Keep the top layer evenly moist
The top layer should stay evenly damp through germination, not soggy. If the surface dries fully between waterings, it can crust. If it stays saturated, seed may rot. Check the top inch with your finger or a trowel edge. It should feel moist and crumbly, not sticky or slick.
Clay soil sowing matrix
This matrix helps you choose between direct sowing, tray sowing, and a raised or mounded bed. Use seed size, drainage risk, and bed condition together. The failure notes show what usually goes wrong when the choice is wrong.
| Seed size | Sowing method | Bed condition | Drainage risk | Recommended action | Failure note |
|---|---|---|---|---|---|
| Tiny seed | Direct sow only on a raised or lightly mounded bed | Crumbly surface, bare soil | Moderate | Dust on cover, water gently, keep surface evenly moist | Crusting can block emergence |
| Tiny seed | Tray sow first | Heavy, flat, slow to drain | High | Start in modules and transplant later | Wash-in and smothering are common |
| Medium seed | Direct sow | Moist but not sticky | Low to moderate | Sow at packet depth, firm surface lightly | Puddling can cause rot |
| Large seed | Direct sow | Raised bed or slightly mounded area | Moderate | Plant shallowly and keep water moving away | Deep sowing delays sprouting |
| Slow-germinating seed | Tray sow first | Any clay that seals after rain | High | Use modules, then move seedlings when roots hold | Long exposure raises rot risk |
| Wildflower mix | Direct sow if bed is very fine and open | Freshly prepared, weed-free | Moderate | Sow in the main climate window for the crop packet | Surface crusting can wipe out tiny seedlings |
When should you sow on clay?
Sow on clay when the soil is workable, warming, and moist without being sticky. Use a soil thermometer rather than guessing, because clay warms more slowly and cool pockets can hold seed back. Crop packets matter too, because germination thresholds vary by species.
Check soil temperature with a thermometer
A soil thermometer gives a simple read on conditions at seed depth. Most seeds will not germinate if soil temperature is below 7ºC, but that is not a universal rule for every crop. Some cool-season seeds germinate below that point, so check the packet instead of relying on a blanket number.
Use the crop packet, not a blanket rule
Follow the packet for sowing depth, timing, and whether the seed prefers direct sowing or a protected start. On clay, that guidance matters more because wet, cool ground can linger longer than expected. If the packet suggests a later sowing, clay soil often rewards patience.
Choose the spring window that fits your climate
RHS advises delaying planting on heavy clay until late winter or early spring, but local frost, rainfall, and soil warming still decide the best day. In cooler areas, a later start may be safer. In milder areas, an earlier sowing may work if the bed drains and crumbles well.
What will grow in clay soil?
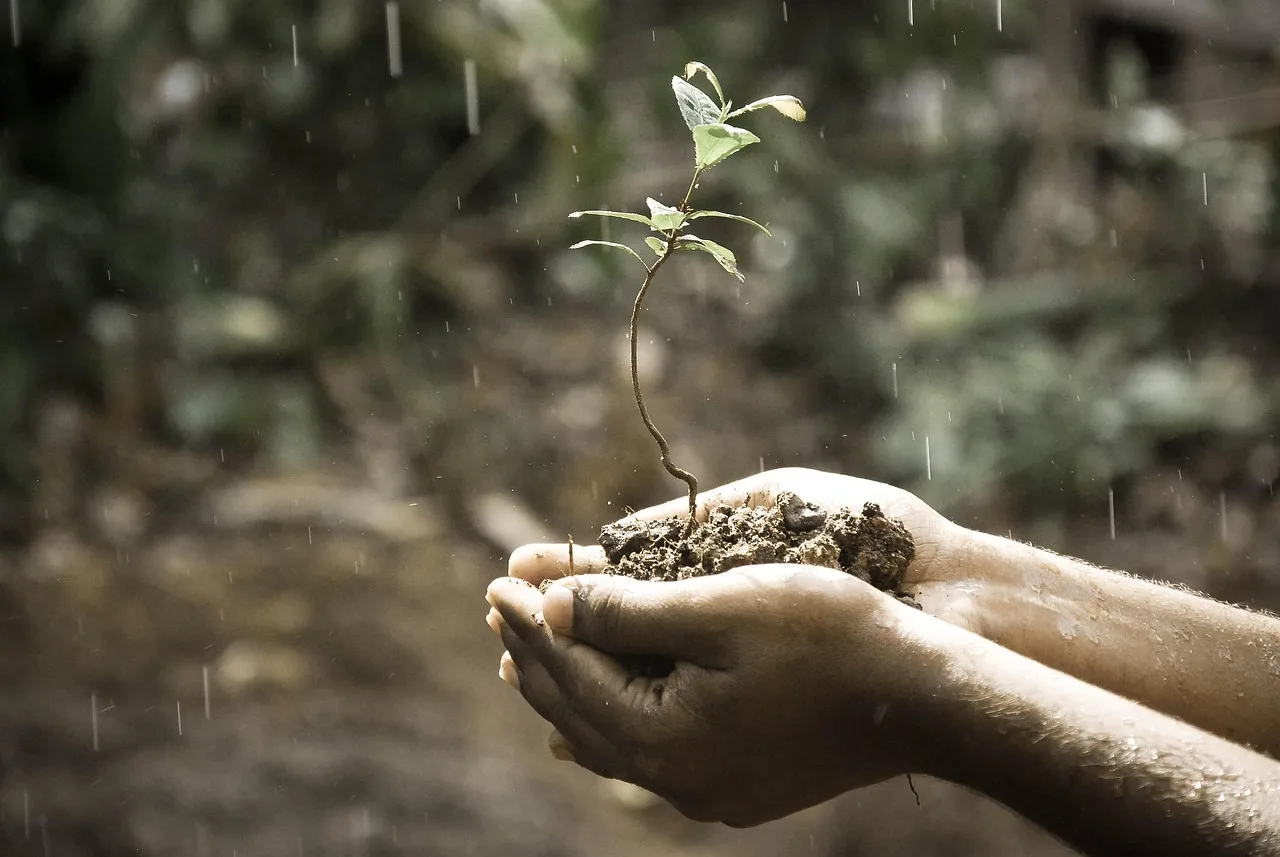
Clay can support many seed-grown flowers and other plants if the bed drains and the sowing method fits the seed. Look for species that tolerate heavier or wetter soil, especially perennials, shrubs, trees, and flowers from damp sites. Where drainage is poor, choose plants that accept that condition rather than fighting it.
Best seed-grown choices for heavy soil
Many hardy annuals and wildflowers can succeed when sown into a fine, open seedbed with decent moisture control. Clay-tolerant perennials are often the better long-term choice in difficult spots, especially where water lingers after rain. A well-chosen plant is often easier than a difficult sowing spot.
Wildflower seed can be sown in clay in a seasonal window, but timing is regional. Wildahome recommends autumn sowing for clay wildflower seed from late August to the end of October. That is a useful guide only where autumn weather keeps the surface workable and not waterlogged.
When to avoid a direct sow spot
Avoid direct sowing where the soil stays glossy after rain, where footprints fill with water, or where the top crusts hard after one dry day. Those spots are better suited to a raised bed, a slight mound, or tray-grown seedlings moved in later. That choice saves seed and time.
Use drainage fixes where seed success depends on it
Raised beds are recommended to aid drainage and reduce compaction. Slight mounds can help for planting areas that catch runoff. Keep root zones out of standing water. Do not add gravel to planting holes as a fix; it can make drainage problems worse rather than better.
For shrubs and trees, RHS recommends breaking up the bottom of the planting hole before planting on clay soils, and also breaking down the sides with a garden fork. That advice matters most where you are planting rooted stock. For seed sowing, the better move is to improve the seedbed and drainage pattern first.
How to help clay soil for gardening
Help clay soil by improving the place you plant first, not by trying to transform every bed at once. Use organic matter, protect the surface, avoid compaction, and choose the right sowing method for the drainage risk. Where needed, build upward with raised beds or mounds instead of digging deeper holes.
A practical order of work
- Check that the soil is crumbly enough to work without smearing.
- Clear weeds and debris so seedlings face less competition.
- Add well-rotted organic matter to the top layer where the soil is workable.
- Choose direct sowing only for seeds that can handle the site.
- Use trays or modules for tiny, slow, or rot-prone seed.
- Water gently and keep the surface evenly moist until germination.
What improves over time
Organic matter improves structure over time, not overnight. Compost, manure, and composted bark help clay particles bind into better aggregates, which improves tilth and drainage. Surface mulch also reduces crusting and protects the top layer while soil life works on the rest.
A common first-timer mistake is to dig clay hard right after rain because the surface looks easy to move. The top may turn, but the layer below smears and seals. That hidden smear can trap water and make seed failure worse than leaving the bed alone for a few days.
Frequently asked questions
How do you plant seeds in clay soil?
Sow into a raised or lightly mounded bed when the top layer is moist but not sticky. Keep the seed shallow, firm the surface lightly, and water with a fine rose so the soil settles without puddling. Tiny seeds need only a dusting of cover; larger seeds can sit a little deeper.
How do you prepare clay soil for planting?
Wait until the soil is crumbly, clear weeds, and work in well-rotted organic matter only where the soil can be handled without smearing. A 7.5cm layer of well-rotted organic matter in spring is a useful target. Keep the planting surface bare, level, and free of hard clods.
Can grass seed grow in clay soil?
Grass seed can grow in clay if the surface is improved enough for even contact and drainage. The main risks are crusting, puddling, and poor aeration. If water stays on the surface or the soil compacts underfoot, a raised area or better drainage is usually a better starting point.
How do you plant flowers in clay soil?
Prepare a fine, weed-free seedbed, sow shallowly, and protect the surface from sealing after watering or rain. Small flower seed usually fails from being buried too deeply or washed into crusted clay. In tougher spots, start flowers in trays and move them into the bed later.