How to Plant Seeds Directly in the Ground Without Fail
Sow seeds at a sensible depth, usually a few times the seed’s width, into moist, fine soil. Keep the top layer evenly damp until sprouting. Miss the depth or moisture window, and seeds rot, dry out, or come up in thin rows that waste time and seed. This guide covers the outdoor sowing checks that decide whether seeds sprout evenly and on schedule.
This guide is part of our Seed planting guide for beginners series.
What you’ll need
- Seed packets with depth, spacing, and timing directions
- Compost for bed preparation
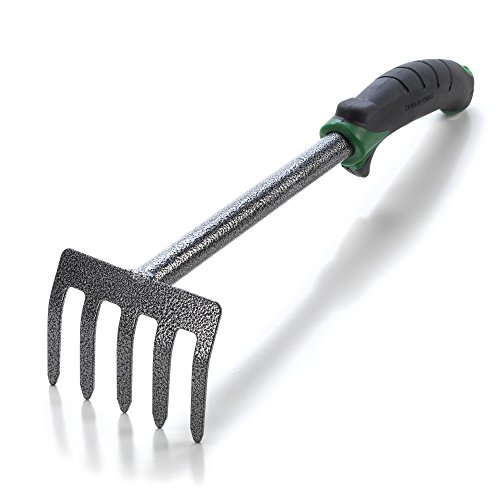
- Hand rake or garden rake
- Dibble, finger, or trowel for planting holes
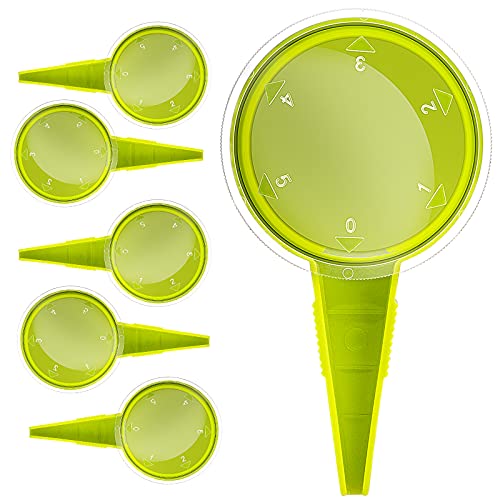
- Seed dispenser or folded paper for small seeds
- Stakes and string for marking rows
- Labels and a waterproof marker
- Watering can with a fine rose, hose nozzle, or gentle sprinkler
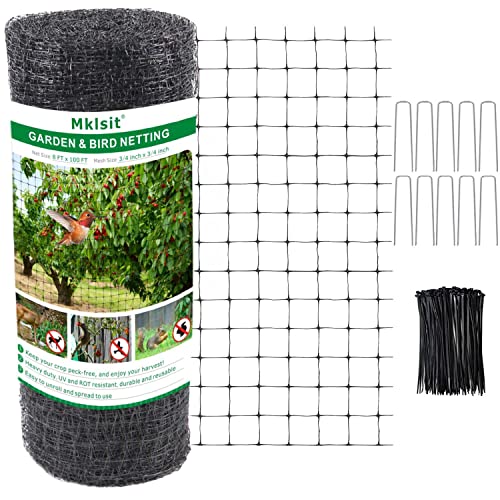
- Bird netting, row cover, or lightweight mesh
- Mulch, if the crop and soil surface suit it
What direct sowing means and when it works best
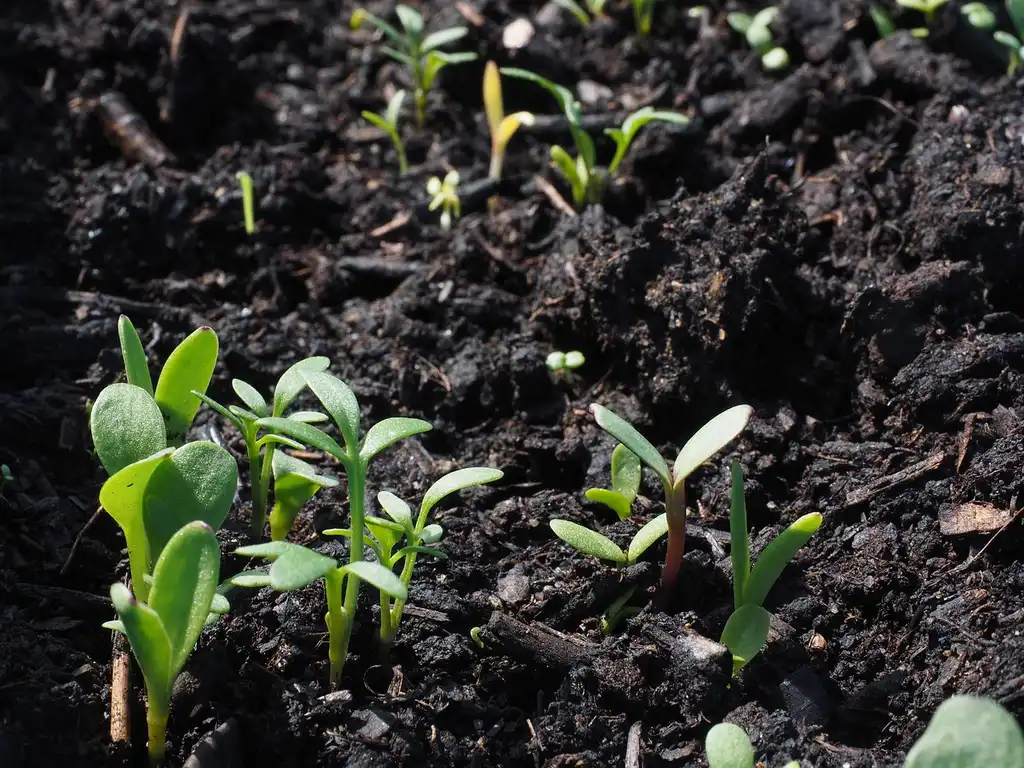
Direct sowing means putting seed straight into the garden bed where the plant will finish growing, instead of starting it indoors and moving it later. I use it because it cuts steps, cuts cost, and leaves roots alone. The catch is simple: outdoor conditions must be right from day one.
The few conditions that decide success
Outdoor germination usually comes down to five variables: timing, seedbed texture, moisture, depth, and protection. Seed packets give the first pass on depth, spacing, and timing, including whether a crop is meant for indoor or outdoor sowing. Soil temperature must also suit the crop, because it is a key germination trigger and varies by plant.
Direct sowing vs starting indoors
Direct sowing fits crops that hate transplanting, including long tap-root crops. Starting indoors helps crops that need a long season or refuse to germinate well in cold soil. Those plants then need time to harden off before transplanting, and that adds light, handling, and days on the calendar.
When should you plant seeds directly in the ground?
Use the last frost date first, then check soil temperature, then match both to the crop. Spring crops such as arugula, beets, kale, and lettuce can often be sown 2 to 4 weeks before the last frost, while warm-weather crops like squash, pumpkins, sweet corn, and melons should wait until after it.
Use the last frost date
Early spring sowing can work before the last frost for cool-season crops, and some seeds can be sown in cold conditions and survive a light frost. Warm-season crops need warmer soil and steadier nights. If the packet says outdoors, but the soil is still cold and wet, wait.
Check soil temperature second
Soil temperature matters more than the air on a mild day. Cold, soggy soil slows germination and raises rot risk. Warm, dry soil can also fail if it pulls moisture away from the seed. The safest move is to sow only when the crop’s germination range and the bed conditions line up.
Match timing to the crop
Direct sowing works especially well for corn, cucumbers, melons, squashes, radishes, carrots, peas, and spinach. Crops often better started indoors include tomatoes, peppers, broccoli, cauliflower, eggplant, onions from seed, and many culinary herbs. Some plants can be either, but packet direction should settle that question.
How do you prepare soil for direct sowing?

Clear weeds, rocks, and debris, then loosen the top layer with a rake or hand fork, mix in compost, and smooth the bed. I want a seedbed that feels light on top and holds moisture just below. Small seeds fail fast in clods, crusting, and uneven wet spots.
Clear weeds and rocks
Remove living weeds and roots, not just the tops. Pick out stones, sticks, and large clumps that can create air gaps or send water sideways. In packed soil, breaking the surface before sowing is worth the time because seeds need close contact with moist soil to germinate evenly.
Work in compost
Spread compost over the bed and mix it into the top layer. Compost softens heavy ground, helps drainage, and helps sandy soil hold moisture longer. Keep the finish fine; large chunks can bury seed too deep or leave dry pockets around it.
Rake the bed smooth
Rake the surface level so seed depth stays more even across the row. A smooth bed also makes watering gentler and helps stop puddles in low spots. If the surface cakes after watering, the top layer may be too fine for the crop or too hard from previous rain.
Test drainage and moisture hold
Scratch a shallow hole, water it, and watch what happens for a few minutes. If water stands, the soil may be too tight or low-lying. If it disappears almost instantly, the bed may dry too fast and need more compost or a light mulch after sowing.
| Seed type | Bed condition to aim for | Why it matters |
|---|---|---|
| Very small seed | Fine, smooth surface with light covering | Needs close contact and little burial |
| Medium seed | Loose top layer with even moisture | Needs stable depth and steady dampness |
| Large seed | Open, well-worked soil with firming after cover | Needs deeper placement without crusting |
| Heavy clay bed | Extra compost and careful watering | Crusting and washout are common |
| Sandy bed | More compost and closer moisture checks | Drying can stop germination fast |
How to plant seeds directly in the ground
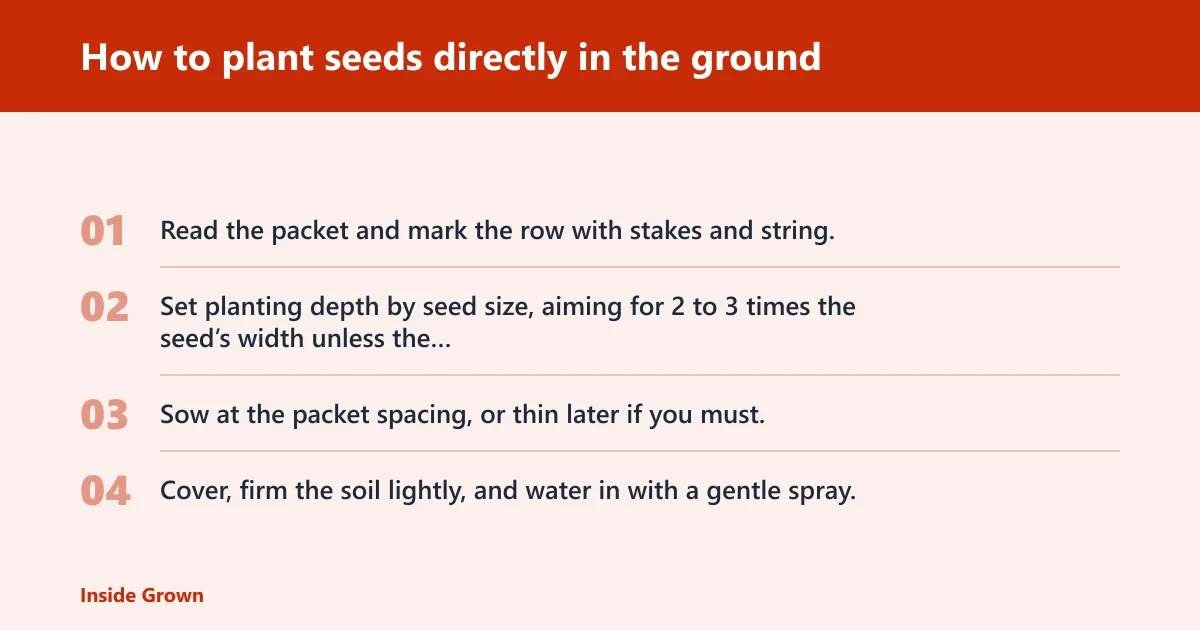
- Read the packet and mark the row with stakes and string.
- Set planting depth by seed size, aiming for 2 to 3 times the seed’s width unless the packet says otherwise.
- Sow at the packet spacing, or thin later if you must.
- Cover, firm the soil lightly, and water in with a gentle spray.
Step 1: Read the packet and mark the row
Packet directions are the starting point for depth, spacing, timing, and whether the crop should be started indoors or outdoors. Use stakes and string to keep rows straight enough to water and thin later. Labels matter more than they seem, especially when several crops are planted the same day.
Step 2: Set planting depth by seed size
Small seeds need shallow placement. Large seeds can go deeper, but still only as deep as the packet directs. Heavy soil needs special care because a crust can stop weak sprouts from reaching the surface. If the bed bakes hard after watering, plant a little shallower within the packet range.
Step 3: Sow at the right spacing
Spacing guidance on the packet is the cleanest method. For gardeners without precision tools, sow a little thicker than the final spacing and thin later, or place one seed at a time with a seed dispenser. The Almanac says to assume one in three seeds will produce, so some extra seed is normal.
Step 4: Cover, firm, and water in
After covering the seed, press the surface gently so seed contacts moist soil. Do not pack it hard. Water gently with a fine rose or soft spray until the top layer is damp through the planting zone. Strong streams can wash seed downhill or uncover shallow seed.
How much should you water after planting?
Keep the top layer evenly moist, but never let it sit in puddles. Daily watering helps when the surface dries quickly in sun, wind, or sandy soil. It hurts when the bed stays wet, because soggy soil slows germination and can rot seed before it sends out a root.
Keep the top layer evenly moist
Check the first inch of soil with a finger. If it feels dry and powdery, water lightly. If it feels cool and holds together without dripping, wait. The goal is not deep soaking every day; it is steady surface moisture until sprouts are up.
Avoid puddles and crusting
Heavy watering can seal the surface, especially in clay soil. That crust traps tender sprouts below ground. Use smaller, more frequent watering in the first days if the bed dries quickly, and reduce water volume if puddles appear after each pass.
When daily watering helps and when it hurts
Daily watering helps in hot, windy weather, sandy beds, and shallow sowing. It hurts in cool, cloudy weather, poorly drained beds, or after a soaking rain. If the row stays dark and wet for many hours, skip the next watering and recheck the soil before adding more.
How do you keep direct-sown seeds from failing?
Protect seeds from birds, slugs, heavy rain, and drying wind right after sowing. After germination, the same protection still matters because tiny seedlings can disappear overnight. Mulch can help, but only when the crop and surface can handle it without smothering sprouts.
Protect from birds and slugs
Light mesh or row cover keeps birds from scratching out seed and helps with early insect pressure too. Slugs usually need dry barriers, hand removal, or traps placed away from the row. Keep covers low and secure so they do not flap and pull up the bed.
Guard against heavy rain and wind
Heavy rain can wash seed into clumps or expose it. Drying wind can strip moisture from the top layer fairly quickly. A temporary cover, light board, or row cover can blunt both problems for the first few days. Remove anything that blocks light once sprouts begin to push up.
Use mulch only when it fits the crop
Mulch is optional after sowing. It helps hold moisture, but fine seeds may struggle through it. Use it lightly, or wait until seedlings are tall enough. For tiny-seeded crops, bare, fine soil is often safer until emergence is even.
Direct sowing failure checklist and resow rules
Use this one-page check when germination is uneven: test the bed, check moisture, review weather, then decide whether to wait or resow. Most misses come from crusting, washout, birds, slugs, damping off, or uneven moisture, not from bad seed alone.
10-minute bed test
Press a finger into the row. If the top layer is crusted, loosen it lightly and water more gently next time. If the surface is dusty within hours, the bed is too dry or too exposed. If it stays muddy, stop watering and improve drainage before sowing again.
Moisture test
Scratch below the surface at the planting depth. Damp and cool is good. Dry and powdery means the seed may never swell. Muddy and sour means the seed may rot. The target is evenly moist, not saturated.
Weather-risk decision tree
| Bed condition | Risk | Next move |
|---|---|---|
| Hard crust after rain or watering | Emergence blocked | Lightly break crust and water more gently |
| Seed exposed or missing | Washout or birds | Resow after protection is added |
| Wet for days | Rot and damping off | Wait for drying, then resow more shallowly if needed |
| Dry for days | Dormant seed or dead seedling | Rewet steadily or resow if the seed type is fast |
Resow or wait?
If the crop is fast-germinating and the row is still empty after the normal sprout window plus a few days, resow a short test strip. If the crop is slow, the bed stayed wet, or temperatures dipped, wait longer. Do not dig up the whole row too soon, especially with carrots, peas, or other slower seed.
Prevention: mark the sowing date on the label and cover the row the same day with light protection if birds, rain, or wind are likely.
Frequently asked questions
When is the best time to plant seeds directly in the ground?
The best time is when the seed packet timing, the last frost date, and the soil temperature all point in the same direction. Cool-season crops can often go in earlier; warm-season crops should usually wait until frost danger has passed and the bed is warm enough for good growth without excess rot.
How deep should I plant seeds in garden soil?
Use the packet first, then fall back on the 2 to 3 times the seed’s width rule for most crops. Small seeds stay close to the surface. Large seeds can go deeper, but they still need fine, moist soil above and below them, not a packed hole.
How do I prepare the soil before direct sowing?
Remove weeds and rocks, loosen the top layer, mix in compost, and rake the bed smooth. Then do a quick drainage check by watering a small patch. If water pools, improve the bed before planting. If it dries in minutes, plan for closer moisture checks.
Which seeds should not be direct sown?
Tomatoes, peppers, broccoli, cauliflower, eggplant, onions from seed, and most culinary herbs are usually better started indoors. They need longer seasons or finer control than outdoor sowing often gives. Crops that resent root disturbance also do better when handled less.
How do I keep seeds from rotting after planting?
Keep the seedbed moist, not waterlogged, and avoid burying seed too deep in heavy soil. Choose sowing days with steady weather, then water lightly and often enough to keep the surface from drying. If the bed stays cold and muddy, wait and sow later.
How do I protect direct sown seeds from pests and weather?
Use bird netting or row cover soon after sowing, then secure the edges so wind cannot lift them. Add temporary cover during heavy rain and remove it once seedlings are up. For slugs, keep the bed clean and dry at the edges, and inspect at dusk.
Do I need to water seeds every day after planting?
Only when the top layer dries before the seed can germinate. In hot, windy, or sandy beds, that may mean daily light watering. In cool, wet weather, daily watering can do harm. The test is simple: the top inch should stay evenly damp, not soaked.
How many extra seeds should I sow for low germination?
Plan for losses by sowing a little thick and thinning later. The Almanac’s one-in-three figure is a useful planning guide, but packet germination and field conditions still matter. For costly seed, sow a short second strip only if the first strip fails or is clearly patchy.
What seed spacing should I use when sowing outdoors?
Use the packet spacing whenever possible. If that is hard to measure, sow slightly thicker in the row and thin later, or use a seed dispenser for small seed. Wide spacing reduces thinning work, but overcrowding raises disease risk and gives weaker seedlings less light.
Should I wait until after the last frost to plant seeds?
Wait for warm-season crops like squash, pumpkins, sweet corn, and melons. Cool-season crops can often go earlier, including some that handle a light frost. If the soil is cold and saturated, even a crop that tolerates chill may sit too long and rot before sprouting.