How to Move Seedlings Outdoors in Containers Safely
Move seedlings outdoors in containers after 7 to 14 days of hardening off, once nights stay above the crop’s minimum and the root ball holds together. Skip that step, and sun, wind, cold, and drying pot mix can stall growth or kill young plants. This guide covers timing, acclimation, pot-up checks, and where to place containers outdoors safely.
What you’ll need


- Seedlings with true leaves
- Matching containers with drainage holes
- Fresh potting mix
- Watering can or hose with a gentle rose
- Protected outdoor spot with partial shade or dappled sun
- Cold frame, if you have one
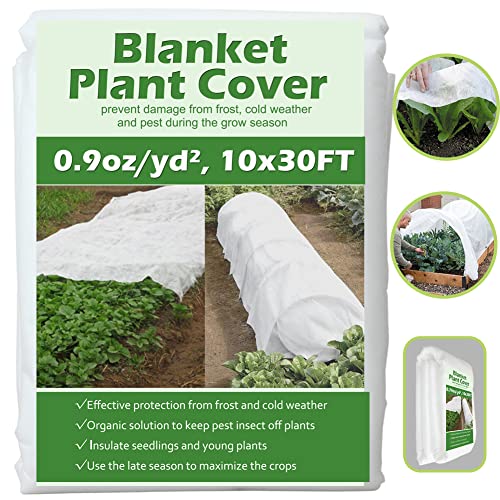
- Floating row cover or reemay
- Labels for crop names and dates
- Small trowel or hand fork
When are seedlings ready to go out?
Seedlings are ready when they have true leaves, the root ball holds together, and the weather window fits the crop. In container growing, that means checking more than height: you also need to judge pot moisture, root fill, wind exposure, and whether the final frost date has passed or is close enough for the crop type.
True leaves and root fill
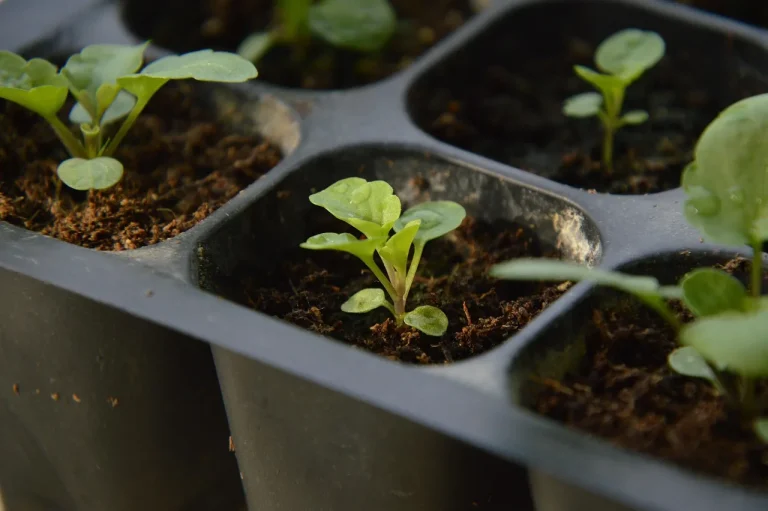
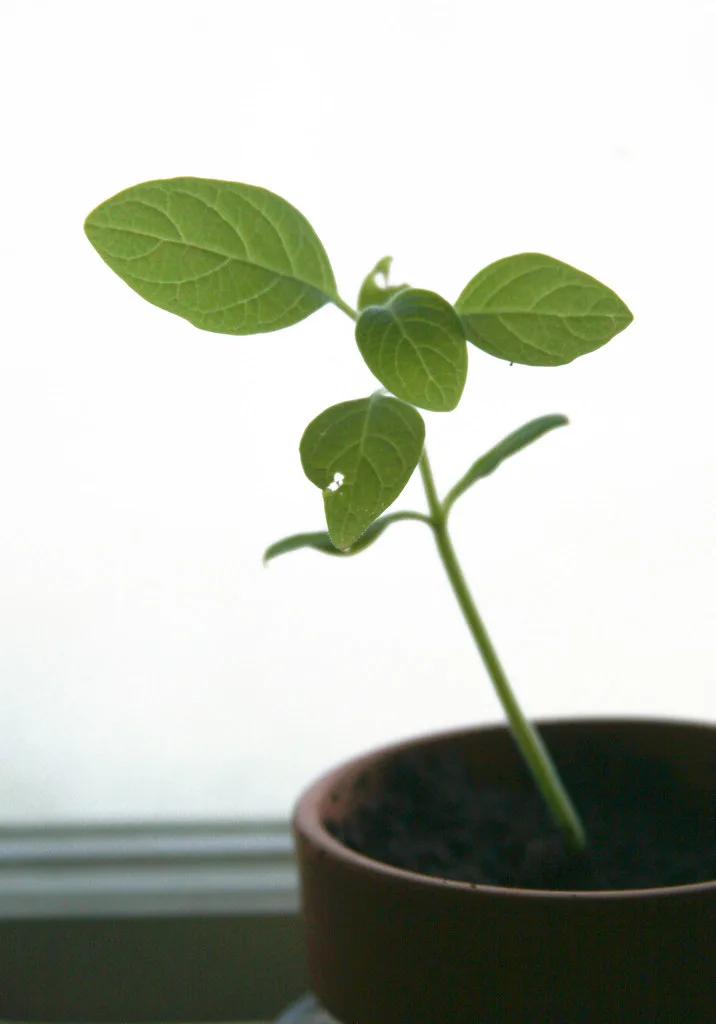
True leaves give a better signal than size alone. A seedling with only cotyledons is still very tender, while one with several true leaves can handle outdoor light and airflow better.
Lift the plant gently from its pot. If roots are circling the inside or poking through the drainage holes, it may need a bigger pot before final outdoor placement.
Pot size, moisture, and wind exposure
Container seedlings dry out faster outdoors than they do on a windowsill or under lights. Small pots warm up fast, lose moisture fast, and tip more easily in wind. If the mix feels dry an inch below the surface, water before exposure so the root ball is not already stressed when the plant goes outside.
A sheltered spot matters because direct wind can shred leaves and speed up drying. Early hardening off should happen in a protected spot out of direct sun.
Final frost date and crop type
Use the final frost date as a timing reference, then adjust for crop type. Hardening off can begin about a week before the final frost date, but cold-sensitive crops need longer caution, especially if nights still dip near freezing. Cool-season crops can usually go out earlier than warm-season crops, often two to three weeks after the last frost date.
Should you pot up first?
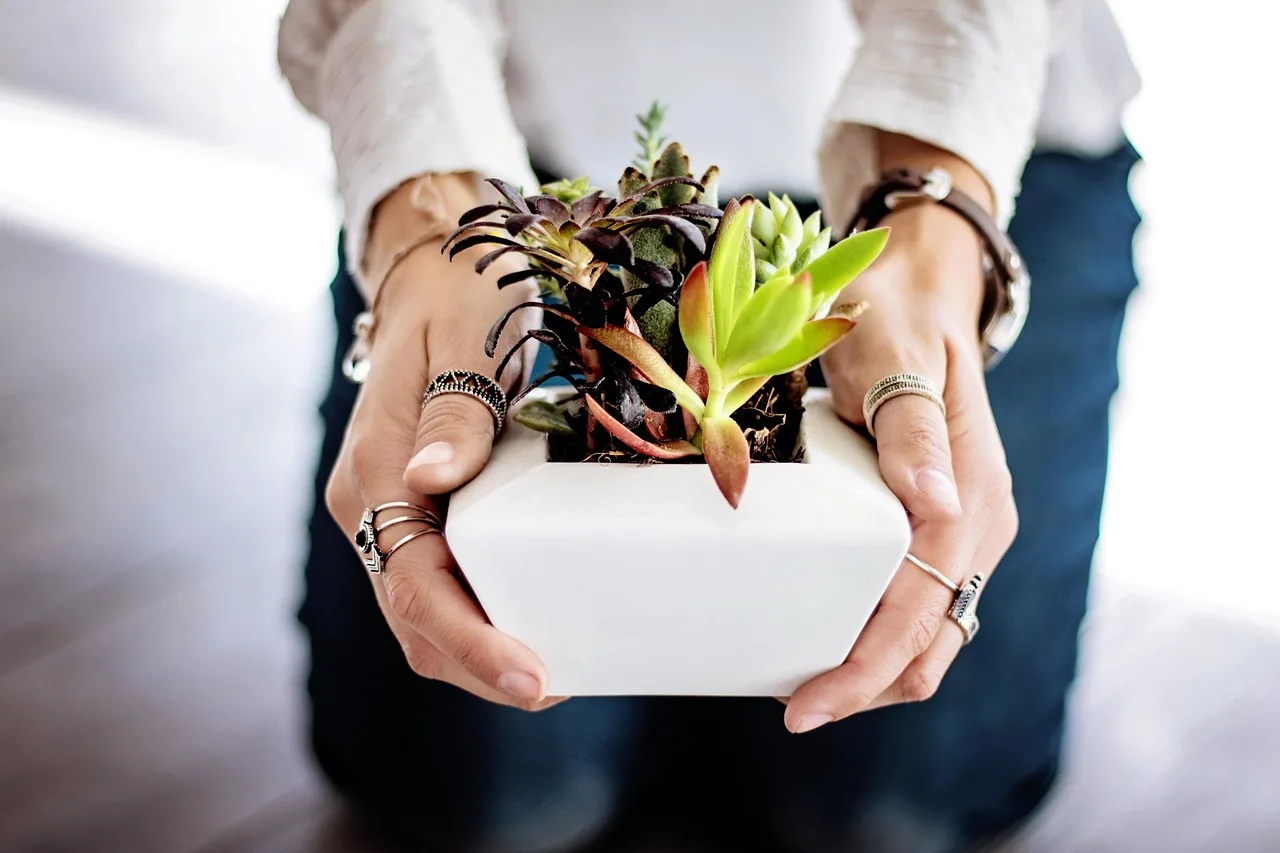
Pot up first if roots are filling the current container or the mix dries too quickly for a safe hardening-off run. Move straight to the final outdoor pot if the seedling is large enough, the root ball is stable, and the destination container is ready with drainage, mix, and a sheltered spot. Root disturbance can cause transplant shock, so avoid extra moves unless they solve a real container problem.
When a bigger container comes first
If the seedling is root-bound, dries out within a day, or leans because the pot is too small, shift it into one larger container before hardening off. That gives the roots more buffer against heat and drying while the plant adapts to outdoor light.
Picture a pepper seedling with roots circling the pot and the mix pulling away from the sides. A pot-up now reduces stress later, because the plant is not trying to harden off and rebuild roots at the same time.
When the final outdoor pot is the next move
If the seedling already has enough room, go straight to the final outdoor container after hardening off. That avoids a second round of transplant shock and keeps the root system stable while it adjusts to outdoor conditions.
Choose the final pot before you begin the transition. Fill it with a well-drained mix, confirm the drainage holes are clear, and place it where it will get the right balance of sun and shelter.
Signs the plant needs potting up first
Use this quick check before deciding.
| Readiness signal | Risk if skipped | Exact action |
|---|---|---|
| Roots fill the pot or circle inside it | Root binding, faster drying, stalled growth | Move up one pot size before hardening off |
| Pot mix dries quickly after watering | Wilting and heat stress outdoors | Water first, then pot up if the container is still too small |
| Drainage holes are blocked | Soggy roots, weak growth, rot risk | Clear the holes or repot into a container with open drainage |
| Seedling flops in light wind | Stem damage and uneven growth | Move to a slightly larger, heavier pot before outdoor exposure |
| Weather still brings cold nights | Cold shock and stalled recovery | Delay final outdoor placement and keep the plant in a protected transition spot |
How to harden off seedlings in containers
Hardening off is the gradual outdoor acclimation process that lets seedlings handle sunlight, wind, and temperature swings before full exposure. For container plants, start with about a couple of hours outside, keep them in shade or partial shade, and bring them indoors at night if frost is possible. A cold frame can help buffer those shifts.
- Choose a protected spot. Set seedlings in partial shade, dappled sun, or behind a windbreak for the first outings. This cuts the chance of sun scorch and keeps the mix from drying too fast.
- Water before exposure. Water each container before it goes outside, especially if the pot is small. Small pots dry fast, and a moist root ball handles the first exposure better.
- Start with a short outing. Give the seedlings only a couple of hours outdoors at first. Increase the time each day over 5 to 14 days, and add sunlight gradually.
- Bring them in nightly. Return plants indoors at night during the transition if frost is possible. Cold-sensitive crops need the most caution here.
- Use cover when needed. Set seedlings in a cold frame, or drape floating row cover or reemay over them when a light shield helps. It lets in sunlight, water, and air, and adds a few degrees of warmth.
- Lengthen exposure slowly. Move from shade to more sun only after the leaves stop wilting. A week of gradual exposure can prepare plants for all-day outdoor conditions.
For example, tomato seedlings can go outside for about 2 hours in morning shade, then come in at night. If they stay firm after a few days, increase the exposure time and light level. Tomatoes are often listed with 7 to 10 days of hardening off time.
Cold-sensitive crops need longer attention. Peppers are often listed with 7 to 14 days of hardening off time, while cucumbers are often listed with 7 to 10 days. Lettuce is usually quicker, often 5 to 7 days, but it still needs protection from sudden sun and drying wind.
How to place seedlings in their final outdoor pot
Once hardening off is complete, move seedlings into their final outdoor container on a calm day with no frost risk in the forecast. Put the pot where it will get the crop’s preferred sun level, but not full harsh sun right away if the plant was started under lights. This is the point where permanent placement matters more than short daily outings.
- Prep the container. Fill the pot with fresh mix, confirm drainage holes are open, and moisten the mix before planting. Dry media pulls water away from the root ball.
- Set the plant level. Keep the crown at the same depth it was growing at before, unless the crop tolerates deeper planting. Avoid burying stems unnecessarily, because that can slow recovery in some seedlings.
- Firm gently. Press the mix lightly around the roots so there are no air pockets. Do not compress it hard; roots still need oxygen.
- Water in fully. Add water until the mix settles and drains. Then recheck after the pot stops dripping, and top up with about 1 to 2 inches of mix only if the root ball has settled low.
- Stage the sun. Keep the container in a protected outdoor spot for a day or two if the seedlings were grown under lights. Then shift it to fuller sun if the crop needs it.
- Shield cold nights. Bring the pot indoors or cover it with a cold frame or floating row cover if frost threatens. Permanent outdoor placement still depends on temperature, not just calendar date.
Common mistakes
The most common errors are too much sun too soon, skipping night protection, and letting the pot dry out between waterings. Container seedlings are more exposed than garden seedlings because their roots heat up and dry faster.
- Skipping acclimation. A sudden move from indoors to full sun can bleach leaves and slow growth.
- Using a hot, windy spot first. That dries the mix and stresses stems before roots can keep up.
- Moving root-bound plants without checking them. A cramped root ball can stall once it hits outdoor heat.
- Leaving seedlings out overnight too soon. Frost or a cold night can undo several days of progress.
- Ignoring wilt or leaf burn. If leaves droop or pale areas appear, reduce exposure and shield the plant again.
Suppose a lettuce seedling looks fine at noon but droops by midafternoon in a black plastic pot. That is a drying problem more than a planting problem. Move it to shade, water it, and give it shorter outdoor sessions until it holds turgor better.
Seedling move-out checklist
Use this checklist before each move from indoors to outside, whether for daytime acclimation or final placement.
| Readiness signal | Risk if skipped | Exact action |
|---|---|---|
| Seedling has true leaves | Young tissues burn or wilt easily | Wait until the seedling has at least its first true leaves before exposure |
| Root ball holds together | Breakage, transplant shock, stalled growth | Slide the plant out gently and move only if the roots stay intact |
| Pot mix is moist | Fast wilt after moving outside | Water before exposure, then let excess drain |
| Wind is blocked | Leaf tearing and stem stress | Place the pot behind a wall, fence, or other sheltered barrier |
| Sun exposure is staged | Leaf scorch after grow lights or indoor windows | Begin in shade or partial shade, then add sun over several days |
| Overnight temperature is safe | Cold damage or frost injury | Bring plants in at night or delay the move until nights are warm enough |
| Roots are filling the pot | Drying too fast outdoors | Pot up one size before hardening off |
What signs mean seedlings are stressed after moving outside?
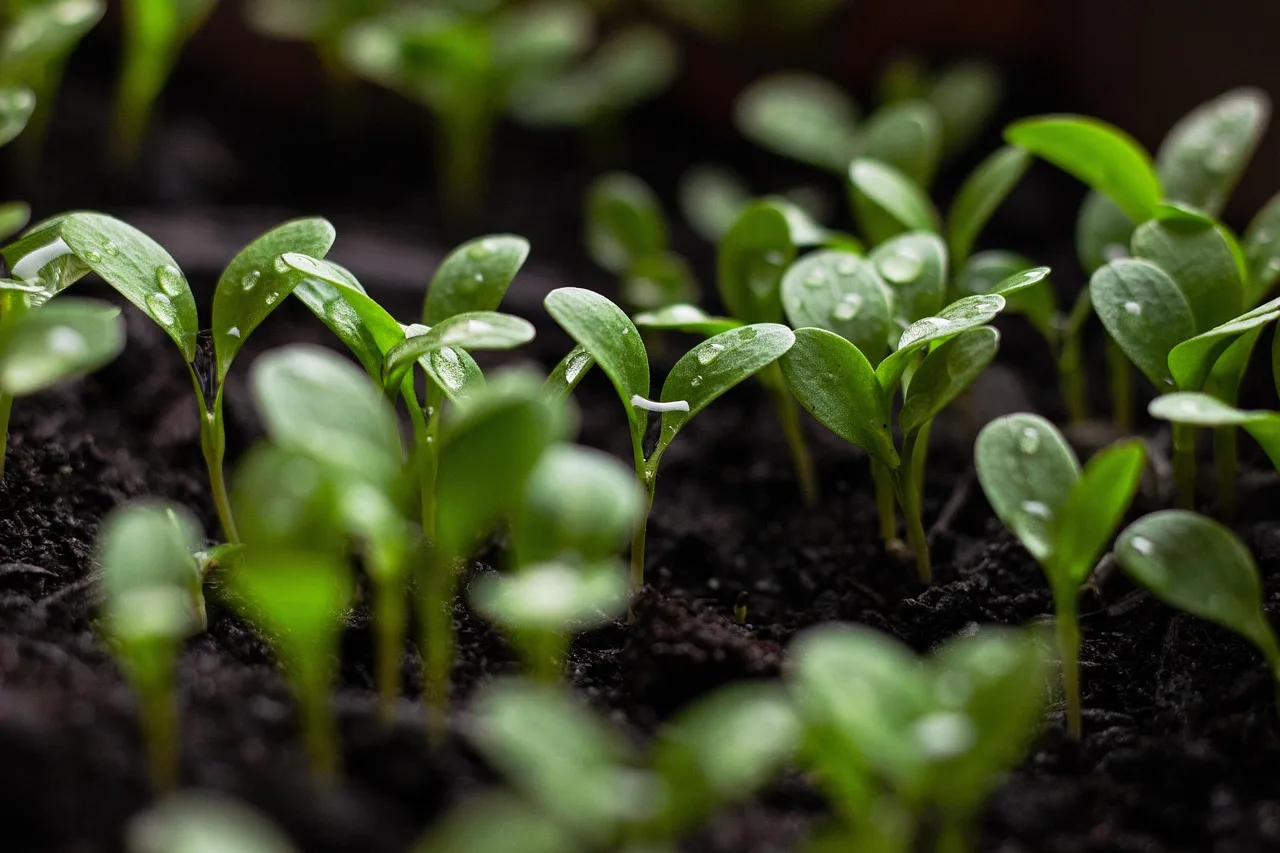
Wilting, leaf scorch, and slowed growth are the main warning signs after the move. A little droop during the first short exposure can pass, but persistent collapse, bleached patches, or a plant that stops growing for several days can mean the transition is too abrupt and needs a reset.
If the plant is wilted, move it back to shade, water it, and shorten the next outdoor session. If leaf margins are bleached or brown, reduce direct sun and use a protected outdoor spot for a few more days. If growth stalls after cold nights, bring it in again and wait for warmer conditions.
Frequently asked questions
When can seedlings be moved outside?
Move seedlings outside after hardening off, not before. Most plants need about one week to 14 days of gradual exposure, and hardening off can begin about a week before the final frost date. Crop type matters too: cool-season crops can go earlier than warm-season crops.
When to move seedlings to bigger container
Move to a bigger container before hardening off if the current pot is root-bound or unstable in wind. If the destination pot is already the final outdoor container, you can skip the extra step and harden off for that pot instead. The goal is fewer root moves, not more.
Can seedlings stay outside overnight?
Only after hardening off and only if nights are warm enough for the crop. During the transition, bring seedlings indoors at night if frost is possible. Cold-sensitive crops need more protection, while cool-season crops tolerate earlier planting but still need a weather check.