How to Plant Seeds in Seed Trays Step by Step
Fill the tray cells with moist seed starting mix, sow at the packet depth or about 2 to 3 times the seed’s width, cover lightly, and keep the mix evenly damp with warmth and light. Poor sowing leads to weak germination, damping-off, and crowded seedlings that waste seed. This guide lays out each step in order, plus the moisture, depth, and aftercare checks that keep trays working.
This guide is part of our Planting from seeds: a beginner’s guide series.
What seed trays do


Seed trays give each seed a small cell with drainage and room for a steady start. That matters more than many beginners expect, because cell size, drainage holes, and tray material change how fast the mix dries and how evenly seedlings emerge.
Choose tray cell counts by seed size and by how long the crop stays indoors. Small trays with 12 to 36 cells suit larger seeds and crops that move on quickly. Trays with 50, 72, or 128 cells suit small seeds, but the smaller the cell, the faster it dries.
Tray parts and materials
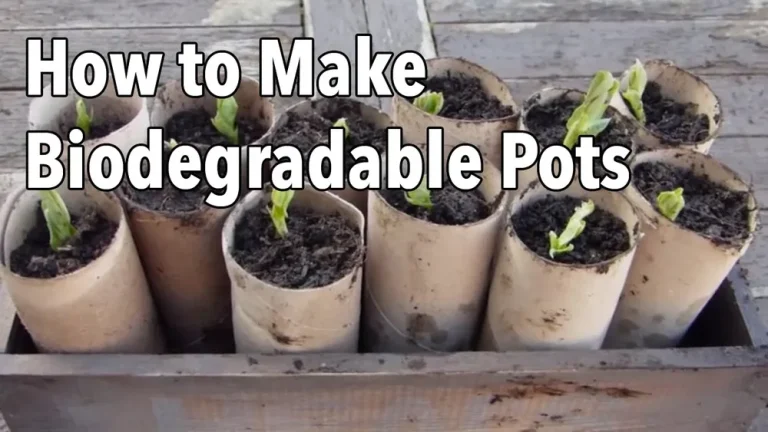
Most trays are plastic, but biodegradable and reusable versions are common too. Plastic and reusable trays hold shape better and usually last longer. Biodegradable cells can reduce root disturbance, but they dry faster and need careful watering.
Use a bottom tray under any cell tray. A humidity dome can help hold moisture until germination, then it should come off once sprouts appear. Drainage holes are non-negotiable; without them, water pools and roots lose air.
What you’ll need
- Seed starting mix with a fine texture, low nutrients, and disease-reduced or sterile ingredients
- Seed tray with drainage holes and a matching bottom tray
- Humidity dome or clear cover, optional but useful before sprouting
- Seeds with packet instructions for depth and spacing
- Plant labels or waterproof marker and tape
- Bottom-watering tray, watering can with a fine rose, or spray bottle for misting
- Bright window or grow light
- Heat mat, only if the crop needs extra warmth for germination
How deep should seeds go?
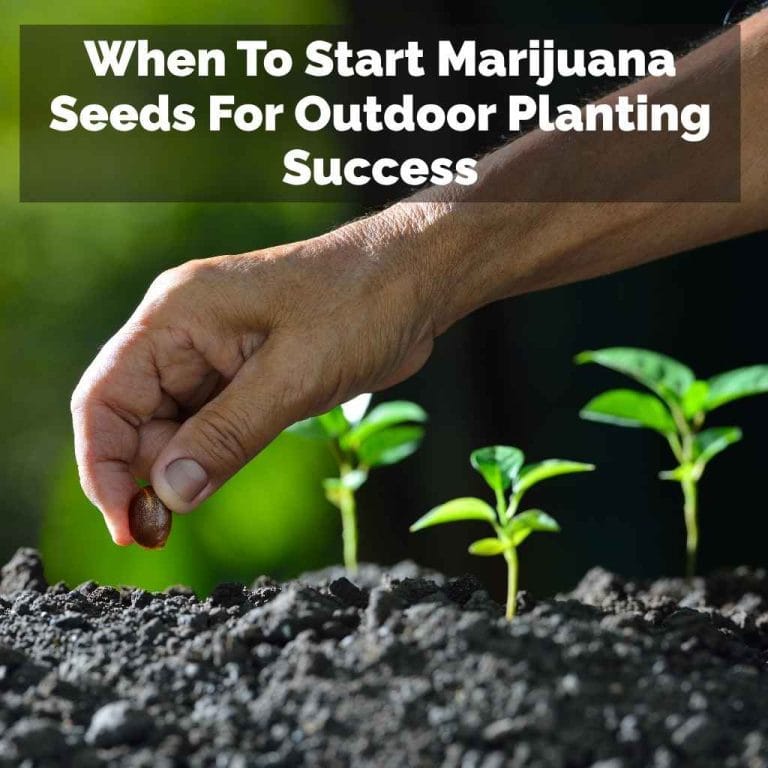
Use the packet first. If the packet gives a depth, follow that number rather than guessing. A common seed-depth rule is about 2 to 3 times the seed’s width, with the seed covered only enough to keep it in contact with moist mix.
Tiny seeds often need only a surface press or a dusting of mix or vermiculite. Large seeds can be set a bit deeper, but never so deep that the seedling spends all its energy reaching the surface. Depth is where many tray failures begin.
Match depth to seed size
- Tiny seeds: press onto the surface, then cover as directed, often just a light sprinkle of mix or vermiculite.
- Medium seeds: cover with about 2 times seed width.
- Large seeds: cover with about 3 times seed width unless the packet says otherwise.
Place one seed per cell for expensive seed, large seed, or crops that germinate well. Use two seeds per cell if germination is uncertain or if you want a spare plant to thin later. Two seeds in every cell can waste seed and create crowding, so use that choice with purpose.
After sowing, cover only as directed and firm the surface gently with fingertips. Avoid packing the mix hard. Overpacked cells shed water unevenly and can crust on top, which blocks tiny shoots and makes top watering run off instead of soaking in.
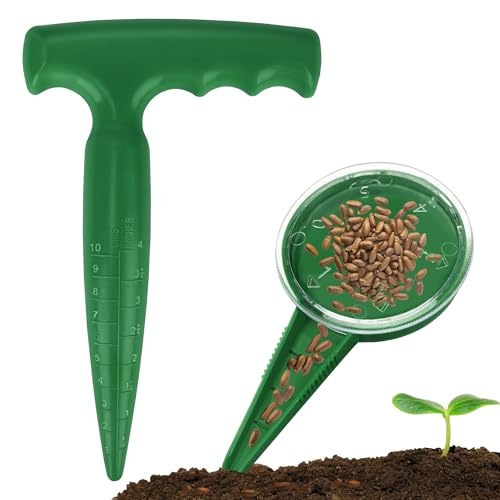
- Make a shallow hole or surface depression at the correct depth.
- Drop in one seed, or two if the packet or crop calls for a backup.
- Cover with mix or vermiculite only to the listed depth.
- Label the row or cell right away with plant name, variety name, and sowing date.
Picture a tray with basil in the first two rows and peppers in the next four. Without row labels, the seedlings can look similar after emergence. A row code such as B1 for basil and P1 for peppers keeps the tray readable when several varieties share one flat.
Do seed trays need a dome?
A dome or clear cover helps hold moisture until germination, especially in dry rooms or under warm lights. It is useful, but it should not stay shut for long after sprouts break the surface. Closed covers with no airflow create a damp pocket that invites mold and soft stems.
Vent the dome once a day if condensation is heavy or the mix looks soggy at the top. Remove the dome when most seeds have sprouted, or when the first true leaves start to show. At that point, seedlings need air movement more than trapped humidity.
Watering after sowing
Bottom watering is best once seeds are covered and the tray sits level. Add water to the bottom tray and let the mix wick it up. That keeps seeds in place and avoids washing out tiny seed. Mist watering fits exposed surface-sown seed or very light coverings.
Keep the mix damp through the full cell, not flooded. If the top surface dries while the lower half stays wet, give a small bottom-water top-up and wait. If the tray is already saturated, stop watering and improve airflow instead.
- Set the tray on a bright window sill or under a grow light after sprouts appear.
- Keep the light close enough that seedlings do not stretch; a grow light is often about 2 to 6 inches above the tops, adjusted as they grow.
- Run lights for about 14 to 16 hours daily.
- Use a small fan or open room airflow to keep stems moving gently.
Say your seedlings sprout in a south-facing window but lean hard toward the glass by day three. That usually means the light is not strong enough or is coming from one side only. Move them under a grow light, lower the fixture, and rotate the tray once a day if needed.
Seed tray checklist
This checklist gives a cell-by-cell workflow for mixed trays. It keeps moisture, depth, labels, and troubleshooting in one place so you can repeat the same process for several crops without mixing them up.
| Step | What to do | Check | Troubleshooting |
|---|---|---|---|
| Tray prep | Clean reused trays; confirm drainage holes; set tray in bottom tray | Water drains freely | No drainage: move to a tray with holes |
| Mix moisture test | Wet seed starting mix until it feels evenly damp | Squeeze holds shape lightly, no dripping | Floating seed later often means mix was too loose or dry on top |
| Sowing depth | Follow packet; otherwise sow 2 to 3 times seed width deep | Seed is covered lightly | Crusting or no sprout may follow sowing too deep |
| Watering choice | Bottom water covered seed; mist exposed tiny seed | Seed stays put | Washed-out seed means the top stream was too strong |
| Label format | Write plant name, variety, date, and row or cell code | Label stays with tray | Mix-ups are common when rows are not coded |
| Germination checks | Check daily for moisture, sprouts, and mold | Moist, not soggy; dome vented | Mold needs more airflow and less surface wetness |
| After sprouting | Remove dome, move to strong light, and keep air moving | Stems stay short and firm | Leggy sprouts need closer light right away |
Common mistakes
Overpacking dry mix is a common failure. The surface can turn crusty, water runs off, and small seedlings cannot break through. Fill loosely, moisten first, and press only enough to level the cells.
Sowing too deep slows or stops emergence, while sowing too shallow can dry the seed out. Another frequent problem is uneven cell moisture in the same tray, especially at the edges. Turn the tray as needed and check corner cells first.
Letting the tray stay soggy raises the risk of damping-off, a stem-rot problem that often starts in cold, airless, wet conditions. Crowding too many trays together blocks airflow and makes that worse. Thin weak seedlings after they are up, and transplant only after they have true leaves.
If germination is patchy, first check the moisture and depth, then the temperature for that crop. If the tray is dry on top but wet below, bottom water and wait 20 to 30 minutes before changing anything else. If no seedlings appear and the mix has crusted, gently scratch the surface and rewet the top layer with a mist.
When should I remove seedlings from the tray?
Remove seedlings from the tray when they have true leaves, sturdy stems, and roots that hold the cell together. For many crops, that means transplanting before roots circle deeply or seedlings crowd one another. Hardening off should start before they go outdoors, with short, gradual exposure to wind, sun, and cooler air.
Begin hardening off after the true-leaf stage by setting trays outside for a few hours in shade, then increasing exposure gradually over about a week. Move seedlings to their final spot only when they can handle outdoor light and airflow without drooping badly. Transplant on a calm day if possible.
Frequently asked questions
How deep should seeds go in a tray?
A good starting point is 2 to 3 times the seed’s width unless the packet gives a different number. Tiny seed may stay on the surface with only a light cover, while larger seed can be set deeper. Too much cover slows emergence and can stop some seedlings.
How wet should seed starting mix be before sowing?
The mix should feel evenly damp, not dripping. A squeezed handful should hold together lightly and then break apart when touched. If water runs out, it is too wet; if it falls apart dusty, add water before sowing so the cells moisten evenly.