How to Start Seeds in an Apartment Without a Yard
Start seeds in an apartment with one bright south- or west-facing window or one small LED grow light, a 10-by-20 tray, and a shelf or table near an outlet. Without steady light and careful watering, seedlings stretch, topple, and die. This guide shows what to buy, where to place it, how to water, and what to skip.
Apartment seed-starting basics


Keep the setup compact. A small apartment seed-starting area only needs a tray with drainage, a fine seed starting mix, a light source that matches your room, and a place where spills will not reach floors or outlets. Start with a few crops, not a full garden’s worth of seeds.
Gardeners Supply groups indoor growing with grow lights and stands, and it also sells seed starting supplies as a category. Pots and planters can work for some indoor gardening, but seed starting is easier in trays because you can manage moisture and light more evenly in a tight space.
What you need to begin
Buy the essentials first: a reusable seed starting tray, seed starting mix, seed packets, plant labels, and a watering method that fits your space. A heat mat and humidity dome are optional, not universal.
Seed starting mix should be fine-textured and lightweight. It holds moisture without waterlogging, unlike regular potting soil, which is often heavier and denser than seedlings need at germination.
What you can skip for now
Skip extra decorative pots, oversized kits, and anything that makes cleanup harder. A dark closet is not a seedling location unless it has strong light and airflow, which most closets do not.
If you have only one small window ledge or one narrow shelf, stay with one or two trays. Crowding more trays into a cramped apartment setup usually creates weak light, poor airflow, and more mold risk.
How to choose a small setup
Match the crop to the room. Herbs and some leafy greens are more forgiving under window light. Tomatoes, peppers, and basil usually need more help, especially in apartments where the window is bright but not truly direct for long enough.
Say your only space is a 12-inch windowsill above a radiator. Use a shallow tray, keep the mix barely moist, and choose a small number of lettuce or basil seeds first. A deep tray and heavy watering would make spills and drying problems worse.
When should you start seeds indoors?
Count back from your last frost date, then check the seed packet for the crop’s indoor-start recommendation. The packet timing matters because one crop may need many more weeks indoors than another, even in the same apartment setup.
Count back from your last frost date
Use the sowing window on the packet, then count backward from your last frost date. If your last frost date is May 15 and a tomato packet says start 6 to 8 weeks before transplanting, sow between mid-March and late March. That keeps seedlings at a manageable size when they are ready to move outside.
Use seed packet timing as a check
Seed packets often list days to germination and weeks before last frost. Treat both as checks. If the packet says a crop germinates in 10 days and wants 8 weeks indoors, that is a stronger guide than guessing by room temperature alone.
Creative Vegetable Gardener includes a seed starting calendar template you can customize for your zone. The course says it teaches what conditions seeds need to germinate, includes a supplies checklist for a seedling rack, gives step-by-step instructions for starting seeds, and covers hardening off before planting outside.
Simple example for one spring crop
Suppose your last frost date is April 20 and your seed packet says peppers should start 8 to 10 weeks before that date. Back up to mid-February for sowing. Peppers also benefit from bottom heat, so this crop is a good candidate for a heat mat in a small apartment.
Seed trays, mix, and labels
Choose a tray with drainage holes. A cell tray keeps seedlings separated, while a flat tray gives you one open sowing surface. In an apartment, cell trays are usually easier because each seedling has its own space, and drainage holes keep water from sitting under the roots.
Cell tray vs flat tray
Cell trays are better for most apartment growers because they simplify spacing and transplanting. Flat trays work for dense sowing, but they need more thinning and more attention to moisture. For a small indoor setup, a reusable cell tray is the cleaner choice.
MorningChores says seed starter trays are reusable year after year, and it recommends sterilizing trays with soap and hot water after use. That matters in apartments, where a single tray may get reused on a shelf near food prep areas or furniture.
Why drainage holes matter
Drainage holes keep excess water moving out of the tray instead of pooling around roots. That reduces the chance of soggy mix, spilled water on shelves, and damage to furniture or flooring. Use a tray or saucer underneath if the container can leak.
What to write on each label
Label every cell or row with the variety name and sowing date. In a mixed apartment setup, labels keep seedlings organized when different crops sprout at different speeds. Add the expected transplant date if you want a quick check later.
How much light do seedlings need?
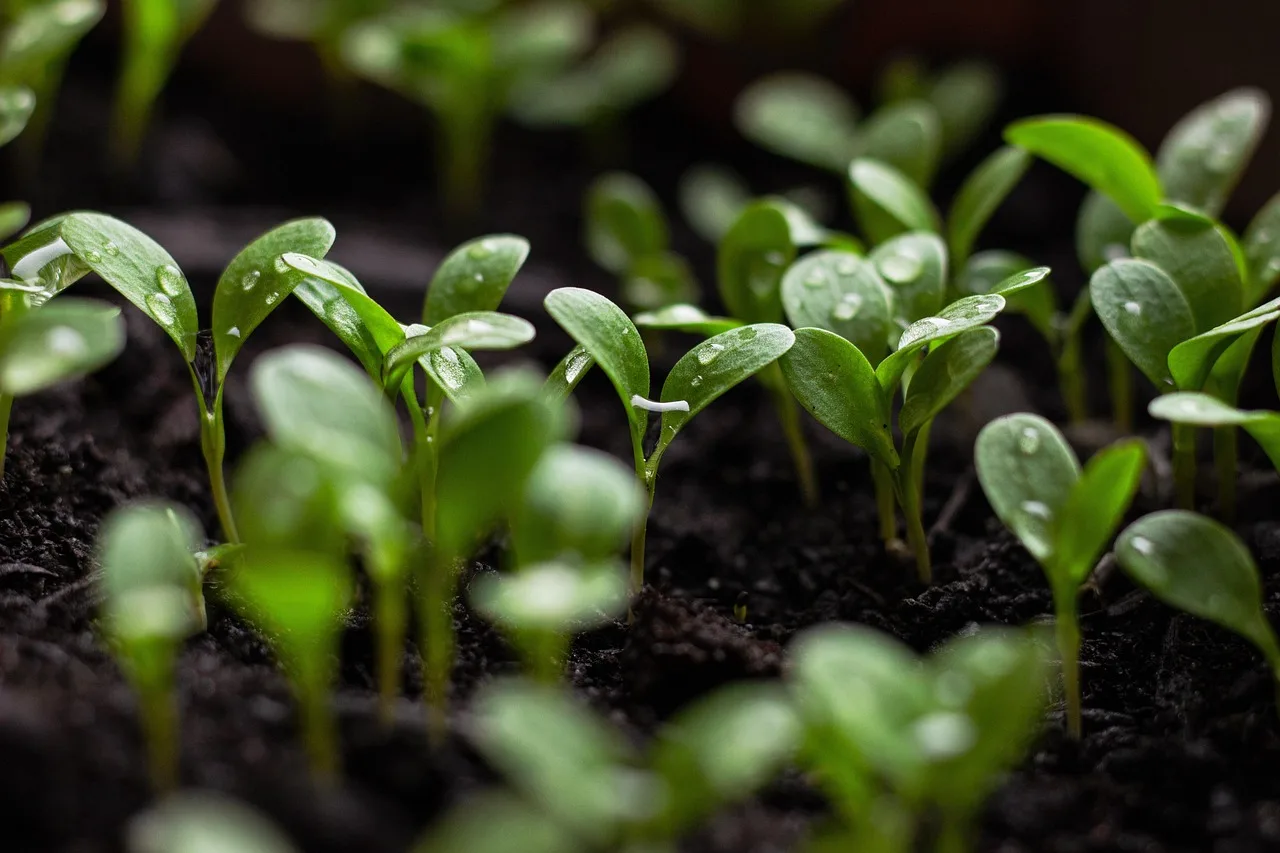
Seedlings need strong light every day, and weak window light is not enough for many crops. A bright window can work for easier crops if the seedlings stay compact, but a weak window usually needs a shop light or LED grow light. Keep the light close and run it long enough each day.
When a window is enough
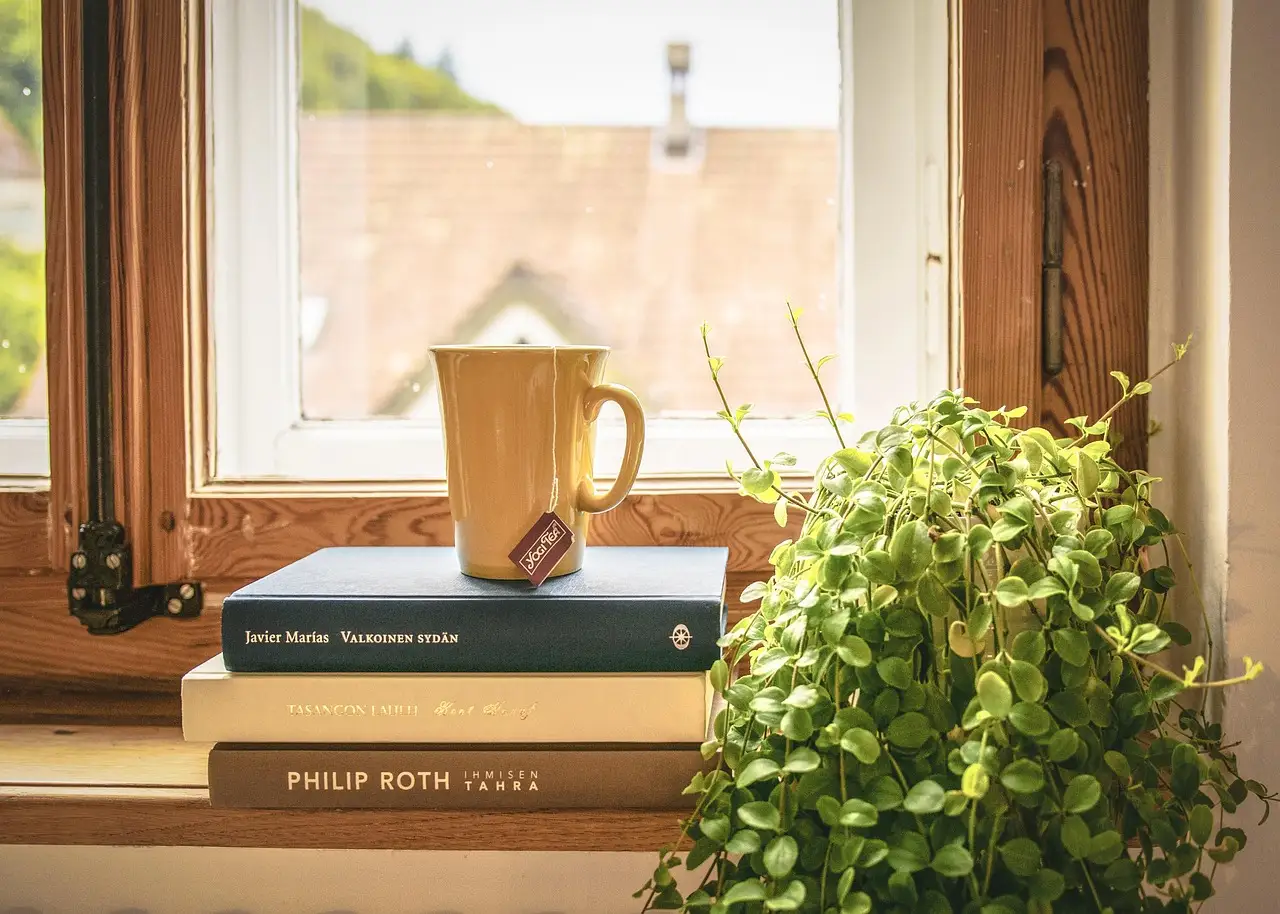
A bright south- or west-facing window can work for lettuce, basil, and some herbs if the room is bright and the plants are not reaching for the glass. If stems lean or stretch, the window alone is too weak. Move the tray closer to the glass or add artificial light.
Do not assume any bright room is enough. A window with a sheer curtain, a shaded courtyard view, or short winter days may produce thin seedlings even when the room feels bright to you.
When to add shop lights or LED grow lights
Use shop lights or LED grow lights when natural light is weak, the window faces the wrong direction, or seedlings begin to stretch. The same source says some gardeners use shop lights instead of expensive grow lights. Gardeners Supply also groups indoor growing with grow lights and stands, which fits a shelf-based apartment setup.
Run the light for 14 to 16 hours per day for most seedlings. Place the fixture about 2 to 4 inches above the tops of the seedlings, then raise it as they grow so the gap stays small without touching the leaves.
How high to place the light
Keep the light close enough that seedlings stay short and sturdy, but not so close that the leaves heat up or dry out. If stems elongate, move the light lower. If the tops look bleached or curled, raise it a little and watch the next day’s growth.
What should you buy for a small apartment setup?
Buy a heat mat if you are starting warm-season crops and your apartment is cool. Buy a humidity dome only for the pre-sprout stage. Buy a shelf, rack, or windowsill setup only if it can hold the tray steady, stay near an outlet, and manage spills safely.
Heat mat: when it helps
A seed heating mat gives gentle bottom heat to seed trays. Heat mats can speed germination and increase success for warm-season crops, especially tomatoes, peppers, and basil. Use it under the tray only during germination, then remove it if the seedlings no longer need the extra warmth.
Skip the heat mat for cool-season crops if your room is already warm enough. It is helpful, not universal.
Humidity dome: when to use it
A humidity dome helps retain moisture before sprouting. Use it only until the seeds emerge, then remove it so air can move around the seedlings. If you leave the dome on too long, moisture can stay trapped and raise damping off risk.
Shelf, rack, or windowsill placement
A shelf or rack works well if it gives you stable temperature, a nearby outlet, and enough vertical room for lights. A windowsill works only when the window is bright enough and the sill is wide enough to keep trays level. Put a waterproof tray or saucer under the containers to control leaks.
Picture a two-shelf rack beside a bright window. One shelf holds seedlings under a light, the lower shelf stores mix, labels, and a spray bottle. That setup uses little floor space and keeps the watering area separate from the sleeping area or kitchen.
Apartment seed-starting setup matrix
| Available light | Available space | Recommended setup |
|---|---|---|
| Bright window | Windowsill | Cell tray with drainage holes, seed starting mix, label stakes, bottom watering in a saucer, lettuce, basil, or herbs first |
| Average window | Shelf | Cell tray, LED grow light or shop light 2 to 4 inches above seedlings for 14 to 16 hours, bottom watering, sturdy crops like herbs and greens |
| No direct window | Tabletop | Tray on a waterproof mat, LED grow light, optional heat mat for warm-season crops, gentle bottom watering, tomatoes, peppers, or basil after you can manage light |
Need a grow light? Yes if you have no direct window or seedlings stretch under window light. Need a heat mat? Yes for warm-season crops in a cool apartment. Need a humidity dome? Yes only before sprouting, then remove it.
Sow, water, and care for sprouts
Sow seeds at the depth listed on the packet. A common rule is to cover seeds only as deeply as their size suggests, but follow the packet first. After sowing, keep the mix evenly moist, not saturated, and watch for sprouting daily.
How to sow seeds
- Fill the tray with seed starting mix and tap it lightly so the surface settles.
- Moisten the mix before sowing so seeds do not wash away.
- Place seeds at the packet depth and space them so seedlings do not crowd each other.
- Cover only if the packet says to cover, then label each cell or row.
- Set the tray under the light or on the heat mat if you need it.
Bottom watering vs top watering
Bottom watering is usually better for apartment trays because it reduces splashing and keeps water off the leaves and nearby surfaces. Set the tray in a shallow pan of water and let the mix wick moisture up. Use gentle top watering only when the surface needs rewetting and the tray can drain freely.
Misting is useful only for the first stage when the top layer dries too fast or after sowing very tiny seeds. It is not a replacement for real watering once seedlings have roots.
Keeping moisture steady without waterlogging
The mix should feel damp, not dripping. If water pools under the tray, pour it off. In a small apartment, oversaturated trays can smell, attract mold, and leak onto shelves or flooring.
A common first-timer mistake is watering on a schedule instead of checking the mix. A tray on a warm shelf may dry faster than the same tray on a cool windowsill, so check moisture with a finger or by lifting the tray.
Move seedlings, harden them off, and transplant
Thin crowded seedlings once they have true leaves, and keep the strongest one in each cell unless the crop is meant to be grown more densely. Before transplanting outdoors, harden off seedlings so they can handle wind, sun, and cooler temperatures.
Thin crowded seedlings
If two seedlings sprout in one cell, snip the weaker one at soil level rather than pulling it out. Pulling can disturb the roots of the stronger plant. Thin early so the remaining seedling gets enough light and air.
Prepare for outdoor conditions
Hardening off is required before transplanting. Move seedlings outside for short periods, then gradually increase time, sunlight, and exposure over several days or longer. This transition helps them adjust to the outdoor environment before permanent planting.
Check for transplant readiness
Seedlings are ready when they have sturdy stems, several true leaves, and roots that hold the mix together without being rootbound. If the apartment setup has kept them compact and well lit, they should move more easily and recover faster after transplanting.
Frequently asked questions
How to start seeds at home
Use a small tray, seed starting mix, labels, and a bright place to set the tray. Sow at packet depth, keep the mix moist, and give seedlings strong light after sprouting. In an apartment, the main job is controlling light, water, and spills in a very small footprint.
Can’t plant indoor seeds what to do?
If you cannot plant seeds indoors right now, wait for outdoor conditions or switch to crops that can be direct-sown later. Store the packets in a dry place, check the sowing window, and gather a tray, labels, and mix before starting. Rushed sowing usually creates weak seedlings and wasted seed.