How to Use Grow Lights for Seed Starting Indoors Correctly
Set seed-starting lights a few inches above seedlings, run them for much of the day, and raise the fixture as the tops grow. Too little light leaves seedlings thin, pale, and weak at transplant time. This guide shows how to read light specs, set up your first tray, and adjust the fixture when seedlings begin to stretch.
Do you need grow lights to start seeds indoors?
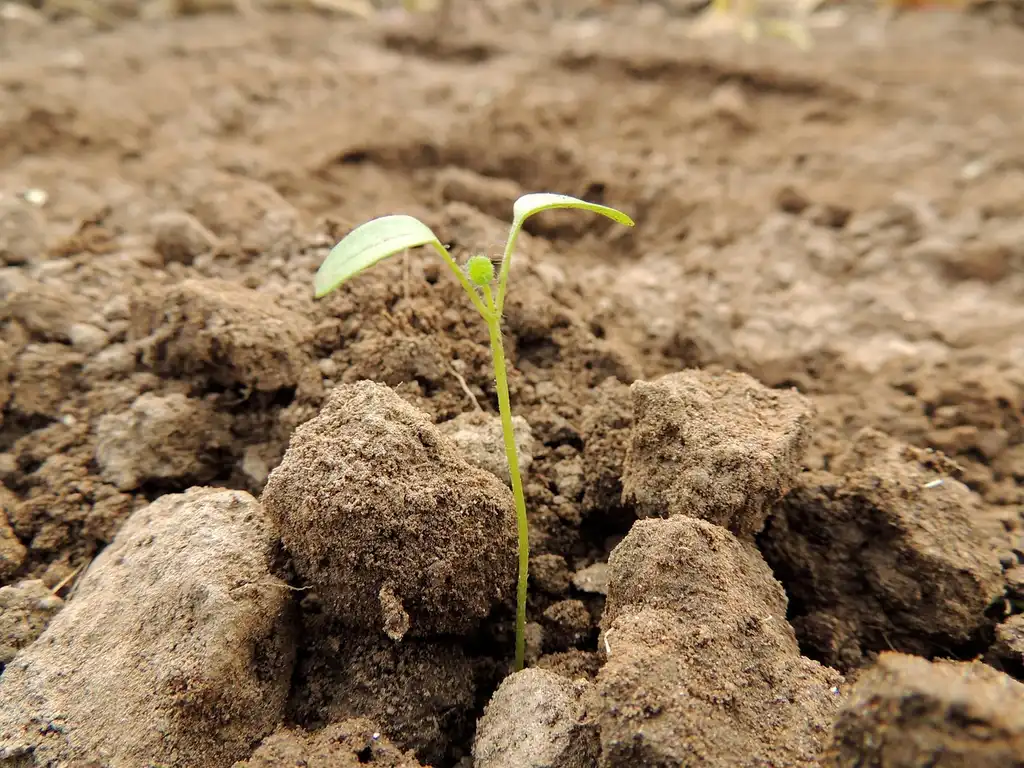


Yes, if you want compact seedlings in most indoor setups. A sunny windowsill can work for a short list of very light-hungry plants, but many seedlings need extra light indoors because window light drops fast with distance, season, cloud cover, and the sun’s angle. Seedlings that get too little light often show spindly stems and faded leaves.
When a sunny windowsill is enough, and when it is not
A bright south-facing sill may support a few seedlings near the glass, especially in late winter or early spring, but it often falls short once trays sit a few inches back from the pane. If the window does not give strong direct light for much of the day, plan on a grow light. A shelf set farther from the glass almost always needs one.
Picture a flat of tomato seedlings on a kitchen sill in March. The seedlings nearest the glass stay tighter, while the ones toward the room lean and lengthen toward the light. That uneven growth is the warning sign, the window is not covering the tray evenly.
What weak light looks like in seedlings
Low light shows up fast. Stems lengthen, leaves turn paler, and the tray starts to lean in one direction. Seedlings may also slow down after emerging because they are stretching instead of building sturdy tissue. If the tray looks crowded, thin, or tilted, move the light closer or switch to a fixture with more even output.
Which indoor setups usually need supplemental lighting
- Any tray on a shelf away from direct sun.
- Basements, laundry rooms, and interior rooms.
- North-facing windowsills.
- Windows blocked by porches, trees, or deep eaves.
- Seed starting in late winter, when day length and intensity are lower.
📊 The page says seedlings should be grown under light ranging from 5,000-7,000 K. Source: How to Use Grow Lights for Seed Starting.
What kind of grow light is best for seed starting?
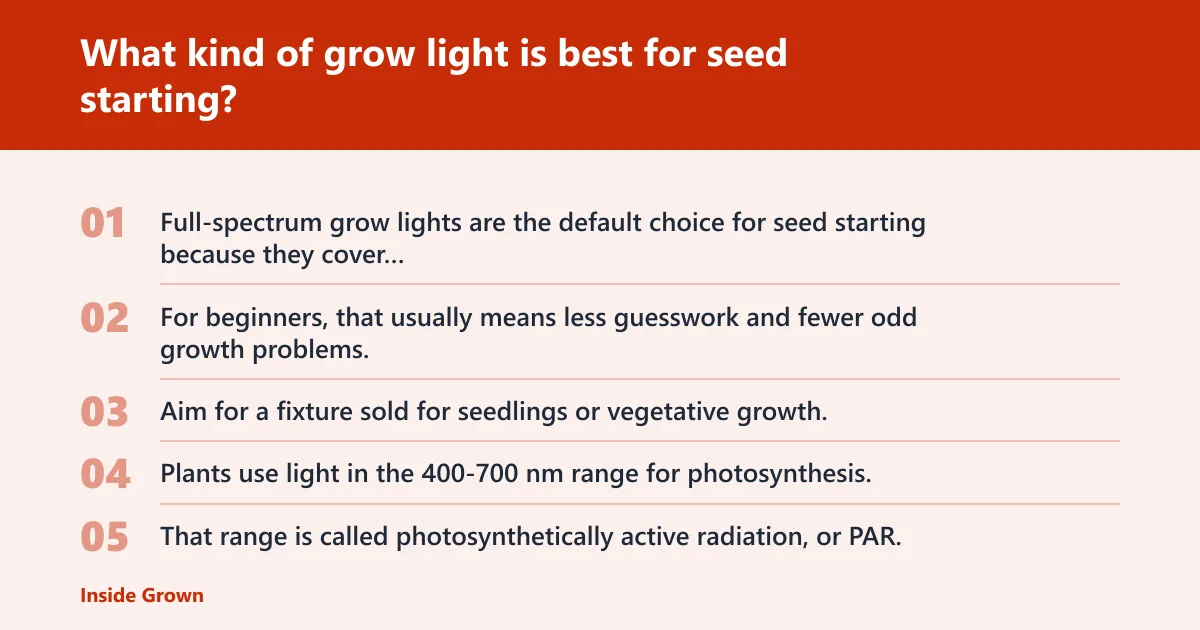
Full-spectrum grow lights are the default choice for seed starting because they cover the full PAR range and behave more like natural light than narrow-spectrum fixtures. For beginners, that usually means less guesswork and fewer odd growth problems. Aim for a fixture sold for seedlings or vegetative growth, not a decorative bulb that only looks bright to people.
Why full-spectrum grow lights are the default choice
Plants use light in the 400-700 nm range for photosynthesis. That range is called photosynthetically active radiation, or PAR. Full-spectrum lights are recommended for seed-starting because they cover that plant-usable range more evenly. The visible light range is 300-700 nm, so a seedling lamp should not be judged only by how white it looks.
For color context, 450 nm appears blue to humans and 650 nm appears red. Seedlings do not care about human color preferences, but those wavelengths matter because they sit within the plant-usable band.
How to read Kelvin color temperature for seedlings
For seedlings, look for a light in the 5,000-7,000 K range. That range is often described as cool white and is a practical target for compact early growth. The page’s color guide notes that 2,500K is warm white and 7,000K is cool white, which is why warm household bulbs are usually a poor stand-in for seed starting.
What PAR means and why it matters more than marketing terms
PAR tells you whether the lamp is producing light plants can use. Kelvin tells you the color appearance, not intensity. A lamp can look bright and still be weak at plant level if it is too far away or has poor output. When buying, use PAR-related specs, coverage area, and fixture design before you trust phrases like “daylight” or “sun-like.”
| What to check | Practical target for seedlings | Why it matters |
|---|---|---|
| Color temperature | 5,000-7,000 K | Gives a cool-white light that suits seed-starting setups |
| Spectrum | Full-spectrum | Covers the plant-usable range more completely |
| Plant-usable light range | 400-700 nm | This is the PAR band used for photosynthesis |
| Visible light range | 300-700 nm | Useful for understanding what the fixture emits overall |
How far should grow lights be from seedlings?
Start most seedling trays a few inches below the fixture, then raise the light as the plants grow. That close range helps prevent stretching, which is the main failure mode for beginners. If the lamp sits too high, seedlings reach upward. If it sits too low, leaves can bleach, curl, or dry from heat.
Starter height for most seedling trays
Use 2 to 4 inches as a practical starting point for common flat trays under a basic home fixture. Keep the light centered over the tray, not tilted toward one side. If the fixture is wide enough to cover more than one tray, keep all trays at the same height so the coverage stays even.
How to move lights as seedlings grow
- Check the tops every day during the first week after emergence.
- Keep the fixture 2 to 4 inches above the highest leaves.
- Raise the light in small steps as the canopy rises.
- After each move, watch the tray for 2 days for new stretching or bleaching.
- If the fixture has a strong output, leave extra headroom only if the leaves stay compact and flat.
Signs the light is too far away or too close
Too far away means long stems, wide spacing between leaves, and a tray that leans toward the fixture. Too close means pale or bleached leaf tips, curled edges, or dry-looking foliage near the lamp. Heat stress can appear before visible scorch if air movement is poor.
Suppose a 10-by-20-inch tray sits under a light that was hung a foot above the canopy. Within several days, the stems lengthen and the seedlings tip over. Lowering the fixture to a few inches above the leaves usually corrects the stretch faster than adding more water or fertilizer.
How many hours a day should seedlings stay under grow lights?
Most seedlings should stay under grow lights for much of the day, roughly 14 to 16 hours. Newly emerged plants need a steady daily rhythm, not a constant 24-hour blast. A timer makes the schedule easier to maintain and keeps the dark period long enough for normal growth cycles.
Daily light schedule for newly emerged seedlings
Start with a long light period and a shorter dark period each day. That schedule fits most beginner seed-starting routines. If seedlings begin to stretch even with proper height, first confirm the light is close enough and evenly centered before extending the daily hours.
How to use a timer
A simple plug-in timer removes guesswork. Set the light to come on at the same time every day and turn off on a fixed schedule. Consistency matters because seedlings respond better to steady conditions than to random on-and-off timing.
What to adjust when seedlings start stretching
If seedlings stretch, do not start by increasing hours alone. First lower the fixture if it has drifted upward, or reduce the gap to the top leaves. Then confirm the tray is getting even coverage. Only after that should you consider extending the light period within the 14 to 16 hour range.
Seedling light setup: day one to week one
Set up the tray so the light is centered, close, and easy to move. A simple shelf, a tray, and an adjustable fixture are enough for most beginners. The goal is even coverage from the first day after emergence, because fixing stretch later is harder than preventing it.
Simple fixture, tray, and shelf layout
Place the tray on a level shelf or table and hang the fixture directly above it. If the light is on chains or adjustable supports, use those to keep the first height low. If the tray is on a wire rack, position the light so it covers the full tray footprint instead of only the center.
How to position lights for even coverage
- Center the fixture over the tray.
- Keep the bulb or panel parallel to the seedling tops.
- Match tray size to the light’s coverage area.
- Use the same height for all trays under one fixture when possible.
- Rotate the tray only if one side still grows faster than the other.
Checkpoints for the first seven days
- Day 1 after emergence: confirm the fixture is 2 to 4 inches above the tallest seedling.
- Day 2: look for straight stems and flat leaves, not leaning growth.
- Day 3: check whether one side of the tray is taller or paler.
- Day 4: raise the fixture only if the tops are nearly touching it.
- Day 5 to 7: keep the timer steady and reassess every 1 to 2 days.
Practical seedling light setup checklist
Use this checklist on day one, then again each week. The best seed-starting routine is simple enough to repeat without guessing. If you can keep the distance, hours, and coverage consistent, most common light problems become easy to spot early.
Exact placement checklist
- Choose a full-spectrum fixture.
- Look for 5,000-7,000 K on the label.
- Hang or mount the fixture 2 to 4 inches above the seedling tops.
- Keep the light centered over the tray.
- Run the light 14 to 16 hours a day on a timer.
- Confirm the tray is getting even light, not bright in one corner and dim in another.
Weekly adjustment checklist
- Raise the light if the tops are getting too close to the fixture.
- Lower the light if stems begin to stretch.
- Check leaf color for bleaching or fading.
- Make sure the whole tray grows at a similar height.
- Review room heat and airflow if leaves look dry at the edges.
Quick review before transplanting
Before moving seedlings outdoors or into larger pots, look for short internodes, sturdy stems, and leaves that hold their color. If the seedlings are still tall and floppy, they need more light time at a better height before transplanting. Compact seedlings usually handle the move better than stretched ones.
Troubleshooting seedlings under grow lights
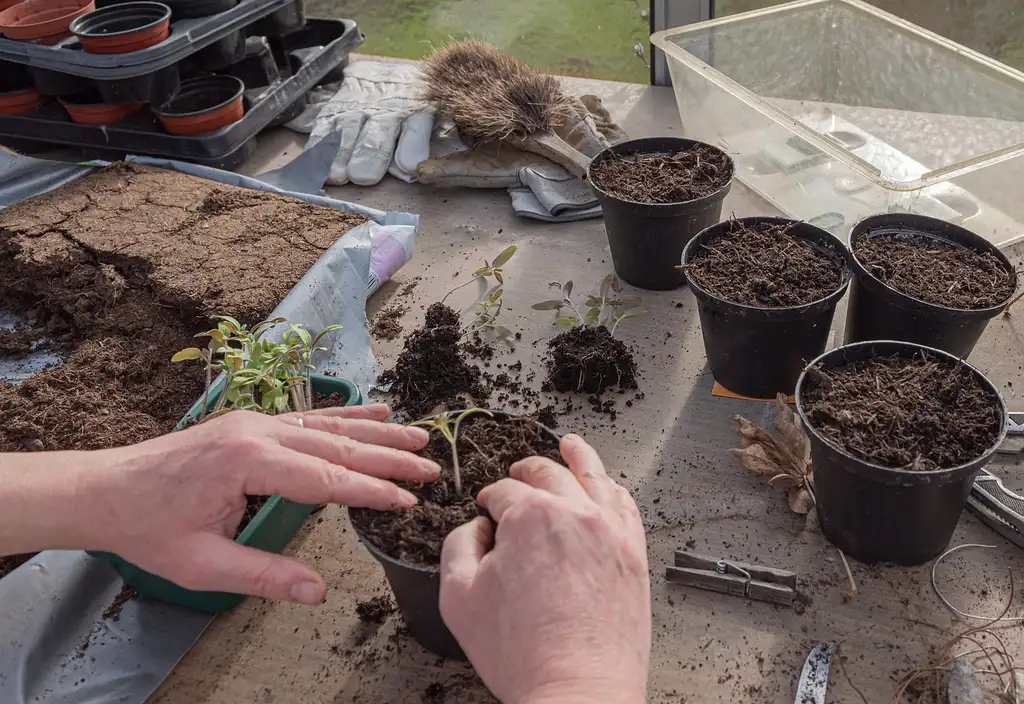
Most light problems are fixable if you identify them early. Stretching points to weak or distant light. Bleaching points to lamps that are too close or too intense. Uneven growth usually means the fixture is off-center, the coverage area is too small, or the tray is sitting in a shadow.
| Problem | What you see | Likely fix |
|---|---|---|
| Stretching | Long stems, floppy seedlings, fading color | Lower the fixture to 2 to 4 inches and confirm 14 to 16 hours a day |
| Bleaching | Pale tops, curled edges, washed-out leaves | Raise the light a few inches and check for heat buildup |
| Uneven growth | One side taller or greener than the other | Center the fixture and widen coverage |
| Overheating | Drying leaves, hot air near the canopy | Improve airflow and increase distance slightly |
| Damping off | Seedlings collapse at the soil line | Reduce wetness, improve airflow, and avoid overheating the tray |
Leggy stems and faded leaves
Weak light produces the classic spindly look. The fix is usually closer placement, more even coverage, or a stronger fixture matched to the tray size. If the light is already near the tops, check whether the seedlings are blocked by a shelf lip, neighboring tray, or window frame.
Bleaching and heat stress
Too much intensity at too short a distance can bleach leaves and stress young plants. Raise the fixture a few inches, then check the canopy again the next day. Heat from the lamp or from a cramped shelf can make the problem worse, especially if air does not move across the tray.
Uneven growth across the tray
If one corner outpaces the rest, the light is probably off-center or too narrow for the tray. Move the tray, widen the coverage, or use two smaller fixtures instead of one weak center source. Even growth matters more than bright growth in only one section.
When light is not the only problem
Not every pale or collapsing seedling is underlit. Overwatering, poor drainage, and stagnant air can cause damping off and soft stems even under good lights. If seedlings are wet at the base, falling over at soil level, or staying cold and damp, correct the watering and airflow before changing the light again.
How to use grow lights for seedlings indoors
Set the fixture close, keep it on a timer, and move it up as the canopy rises. Start with a full-spectrum light in the 5,000-7,000 K range, place it 2 to 4 inches above the seedlings, and run it 14 to 16 hours a day. That routine works better than chasing brand claims.
What to watch during the first two weeks
In the first week, look for tight stems and level leaves. In the second week, watch for crowding, leaning, or a gap opening between the fixture and the tops. If the tray is still compact and even, the setup is working. If not, adjust height before changing anything else.
How to start seeds indoors with grow lights
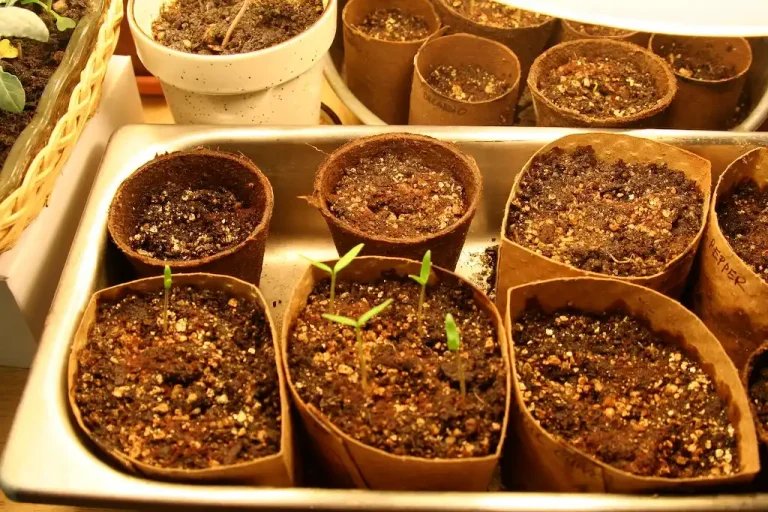
Start with a tray, a sterile seed-starting mix, and a light that covers the full tray. Place the fixture low enough to control stretch, then keep the schedule steady from germination onward. Once seedlings emerge, their first need is not fertilizer or more water. It is enough light at the right distance.
How to use grow lights for seed starting
Choose a full-spectrum fixture, verify 5,000-7,000 K if the label lists color temperature, and plan to keep it close to the canopy. Use the 400-700 nm PAR range as the meaningful light reference, not the lamp’s sales copy. Then adjust height and hours based on how the seedlings respond.
Frequently asked questions
do you need a grow light to start seeds indoors
Not always, but most indoor seed-starting setups benefit from one. A bright window can sometimes support seedlings, yet it often gives uneven or weak light. If the tray is more than a few inches back from the glass, or the stems start stretching, extra lighting is the safer choice.
do you need grow lights to start seeds
Many gardeners do need them, especially when starting seeds away from direct sun. Seedlings need enough light to stay compact and healthy, and a sunny windowsill alone may not provide that. A grow light gives you more control over height, hours, and coverage from day one.
how far should grow lights be from seedlings?
A good starting point is 2 to 4 inches above the top leaves. Keep the fixture parallel to the canopy and raise it as seedlings grow. If they stretch, lower the light slightly. If leaves bleach or feel stressed, raise it a few inches and check for heat.
how many hours a day should seedlings be under grow lights?
Run seedlings under grow lights 14 to 16 hours a day. Use a timer so the schedule stays consistent. That daily rhythm gives seedlings enough light without leaving them under lamps all night. If growth still looks weak, fix height and coverage before extending the schedule.
what kind of grow light is best for seed starting?
Full-spectrum grow lights are the best default for seed starting. Look for a 5,000-7,000 K range and enough coverage for the whole tray. PAR matters more than marketing terms because plants use light in the 400-700 nm range, not the language on the box.
can you use a sunny window instead of grow lights for seedlings?
Sometimes, but only in strong direct sun and only for trays kept close to the glass. Even then, window light can be uneven and seasonal. If seedlings lean, stretch, or pale out, add a grow light. A sunny window can help; it is not a sure thing.