How to Start Seeds in a Basement or Spare Room
Start seeds in a basement or spare room with about 14 to 16 hours of light, about 65 to 75°F air, steady moisture, and moving air. Pick the room with the steadiest temperature and the easiest access to power. Weak setups produce tall, thin seedlings, seedling collapse at the stem base, mold on trays and covers, and seed that never pays off. This guide shows how to choose the room, place lights and trays, manage heat and humidity, and fix common problems.
How to choose your room


The best room keeps seed trays warm, lit, and dry enough without constant workarounds. A basement works when it stays steady, has outlet access, and can fit shelves. A spare room works when window light, noise, and moisture matter more than floor space. A shelf-by-window setup only fits small sowings and stronger natural light.
Room factors to check
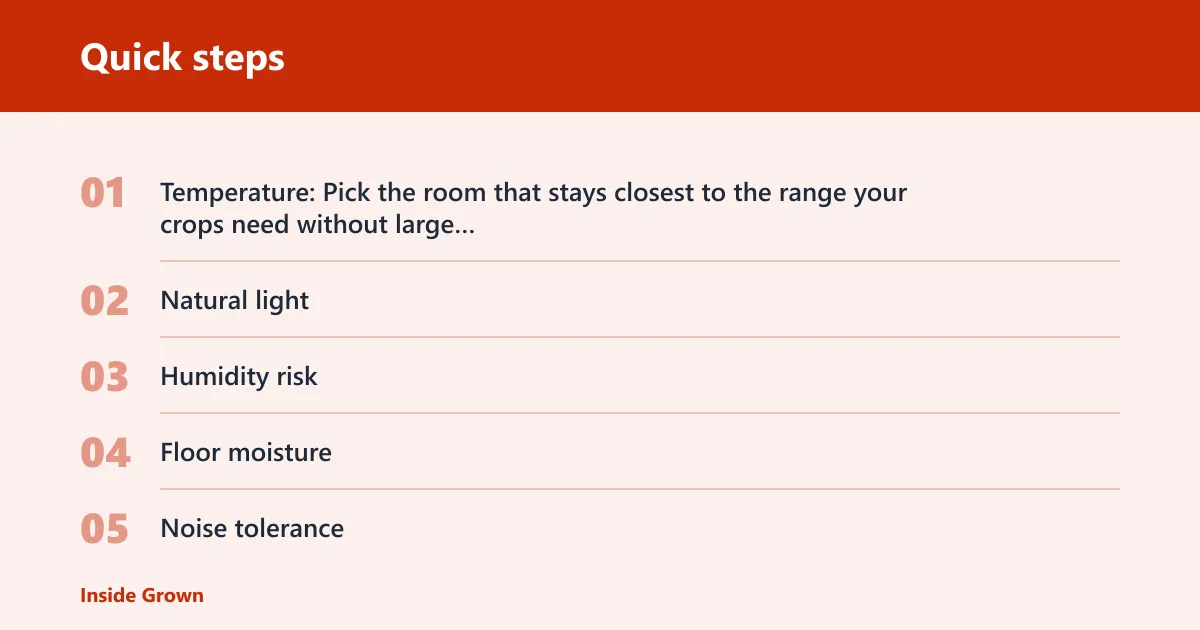
- Temperature: Pick the room that stays closest to the range your crops need without large day-night swings.
- Natural light: Strong window light can support a few trays, but weak-window rooms need grow lights.
- Humidity risk: Basements and closed spare rooms trap moisture more easily.
- Floor moisture: Damp slabs and wet carpet can push fungal problems and cold roots.
- Noise tolerance: Fans and timers are better in a room that can handle them.
- Shelf capacity: More trays need vertical space, not just floor space.
What you’ll need
Build the setup around the room, not around the catalog. A basement or spare room needs trays, labels, a light source, and a way to keep water and cords organized so you can move from sowing to watering without dragging wet flats across the floor.
- Seed starting mix, not regular potting soil
- Seed trays and cells, plus drainage trays
- Labels and a waterproof marker
- Grow lights and a timer
- Heat mat, if the crop benefits from bottom heat
- Humidity dome or plastic cover for germination
- Small oscillating fan
- Shelf or table with a nearby outlet
- Watering tray, basin, or shallow tub for bottom watering
Basement vs. spare room seed starting decision matrix
Use this table to choose the room that fits your conditions. Score each row from 1 to 3, with 3 being the best fit. Add the scores for each room. The higher total is usually the easier place to start seeds without fighting the room.

| Factor | Basement score | Spare room score | Shelf-by-window score | Troubleshooting clue |
|---|---|---|---|---|
| Room temperature | 3 if stable near seed-starting range | 2 if it swings with HVAC cycles | 1 if the window area runs cold at night | Cold trays slow germination and can stall warm-season crops |
| Natural light | 1 if no windows | 2 if bright but indirect | 3 if the window gets strong sun for part of the day | Weak light leads to stretched seedlings |
| Humidity risk | 1 if the space already feels damp | 2 if air moves and moisture clears fast | 3 if the room stays dry and well aired | Condensation on covers or walls points to excess moisture |
| Floor moisture | 1 if the slab sweats or leaks | 3 if the floor stays dry | 3 if trays sit off the floor | Wet floors raise cleanup and damping-off risk |
| Shelf capacity | 3 if a rack fits multiple levels | 2 if one table fits only a few flats | 1 if the window ledge limits tray size | Too little shelf depth makes light placement awkward |
| Noise tolerance | 2 if the room can handle fans and timers | 3 if it stays out of living areas | 1 if the setup sits beside a sleeping area | Noise pushes people to skip airflow, which hurts seedlings |
| Best-fit crops | Cool-season greens, brassicas, warm-season vegetables with lights | Flowers and mixed starts that need moderate space | Small batches, herbs, and seedlings with strong window light | Crop type should match how much light and heat the room can hold |
Crop fit by room
Basements suit cool-season greens and brassicas because those crops tolerate cooler conditions better than heat-loving tomatoes or peppers. Warm-season vegetables usually need stronger light and often more bottom heat. Flowers vary, but many compact annuals work well when you can keep the trays close to the lights.
If a basement stays cool but dry, with one sturdy rack and a nearby outlet, it can handle about a four-tray batch of lettuce and brassicas. A spare room with a sunny window and a closed door may work better for a few trays of herbs, especially if you need the room to stay usable for other things.
How to set up the seed station
Place the station where trays sit level, cords stay dry, and you can water without crossing the room. A basement setup often works best on a rack or on a roughly 4×8-foot table. In a spare room, a narrow shelf or folding table can work if it sits away from vents, drafty windows, and heavy foot traffic.

- Set shelves or a table away from damp floors and cold walls.
- Install lights so the lowest shelf leaves room for seedling growth.
- Plug lights and a timer into one accessible outlet strip.
- Hang or clip the lights close to the tray tops; after emergence, keep seedlings about four inches from the lights.
- Place a heat mat under trays only for crops that need bottom heat.
- Set a fan to move air gently across the tops of the trays.
- Reserve one side of the station for watering so wet trays do not block the work area.
Grow lights and timer setup
Grow lights matter most in weak-window rooms and basements with no windows. A timer keeps the light schedule steady and helps prevent leggy seedlings from leaning toward the brightest moment of the day. If the room has strong window light, small numbers of seeds can grow on a sill, but most indoor starts do better under lights.
Heat mat use
A heat mat is optional by seed type. It helps when germination is slow in a cool basement or when the crop wants warm soil, and some growers aim for about 80°F on the mat for germination. Remove the mat once seedlings are up unless the crop still needs warmth.
How do you sow and water trays?
Fill each cell with seed starting mix, label the tray before sowing, and follow the packet for planting depth, direct-sow guidance, germination time, and weeks to transplant. Seed starting mix is fine and airy, with low fertility; potting soil is usually too coarse and heavy for small seeds and shallow roots.
- Moisten the seed starting mix before filling the cells.
- Pack the mix lightly so it stays airy, not compressed.
- Label each tray or cell with crop name and sowing date.
- Sow by the packet depth and cover only as directed.
- Set the tray in a drainage tray for bottom watering.
- Add water to the drainage tray until the mix wicks moisture upward, then stop.
- If the top dries before germination, mist or water gently from above instead of flooding the tray.
- Add about 1/4 inch of water per tray when the mix feels light, then recheck after about 20 minutes.
Humidity dome use
A humidity dome helps hold moisture and creates mini-greenhouse conditions during germination. One setup covered new plug trays with plastic to hold humidity. Remove the dome after emergence so seedlings do not sit in stale, wet air. High humidity helps the seed coat soften, but trapped moisture after sprouting invites disease.
How do you keep seedlings healthy indoors?
Keep air moving, light close, and moisture steady. A small fan lowers damping-off risk and helps stems grow sturdier. If seedlings stretch, the lights are usually too far away or too dim. If growth stalls, the room may be too cool, or the medium may be staying too wet.
Common failure cases in enclosed rooms
Cold slab floors slow roots and can chill trays from below. Stagnant air leaves condensation on domes and tray sides. Overwatering keeps the mix soggy, and that is when damping-off often starts. Odor is usually a sign that the room needs more airflow or that wet mix is sitting too long in a closed space.
Picture a spare room with a window, a closed door, and two seed trays on a shelf. If the trays stay wet for days and the dome fogs up each morning, the next fix is usually more airflow, less water, and dome removal right after sprouting rather than later.
Preventing damping-off and stretch
Oscillating airflow, dry tray edges, and proper light distance do more than one job at once. They cut disease pressure and help stems stay straight. If seedlings begin to lean, lower the light first. If they still stretch, increase the light hours to the full 14 to 16 hour schedule and check the timer.
Frost date and timing
Use the last spring frost date as the clock for sowing. Many seeds are started about six weeks before that date, but the packet should decide the exact timing. Some crops want a longer lead time, and some should be direct-sown instead of started indoors.
Common mistakes
Most indoor seed failures come from room mismatch, not from one missing product. A basement without enough light, a spare room with stale air, or a tray sitting on a cold surface will cause problems even when the seeds are good. Fix the room first, then adjust the tray routine.
- Using potting soil: Switch to seed starting mix so roots can move through a lighter medium.
- Leaving domes on too long: Remove them after emergence so foliage dries between waterings.
- Skipping airflow: Run a small fan to reduce disease pressure and strengthen stems.
- Placing lights too high: Move them closer when seedlings stretch.
- Overwatering: Bottom water and let the top of the mix lighten before adding more.
- Ignoring crop type: Warm-season crops need more heat than cool-season greens.
Frequently asked questions
How do I start seeds in a basement with no windows?
Use a rack or table, strong grow lights, a timer, and a fan. A windowless basement can work well if the temperature stays steady and the floor is dry. Put trays near the lights, keep seedlings about four inches below them after sprouting, and use a heat mat only for crops that need extra warmth.
What do I need to set up a seed starting area in a spare room?
You need a stable shelf or table, tray sets with drainage trays, labels, seed starting mix, a light source, and easy access to water. If the room has strong natural light, it may support a few trays near the window. If the light is weak, use grow lights and a timer instead.
Can I start seeds indoors without grow lights?
Yes, but only for small batches in a very bright window. Most indoor starts need stronger, steadier light than a windowsill can give. If seedlings stretch toward the glass or lean hard to one side, move them under lights and keep the timer on for 14 to 16 hours.
How warm should a basement be for seed germination?
A basement works best when the air stays in the 65 to 75°F range, with warmer soil for crops that need it. Some growers aim for about 80°F on the heat mat for germination. If the room runs colder, use bottom heat until sprouts appear, then shift back to room temperature.
How do I keep seedlings from getting leggy indoors?
Keep the lights close, run them on a steady timer, and avoid crowding trays. Move seedlings to within about four inches of the lights after emergence. If they still stretch, give them more light hours and check that the room is not too warm compared with the light level.
What humidity and moisture level do seed trays need?
Seed trays should stay evenly moist, not soggy. A humidity dome can hold moisture during germination, but it should come off after sprouts appear. Water from below when possible, and use gentle top watering only to rewet the surface or rescue a drying tray before the seeds have emerged.
Do I need a heat mat for basement seed starting?
Not always. A heat mat helps seeds that germinate better in warm soil, especially in a cool basement. It is optional for many crops. If the basement already stays warm and the seeds sprout well without it, skip the mat and keep the tray on a shelf or table instead.
How do I prevent damping off in an indoor seed setup?
Keep the mix airy, the tray clean, and the air moving. Remove humidity domes right after germination, water from below, and avoid letting trays sit wet for long periods. A small oscillating fan helps dry the surface and discourages the fungal conditions that cause seedlings to collapse at the base.
When should I remove the humidity dome after germination?
Take it off as soon as the first seedlings emerge. Leaving the dome in place too long traps moisture and can soften stems. If some seeds have not sprouted yet, remove the cover anyway and water more carefully so the tray stays damp without staying sealed.
What’s the best way to organize labels in a small seed starting space?
Label each tray before sowing, then repeat the crop name and date on a second label inside the cell tray if possible. Use waterproof marker and keep labels in one fixed spot beside the watering station. In a tight space, consistent placement matters more than fancy tags or color systems.