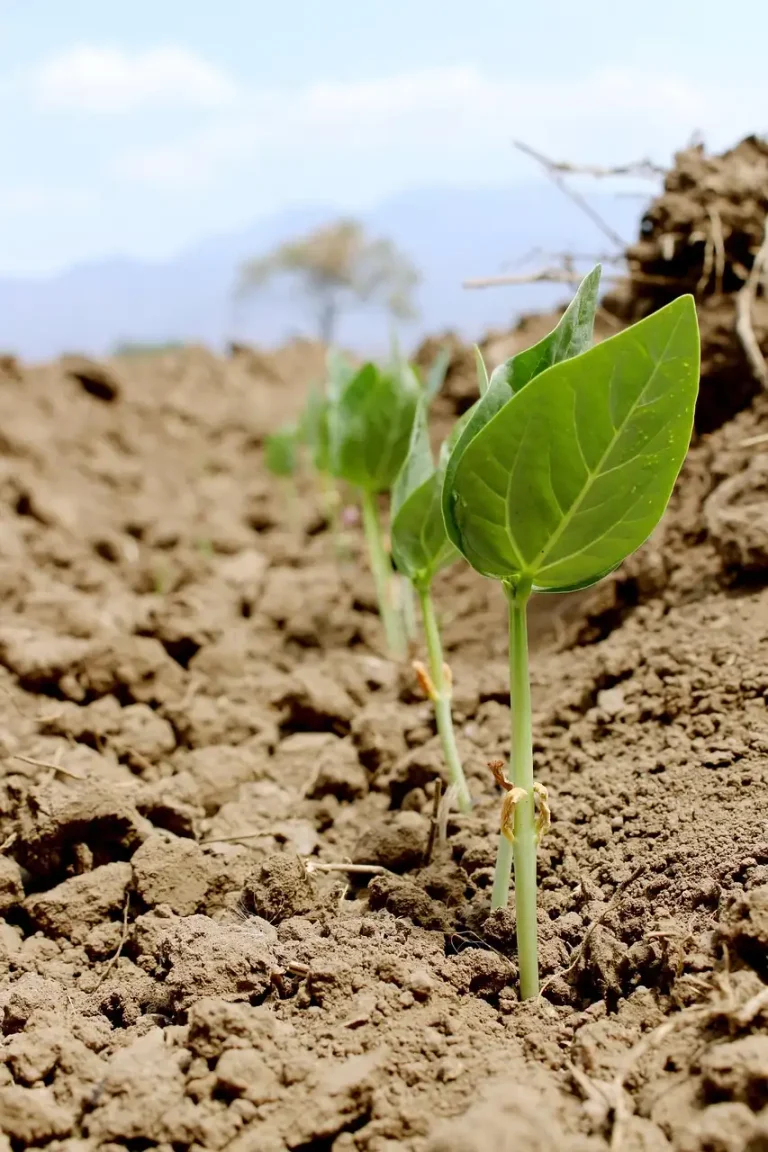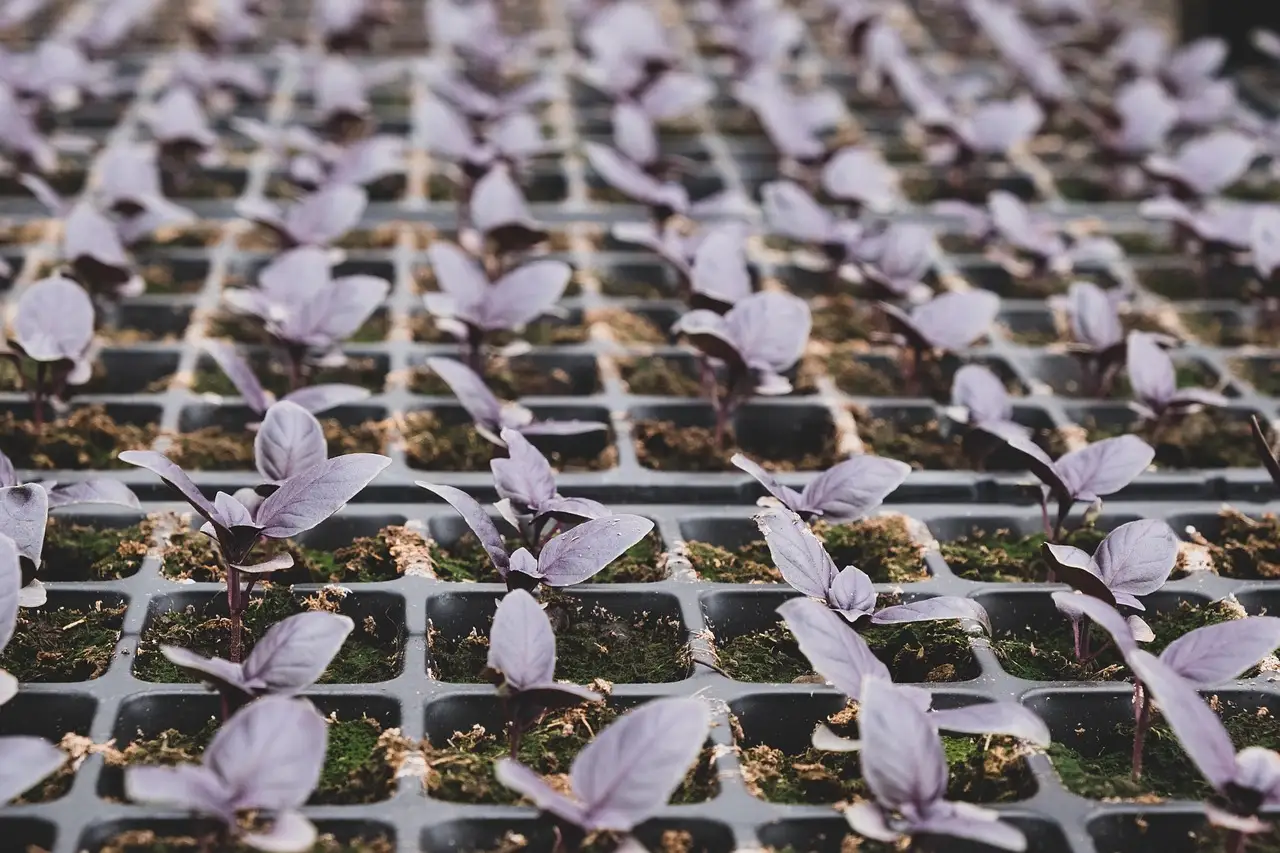
How to Plant Seeds in a Greenhouse at Home
Start seeds in a home greenhouse about 6 to 10 weeks before your outdoor planting date. Use bottom heat for warm crops, cooler conditions for cool-season crops, and steady moisture without a soggy mix. Wrong timing or uneven temperature leads to weak germination, damping-off, and wasted seed. This guide gives crop-by-crop timing, greenhouse temperatures, tray choices, watering, airflow, and seedling care so you can avoid the most common failures.
How to start seeds in a greenhouse at home


The basic method is simple: match the crop to the season, use a sterile seed-starting mix, and keep trays where temperature, moisture, and light are stable at tray level. A greenhouse makes that easier than an outdoor shelf or windowsill, but it only works well when you control heat, airflow, and drying from day one.
A greenhouse lets you begin earlier than outdoor sowing, but it works only when temperature, light, and moisture stay in balance. Match the crop to the season, use a sterile seed-starting mix, and place trays where you can check tray-level conditions instead of guessing from the air around them.
What a greenhouse changes for seed starting
A greenhouse can give gardeners a 6-8 week head start over outdoor sowing. It also brings brighter light, higher humidity, and a warmer space than a porch or windowsill, which helps with early sowing if you keep vents, airflow, and heat under control.
That control matters because the greenhouse is not uniform. A closed greenhouse can hit 30°C on a sunny afternoon, while floor temperatures run 5°C cooler than the ceiling. Seed trays near the roof may dry faster and run hotter than trays at bench level, so check the tray surface, not just the room air.
What you need before sowing
Before sowing, gather the basics so the tray can stay steady from the first watering through emergence. The most important items are a sterile mix, a container with drainage, a clear way to label varieties, and a source of bottom heat or supplemental light only if the crop needs it.
- Sterile seed-starting mix.
- Seed trays with drainage holes.
- Labels and a waterproof marker.
- A humidity dome or clear cover.
- A fan for gentle airflow after emergence.
- Grow lights if daylight is weak.
- A heat mat with thermostat for warm crops.
- Choose the crop and timing. Read the seed packet for sowing depth, spacing, and days to maturity, then compare that with your last frost date. Start many crops 6-8 weeks before that date, but slow crops and warm-season crops often need a different window.
- Set up the tray. Fill containers with moist seed-starting mix, level the surface, and label each row before sowing. This prevents root disturbance later and keeps varieties separate when several crops sprout at once.
- Sow at the right depth. Plant small seeds shallowly and cover larger seeds to the packet depth. Press the mix lightly so seeds make contact without being buried too deeply.
- Provide stable conditions. Put the tray where the crop’s germination temperature stays steady, then cover with a dome if humidity drops fast. Check daily for condensation, drying, and sprouting.
When should you sow seeds before last frost?
Use the seed packet first, then count backward from your last frost date. Many vegetables start about 6 to 8 weeks before transplanting, but tomatoes, peppers, and eggplants often need more indoor time, while faster crops like lettuce and calendula may need less. The packet’s sowing window should beat any generic calendar rule.
The safest rule is to work backward from the transplant date, then adjust by crop. Cool-season seeds often can be started a little earlier because they tolerate cooler trays, while warm-season crops usually need a longer indoor run and steadier warmth before they are ready to move out.
Reading seed packet timing
Look for days to maturity, sowing instructions, and whether the crop prefers direct sowing or transplanting. Ferry-Morse groups greenhouse content under Seed Starting 101 and Indoor Growing & Seed Starting, and its guidance points to grow lights and heat mats for germinating seeds. Ferry-Morse also has a guide on how to read a seed packet, which is the first place to check for species-specific instructions.
Matching sowing windows to crop type
Cool-season crops such as lettuce, kale, broccoli, parsley, and pansies usually tolerate earlier sowing and cooler germination. Warm-season crops such as tomatoes, peppers, basil, and zinnias need more warmth and often germinate more reliably with bottom heat. Slow growers should be started earlier than quick crops so they are not rootbound by transplant time.
The practical split is simple: cool-season crops should not be pushed into warm, dry trays just because the greenhouse is available, and warm-season crops should not sit in cool mix waiting for spring to catch up. That difference matters most for lettuce, parsley, tomatoes, and peppers, which do not all behave the same under one temperature rule.
What to start now versus later
Start now when the seed packet says the crop wants a long indoor run or when your greenhouse can hold the proper root-zone temperature. Wait on quick crops that germinate fast outdoors or crops that dislike transplanting unless you can sow them in pots with minimal root disturbance.
A common first-timer mistake is filling every tray with seeds before checking whether each variety needs a different depth or spacing. A tray of basil, lettuce, and peppers on the same date can fail for three different reasons: the peppers stay cold, the lettuce stretches under heat, and the basil dries out faster than expected.
Which containers and mix work best?
The best setup is a sterile, fine-textured mix in a container that drains freely and holds the seed at a consistent depth. That combination keeps moisture even without drowning roots. Garden soil is the wrong choice because it compacts, holds too much water, and raises disease pressure in enclosed trays.
Use a sterile seed-starting mix rather than regular garden soil. Seed mix is lightweight, drains well, and still holds enough moisture around the seed coat; garden soil is heavier, compacts in trays, and can carry pests and disease that raise damping-off risk.
Seed trays, cell trays, and open trays
Cell trays work best for most transplants because they separate roots early and make lifting seedlings easy. Open trays fit tiny seeds, very fine sowing, and crops you plan to prick out later. Reusable plastic trays with drainage holes are the most practical choice for a home greenhouse because they clean up easily and keep moisture moving.
Small seeds such as lettuce, basil, alyssum, and onions usually do better in a shallow open tray or a fine cell tray with a level surface. Larger seeds such as beans, squash, and nasturtiums need more space and are less likely to be crowded in deeper cells or small pots.
Why sterile seed-starting mix matters
The mix should be fine-textured but not dense. Good seed-starting mix holds moisture in the upper layer where the seed sits, while excess water drains away from the base of the container. That balance matters because soggy media starves roots of oxygen and helps damping-off fungi spread.
Clean mix also keeps the greenhouse setup easier to manage. If the tray begins with a low disease load and enough air between particles, the seedlings are less likely to collapse at the surface when conditions are damp and still.
Greenhouse seed-starting setup matrix
This matrix gives you a quick crop-by-crop setup guide. Use it to match sowing depth, temperature, container format, light, and the main failure risk before you place a seed in the tray.
| Crop group | Sowing depth | Germination temperature | Container type | Light needs after sprouting | Top failure risk |
|---|---|---|---|---|---|
| Tomatoes, peppers, eggplants | About 0.5 cm to 1 cm | 18-24°C | Cell trays or small pots | 14-16 hours of direct light daily | Cold mix that slows sprouting |
| Lettuce, kale, broccoli, cabbage | Surface to shallow cover | 18-24°C, often cooler side | Cell trays or open trays | Bright light, then steady airflow | Overheating and weak stems |
| Basil, zinnia, marigold | Light cover | 18-24°C, warm end preferred | Cell trays | 14-16 hours of direct light daily | Drying out before germination |
| Beans, cucumbers, squash | 1.5 cm to 2.5 cm | 18-24°C, warm end preferred | Deeper cells or small pots | Bright light after emergence | Root disturbance at transplant |
| Parsley, celery, onions | Very shallow | 18-24°C, slower start common | Open trays or fine cell trays | Strong light and patience | Uneven moisture and slow germination |
The main takeaway from the matrix is that one temperature setting does not fit every crop group. Warm-season seedlings need dependable bottom heat, while cool-season crops often do better when the tray stays on the cooler side of the greenhouse and never dries out between checks.
How do you manage warmth, light, and humidity?
Keep the root zone in the 18-24°C range for germination, then adjust by crop type. Seedlings need 14-16 hours of direct light daily once emerged, and a humid cover helps only until the seed has sprouted. After that, the tray needs more air, not more trapped moisture.
For accuracy, treat that temperature as a broad greenhouse starting point rather than a single perfect target for every crop. Warm-season seeds usually respond best near the warmer end of the range, while cool-season seeds can germinate more reliably on the cooler side instead of being pushed warm.
Tray-level temperature control
Measure temperature at tray level, not only at the greenhouse wall or ceiling. Because the ceiling can run hotter and the floor can run 5°C cooler, a tray on the wrong bench may germinate slowly even when the greenhouse feels warm. Species-specific needs matter here, especially for warm-season crops.
That is why the best setup puts the crop first. A tray of heat-loving seed should not be treated the same way as lettuce or parsley, even if both sit in the same greenhouse. The tray surface, not the air around the house, is what determines whether sprouting stays even.
Heat mats and thermostats
A heat mat with thermostat is useful for warm-season crops and cool nights in an unheated or minimally heated greenhouse. Set the thermostat to the crop’s target root-zone temperature, and switch the mat off or remove it after germination for species that no longer need bottom heat.
That approach is especially useful when the greenhouse swings from warm days to cool nights. A thermostat matters because the goal is not extra heat in general; it is steady root warmth that supports sprouting without cooking the tray or forcing the surface to dry too fast.
Grow lights in low-light greenhouses
Do greenhouse seedlings need grow lights? Yes, if the greenhouse is dim, shaded, or short on winter daylight. Seedlings should get 14-16 hours of direct light daily once emerged, and LED or full-spectrum fixtures are the usual supplemental choice.
Keep lights close enough to prevent stretching without touching the leaves. If light is weak, seedlings lean and lengthen fast; if it is too intense or too close, leaves bleach or dry at the edges.
Humidity domes, venting, and fans
A humidity dome or clear cover creates the high-humidity germination environment many seeds need, but it must be vented to stop mold. Remove the cover after sprouting, or begin opening it once most seeds have cracked, so airflow rises before fungal pressure does.
Use a fan after emergence, not before the seed has started. Gentle airflow reduces fungal disease pressure and helps stems strengthen without flattening the tray.
How should you water seedlings without causing damping off?
Bottom watering is the safest default for greenhouse seedlings because it waters from below, reduces damping-off risk, and avoids disturbing seeds or collapsing the surface mix. Check moisture often, because trays can dry quickly under heat, light, or strong airflow.
The key is to keep the mix evenly moist rather than wet through the whole tray. Damping-off is much more likely when the surface stays saturated, airflow is poor, and seedlings remain crowded after emergence.
Bottom watering
Set the tray in a shallow pan of water until the mix darkens from the bottom upward, then lift it out and let excess drain. Water again when the top layer begins to lighten but before the tray becomes dry through the full depth.
Moisture checks and drainage
Check trays daily during germination and more often on sunny days. Drainage holes matter because standing water keeps the medium too wet and raises the chance of damping off. If condensation persists under a dome, vent it more or remove it sooner.
Suppose a tray of basil sits under a dome on a sunny bench and the greenhouse hits 30°C by afternoon. The seedling mix may stay wet at the base while the surface crusts over, and the next day the stems can weaken before the fan ever comes on.
What happens after germination?
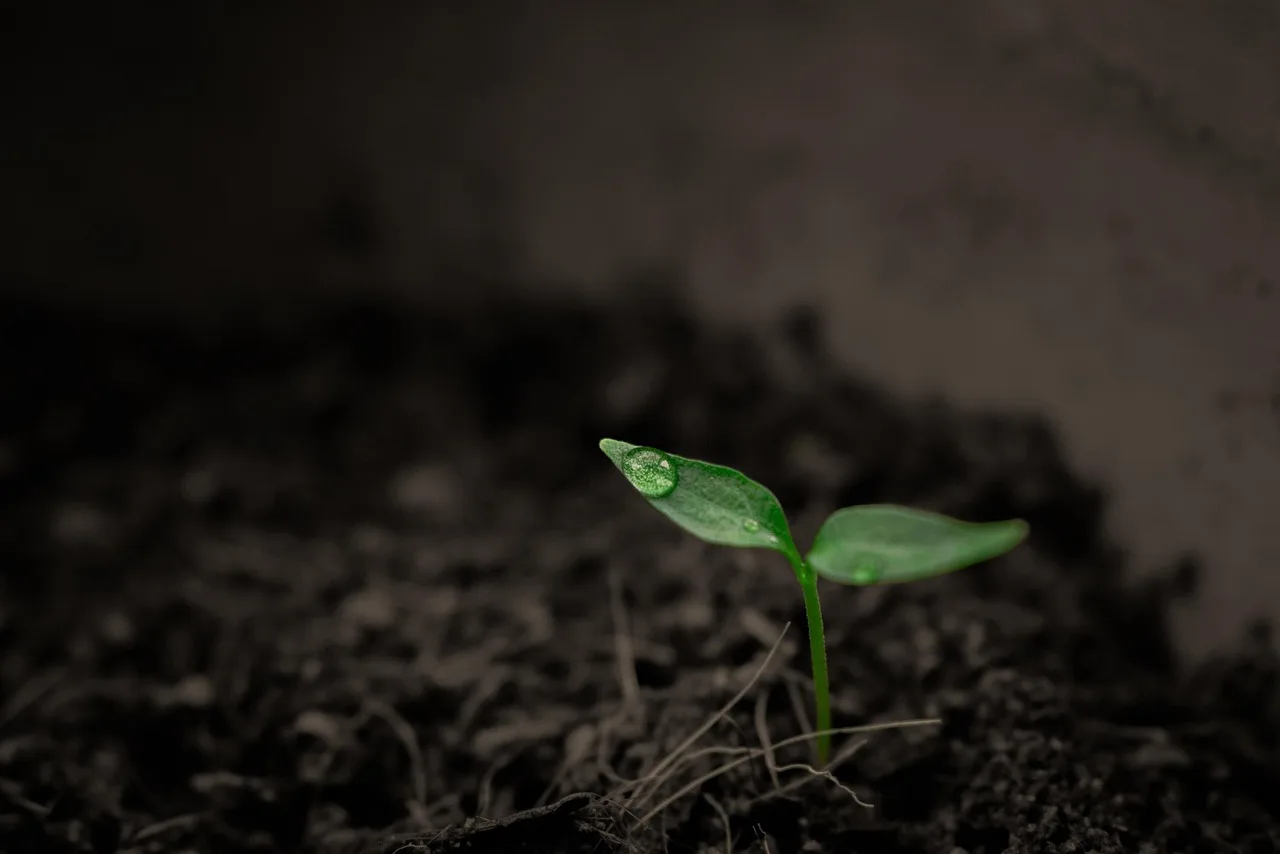
Once seeds emerge, shift from germination mode to seedling growth. Remove the dome, keep air moving, give bright light, and thin crowded seedlings early so roots and stems have room. After true leaves appear, feed with a weak fertiliser solution at quarter strength.
This stage is about preventing stretch and crowding. The seedlings should move from sheltered, humid conditions into brighter light and drier air gradually enough that stems strengthen without losing moisture balance or collapsing at the base.
Thinning and spacing
Thin crowded seedlings while they are small, before roots tangle. In cell trays, keep the strongest seedling per cell; in open trays, prick out extras early into separate cells or pots. Spacing matters because crowded trays stay humid and weak at the stem base.
When to remove domes
Remove domes when most seedlings have emerged and are standing on their own. Leaving the cover on too long traps moisture, encourages mold, and can soften stems. If the greenhouse air is very dry, vent the dome first and then remove it over a day or two.
When should you harden off greenhouse seedlings before transplanting?
Start hardening off 7-10 days before transplanting outdoors. Move seedlings into gradually longer periods of wind, sun, and open-air exposure so leaves, stems, and roots adjust to real outdoor stress instead of meeting it all at once on planting day.
Hardening off is a transition, not a single event. The goal is to reduce shock from stronger light, wind, and temperature swings so the seedlings can move outdoors without stalling or burning back on the first exposed day.
- Begin with shade. Put seedlings outside for a short period in bright shade or morning sun, then bring them back in. This reduces shock from wind and UV exposure.
- Increase exposure daily. Add more direct sun and longer outdoor time over the next several days. A steady ramp-up is better than one long first day.
- Plant after hardening. Transplant only after the seedlings have handled full outdoor conditions for the full transition period. This lowers leaf scorch and transplant setback.
What are the easiest seeds to start now in a home greenhouse?
The easiest seeds for a beginner greenhouse setup are usually the ones that germinate quickly, tolerate tray-to-tray variation, and do not need deep handling. Lettuce, basil, kale, broccoli, and marigold are common starter choices because they show results fast and are easier to manage than slow or highly temperature-sensitive crops.
Frequently asked questions
How do you start seeds in a greenhouse at home?
Use sterile seed-starting mix, trays with drainage holes, and the correct sowing depth from the packet. Keep the tray at the crop’s germination temperature, cover it for humidity if needed, and remove the cover after sprouting. Then give strong light, airflow, and bottom watering.
When should I start seeds in a greenhouse before last frost?
Many crops start about 6 to 8 weeks before the last frost date, but the packet should set the final timing. Warm-season crops often need earlier sowing, while fast cool-season crops need less indoor time. Count backward from transplant date, not from the calendar month.
What temperature should a greenhouse be for seed germination?
For many crops, keep the soil temperature between 18-24°C for germination. Measure at tray level because ceiling air can be warmer and the floor cooler. Warm-season crops usually prefer the upper end, while cool-season crops often germinate well on the lower end.
Do greenhouse seedlings need grow lights?
Yes, if the greenhouse does not provide strong, direct light for 14-16 hours a day once seedlings emerge. Low winter light, shade, or cloudy weather can make seedlings stretch. LEDs or full-spectrum fixtures are common choices for supplemental light in a home setup.
How often should I water seeds in a greenhouse?
Water whenever the mix starts to lighten on top but before it dries through the full cell. Bottom watering works best because it wets the root zone without splashing seedlings or packing the surface. On hot days, check trays daily and more often if they are under lights or heat mats.
How do I stop damping off in a greenhouse seed setup?
Use sterile mix, clean trays, and drainage holes. Keep the surface moist, not wet, vent domes, remove covers after sprouting, and run a fan once seedlings emerge. Avoid crowding, because still air and constant wetness are the usual path to damping off.