How to Clean and Dry Seeds Before Storing Them
Clean seeds with water only when pulp or slime remains; otherwise dry-clean first, then dry seeds in a single layer until they are fully moisture-free before storage. For many small, dry seeds that means they feel crisp rather than flexible; some larger seeds may still feel firm before they become brittle. If you skip cleaning or pack seeds while damp, mold, clumping, and heat damage can shorten viability fast. This guide covers the right cleaning method for dry and wet seeds, how to dry them safely, and how to package them for storage.
Why seed prep matters
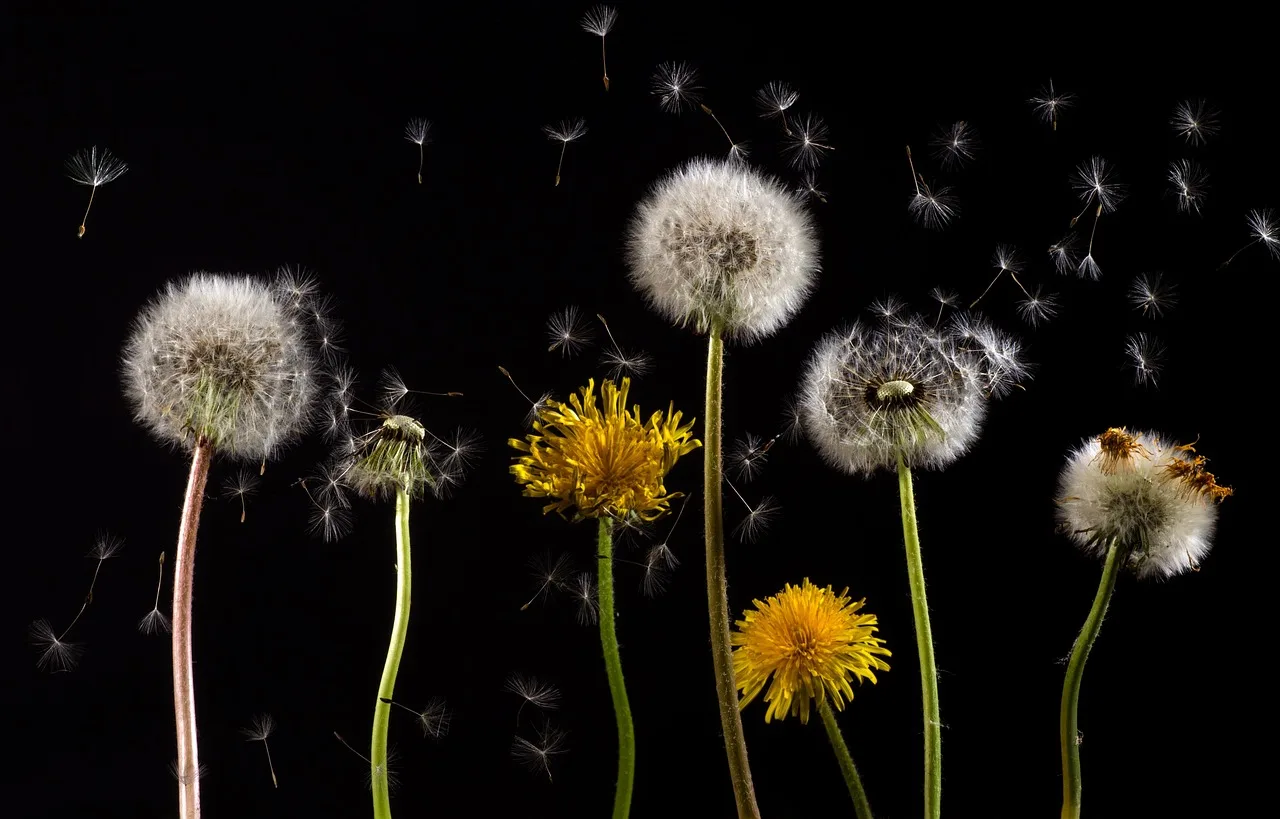


Seed prep removes anything that holds moisture. Pulp, gel, and plant debris can trap water against the seed coat, which raises the risk of mold and sticky clumps in storage. Seeds must be fully moisture-free before they go into envelopes, jars, or bags.
Drying conditions matter too. Keep seeds in a well-ventilated area, in a thin layer on parchment or a screen, with cool, dry air around them. Aim for a drying range of 60 to 100°F; higher heat can damage embryos, and crowded trays dry unevenly.
What makes seed prep fail?
Most storage problems start before the seeds ever reach a container. Leftover pulp, gel, or plant debris holds moisture, while thick piles trap damp air in the center. Even when the outside looks dry, a batch can still be unsafe to store if the middle feels cool, tacky, or clumped together.
What you’ll need
- Parchment paper or a fine mesh screen
- A shallow tray or drying rack
- A fan for forced airflow
- A sieve or strainer
- Clean water for rinsing wet-harvested seeds
- Paper towels or an absorbent cloth for removing surface moisture
- Paper envelopes for short-term storage
- A Mason jar or zip-closure bag for sealed storage
- Desiccant packets or fully dried rice grains
- Labels and a marker for crop and date
And dry seeds decision table
| Seed type | Cleaning method | Drying target/time range |
|---|---|---|
| Dry pod | Break pods open, shake out seeds, and brush away chaff or husk fragments | Dry in one layer until fully moisture-free; small seeds often take 24-48 hours |
| Fleshy fruit | Remove pulp, rinse thoroughly, and drain well before drying | Dry until seeds feel hard and separate cleanly; larger seeds may take 7-10 days |
| Sticky/gel-coated | Rinse repeatedly, rub off gel, or ferment briefly if the crop needs it | Dry until no tackiness remains and seeds no longer clump together |
How do you clean seeds before storing them?

Match the cleaning method to the seed type. Dry pods need dry cleaning, wet-harvested fruits need water and drainage, and sticky or gel-coated seeds need enough rinsing to remove the coating before drying. The goal is the same in every case: remove pulp, gel, and debris without leaving moisture on the seed coat.
Dry-pod seeds
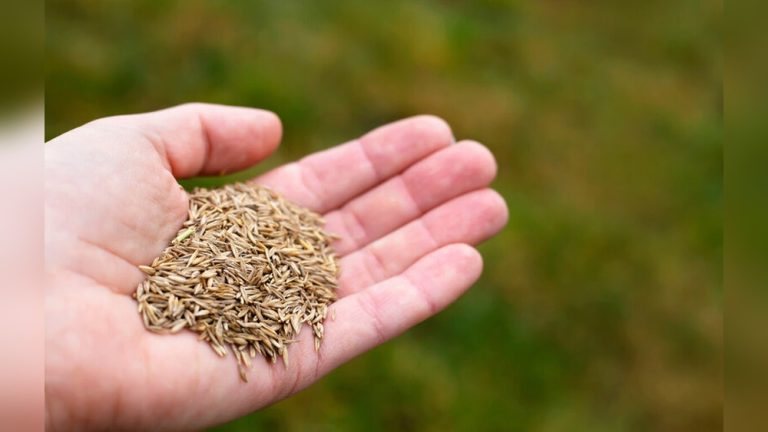
Use dry cleaning when the crop already has a papery pod or husk. The seed should come out with only light chaff attached, and it should not need rinsing unless it picked up visible dirt or sticky residue during harvest.
Wet-harvested seeds
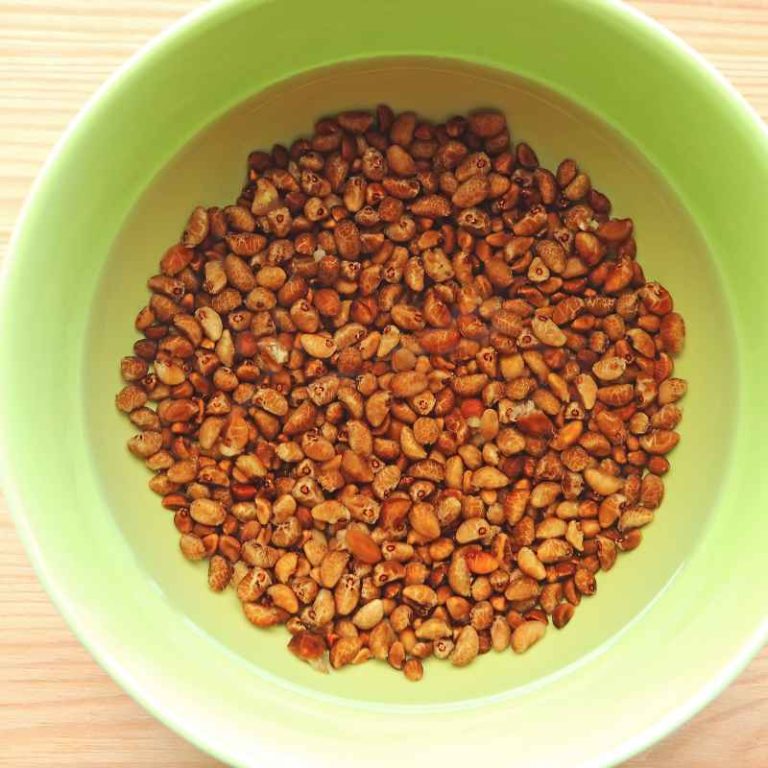
Use water when seeds are surrounded by pulp or juice. Rinse until the slippery material is gone, then drain thoroughly so the seeds do not sit in standing water before drying.
Sticky or gel-coated seeds
Some seeds hold onto a slimy coating that does not come off in a single rinse. In that case, rinse again and keep the batch moving so the coating does not dry into a clump. If a crop is known for a slimy coating, a brief ferment can help break it down, but only if you can rinse and dry the seed immediately afterward.
Sort by seed type. Separate dry pods, fleshy fruits, and sticky seeds before you start. That keeps you from rinsing seeds that only need chaff removed or from storing wet seeds too soon.
Dry-clean dry pods. Crack open pods, husks, or seed heads and shake out the seeds. Brush off plant debris so it does not hold moisture in storage.
Rinse wet harvests. Put fleshy-fruit seeds in a sieve, rinse them until the pulp is gone, then drain them well. Any leftover fruit matter can feed mold later.
Handle sticky seeds separately. Use repeated rinsing to remove gel. If a crop is known for a slimy coating, a brief ferment can help break it down, but only if you can rinse and dry the seed immediately afterward.
Say your tomato seeds still feel slick after one rinse. A second rinse and a short drain time are better than packing them damp, because even a thin film can make them clump in the drying tray.
How do you dry seeds safely?
Dry seeds in a thin layer on parchment or a screen in a cool, dry, well-ventilated place. Keep the drying temperature between 60 and 100°F and stir the seeds every day or two so the underside dries too. Small seeds can be ready in 24-48 hours; larger seeds often need 7-10 days.
Open-air drying
This is the safest default for most home gardeners. A shallow tray, a single layer, and steady airflow help the batch dry evenly without overheating. If the seeds sit in a mound or touch each other too much, the center stays damp longer.
Fan-assisted drying
A gentle fan can speed surface drying and reduce the chance that moisture lingers around the seed coat. This is especially useful for small seeds that spread easily across a screen, but the tray still needs enough space for air to move through it.
Dehydrator drying
A dehydrator can work only if the setting stays very low. The goal is to remove moisture slowly, not to warm the seed enough to cook the embryo. Short bursts are safer than continuous high heat, especially for seeds that are already nearly dry.
Spread seeds thinly. Lay them out on parchment paper or a fine mesh screen in a single layer. Crowding traps moisture and slows drying.
Keep air moving. Place the tray in a well-ventilated area. A gentle fan helps push damp air away from the seed surface.
Stir on schedule. Turn or stir seeds every day or two so they dry evenly. This matters most for larger seeds and any batch that started with surface moisture.
Use heat sparingly. If you use a dehydrator, keep it at 80-90°F or 27-32°C and run it for no more than a half hour at a time. Higher heat can damage embryos.
Can you dry seeds with a fan or dehydrator?
Yes, with limits. Fan-assisted drying works well for small seeds on fine mesh or a screen, and it can shorten drying time to 24-48 hours. A low-temperature dehydrator is only acceptable if it has extremely low settings in the 80-90°F range and is used in short bursts, not continuously.
What if seeds are still damp?
If seeds still feel cool, soft, tacky, or stuck together, return them to the drying tray and give them more time. A common first-timer mistake is sealing “almost dry” seeds in a jar or bag; that traps moisture and starts mold. Recheck them after 24 hours.
How do you know seeds are ready to store?
Seeds are ready when they feel fully dry, do not clump, and show no visible mold or sheen of moisture. For many small, dry seeds, that means they feel crisp and may break, snap, or shatter when pressed; larger or thicker seeds may need to feel firm and dry throughout even if they do not become brittle. If they still feel tacky, wait longer; if they are large or thick, expect the longer end of the drying range.
Picture a batch of cucumber seeds that look dry on top but still stick together when poured into a pile. That is not ready yet. Spread them back out, add airflow, and wait until the pile flows freely.
Readiness checklist
- No visible mold
- No tacky feel on the seed coat
- No clumping when poured or stirred
- No cool, damp feeling in the center of the batch
- Seeds snap, shatter, or feel crisp rather than flexible
And dry seeds checklist
- Surface sheen or a shiny film is still visible
- Seeds clump when poured into a small pile
- Seeds feel tacky, sticky, or rubbery
- The center of the batch feels cooler than the edges
- Condensation could form if the batch is sealed right now
How should you package and store seeds?
Package fully dried seeds in paper envelopes for short-term storage, or place those envelopes inside a Mason jar or a zip-closure bag with the air pressed out. Keep containers in a cool, dry, dark or dim, pest-free place. Long-term cold storage is commonly kept in a sealed container at about 40°F or lower, because that helps reduce condensation.
Choose the container. Use paper envelopes for short-term storage, or put them in a Mason jar or zip-closure bag once the seeds are dry. Press out extra air from bags before sealing.
Add moisture control. Place a desiccant packet or a few fully dried rice grains in the container if you want extra moisture control. Use only dry material; damp packets create the opposite problem.
Label everything. Mark each packet with the crop and date before storing it. Mixed or unlabeled seed packs are hard to track once they pile up.
Move to storage. Keep seeds in a cool, dark location away from heat and pests. For long-term use, a refrigerator is ideal if the container is sealed and stays dry.
How do you properly store seeds so they stay viable longer?
Use sealed containers, low humidity, and low temperature. Paper envelopes inside a Mason jar work for many home gardeners, while refrigeration can add several years to seed life when the container stays sealed and condensation is avoided. Keep the storage area cool, dry, and dark or dim.
How do you store seeds correctly for long-term use?
For long-term use, put fully dry seeds in a sealed container and hold them at 40°F or lower. Let the sealed container warm to room temperature before opening it, which helps prevent condensation from forming on the cold seed packs. That step matters more than the container type itself.
How do you handle refrigerator storage without creating moisture problems?
Keep the container sealed while it warms up after refrigeration, because opening it too soon can pull condensation onto the seed packets. The goal is to avoid temperature swings that move moisture from the air onto the seeds or their packaging.
Common mistakes
- Skipping cleaning on wet-harvested seeds. Pulp and gel hold moisture and can cause mold.
- Drying in a thick pile. A deep mass dries unevenly and clumps at the center.
- Using high heat. Hot air can damage embryos even if the seeds feel dry on the outside.
- Sealing damp seeds. Moisture trapped in a jar or bag leads to mold and condensation.
- Storing in a warm spot. Heat shortens viability faster than many gardeners expect.
- Ignoring labels. Without crop and date, older seed lots are easy to lose track of.
Start with the right cleanout, dry seeds in a thin layer, and wait for full dryness before sealing anything.
Frequently asked questions
How do you dry seeds properly after harvesting?
Spread them on parchment paper or a screen in a well-ventilated, cool, dry area. Keep the drying temperature between 60 and 100°F, stir every day or two, and wait until the seeds are fully moisture-free before storage.
How long should seeds dry before planting?
Small seeds can dry in 24-48 hours with fan-assisted airflow, while larger seeds may need 7-10 days. The real test is texture: they should feel dry, not tacky, and many small seeds will become crisp enough to break cleanly while larger seeds may simply feel firm and fully dry.
How do you keep seeds from molding in storage?
Dry them completely first, then store them in a cool, dry, dark place inside a sealed container. Add a desiccant packet or fully dried rice grains if needed, and avoid opening cold containers until they warm up.
How should you package seeds after drying?
Put dry seeds in paper envelopes first, then place those envelopes in a Mason jar or zip-closure bag if you want extra protection. Press out air before sealing bags, label each packet with the crop and date, and keep the container in a cool, dry place.