How to Store Seeds So They Stay Viable Longer at Home
Dry seeds well before storage, seal them airtight with a label, and keep them in a cool, stable place. Use a refrigerator only when moisture is kept out, and use a freezer only for very dry seed intended for longer storage. Poor storage cuts germination quickly and can waste a season’s seed. This guide gives the exact dry-seal-label-store sequence, plus clear fridge and freezer decision rules.
This guide is part of our Planting from seeds: a beginner’s guide series.
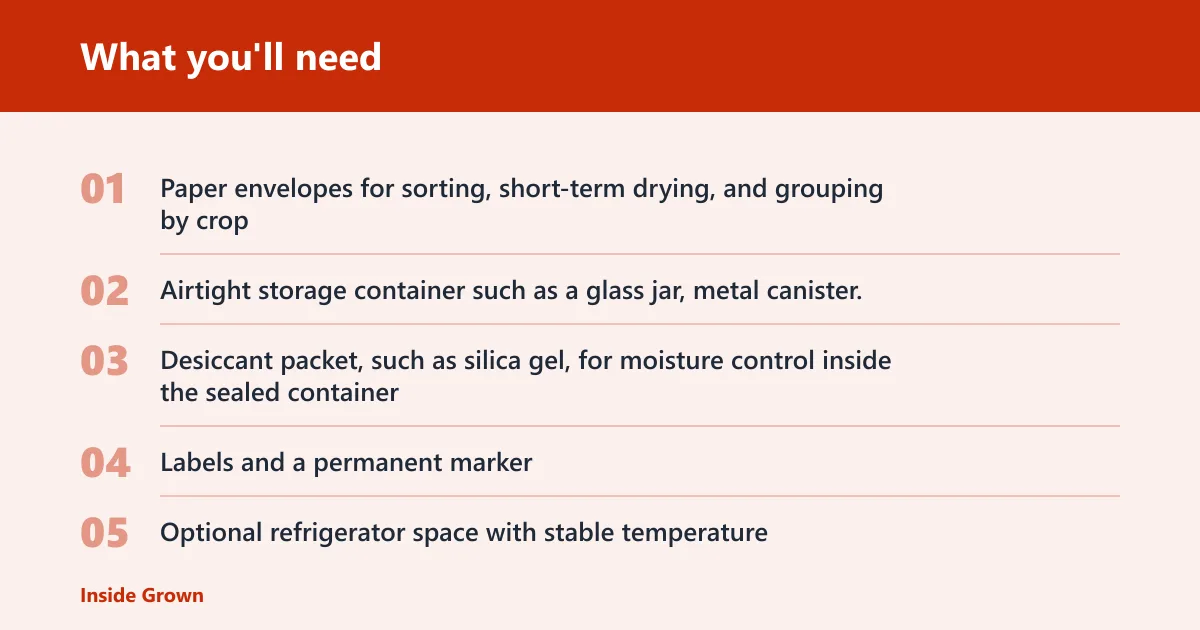
What you’ll need

![Dry & Dry 5 Gram [50 Packets] Silica Gel Packets Silica Gel Desiccants, Silica Gel Packs - Rechargeable Moisture Absorbe](https://m.media-amazon.com/images/I/51ioFKpJqOL._SL500_.jpg)
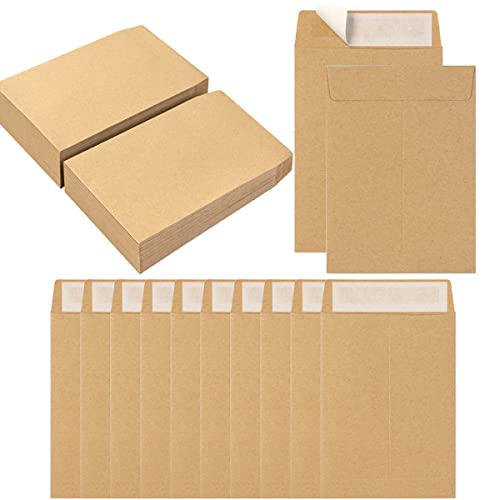
- Paper envelopes for sorting, short-term drying, and grouping by crop
- Airtight storage container such as a glass jar, metal canister, or sealed box with a tight lid
- Desiccant packet, such as silica gel, for moisture control inside the sealed container
- Labels and a permanent marker
- Optional refrigerator space with stable temperature
- Optional freezer space for fully dried seeds in sealed packaging
- Small paper towel sheets and a plate or bag for a germination test
How do you dry and pack seeds before storage?
Dry seeds first, then seal them only after they no longer feel cool, flexible, or spongy. A paper envelope handles the drying step; an airtight container handles storage. If you trap moisture inside, mold can form or seeds can clump, and the sealed container will preserve that damage.
Dry seeds to a brittle state
- Spread seeds in a single layer on a paper envelope or plain paper.
- Leave them in a dry indoor spot away from direct sun and kitchen steam.
- Wait until large seeds snap rather than bend and small seeds no longer feel tacky.
Add desiccant only after the seeds are dry
A desiccant packet, such as silica gel, helps hold down leftover moisture inside a sealed container. It should support dry seeds, not rescue damp ones. If the packet has changed color or the container opens often, replace it when moisture control weakens.
Seal the container tightly
- Move the dried seeds into labeled packets or envelopes.
- Place those packets inside the airtight jar, canister, or sealed box.
- Close the lid fully so room air cannot cycle in and out.
Picture a packet of bean seed that still bends slightly after drying overnight on a windowsill. If it goes straight into a jar, condensation can form later and shorten storage life. Give it more drying time before sealing.
What is the best place to store seeds?
The best place is the coolest spot with the fewest temperature swings and low humidity. Room temperature works for short holds if the space stays dry. A refrigerator is better for many seeds when the packaging is truly sealed. A freezer is for fully dried seed only, because thawing can cause condensation.
Room temperature storage for short holds
Use room temperature for packets you plan to sow soon, especially if your home stays below warm attic or garage conditions. Keep them in a dark cabinet, not on a shelf near a window or radiator. Heat and light speed up the loss of viability.
Refrigerator storage for steadier cool conditions
A refrigerator gives a more stable cool environment than a house that warms and cools every day. The tradeoff is moisture. Seeds should be in a sealed container with a barrier against condensation, and the container should stay closed until it warms back to room temperature.
Freezer storage only for fully dried, sealed seeds
Freezer storage is best for long-term reserve seed that has been dried thoroughly and packed airtight. Not every crop benefits, and some seeds are more sensitive than others. If the seeds are not fully dry, freezing can damage cells and lower germination.
How to avoid condensation during temperature changes
- Remove the sealed container from the fridge or freezer.
- Leave it closed until it reaches room temperature.
- Open it only after the outside is no longer cool to the touch.
Suppose a jar comes out of the freezer and opens immediately on a humid day. Moist air hits the cold seeds and water condenses on the surface. That moisture can cancel out the point of freezing.
How should you label and organize seed packets?
Label every packet before it goes into storage. The minimum useful label is species name, variety or cultivar, and collection or purchase date. Source or lot information helps if you need to trace weak germination back to a supplier or harvest batch.
Use labels that stay visible
Write on the packet itself and repeat the same details on the outside of the larger container. Visible labels cut down on sorting errors and reduce how long the container stays open. That matters because every open-close cycle brings in humidity.
Group packets by crop and age
- Sort by species first, then by variety.
- Move older packets to the front.
- Keep quick-reference notes for short-lived crops such as onion and parsnip, and separate longer-lived crops such as many beans, tomatoes, and calendula.
| Label field | Why it matters | Example |
|---|---|---|
| Species name | Different crops age at different rates | Tomato |
| Variety or cultivar | Prevents mix-ups at sowing time | ‘Brandywine’ |
| Collection or purchase date | Helps estimate viability | 2025-09 |
| Source or lot information | Tracks which batch stored best | Garden harvest, bed 4 |
How long do seeds stay viable, and when should you test them?
Seed viability declines over time, but the rate depends on species, storage temperature, moisture, and oxygen exposure. Some vegetables stay useful for years; others fade quickly. Test older packets before sowing if you do not know the age or if the seed has been stored warm.
Use a germination test before you set sowing rates
- Count a small sample of seeds for a quick check, or use a larger sample if you want a more reliable estimate.
- Place them on a damp paper towel, fold it, and seal it in a bag or cover it so it stays moist but not dripping.
- Keep the sample at the crop’s normal sprouting temperature.
- Check for sprouted seeds after the usual germination window for that crop.
A common rule of thumb is to keep seed lots with fairly high germination for normal sowing. If a packet tests at about half germination, sow about twice as many seeds, or replace the packet if the crop needs dependable stands.
Decide when to replace a packet
Replace it if the germination result is poor, if the seed has mold, a stale odor, visible moisture damage, or pest damage, or if the packet lacks a usable date. Short-lived seed that has been stored warm should be treated as suspect even if it still looks fine.
Use this storage decision checklist and germination worksheet
Choose the safest storage option by matching seed condition, drying status, container type, and storage location. Then use the germination result to set sowing rates instead of guessing. That keeps you from overplanting weak seed or throwing away usable packets too early.
| Seed condition | Drying status | Container | Safest storage option |
|---|---|---|---|
| Freshly harvested, still soft | Not fully dry | Paper envelope only | Dry further at room temperature before sealing |
| Dried, small packet for next season | Fully dry | Sealed glass jar or canister | Room temperature in a cool, dark cabinet |
| Dried, long-term reserve seed | Fully dry | Sealed jar plus desiccant | Refrigerator if temperature is steady and moisture is blocked |
| Fully dried, backup seed in sealed packaging | Fully dry | Vacuum-sealed bag or tightly sealed jar | Freezer only if thawed closed to room temperature |
| Unknown, old, or damp seed | Uncertain | Paper envelope for inspection | Test before storage; do not freeze until dry is confirmed |
| Germination worksheet field | Fill in |
|---|---|
| Crop and variety | |
| Sample size | 10 or 20 seeds |
| Number sprouted | |
| Germination percentage | (sprouted ÷ sample size) × 100 |
| Sowing rate decision | Normal, increased, or replace packet |
If that didn’t work, try this next
- Retest a second sample if the first was small or uneven.
- Move the packet to a drier, cooler sealed container if dampness was the issue.
- Discard the seed if mold, pests, or near-zero sprouting remain after retesting.
Common mistakes
Sealing damp seed is the biggest failure. Temperature swings are next, especially in garages, sheds, and refrigerator doors. Unlabeled packets cause mix-ups, and thin envelopes alone do not protect long term because they let in moisture.
Another common first-timer mistake is freezing seed in a loose bag, then opening it immediately after removal. That invites condensation. Keep frozen seed sealed until it warms completely.
Prevention: write the date on the packet the day you store it, not later.
Frequently asked questions
How do I store seeds so they stay viable longer?
Dry them fully, seal them in an airtight container with a clear label, and keep that container in a cool, stable place. For longer storage, move only dry seed into the refrigerator or freezer. Moisture, heat, and temperature swings shorten viability fastest.
How long do seeds stay viable?
It depends on the crop, storage temperature, and how dry the seed stayed. Some vegetable seed remains useful for several years, while others decline faster. A dated packet and a quick germination test give a better answer than a guess.
What is the best container for storing seeds?
A glass jar, metal canister, or tightly sealed box works best if it blocks moisture and closes securely. The container needs room for a desiccant packet and a label. Paper envelopes are useful inside the larger container, but not as the only long-term barrier.
Should seeds be kept in the fridge or freezer?
Use the fridge for dry seed when you want cooler, steadier storage and can prevent condensation. Use the freezer only for fully dried seed in sealed packaging, and let the container warm to room temperature before opening. If drying is uncertain, stay with room temperature.
How do I tell if old seeds are still good?
Run a paper towel germination test with 10 or 20 seeds. If germination stays around 80% or better, the packet is usually worth keeping. Lower results mean you should sow more seeds or replace the packet, depending on the crop.
How do I store garden seeds to prevent moisture damage?
Dry seed first, then place it in a sealed container with a desiccant packet and a readable label. Keep the container closed in a cool location with steady temperature. If you move it between fridge or freezer and room air, leave it sealed until it warms up.