How to Stratify Seeds with Cold Treatment at Home Safely
Cold-stratify seeds that normally face winter outdoors by chilling them in a moist medium in the refrigerator for a period that varies by seed type, while seeds from warm climates often skip this step. Skip it or do it wrong, and germination can be delayed, uneven, or fail entirely. This guide shows how to decide which seeds need cold treatment, refrigerate them at home, and fix mold, drying, or early sprouting.
What you’ll need

- Seed packet or species name and a note on whether the seed lot needs dormancy treatment
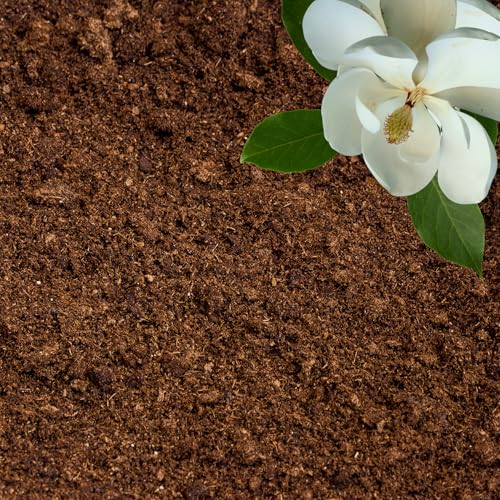
- Paper towel, clean sand, peat, or seed-starting mix
- Sealable bag or labeled container, such as a zip-top bag or small lidded box
- Refrigerator space that stays cold but not freezing
- Thermometer for a quick refrigerator check
- Permanent marker or label
- Clean water in a spray bottle or measuring cup
How to stratify seeds with cold treatment at home
Use a damp medium, seal the seeds in a labeled bag or container, and keep them in the refrigerator until the required chill period ends. The goal is a cold, moist hold that copies winter soil, not wet storage and not freezer exposure.
- Confirm the species needs cold, moist treatment before you chill anything.
- Choose paper towel for easy inspection, or sand, peat, or seed-starting mix for larger batches.
- Moisten the medium until it feels damp, not soaking wet.
- Mix the seeds with the medium or place them between damp layers.
- Seal the bag or container and label it with species, start date, and intended duration.
- Place it in the refrigerator, not the freezer.
- Check on a schedule and adjust moisture if needed.
- Move the batch to sowing conditions as soon as the chill period ends or a seed begins to sprout.
What to do first
A common first-timer mistake is chilling every seed in the drawer. That wastes time and can cut germination in seeds that do not need winter treatment. Check the species requirements first, then batch seeds separately so each lot gets the right length of cold treatment.
What is cold stratifying seeds
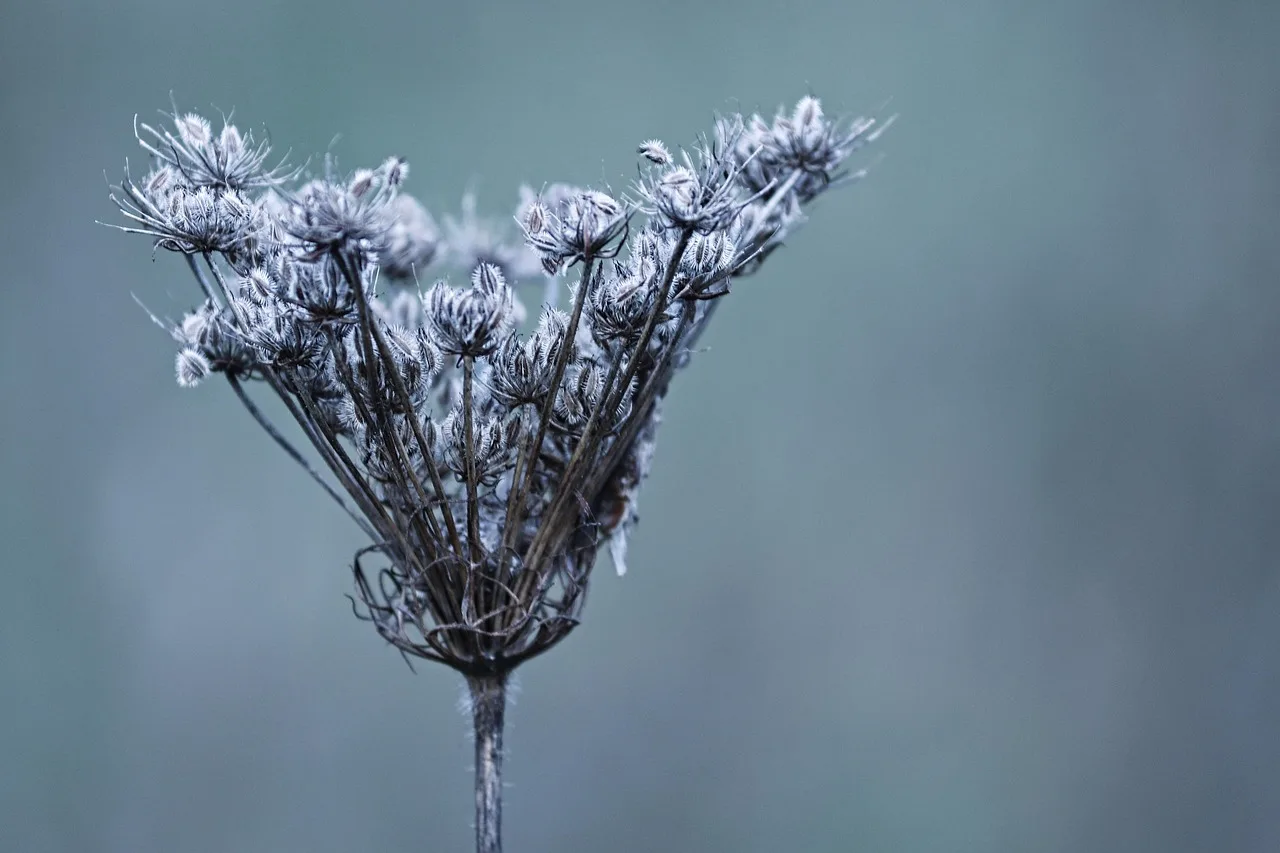
Cold stratifying seeds means giving dormant seed a period of cold, moist conditions so the embryo can finish the signal to germinate. Many plant species use dormancy to ride out winter; the seed waits through cold months and sprouts when temperatures rise and moisture returns.
Seed dormancy and species-specific variation
Dormancy is not one switch. Different species, and even different seed lots, can need different lengths of cold and sometimes a warm phase before cold. Native perennials, many trees and shrubs, hardy wildflowers, and cold-climate fruit seeds often fall into that group, but not every species in those categories behaves the same way.
When a warm phase comes first
Some seeds need warm stratification before cold stratification, or a warm phase followed by a cold phase. That pattern shows up in certain woody plants and species with deep dormancy. If a seed guide lists both, follow the sequence exactly: warm, then cold, then sow.
What is the best way to cold stratify seeds in the refrigerator
For home gardeners, the refrigerator is the most controllable method because it stays cold but above freezing. The best setup is a damp medium in a labeled bag or container, with regular checks for mold, drying, or sprouting.
Choose the right medium
Paper towel is easiest for small batches and quick inspection. Sand, peat, or seed-starting mix works well when seeds need steadier moisture or when you are handling larger lots. Whatever you choose, keep it damp, not waterlogged, so oxygen still reaches the seed coat.
Keep the temperature steady
A common refrigerator target is a cool, above-freezing temperature that roughly mimics winter conditions. Keep the batch away from freezer vents and do not store it where temperatures swing every time the door opens. Fast freezes can damage the seed embryo.
Label and track every batch
Write the species name, start date, and planned duration on the bag or container. If you have several seed lots, separate them. That prevents one batch from staying in the refrigerator far longer than intended and makes it easier to match different germination schedules.
How long do seeds need cold treatment
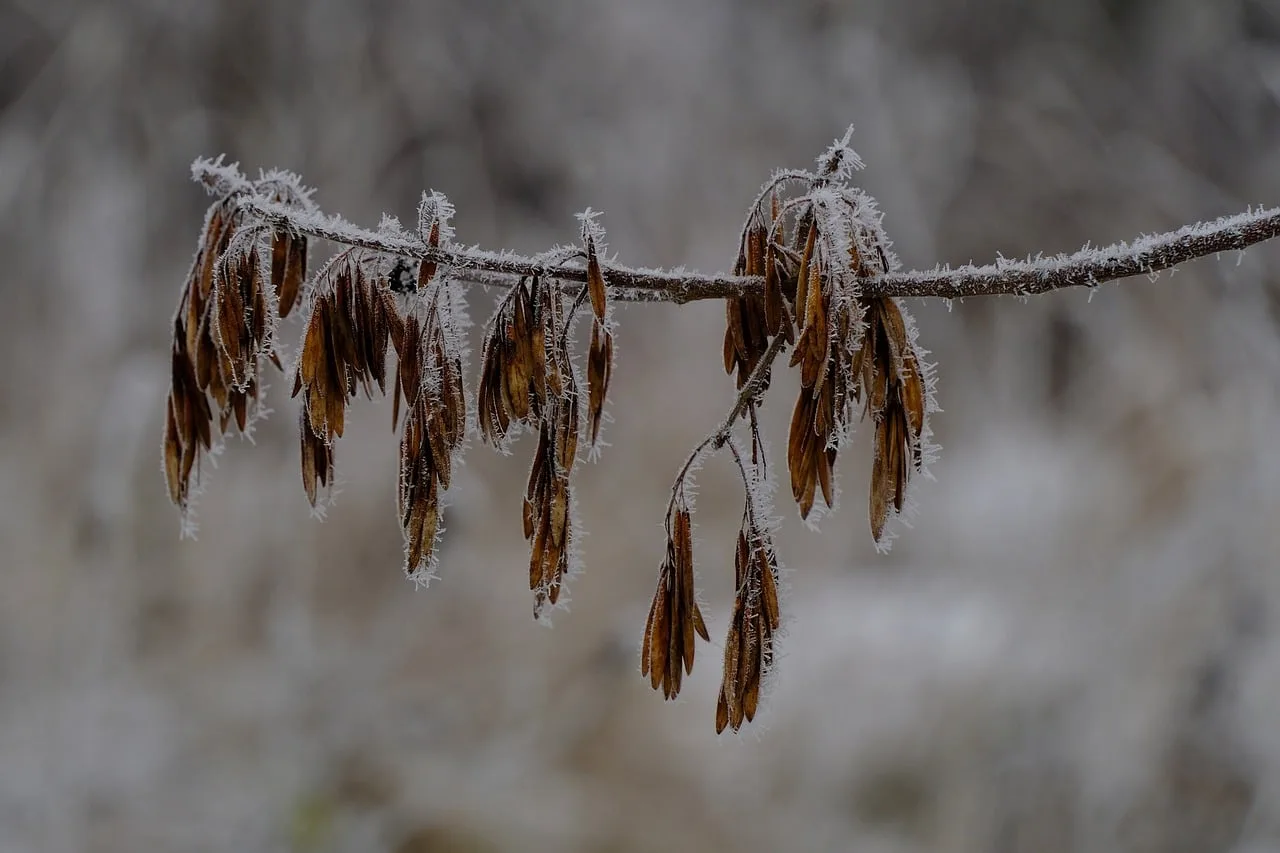
Cold treatment length varies by species and seed lot. A common home range is 30 to 90 days, but some seeds need only a few weeks while others need a longer or mixed warm-plus-cold sequence. The packet, supplier notes, or a species reference should set the schedule.
When to start checking readiness
Begin checking near the end of the listed chill period and then every few days. Look for tiny root tips, swelling, or a change in seed firmness. Once the requirement is met, do not keep the seed chilled just because it can stay there longer.
Handling longer or mixed requirements
Suppose a batch of tree seed is listed for 120 days of cold after a 30-day warm phase. Keep those phases separate and label the shift date clearly. Mixed requirements are easy to lose track of, especially when several species share one refrigerator shelf.
| Seed type | Typical home cold-treatment range | Notes |
|---|---|---|
| Many hardy wildflowers | 30 to 60 days | Check species guidance; some germinate sooner. |
| Many native perennials | 30 to 90 days | Often need consistent moisture and a cold window. |
| Many trees and shrubs | 60 to 120 days or more | Some need warm stratification first. |
| Cold-climate fruit seeds | 30 to 90 days | Species-specific; some need only light chilling. |
How to plant cold stratified seeds
Sow chilled seeds immediately after removing them from the refrigerator. Some species should be surface sown because they need light; others should be covered lightly, usually with a thin layer of mix. After sowing, move them to the temperature and light conditions the species needs for germination.
Surface sow or cover lightly
Read the species directions before burying the seed. Small or light-dependent seeds often need contact with the surface and very little cover. Larger seeds can usually be covered lightly, but deep planting can slow emergence or stop it entirely.
Move them to germination conditions
After the cold period, seeds usually need a warmer spot, steady moisture, and the right light level. If the species germinates in light, place the tray where it will get bright exposure. If it prefers darkness, keep the medium covered as directed.
Say your tray holds three columbine seeds on a damp paper towel in a labeled bag. Once the root tip appears, transplant them at once into a shallow tray, because leaving them in the refrigerator longer can tangle roots and make planting harder.
How to prevent mold during cold stratification
Mold prevention starts with sanitation, tight moisture control, and periodic inspection. Clean containers, damp not wet medium, and regular checks reduce the chance that fungi take over before the seed breaks dormancy.
Keep mold risk low
Use clean hands and clean containers. Avoid water sitting in the bag. If condensation is heavy, open the container briefly, blot excess moisture, and reseal. A small amount of airflow can help in a container, but the batch still needs enough humidity to stay damp.
Inspect on a schedule
Check the batch every 7 to 14 days. Look for fuzzy growth, sour odor, or seeds that have softened and collapsed. If the medium has dried at the edges, mist it lightly and reseal it.
If mold appears
Remove affected seeds, rinse sound seeds if the species tolerates it, and replace the medium. If the mold is widespread, start over with a cleaner container and better moisture control. Small surface specks are less serious than soft, discolored seed bodies.
Common mistakes and how to fix them
Most cold-stratification failures come from the same few problems: the wrong species, the wrong moisture level, too much heat or cold, or poor tracking. Fix the method before blaming the seed lot.
Seeds do not germinate
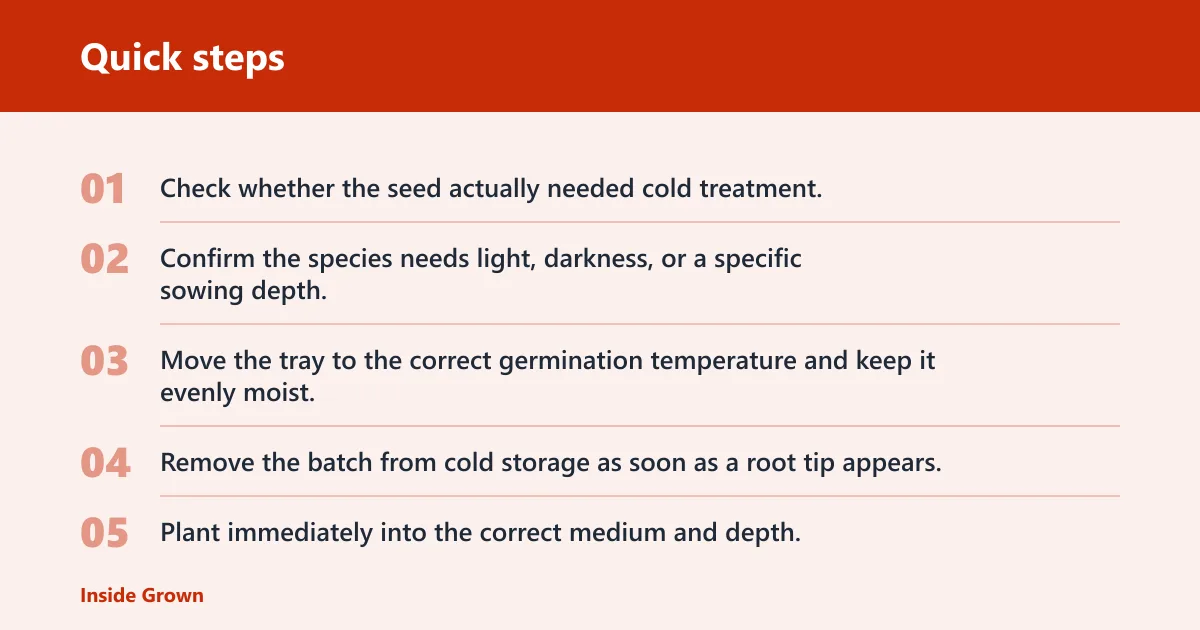
- Check whether the seed actually needed cold treatment, and whether the full duration was completed.
- Confirm the species needs light, darkness, or a specific sowing depth.
- Move the tray to the correct germination temperature and keep it evenly moist.
If that did not work, try a second batch with the exact listed warm-then-cold sequence, or extend the cold period only if the species reference allows it.
Seeds sprout in the refrigerator
- Remove the batch from cold storage as soon as a root tip appears.
- Plant immediately into the correct medium and depth.
- Move it to the proper light and temperature for germination.
Early sprouting is not a failure. It means the seed is ready, and the next step is immediate sowing before roots dry or break.
The medium dries out
- Open the bag or container and check the medium at the edges and center.
- Mist or add a few drops of water until it returns to damp, not soaking.
- Reseal and re-label the container if the date or batch marker is unclear.
If drying keeps happening, switch from paper towel to sand or seed-starting mix, which holds moisture more evenly for some seed sizes.
Mold appears
- Discard badly moldy material and separate healthy seeds.
- Replace the medium with a clean, barely damp batch.
- Reduce added water and check more often, especially in tightly sealed bags.
Prevention: keep batches labeled, inspect every 7 to 14 days, and stop adding water at the first sign of pooling.
One-page checklist and troubleshooting table
Use this as a quick decision sheet before and during cold treatment. It keeps the process simple: confirm the need, track the batch, and fix the four most common problems with the smallest necessary change.
| Decision or problem | What to check | Exact corrective action |
|---|---|---|
| Does the seed need cold treatment? | Species name, dormancy notes, warm-phase requirement | Only cold-stratify species known to need winter-like conditions. |
| Seed does not germinate | Chill duration, sowing depth, light needs, warm temperature after chilling | Resume the correct germination temperature and adjust depth or light; repeat stratification only if the species needs more time. |
| Mold appears | Moisture level, sanitation, sealed container excess moisture | Replace the medium, remove affected seeds, and reduce moisture to damp only. |
| Seeds sprout in the fridge | Root tip visible, batch label date, remaining chill time | Plant immediately and move to the species’ germination conditions. |
| Medium dries out | Edges of towel or mix feel dry | Mist lightly until evenly damp, then reseal and recheck sooner. |
Batch tracking fields
- Species name
- Seed source or lot identifier, if known
- Start date
- Planned cold duration
- Warm phase start and end dates, if needed
- Check dates and notes on moisture or sprouting
Frequently asked questions
can you sow seeds straight after cold stratification
Yes. Sow them immediately after removal from the refrigerator, because the cold period often ends right when the seed becomes ready. Keep the sowing depth shallow unless the species calls for burial, then move the tray to the proper light and temperature.
how to warm stratify seeds
Warm stratification usually means holding seeds in a moist medium at a warm, stable temperature before the cold phase. If a species requires it, follow the exact sequence in the seed guide, then shift to the cold phase only after the warm period ends.