How to Keep Seeds From Drying Out During Germination
Keep seed-starting mix evenly moist by watering before sowing, covering trays with a clear dome or plastic until sprouts appear, and checking daily so the surface never dries. If the mix dries, seeds may fail to sprout. If it stays soggy, roots can rot. This guide shows how to set up moisture control, when to water, and how to prevent damping off.
What you’ll need


- Light, loose seed-starting mix that will not compact, get soggy, or crust over
- Cell trays, small pots, or a flat with drainage
- Labels and a marker
- A clear humidity dome or plastic cover with vents
- A spray bottle or mister for surface touch-ups
- A bottom-watering tray or shallow basin
- A thermometer for the growing area
- A thermostatically controlled heat mat, if your growing area is below the crop’s preferred range
- Seed packet instructions for depth, germination time, light or dark needs, and pretreatments
Germination moisture checklist
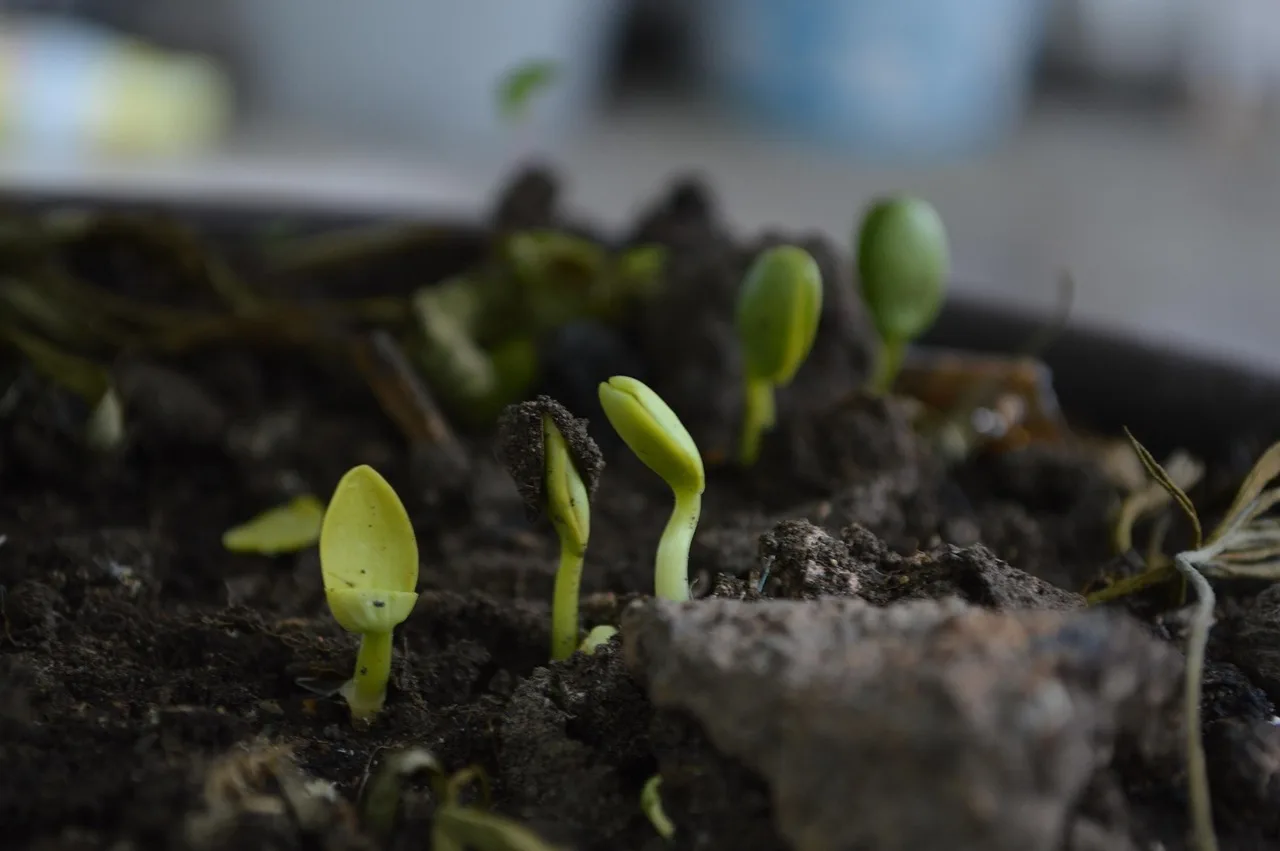
Use this checklist for the first 10 days. The target is moist, not soggy, and never dry. Warmed trays and heat mats dry faster, so they need closer checks than cool setups.
| Day | Tray surface cue | Watering trigger | Temperature check | Emergency rescue step |
|---|---|---|---|---|
| 1 | Evenly damp, no dry crust | If the surface lightens in color, mist or bottom-water | Confirm the crop is in its target range | Rewet from below for about 10 to 20 minutes |
| 2 | Surface still dark and springy | Water only if the top layer starts to dry | Check once in the morning and once at night if on a heat mat | Set the tray in a shallow water bath and drain fully |
| 3 | No crusting on fine seed mixes | Fine seed areas dry first; mist lightly if needed | Watch for extra drying near vents or warm windows | Cover briefly with the dome after rewetting |
| 4 | Mix stays loose, not packed | Bottom-water before the tray turns pale | Recheck heat mat settings | Move off the mat for a few hours if evaporation is high |
| 5 | Seeds may swell or split | Keep the surface damp; do not let it dry between checks | Hold the crop-specific temperature steady | Vent the dome a little after rewetting |
| 6 | Some sprouts may show | Water the tray edge, not the crown | Lower heat if the mix is drying too quickly | Shade the tray from hot afternoon sun |
| 7 | Surface should stay evenly moist | If the top dries in hours, shorten the gap between checks | Check ventilation around the cover | Top up with 30 to 60 ml per small tray, then recheck |
| 8 | Sprouts may push the cover up | Vent more often to limit damping off | Confirm the mat is still thermostatically controlled | Remove standing water from the catch tray |
| 9 | Seedlings should not wilt | Water before droop starts | Keep lights close enough to prevent stretch, but not hot | Increase airflow gently, not a hard blast |
| 10 | Most trays either need pot-up or a steadier rhythm | Continue daily checks until the root zone is established | Match the schedule to the crop, not the calendar | If drying keeps happening, move to a cooler spot |
How do you keep seeds moist?

Pre-moisten the mix before sowing, then keep the surface damp with gentle watering and a cover that slows evaporation. Check every day, especially if the tray sits on bottom heat or near a bright window. Seed germination needs water and oxygen, so the mix should stay airy and never saturated.
- Moisten the seed-starting mix until it holds together when squeezed, then breaks apart with a light touch.
- Fill trays loosely. Do not pack the mix down.
- Sow at the packet depth, or surface-sow tiny seeds that need light.
- Cover with a dome or plastic until sprouts appear, then vent it.
- Inspect the surface once a day. In warmed setups, check morning and evening.
Fine seed needs a lighter touch
Very small seeds dry fastest, and crusting can stop them before they sprout. If the packet says light is needed, keep them on the surface and mist only enough to keep contact with the mix. Repeated heavy misting can shift or bury them.
Say your basil seed tray is under a heat mat and the top turns pale by the next morning. Add just enough water to dampen the surface again, then recheck after 30 minutes. If the seeds move, stop misting and bottom-water instead.
How should you set temperature and humidity?
Match temperature to the crop, not to one universal warm number. Many cool crops germinate in 50-65°F conditions, many warm-season seeds do well around 70°F, and very warm crops may need 80-100°F if the packet gives that guidance. Humidity helps hold surface moisture, but ventilation is still needed to prevent damping off.
Use humidity to slow drying, then vent it
A dome or cover keeps the surface from drying too fast. Leave vents open when possible, and increase airflow once sprouts emerge. Remove the cover after germination if the crop no longer needs high humidity, because wet, stagnant air can weaken seedlings.
Use heat mats only when needed
A thermostatically controlled heat mat helps only when the growing area is below the crop’s preferred range. It also raises evaporation, so trays on a mat need more frequent checks. Warmed media can dry more quickly than room-temperature trays.
How do you keep seed trays from drying out?
Prevent drying by combining three things: a loose mix, a humidity cover, and daily monitoring. Do not wait several days between checks. Common seed-starting failures include soil allowed to dry out, and the risk rises in shallow trays, on heat mats, or under strong indoor airflow.
- Place trays where temperature stays within the crop’s range.
- Cover the tray until the first sprouts appear.
- Set a daily check time and inspect the surface, not just the label date.
- Water early, before the mix lightens or pulls from the tray edge.
- After emergence, vent the dome more or remove it so seedlings do not stay wet all day.
What if the mix dries out?
Rewet it gently right away. If seeds dry out during germination they will die, so rescue the tray before the seed coat hardens further. Bottom-watering is the safest first move because it avoids washing tiny seeds out of place.
- Set the tray in a shallow basin of water for 10 to 20 minutes.
- Lift it out and let excess water drain fully.
- Replace the dome loosely, or vent it if sprouts are already up.
- Check again the same day if the tray is on a mat or under bright light.
If that didn’t work, try this next
For large seeds, gently press the mix around the seed after bottom-watering so air gaps close. For tiny surface-sown seeds, do not bury them; instead, mist the top lightly and cover again. If a heat mat is speeding evaporation, move the tray off the mat until the surface stays damp for longer.
Suppose a tray of peppers on bottom heat dries by day 3. Rewet from below, then lower the temperature to the packet range and check twice a day until the surface stays evenly damp. One change at a time makes it easier to spot the real cause.
Common mistakes
Crusting, over-closure, and slow checking cause many germination losses. The fix is usually simple, but the timing matters.
- Using a dense mix: A mix that compacts or crusts blocks emergence and holds water unevenly. Start with a light, loose seed-starting mix.
- Keeping the tray sealed too long: High humidity without airflow can invite damping off after sprouts emerge. Vent the cover as soon as green shows.
- Waiting for wilt: Seedlings can fail fast after emergence if the surface dries. Check daily, and more often on heat mats.
- Overwatering a tray that already looks wet: Soggy mix cuts oxygen. Water only when the surface begins to dry.
Prevention: Match the cover, temperature, and watering method to the seed type before sowing. That is easier than trying to recover a tray after the surface crusts over.
Frequently asked questions
How often should I mist seeds during germination?
Mist only when the surface begins to dry, not on a fixed schedule. On a heat mat, that can mean daily checks and occasional top-ups; in a cooler room, less often. For tiny seeds, use the lightest mist possible so you do not move or bury them.
Can seeds dry out after sprouting?
Yes. Drying after emergence is a common cause of seedling loss, especially in bright sun, warm airflow, or a tray sitting too close to heat. Keep the root zone evenly moist, then remove the dome or vent it so foliage does not stay wet and stagnant.
What prevents seeds from germinating?
Dry mix, soggy mix, wrong temperature, and missing pretreatments are common causes. Some seeds need soaking or cold treatment first. Always check the packet for depth, light needs, and timing, because the wrong setup can slow or stop sprouting even when the seeds are viable.
What should I do with seeds after germination?
Remove or vent the humidity cover, shift to bright light, and keep the mix evenly moist without saturation. If seedlings are crowded, thin them or pot them up once they can be handled. Keep watching the surface, because tender roots dry out quickly in shallow trays.
How do I preserve seeds from the garden?
Only save fully mature, dry seed, then store it cool and dry in a sealed container. Remove pulp or chaff first, because leftover moisture can cause mold. If a species needs cold treatment or special cleaning, follow crop-specific guidance before storage or next-season sowing.