Why Your Seeds Are Sprouting on Top of the Soil
Seeds that emerge on top of the soil usually point to one of a few issues: sowing depth that was off for that crop, a surface crust that kept the seed from settling, or a seed coat that lifted the seedling upward after emergence. If roots are anchored, leave the sprout alone; if the seed is exposed, correct it only as the crop allows.
What you’ll need


- seed packet or catalog notes for depth, temperature, and light needs
- Lightweight seed-starting mix
- Spray bottle or gentle watering can
- Fine mix or vermiculite for a thin top cover, when the crop calls for it
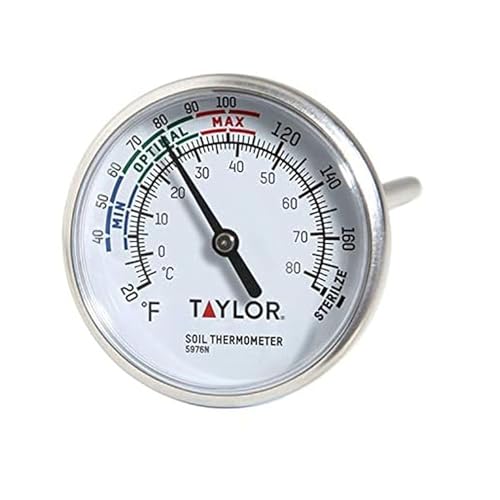
- Thermometer for soil temperature, if available
- Clean tray, pot, or trowel for checking planting depth
How deep should seeds go?
Start with the seed packet instructions, then adjust for the crop rather than relying on one universal rule. Many seeds are sown about two to three times their diameter deep, but small, light-requiring seeds may need to stay at or near the surface. Extension guidance commonly points to packet directions first, with depth varying by species.
Some seeds need light to germinate, while others do better covered. The National Garden Bureau, university extension seed-starting guides, and packet instructions all emphasize that cover depth depends on the crop. A deeper cover can block emergence for light-dependent seeds, but a seed that needs darkness may fail if left exposed.
| Seed size | Typical sowing depth | Common examples | What to do if the seed is exposed |
|---|---|---|---|
| Very fine seed | Surface sow or very light cover | Lettuce, many herbs, some flowers | Leave it alone unless the packet calls for a dusting |
| Small seed | Light cover, often a thin layer | Carrot, onion, basil | Top-dress only if the crop tolerates cover |
| Medium seed | About 2 to 3 times seed diameter | Beans, peas, zinnia | Re-seat shallowly rather than piling soil on top |
| Large seed | Deeper sowing, crop-dependent | Sunflower, squash, corn | Cover to packet depth; do not overfill the hole |
Use this as a quick check, not a fixed rule. Seed size, soil texture, moisture, and the crop’s own germination needs all affect the right depth. When packet guidance and the size rule differ, follow the packet.
- Measure the seed, then compare it to the two-to-three-times rule only as a starting point.
- Check the packet for light needs before you cover anything.
- Top-dress trays with about 1/8 inch of fine mix or vermiculite only if the crop tolerates cover.
- Reseat loose seeds in pots at the proper depth and firm the mix lightly.
- For direct-sown rows, add only a thin cover if the packet allows it.
Why did they push themselves up?
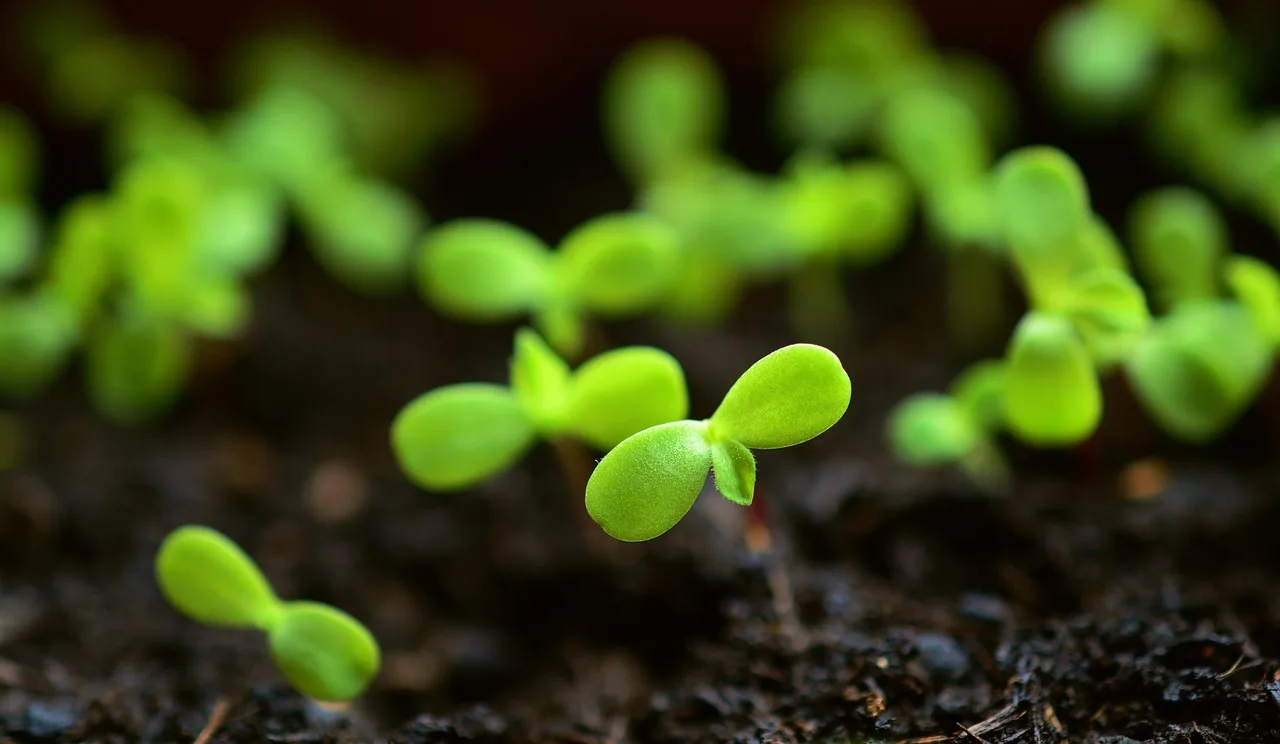
If the seedling emerged normally and the husk is simply riding on the cotyledons, that can be normal. If the surface crusted, dried out, or repelled water, the seed may have been stranded at the top instead of settling into the mix. Dense, waterlogged media can damage roots and may invite damping off, a common seedling disease described by university extension services.
Picture a tray of lettuce sown under a fine cover. The seedlings are up, but a hard film formed on the surface after a dry spell. In that case, the issue is usually poor contact with the medium and a crust that kept the seed from sitting low enough, not extra emergence that needs to be buried.
- Inspect the top layer for crusting, cracking, or water beading.
- Check whether a root is still anchored below the surface.
- Look for damping off: thin stems, collapse at the soil line, or soft tissue in wet media.
- Mist the surface if it is dry, then let the water soak in slowly.
- If the seed is exposed and the crop tolerates cover, add 1/8 inch of fine mix and recheck after watering.
Surface sprouting triage table
| Symptom | Likely cause | What to inspect | Re-cover? | Re-sow? | Next action for trays, pots, and in-ground sowing |
|---|---|---|---|---|---|
| Seed sits visibly on top, no roots showing | Shallow sowing | Planting depth, packet directions, seed size | Yes, if the crop allows cover | No, unless the seed dried out and failed | Trays: top-dress with 1/8 inch fine mix. Pots: re-seat and cover lightly. Beds: draw a shallow furrow and tuck soil over it. |
| Surface hardens into a crust | Drying top layer | Cracked film, loose topsoil, poor moisture retention | Only after misting | Not yet | Trays: mist and cover briefly to hold moisture. Pots: water from below or with a fine rose. Beds: water gently and mulch lightly if the crop tolerates it. |
| Seedling lifts with seed coat on top | Normal emergence with husk hang-up | Root anchor, stem firmness, seed coat status | No | No | Trays: keep humidity steady and wait. Pots: mist the coat, then leave it. Beds: keep the surface moist and avoid burying the stem. |
| Nothing emerges in a dry, pale mix | Dry top layer or poor seed-to-soil contact | Moisture below the surface, mix texture, seed contact | Yes, lightly after watering | Maybe, after a reasonable wait | Trays: water evenly and cover to hold moisture. Pots: firm the mix gently around the seed. Beds: water slowly so the seed does not float. |
| Seeds are covered, but nothing appears and the crop needs light | Too deep for a light-dependent seed | Packet notes, cover depth, light requirement | No | Yes, if the seed cannot reach the surface | Trays: uncover or thin the cover. Pots: lift and reset shallower. Beds: rake back excess soil and reseed at the right depth. |
| Patchy emergence, weak sprouts, or a bad seed lot | Old or weak seed lot | Age of seed, storage, pre-sprout check | No | Often yes, after a check | Trays: do a pre-sprout check before reseeding. Pots: sow a fresh lot in a new section. Beds: re-sow only after confirming moisture and temperature. |
When should I re-cover a tray, pot, or bed?
Re-cover only when the crop tolerates it and the seed is truly exposed. Trays usually need the lightest correction, pots can be re-seated more precisely, and direct-sown beds often need a gentle rake-back rather than a heavy layer. Light-requiring seeds should not be buried deeper after the fact.
When should I leave the seed alone?
If the seedling has rooted and the seed coat is merely stuck on top, leave it alone. That is often a normal emergence problem, not a depth problem. Also leave it alone when the crop is a surface-sown seed or when adding soil would bury a healthy stem or block light.
What if the surface dried out?
Moisture problems often start at the top layer, where the mix dries first. A seed can stall even when the soil below still feels damp. Keep the surface evenly moist until germination, using the crop’s needs as a guide, but avoid keeping the medium waterlogged.
Both underwatering and overwatering can stop sprouting. Soaking wet soil and densely packed soil reduce airflow, while dry mix breaks seed-to-soil contact. A lightweight, porous seed-starting mix usually drains better than dense potting soil and can help reduce damping-off risk when paired with clean trays and careful watering.
- Check moisture about 1/2 inch below the surface.
- If the top is dry, mist until it darkens evenly.
- If the mix stays soggy, pause watering and increase airflow.
- Move trays out from under a closed cover once seedlings emerge, because covers help retain moisture but should come off after emergence.
- If the mix crusts again, add 1/8 inch of fine mix or vermiculite and recheck the next day.
What soil temperature do seeds need to germinate?
Seed temperature has to match the crop’s germination range. Cool-season and warm-season seeds do not behave the same way, so a bed that is fine for one crop can stall another. Extension sources typically advise checking the packet first, then confirming the soil is in the crop-specific range before you seed.
Use a thermometer if the bed is slow to change. Soil that is too cold can delay germination, while soil that is too warm can reduce success for some crops. If the packet calls for cold stratification, the needed chill period varies by species, so follow the packet or a reliable crop guide rather than assuming one timing fits all.
- Check the seed packet for the crop’s germination range.
- Measure soil temperature in the top 1 to 2 inches.
- Move warm-season seed to a warmer spot if the mix is cold.
- Chill stratification-requiring seed in the fridge for the species-specific period before sowing.
- Re-sow only after temperature is inside the crop’s range and the seed still has a fair chance.
Old or weak seed lots
Old seeds germinate less reliably, and viability declines over time. Storage conditions matter too: cool, dry storage helps seed last longer, while heat and humidity shorten viability. A weak seed lot can still produce a few sprouts, but those sprouts may be uneven or slow.
Small seeds and larger seeds can both be pre-sprouted. Corn and beans are not suited to pre-sprouting, so treat those as direct sowing crops instead. If the crop is prone to transplant shock, direct sow it from the start.
- Count how long the packet has been open or stored.
- Set a few seeds on a damp towel in a warm spot.
- Check for swelling and root tips before you commit a whole tray.
- Re-sow a weak lot only after the moisture and temperature checks are corrected.
- Switch to fresh seed if the lot stays patchy.
Common mistakes
- Covering a light-dependent seed too deeply.
- Letting the top layer dry out between waterings.
- Using dense potting soil instead of a porous seed-starting mix.
- Confusing a normal seed coat lift with a failed germination problem.
- Re-sowing too soon before checking temperature, moisture, or viability.
If that didn’t work, try this next
Suppose a tray of basil sits at the surface after several days in cool room air. The fix is not more water alone. Move the tray to a warmer spot, keep the top layer just moist, and check whether the packet calls for light or only a thin cover. That changes the next step more than extra soil does.
- Confirm the crop’s germination range on the packet.
- Check for a crust, dry top, or seed coat hang-up.
- Add 1/8 inch of fine mix only when the crop tolerates cover.
- Wait through the crop’s normal germination window before re-sowing most seeds.
- Replace the lot sooner only if a pre-sprout check shows weak seed.
Frequently asked questions
Why are my seeds sprouting on top of the soil?
Most often, the seed was planted too shallow, the surface crusted, or the seedling lifted its husk above the mix during emergence. Check the packet first, then decide whether the crop tolerates a thin cover. If roots are holding, leave the sprout alone.
Are seeds supposed to sprout above the soil?
Some seedlings emerge with the seed coat visible above the surface, and that can be normal. What matters is whether the root stays anchored and the stem stays firm. If the crop prefers light, do not bury it deeper after it emerges.
Did I plant my seeds too shallow?
If the seed is visible before germination or sits on a bare crust, shallow sowing is likely. Compare the seed size to the two-to-three-times rule, then check the packet for exceptions. Tiny seeds may need only a dusting; larger seeds can need a deeper sowing depth depending on the crop.
Should I cover seeds with more soil after they sprout on top?
Only if the crop tolerates cover and the seed is truly exposed. Add a very thin layer, usually about 1/8 inch of fine mix, then stop. Do not cover light-dependent seeds more deeply, and do not bury a healthy seedling stem.
Could dry soil be causing seeds to sprout on the surface?
Yes. The top layer dries fastest, and dry soil breaks seed-to-soil contact. Keep the surface evenly moist until germination, but avoid soaking the mix. A mist or gentle bottom-water is safer than a hard stream that moves the seed.
How long should I wait before re-sowing seeds that did not sprout?
Wait until you have checked moisture, temperature, light needs, and depth before re-sowing. The wait time depends on the crop, because some seeds germinate in days while others take longer under the right conditions. If the seed lot is old, test a small sample first.
Can old seeds still germinate if they sprout poorly?
Yes, but viability declines over time, so old seed lots are less reliable. A few may still sprout, while others stay weak or uneven. Test a small sample first, then re-sow with fresh seed if the lot is patchy or slow after the right conditions are in place.
Sources
- University extension seed-starting and germination guides on crop-specific depth, light, and temperature needs
- University extension publications on damping off prevention, airflow, and watering practices for seedlings
- University extension seed storage guidance on cool, dry storage and viability decline over time
- University extension and botanic garden guidance on cold stratification, noting that duration varies by species
- National Garden Bureau and seed packet guidance on sowing depth and light-requiring seeds