How to Plant Tulip Bulbs in Pots Indoors (Full Guide)
Planting tulip bulbs in pots indoors is more than just a gardening project—it’s a way to bring the vibrancy of spring into your home, even in the depths of winter. Imagine waking to a splash of color on your windowsill while snow blankets the world outside.
Indoor tulip forcing not only delivers beauty but also provides a therapeutic connection to nature during the colder months. Whether you’re a seasoned horticulturist or a curious beginner, mastering this skill can transform your living space and offer a rewarding gardening experience year-round.
Despite their reputation as outdoor spring bloomers, tulips adapt remarkably well to indoor environments when given the right care. This comprehensive guide demystifies the entire process: from choosing the perfect bulbs and containers, to mimicking winter’s chill, to coaxing your tulips into a stunning indoor display. You’ll learn the science behind bulb forcing, step-by-step potting techniques, troubleshooting tips, and creative display ideas. With this guide, you’ll be equipped to achieve vibrant blooms and enjoy the satisfaction of cultivating a miniature tulip garden indoors. Plus, you’ll gain insights into the traditions and innovations that have shaped tulip forcing as an art and science, enhancing your appreciation for each step.
Key Takeaways
- Tulip bulbs can be successfully grown in pots indoors by mimicking their natural cold dormancy period, a process known as forcing.
- Proper potting, bulb selection, and chilling are critical for strong, healthy blooms.
- Timing and environmental control ensure blooms coincide with your desired indoor display window.
- Common issues like mold, weak growth, or failed flowering can often be avoided with correct techniques and vigilant care.
- Tulip forcing is accessible to beginners and seasoned gardeners alike, requiring only basic supplies and attention to detail.
- Flexible display possibilities allow you to create personalized arrangements for any indoor setting or occasion.
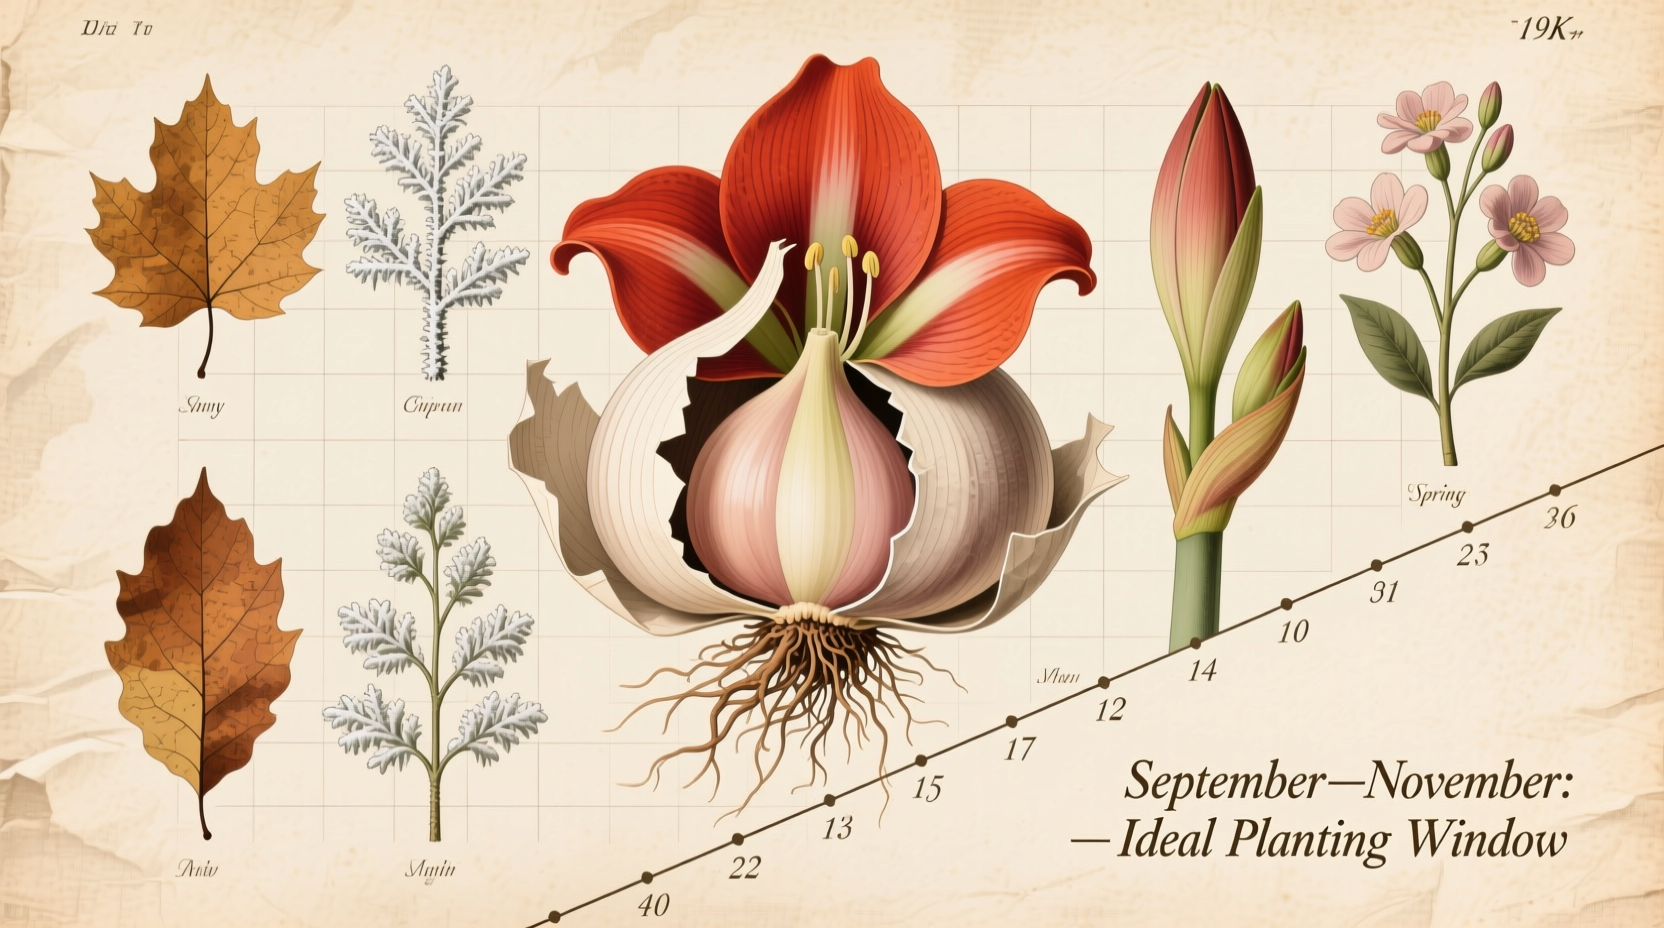
Credit: lifetips.alibaba.com
Understanding Tulip Forcing Indoors
Growing tulips indoors is based on the principle of “forcing”—artificially recreating the cold period that bulbs experience outdoors. This process tricks the bulbs into flowering earlier than they would naturally, letting you enjoy spring blossoms while it’s still winter outside.
The Science Of Tulip Forcing
Tulip bulbs are programmed to bloom after experiencing a prolonged cold period, typically 12–16 weeks of chilling at temperatures between 35–48°F (1. 5–8°C). This cold exposure triggers the biochemical changes necessary for stem elongation and flower formation. Without this dormancy, bulbs may sprout foliage but fail to bloom.
The cold period activates enzymes and hormone pathways inside the bulb, breaking physiological dormancy and leading to synchronized flowering when warmth returns.
Forcing essentially compresses the tulip’s natural life cycle. In the wild, bulbs would overwinter underground, protected from freezing by soil insulation. Indoors, we mimic these conditions artificially, making it possible to enjoy blooms on your schedule.
Why Force Tulips Indoors?
- Winter color: Enjoy spring blooms months before outdoor gardens awaken. This is particularly uplifting in colder climates where outdoor gardening halts for months.
- Therapeutic benefits: Indoor gardening has proven mental health benefits, reducing stress and increasing well-being. Studies show that interaction with plants can improve concentration, elevate mood, and even speed recovery from illness.
- Control: You can precisely time blooms for holidays or special occasions. Imagine gifting a pot of blooming tulips for Valentine’s Day or brightening a winter birthday with fresh color indoors.
- Educational value: Forcing bulbs indoors is an excellent way to teach children and adults about plant biology, seasonal cycles, and the importance of patience in gardening.
Key Factors For Success
- Bulb quality: Only healthy, pre-chilled, or top-size bulbs will flower reliably indoors. Inferior bulbs may lack the energy reserves necessary to produce full blooms and robust stems.
- Container drainage: Good drainage is vital to prevent rot. Containers without drainage holes risk waterlogging, which is a common cause of bulb failure.
- Chilling period: Adhere strictly to the recommended chilling time for your tulip variety. Shortening this period may result in stunted growth or no blooms.
- Light and temperature: After chilling, bulbs need bright but indirect light and moderate warmth to grow strong stems and vivid flowers. Consistent care during this phase maximizes the quality and longevity of your display.
Real-world Example: The Dutch Tulip Industry
The Netherlands, responsible for nearly 80% of global tulip production, has perfected indoor forcing to supply cut tulips year-round. Dutch growers use advanced climate-controlled greenhouses to simulate winter conditions, proving that tulips can thrive indoors given the right care. These large-scale operations meticulously track chilling times, humidity, and temperature to ensure uniform, high-quality blooms for export. For more, see the history of tulip cultivation. Many of the techniques used by commercial growers can be adapted at home for consistent results.
:strip_icc()/101918443_preview-bd7a650753774a279b137e3cc690913f.jpg)
Credit: www.bhg.com
Selecting Bulbs, Pots, And Supplies
Choosing the right supplies sets the foundation for a successful indoor tulip display. Each decision affects the health and appearance of your blooms, as well as the ease of the forcing process.
Choosing The Best Tulip Bulbs
Not all tulip bulbs are created equal for indoor forcing. Here’s what to look for:
- Size: Select top-size bulbs (12 cm+ circumference). Larger bulbs contain more stored energy, producing bigger flowers and sturdier stems.
- Variety: Early-flowering types (e.g., Single Early, Triumph, Fosteriana) are best suited for indoor forcing. These varieties have a proven track record of reliable performance indoors.
- Condition: Bulbs should be firm, blemish-free, and without mold or soft spots. Avoid bulbs with cuts, bruises, or evidence of disease.
Popular Tulip Varieties for Indoor Pots:
- ‘Apricot Beauty’ (Single Early): Soft apricot-pink blooms, fragrant and quick to flower.
- ‘Christmas Dream’ (Triumph): Rich pink petals, compact growth, and early bloom time.
- ‘Red Emperor’ (Fosteriana): Large, brilliant red flowers on sturdy stems.
- ‘White Marvel’ (Double Early): Full, peony-like white blooms, ideal for elegant displays.
When purchasing bulbs, check for labels that indicate suitability for forcing or indoor use. Some suppliers offer “prepared” bulbs that have already been pre-chilled, saving you time and effort.
Selecting The Right Pots And Containers
Tulips can thrive in a variety of containers, as long as they offer:
- Adequate drainage: Essential to prevent waterlogging and bulb rot.
- Sufficient depth: At least 6–8 inches deep to accommodate roots and support top growth.
- Width: Wide enough to plant multiple bulbs close together for an impressive display. Crowding bulbs (but not touching) creates a fuller, more dramatic look.
Pot Material Comparison Table:
| Material | Pros | Cons | Best For |
|---|---|---|---|
| Ceramic | Attractive, insulates roots | Heavy, can break | Permanent indoor displays |
| Plastic | Lightweight, inexpensive | Retains moisture, less decorative | Temporary forcing, easy moving |
| Terracotta | Porous, natural look | Dries out faster, fragile | Well-ventilated environments |
| Metal | Modern appearance | Can overheat roots, rusts | Decorative, short-term use |
When making your selection, consider the final display location and the ease of moving pots in and out of storage during the chilling phase. Decorative outer pots, or cachepots, can be used to disguise plain plastic nursery pots for special occasions.
Potting Mix And Soil Requirements
Tulips prefer a well-draining potting mix. Avoid heavy garden soil that can compact and retain too much moisture, increasing the risk of rot.
- Use a mix of potting soil, perlite, and coarse sand (ratio: 2:1:1) for optimal drainage and aeration.
- Add a handful of bulb fertilizer or a slow-release balanced fertilizer to encourage robust root and shoot development.
- For those seeking an organic approach, composted bark or coconut coir can be incorporated for moisture management.
Essential Tools And Supplies
- Clean, sharp trowel or bulb planter for precise, gentle planting
- Watering can with a fine spout to avoid disturbing soil and bulbs
- Gardening gloves to protect hands and prevent transfer of pathogens
- Labels or markers for variety identification and recording chill dates
- Optional: PH test kit (tulips prefer neutral to slightly acidic soil, pH 6.0–7.0)
Case Study: Apartment Gardening In Urban Settings
A 2026 survey by the National Gardening Association found that indoor container gardening rose by 24% in US cities. Many apartment dwellers reported success forcing tulips in window boxes and decorative pots, citing improved air quality and mood. Even in small apartments with limited windowsill space, creative solutions like hanging baskets and tiered plant stands allowed for impressive floral displays. For tips, see this guide by Gardener’s Supply.
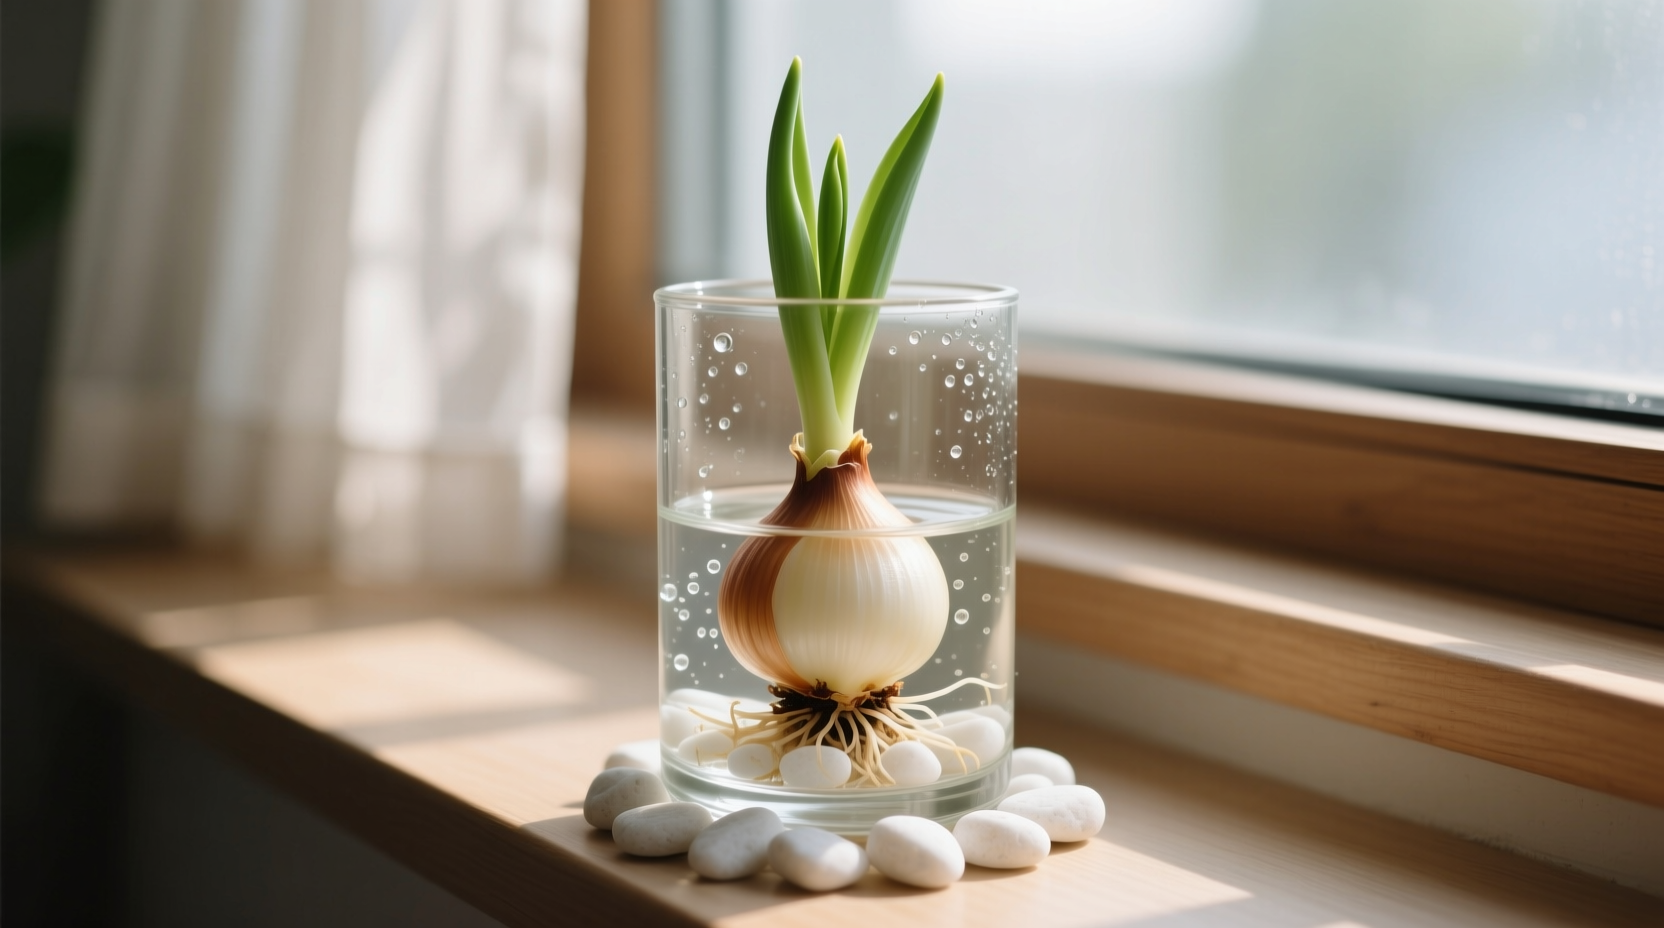
Credit: lifetips.alibaba.com
Preparing And Planting Tulip Bulbs In Pots
Proper preparation and planting technique are crucial for indoor tulip success. This stage establishes the foundation for healthy root and shoot development, and sets the stage for uniform flowering.
Step 1: Pre-chilling The Bulbs
If bulbs weren’t pre-chilled by the supplier, you must simulate winter dormancy:
- Wrap bulbs in a paper bag (never plastic, to avoid mold and condensation).
- Place in a refrigerator at 35–48°F (1.5–8°C) for 12–16 weeks. Dedicated vegetable drawers or a spare fridge work well; avoid storing bulbs with produce.
- Keep bulbs away from fruit (especially apples), which emit ethylene gas that can damage the bulbs and interrupt dormancy.
*Pro Tip:* Label your bag with the variety and chill start date. If you’re forcing multiple varieties, keep them separated and labeled to track performance.
Step 2: Preparing The Pot
- Ensure the pot has drainage holes; this cannot be overstated, as excess water is the leading cause of bulb failure.
- Cover the bottom with a layer of gravel or broken pottery shards to enhance drainage and prevent soil from clogging holes.
- Fill the pot with moistened, well-draining potting mix up to 2/3 full. The soil should be damp but not wet.
If desired, mix in a slow-release bulb fertilizer at this stage to provide nutrients throughout the growing cycle.
Step 3: Arranging The Bulbs
- Place bulbs pointed end up on the soil surface. The flat basal plate should rest firmly on the soil for root anchorage.
- Space them close but not touching (about ½ inch apart) for a fuller display. This spacing maximizes the visual impact while reducing competition for nutrients.
- For most pots, plant bulbs so their tips sit just below the rim to allow room for top growth and watering.
Bulb Arrangement Table:
| Pot Size | Number of Bulbs | Spacing |
|---|---|---|
| 6-inch round | 3–5 | ½ inch |
| 8-inch round | 5–7 | ½ inch |
| 12-inch round | 10–15 | ½ inch |
Experiment with arrangements for different effects: circular, concentric rings, or layered for depth.
Step 4: Covering And Watering
- Add more potting mix to cover bulbs, leaving just the tips exposed (about ¼ inch). This helps protect the bulbs while allowing you to monitor growth progress.
- Gently water until soil is moist but not soggy. Overwatering at this stage can lead to rot before roots are established.
- Label each pot with the variety and planting date for easy reference during the chilling and forcing phases.
Step 5: Storage For Chilling
- Place the potted bulbs in a cool, dark location: Unheated basement, garage, or refrigerator. Ensure consistent temperatures and minimal light exposure.
- Maintain temperatures at 35–48°F (1.5–8°C).
- Check moisture every 2–3 weeks; water lightly if soil dries out. Avoid letting soil dry completely, but do not saturate.
Real-world Example: Family Activity
The Smith family in Chicago reported making tulip potting an annual winter activity. By involving children in each step, they not only created beautiful displays but also fostered a love of gardening. The process taught patience, observation, and the rewards of nurturing living things. See more at Chicago Botanic Garden.
Chilling, Forcing, And Growing On
After planting, the most critical phase begins: providing the right chilling and growing conditions so your tulips develop and bloom beautifully indoors. This stage is where discipline and attention to detail pay off.
The Chilling Period: Simulating Winter
Tulip bulbs require 12–16 weeks of consistent cold. This period is non-negotiable for flower formation, as it triggers hormonal changes within the bulb.
- Ideal locations: Spare refrigerator, unheated garage, or cold cellar. Basements can work if consistently cold enough; avoid areas that warm up during the day.
- Avoid freezing temps, which can damage bulbs and halt development.
- Do not expose bulbs to light during chilling, as this can trigger premature sprouting.
If using a refrigerator, keep bulbs away from fruits and vegetables that emit ethylene gas. Consider using an old fridge dedicated to bulbs for optimal results.
Monitoring During Chilling
- Inspect pots every 2–3 weeks for moisture and any signs of mold. If mold appears, remove affected bulbs and improve air circulation.
- Water lightly if soil feels dry, but avoid soggy conditions.
- Check for any early sprouting; a few roots are normal, but top growth indicates temperatures may be too warm.
Transitioning To Warmth: Breaking Dormancy
After the chilling period:
- Move pots to a bright, cool room (50–60°F or 10–15°C) for 1 week to allow gradual acclimation. Sudden temperature swings can shock bulbs and impede growth.
- Ensure indirect sunlight or use grow lights if natural light is limited. Gradual light exposure stimulates strong, healthy shoots.
Growing On: Encouraging Healthy Growth
- After 7 days, increase temperature to 65–70°F (18–21°C) for optimal stem and flower development.
- Move pots to a sunny location, such as an east or west-facing window. South-facing windows may become too warm and cause rapid, leggy growth.
- Rotate pots every few days for even stem growth and to prevent leaning toward light.
Watering And Feeding
- Water when the top inch of soil feels dry, ensuring even moisture without waterlogging.
- Avoid letting pots sit in water; use saucers and empty excess promptly.
- Apply a diluted liquid fertilizer once stems reach 3–4 inches tall. Avoid high-nitrogen fertilizers, which encourage leaves over flowers.
Real-world Example: School Science Project
A 5th-grade class in Seattle forced tulip bulbs as part of a biology unit, tracking growth rates under different light sources. The project revealed that tulips grown under full-spectrum grow lights developed stronger stems than those in low natural light, highlighting the importance of adequate illumination. Students also learned to record data, observe changes, and troubleshoot problems, making the project both educational and engaging. For more, see RHS Tulip Forcing Guide.
Blooming, Display, And Aftercare
The thrill of seeing tulips bloom indoors is unmatched. Proper care during this stage ensures lasting beauty and healthy post-bloom bulbs, maximizing your enjoyment and investment.
Timing And Duration Of Blooms
- Tulips typically bloom 2–4 weeks after being brought into warmth and light. Early varieties may open in as little as 15–18 days, while later types can take a bit longer.
- Blooms last 7–14 days indoors, depending on variety, temperature, and humidity levels.
- Cooler rooms help extend bloom life, while higher temperatures may shorten it.
Display Tips For Maximum Impact
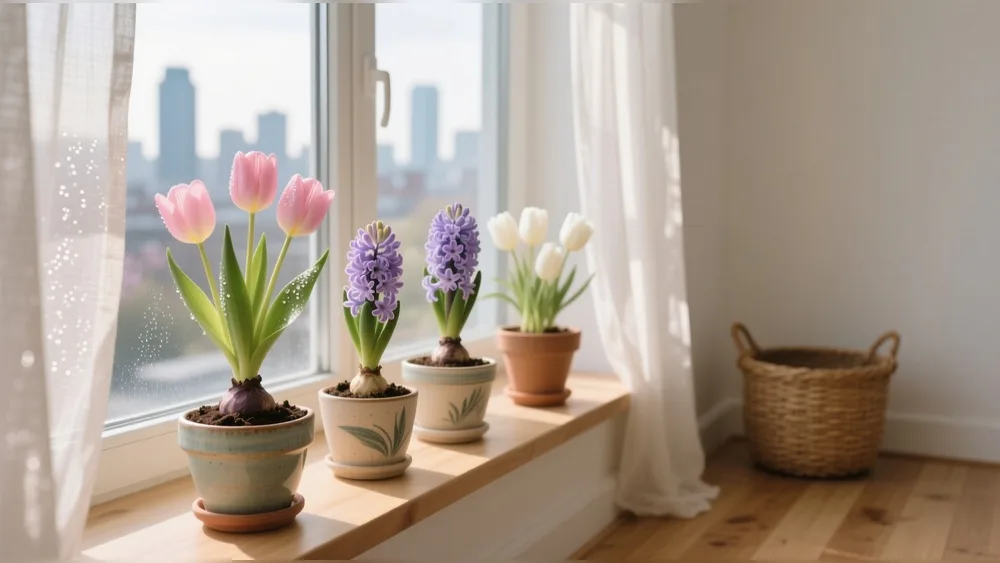
- Group pots together for a lush, garden-like effect, mixing heights and varieties for a natural feel.
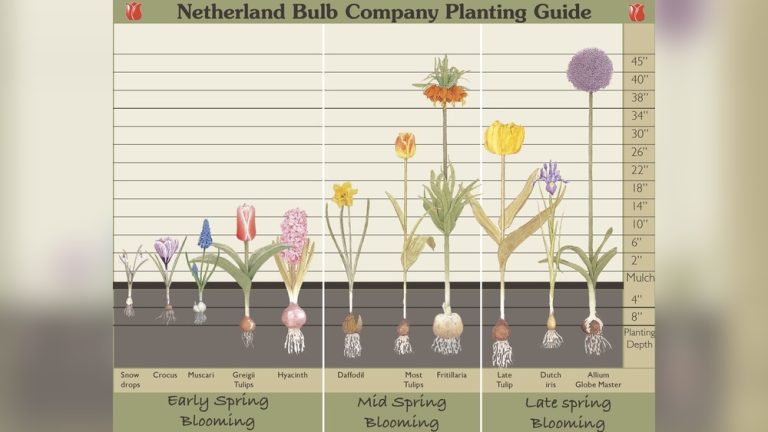
- Pair tulips with other forced bulbs (e.g., hyacinths, daffodils) for a mixed spring display, or with indoor greenery for added texture.
- Use decorative containers, baskets, or cachepots to enhance presentation. Dress up displays with moss, pebbles, or ribbon for special occasions.
- Place arrangements in high-traffic areas to maximize enjoyment and brighten common spaces.
Extending Bloom Life
- Keep pots in a cool location (60–65°F) and out of direct hot sunlight. East- or north-facing windows are ideal.
- Remove spent flowers to conserve bulb energy and maintain a tidy appearance.
- Mist lightly to increase humidity in dry indoor air, which can help maintain flower freshness.
- If possible, move pots to a cooler spot at night to prolong bloom time.
Aftercare: What To Do With Bulbs Post-bloom
- Once foliage yellows, reduce watering and allow the leaves to die back naturally. The leaves feed the bulb for possible future growth.
- Option 1: Discard bulbs. Most forced tulip bulbs do not rebloom well indoors because the intense forcing process depletes their stored energy.
- Option 2: Replant outdoors. Some gardeners transplant post-forcing bulbs to the garden. Choose a sunny, well-drained spot, and be patient—reblooming may take a year or two, and results can be unpredictable.
Data Table: Indoor Tulip Forcing Success Rates
| Bulb Type | Success Rate Indoors | Chance of Rebloom (Next Year) |
|---|---|---|
| Single Early | 95% | Low (10–20%) |
| Triumph | 90% | Low (10–20%) |
| Darwin Hybrid | 80% | Moderate (30%) |
| Parrot | 70% | Very Low (5%) |
Tulip bulbs that are forced indoors expend significant energy, often leading to diminished returns if forced repeatedly. For those determined to reuse bulbs, careful aftercare is essential, but results may still vary.
Real-world Example: Professional Florist Display
A New York florist forced hundreds of tulips in coordinated colors for a spring wedding, using groupings of decorative pots and creative lighting. The display became a highlight of the event, demonstrating the decorative power of indoor-forced tulips. The combination of colors, container styles, and supplementary greenery created a memorable, Instagram-worthy backdrop. For more on professional techniques, see Gardenia.net.
Common Problems And Troubleshooting
Even with the best preparation, issues can arise. Understanding common problems helps you prevent or remedy them quickly, ensuring the best possible results from your indoor tulip garden.
Bulb Rot And Mold
Symptoms: Bulbs become soft, emit foul odor, or develop white/blue-green mold patches.
Causes:
- Overwatering or poor drainage leading to stagnant moisture.
- Storing bulbs in overly humid or warm conditions.
- Inadequate air circulation in storage areas.
Solutions:
- Use only well-draining soil and containers with holes.
- Water sparingly during chilling and avoid soggy conditions.
- Discard affected bulbs promptly to prevent spread to healthy bulbs.
- Sanitize pots and tools before reuse to minimize contamination.
Weak Growth Or No Blooms
Symptoms: Only leaves appear, or stems are short and weak. Flowers may fail to form or open incompletely.
Causes:
- Inadequate chilling period or temperatures too high during dormancy.
- Low light levels during growth, causing leggy, weak plants.
- Small, inferior, or poorly stored bulbs lacking reserves.
Solutions:
- Ensure chilling lasts 12–16 weeks at correct temperatures.
- Use supplemental grow lights if natural light is insufficient.
- Always select top-size bulbs from reputable suppliers.
- Verify that bulbs are not exposed to ethylene gas during chilling.
Premature Growth During Chilling
Symptoms: Shoots or roots appear during the cold period, often pale and weak.
Causes:
- Chilling temperature too high (above 50°F/10°C).
- Bulbs exposed to light, stimulating early sprouting.
Solutions:
- Maintain strict cold, dark conditions throughout the chilling phase.
- Move pots to a colder location if necessary; insulate from fluctuating temperatures.
Pests And Diseases
- Rare indoors, but fungus gnats or aphids may appear if soil is kept too wet or if plants are moved outdoors.
- Use sticky traps, insecticidal soap, or natural predators (like nematodes) as needed.
- Ensure good air circulation and avoid overcrowding pots.
Data Table: Troubleshooting Quick Reference
| Problem | Likely Cause | Solution |
|---|---|---|
| Bulb rot | Overwatering, poor drainage | Improve drainage, reduce watering, discard affected bulbs |
| No blooms | Insufficient chilling, poor bulbs | Chill longer, use better bulbs |
| Weak stems | Low light, too much heat | Increase light, keep cooler |
| Premature growth | Chilling temp too high | Chill at 35–48°F |
Proactive monitoring and prompt action are key to avoiding most common problems.
Creative Indoor Tulip Display Ideas
Planting tulip bulbs in pots offers endless opportunities for creativity. Your indoor display can become a focal point, conversation starter, or mood booster, transforming ordinary spaces into vibrant oases.
Mixed Bulb Arrangements
- Combine tulips with hyacinths, crocuses, or daffodils for a layered spring effect. Choose varieties with similar chilling and blooming timelines for coordinated displays.
- Mix heights and bloom shapes for visual texture and interest.
Themed Color Schemes
- Use single-color groupings for a modern, elegant look that complements contemporary interiors.
- Create ombre effects by blending shades from light to dark, or try a rainbow mix for festive occasions.
- Select colors to match holidays or personal tastes—for example, red and white for Valentine’s Day, or pastels for Easter.
Window Box Gardens
- Long, narrow containers fit windowsills perfectly, maximizing limited space.
- Layer bulbs for staggered blooming times, ensuring continuous color over several weeks.
Tabletop Centerpieces
- Arrange pots of varying heights for visual interest and dynamic displays.
- Add moss, pebbles, or decorative twigs to the soil surface for a finished look.
- Incorporate candles, fairy lights, or seasonal décor for special events.
Giftable Pots
- Small pots of forced tulips make thoughtful, living gifts for birthdays, holidays, or as a cheerful pick-me-up.
- Personalize with hand-painted containers, decorative wraps, or unique plant markers.
Real-world Example: Corporate Office Displays
A San Francisco tech company installed forced tulip pots in communal spaces during winter, boosting employee morale and bringing color to the workspace. Employee surveys reported increased happiness and reduced stress levels, echoing findings from scientific studies on indoor plants. Regularly changing displays kept interest high and fostered a sense of connection to the natural world.
Advanced Tips For Indoor Tulip Success
Once you master the basics, these expert strategies can help you achieve exceptional results and experiment with new styles.
Staggering Blooms For Continuous Color
- Plant pots at two-week intervals during the chilling phase. This simple scheduling ensures a rolling succession of blooms, prolonging the enjoyment of your indoor garden.
- Bring out batches sequentially for a month-long bloom period, ideal for lobbies, waiting rooms, or event venues.
Using Grow Lights
- Full-spectrum LED grow lights ensure strong stems and vivid blooms in rooms with limited sunlight.
- Position lights 6–12 inches above foliage, providing 12–16 hours per day for optimal growth.
- Adjust light intensity and duration based on plant response; too much can cause leaf burn, too little may result in weak stems.
Reusing Bulbs
- While most forced tulip bulbs don’t rebloom well, Darwin Hybrid types have the best chance. Their larger size and vigor allow recovery with proper aftercare.
- Allow foliage to die back completely before removing bulbs from pots; store in a cool, dry place until fall replanting.
Fertilization And Growth Boosters
- Use a low-nitrogen, high-phosphorus fertilizer to encourage flowering over foliage.
- Avoid over-fertilizing, which can promote lush leaves at the expense of blooms.
- Incorporate organic amendments for longer-term soil health if you plan to reuse your potting mix for other projects.
Recording Results
- Keep a gardening journal to track variety, chill duration, bloom date, and successes or failures.
- Note environmental factors (temperature, light, watering schedule) to fine-tune your technique each year.
- Photograph your displays to document progress and inspire future projects.
Frequently Asked Questions
How Long Does It Take For Tulip Bulbs To Bloom Indoors?
From planting to bloom, indoor-forced tulip bulbs typically require 12–16 weeks of chilling followed by 2–4 weeks in warmth and light to flower. The total process takes 14–20 weeks, depending on bulb variety and environmental conditions. Patience is essential, but the reward is a vibrant, early spring indoors.
Can I Reuse Tulip Bulbs That Have Been Forced Indoors?
Most forced tulip bulbs will not rebloom reliably indoors due to the depletion of stored nutrients. However, you can plant the bulbs outdoors after flowering. Some types, especially Darwin Hybrids, may recover and bloom in the garden after one or two years of re-establishment, particularly if the foliage is allowed to fully mature and die back naturally.
Do I Need A Special Type Of Tulip For Indoor Pots?
Early-flowering tulip varieties such as Single Early, Triumph, and Fosteriana are best for indoor forcing. These types respond well to chilling and bloom reliably in pots. Always choose top-size, healthy bulbs for best results. Check with reputable suppliers for varieties specifically labeled as suitable for forcing.
What Is The Ideal Temperature For Chilling Tulip Bulbs?
The optimal temperature range for chilling tulip bulbs is 35–48°F (1.5–8°C). This can be achieved in an unheated garage, refrigerator, or cold cellar. Avoid freezing temperatures, which can damage the bulbs and hinder flowering. Consistent temperature is more important than minor fluctuations.
Why Are My Indoor Tulips Growing Tall And Floppy?
Tall, floppy stems indicate insufficient light during the growing phase. Move pots to a brighter location, ideally with several hours of indirect sunlight, or supplement with full-spectrum grow lights. Keeping the temperature slightly cooler (60–65°F) also helps produce stronger stems. Rotate pots frequently to promote even growth and prevent leaning.
Bringing tulip blooms into your home is a rewarding and achievable project that brightens even the coldest winter days. By understanding the science of forcing, selecting the right supplies, and following proven techniques, you can enjoy a vibrant display of color indoors long before spring arrives outside. Whether you’re seeking a cheerful windowsill, a unique gift, or a captivating centerpiece, indoor tulip pots offer endless possibilities for creativity and joy. For more expert tips, visit the Gardening Know How tulip guide. Happy indoor gardening!