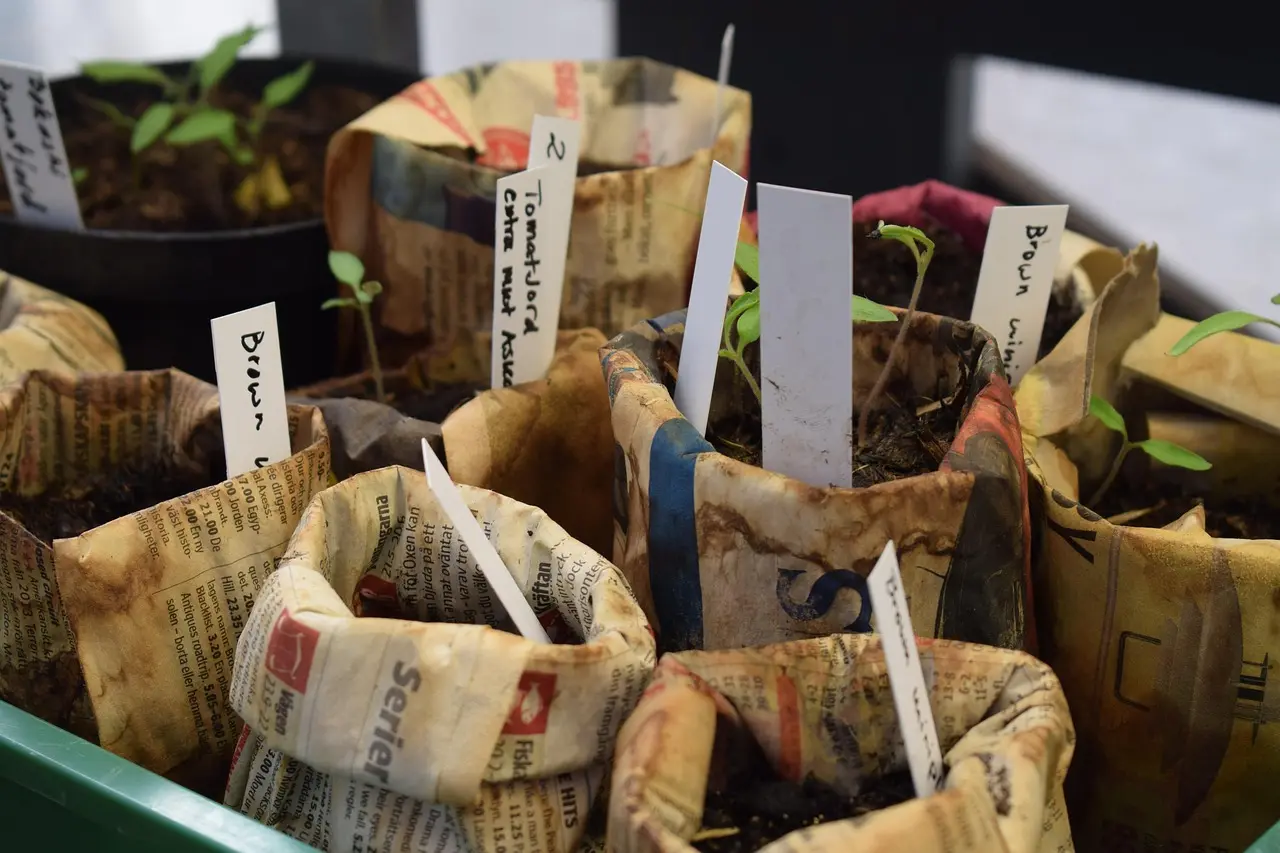
How to Label Seedlings So You Don’t Mix Them Up
Label seedlings with a waterproof tray tag and a backup planting log for every sowing, and pair each variety with a tray or cell number. If one label fades, the log keeps the batch identifiable. This guide lays out a simple system for labeling, logging, and keeping every seedling straight.
This guide is part of our Planting from seeds: a beginner’s guide series.
- Plastic plant tags or stake labels
- Masking tape for short-term labels
- Permanent marker, ideally fine-tip
- White marker or paint marker for dark pots and trays
- Avery labels or other printable adhesive labels
- Waterproof adhesive material for wet or high-touch setups
- Paper notebook, spreadsheet, or phone note for a planting log
- Optional tray map sketch for large flats or mixed sowings
Building a labeling system


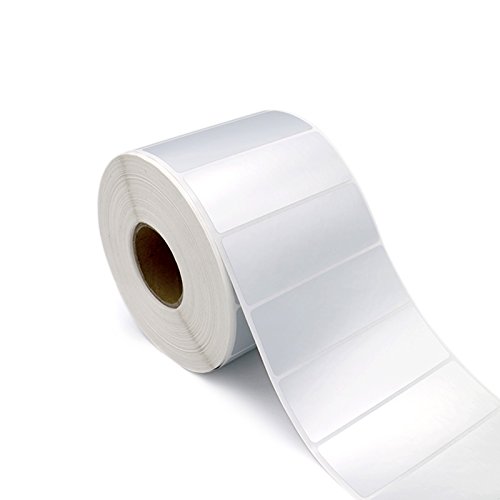
Label each sowing before the tray fills up or gets watered, then copy that label into a planting log. The fastest setup uses a visible tray label for quick reading and a record that ties each variety to a tray, section, or cell number. If one label fails, the backup keeps the batch identifiable.
What to write first
Write the variety name, sowing date, and tray or cell location on every label. That is the minimum that lets you match a seedling back to a flat or section later. If a batch has several varieties, add a number or letter for each row or section so the map and label match exactly.
Label the tray before the cells
For a single flat, label the tray first and add per-section labels only if you sow more than one variety in that tray. For a large batch, a tray label cuts clutter and saves time. For a mixed flat, use both: one master tray label and one label at each variety block.
Start with the label before the first cell is filled, then write the minimum details and match the label to the growing setup. For mixed flats or reused trays, add a map or log at the same time. That two-layer habit prevents one failed label from wiping out the record.
- Pick the label type before sowing.
- Write the variety name, sowing date, and tray or cell location.
- Mark the tray first, then the section or cell group if needed.
- Enter the same details in a planting log or tray map.
- Place the label where water and handling will reach it last.
- Check the label after watering and replace any smeared or loose tag.
Label each cell or the tray?
For one variety in one flat, label the tray. For a mixed sowing, label the tray and each variety block. Individual cell labels are usually too much unless the tray contains many varieties, a long grow period, or closely spaced lookalike seedlings. Most indoor starts are easier to manage at the tray or section level.
Say a 10-by-20 tray holds three tomato varieties in separate rows. A master tray tag gives the batch name, while small section tags mark each row. If one row label falls into the potting mix, the tray map still shows which row was planted first and which variety belongs there.
What you’ll need
Pick materials that stay readable after watering, misting, and moving flats around. The right setup depends on how long the seedlings stay indoors and how often the labels get touched.
- Seedling labels: plastic plant tags, printable adhesive labels, or waterproof stakes that can carry variety and date.
- Markers and adhesive options: a permanent marker for plastic, plus waterproof adhesive material when labels will stay wet or get handled often.
- Backup record setup: a planting log, spreadsheet, or tray map with variety, sowing date, and cell count.
- Optional quick labels: masking tape for short indoor starts, used only on a clean, dry surface.
How do you keep labels readable?
Use a marker and label material that fit the growing setup, then keep the writing out of the first splash zone. Labels fail most often from moisture, abrasion, and loss after transplanting. A backup tray map or planting log turns a faded tag into a fixable problem instead of a mystery.
Choose the right marker
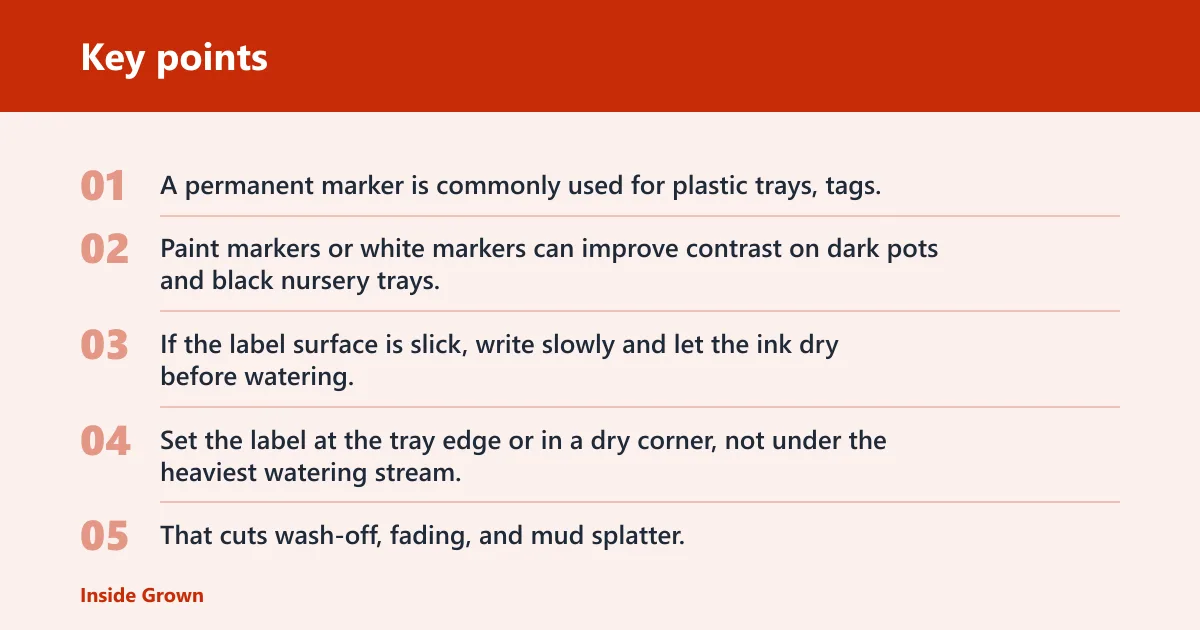
A permanent marker is commonly used for plastic trays, tags, and stake labels because it tends to smudge less than a standard pen. Paint markers or white markers can improve contrast on dark pots and black nursery trays. If the label surface is slick, write slowly and let the ink dry before watering.
Place labels where water hits last
Set the label at the tray edge or in a dry corner, not under the heaviest watering stream. That cuts wash-off, fading, and mud splatter. For flats under domes or in a humid room, use a waterproof adhesive material or a plastic plant tag that stays above the moist surface.
Seedlings so don t log
Keep one written record for every batch. A planting log should list the date, variety, and number of cells sown. A tray map should show which section holds each variety. Either one can recover the information if a tag peels off or a tray gets shuffled.
Seedling label decision table
This plain-text decision table shows the best label method for common seed-starting setups. Use it to choose fast, then confirm the batch in a planting log or tray map. The main failure risk is usually not the writing itself, but moisture, handling, or a label that was too temporary for the job.
| Scenario | Best label method | What to write | Most likely failure mode |
|---|---|---|---|
| Single variety tray | One plastic plant tag or waterproof adhesive label on the tray | Variety, sowing date, tray number | Tag slips out or gets moved during watering |
| Mixed tray | Master tray label plus section labels | Variety, date, row or section letter | Section label gets shuffled after thinning |
| Reused trays | Printable adhesive label or fresh waterproof tag | Variety, date, cell count, new batch ID | Old markings confuse the new sowing |
| Short indoor start | Masking tape label on a dry tray edge | Variety and date | Tape curls or peels before transplanting |
| Long indoor start | Plastic tag plus planting log | Variety, date, tray or cell number | Ink fades before hardening off |
| High-humidity setup | Waterproof adhesive material or stake label | Variety, date, section code | Condensation softens tape or smears ink |
What kind of marker lasts on plant labels?
A permanent marker is the safest default for plastic, tray tags, and adhesive labels, because it stands up better to moisture than a standard pen. On black or dark labels, a white marker or paint marker is easier to read. Even then, place the writing out of the direct splash path.
On smooth plastic, let the ink dry before the label gets wet. On adhesive labels, make sure the surface is clean and dry first. If the label will sit in humidity or near frequent misting, choose waterproof adhesive material rather than paper-backed labels that can wrinkle or lift.
Can I use masking tape for seedling labels?
Yes, masking tape works for short-term indoor starts on a clean, dry surface. It is fine for a quick tray label when seedlings will move on soon. It is a poor choice for wet corners, heavy misting, or any grow that will last long enough for tape to curl, peel, or lose legibility.
Use masking tape only as a temporary label, and write with a permanent marker. For a long indoor start or a humid setup, switch to a plastic tag or waterproof adhesive label. If you keep tape, back it up with a log on the same day.
How do I keep seedling labels from fading or falling off?
Use a label material built for moisture, then keep the writing dry as long as possible. Permanent adhesives are made to stick and stay put, while removable film is meant to come off cleanly and waterproof films are better where water is part of the routine. A backup log covers the rest.
- Choose waterproof adhesive material for wet or handled setups.
- Write with a permanent marker, or use a white marker on dark labels.
- Attach labels to a clean, dry surface before watering.
- Keep the label above the wettest corner of the tray.
- Copy the same details into a planting log right away.
Suppose a reusable tray gets relabeled for basil after an earlier pepper sowing. The old ink still shows faintly, so the new label should include the variety and a fresh batch date plus a section code. That extra line keeps the new batch distinct from the old one when the tray gets moved.
Do I need a separate label for each variety?
Yes, each variety needs its own clear identifier, even if several varieties share one tray. That does not always mean one label per cell. It means every variety must appear on a visible tray label, section tag, or row marker, with the same name repeated in the planting log.
For a large sowing, a tray-level label plus section codes is faster than labeling every cell. For a tiny batch with only two or three cells per variety, individual cell labels can be helpful. The rule is simple: every variety should be readable at a glance, and every label should have a backup record.
Common mistakes
The most common problems are easy to avoid. They usually show up after watering, when the tray has already been moved, or when a reused flat still has old markings.
- Waiting until after sowing: label first, then fill the cells so the tray never goes unmarked.
- Using the wrong surface: masking tape and paper labels fail faster on wet or dirty plastic.
- Writing too little: a name without a date or tray code is harder to recover later.
- Skipping the backup log: one lost tag can erase the whole batch if no map exists.
- Leaving old labels in reused trays: clear or cover earlier markings before starting the new sowing.
Copy the label into the log the same day it is made. That one habit keeps the batch recoverable even if a tag fades, peels, or gets buried in potting mix.
Frequently asked questions
How do I label seedlings so I don’t mix them up?
Use one visible tray tag and one backup record for every sowing. Write the variety, date, and tray or cell code on both. That way, a faded tag or a moved flat does not erase the identity of the seedlings.
What is the best way to label seedlings indoors?
A plastic plant tag or waterproof adhesive label works best for indoor starts that stay in the room for more than a short stretch. Pair it with a planting log. If the batch is small and short-lived, masking tape can work, but only on a dry tray edge.
Should I label each seed cell or just the tray?
Label the tray for one variety, and add section labels for mixed flats. Cell-by-cell labeling is useful only when many varieties share one tray or the seedlings will sit for a long time. For most indoor sowings, tray plus section is enough.