How to Plant Seeds in Seed Blocks for Cleaner Transplanting
Press about 1 to 3 seeds into the center of each soil block, matching seed size to block size: tiny seeds get a shallow pinch on top, medium seeds about one seed per block, and large seeds about one seed per larger block. Over-seeding or planting too deep can break blocks, force thinning, and shock roots at transplant time. This guide shows a crop-size-based sowing method that keeps blocks intact and transplants cleaner.
Why seed blocks help transplanting


Soil blocks hold seedlings without a plastic cell wall around the roots. That reduces root circling and cuts disturbance when you move seedlings to a garden bed or larger container. They also let you sow, thin, and transplant by crop size instead of forcing every seed into one standard hole.
Cleaner roots at move time
A block keeps each seedling steady while roots grow through the mix. When the block goes into the garden, roots tear less than they do when you pry seedlings out of trays. That matters most for crops that dislike transplant shock, including many vegetables and flowers started indoors.
When seed blocks are the better choice
Use blocks when you want flexible transplant timing, less plastic waste, and a cleaner handoff from sowing to planting out. They fit a repeatable indoor-start workflow, and they help when you compare sowing dates with a seed-starting calculator before moving crops outdoors.
What you need to start
A soil-block maker, a blocking mix that holds shape, a tray that fits the blocks, and a dibbler for planting holes are typically needed to start. For indoor starts, grow lights are optional but useful when natural light is weak. Labels help too, especially if you sow several crop sizes on the same day.
Soil-block maker and block sizes
A soil-block maker forms compact blocks that hold seedlings upright. Handheld versions are common for smaller batches; Johnny’s lists 10-Cell Handheld Soil Blocker, 12-Cell Handheld Soil Blocker, and 32-Cell Handheld Soil Blocker resources, plus 50-Cell Commercial Soil Blocker and 72-Cell Commercial Soil Blocker tech sheets. Match the block size to your tray and to the crop you plan to transplant.
The block size matters because small blocks dry faster and fit tiny seeds, while larger blocks give bigger seedlings more room before transplant. The tray underneath must fit the block footprint so the blocks stay upright and close together after pressing.
Blocking mix and moisture level
Blocking mix is a compost-based growing mix that must hold its shape when compressed. If it is too dry, the blocks crumble. If it is too wet, they slump, stay soft, and can invite surface algae. Moisture level changes block stability, so getting the mix right is not optional.
Tray, dibbler, and labels
A seed tray supports the blocks after pressing and after sowing. Size compatibility matters because blocks that sit too loosely tip or dry unevenly. A dibbler makes the sowing indentation, and its depth should match seed size. Labels are useful whenever you sow more than one crop or one seed size class.
Optional grow lights for indoor starts
Grow lights are optional, but they help when a bright windowsill is not enough. LED and T5HO options are commonly used for indoor starts. Keep the light close enough to prevent stretching, then adjust height as seedlings grow.
How do you plant seeds in soil blocks?
Press the blocks first, check that they hold together, then make a seed hole with a dibbler, place the right number of seeds in each block, and cover only as deeply as the crop needs. Finish by misting lightly and setting the tray where it can stay evenly moist until germination.
- Prepare a blocking mix that clumps when squeezed and releases without dripping.
- Press the soil-block maker firmly so each block holds edges and corners.
- Place the blocks in a compatible tray.
- Use the dibbler to make a hole matched to seed size.
- Drop in the correct seed count per block.
- Cover as directed for that seed size.
- Mist or water gently so the blocks settle without collapsing.
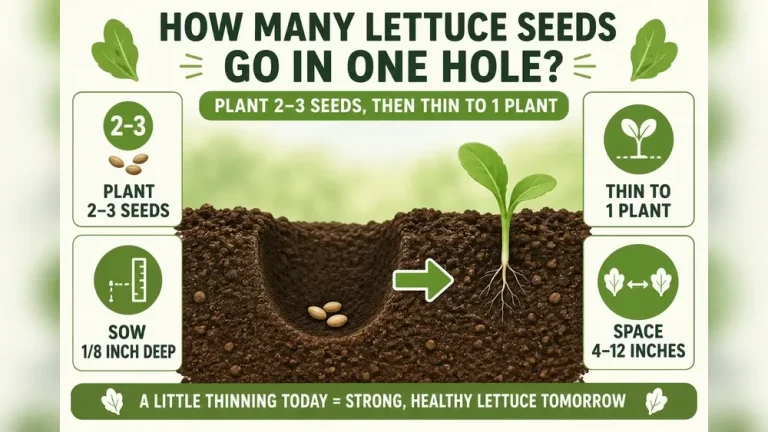
Do not guess at seed count. Count the seeds into the hole. That prevents over-seeding, which creates crowding, uneven sprouting, and extra thinning. Say your packet contains small lettuce seed and you are sowing into small blocks. One or two seeds per block is enough for a practical start; extra seeds only increase thinning and root disturbance.
Seed block sowing map
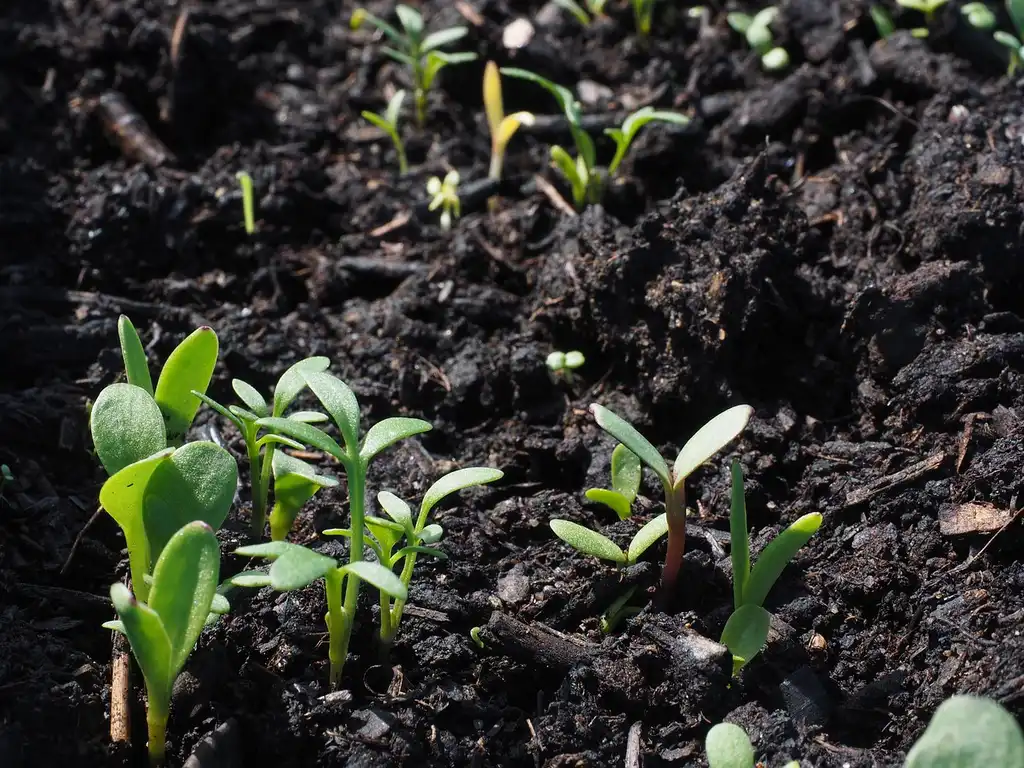
This map gives a plain-English starting point for hole depth and sowing count. Use it with the seed packet’s own directions when those are more specific. If a crop is very fine, keep the hole shallow. If the seed is larger, make the hole deeper and use one seed per block.
| Seed size class | Dibbler depth | Sowing count per block | Common failure mode |
|---|---|---|---|
| Tiny seeds | Surface pinch or very shallow indent | 1 to 3 seeds | Buried too deep, so seedlings never emerge |
| Medium seeds | Standard shallow hole | 1 seed | Too many seeds cause crowding and weak stems |
| Large seeds | Deeper hole matched to seed thickness | 1 seed | Hole too shallow, so the seed dries or lifts out |
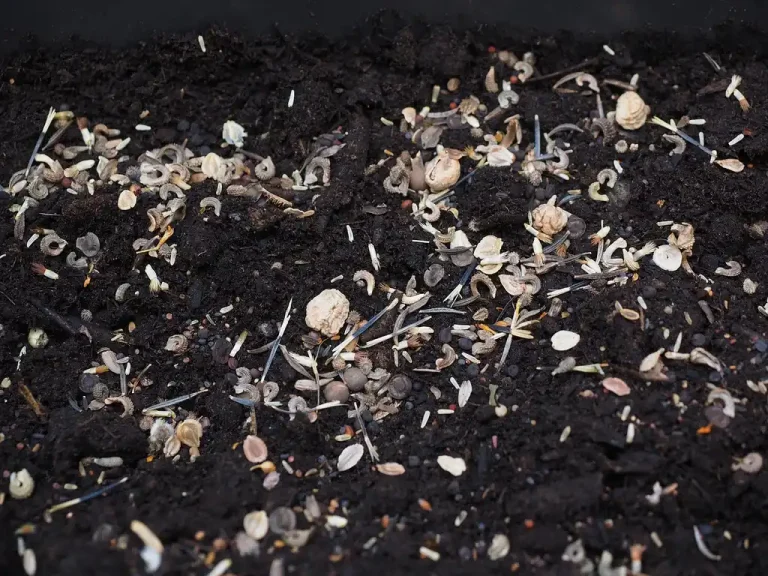
Cover tiny seeds lightly if the crop wants darkness. Leave very small light-sensitive seeds uncovered if the packet says to surface-sow. A thin dusting of vermiculite helps hold moisture without sealing the surface. For medium and large seeds, cover with the blocking mix itself unless the crop needs light to germinate.
Tiny seeds: shallow holes and light cover
Tiny seeds need the least disturbance and the least depth. A shallow pinch or narrow surface hole keeps them close to the light and avoids burying them under a crust of mix. A common first-timer mistake is to treat a tiny seed like a bean seed. That usually keeps the sprout from reaching the surface.
Medium seeds: standard dibbler depth
Medium seeds usually fit one per block with a shallow hole that is just deep enough to seat the seed. That depth gives contact with the moist mix while still letting the shoot rise cleanly. If you see weak, stretched seedlings, the hole may have been too deep or the light too weak.
Large seeds: deeper holes and single sowing
Large seeds need one seed per larger block and a deeper indentation. The goal is to hold the seed in place without compressing the hole so hard that emergence is slowed. If the block is small, move up to a larger block size instead of forcing a large seed into a shallow one.
How wet should blocks be before sowing?
Blocks should be moist enough to hold their shape when compressed, but not so wet that water squeezes out. If the mix crumbles, it is too dry. If it glistens, slumps, or sticks like mud, it is too wet. Sowing works best when the block feels firm and springy, not soggy.
Signs the mix is too dry
Dry blocks break at the corners, shed dust, or crack when you lift them. The surface may look pale and loose. In that state, seeds can fall into gaps, and the block may collapse after watering. Add water gradually and mix until it clumps evenly.
Signs the mix is too wet
Overwet blocks look shiny and may sag in the tray. The dibbler hole can close in on itself, and the block may smear instead of cut cleanly. Wet blocks also dry unevenly later, which can leave the top crusting while the center stays damp.
What to do if blocks crumble
If blocks crumble, the mix usually needs more moisture or firmer compression. Re-wet the mix in small amounts, then repress the blocks. Do not try to rescue a crumbly block by packing seed into a loose hole. The seedling will emerge into a weak structure and may topple.
How do you keep blocks from drying out?
Keep blocks evenly moist by bottom watering when the tray begins to lighten and by misting the surface if the top layer dries before germination. Strong airflow and hot light can dry blocks fast, so adjust spacing and light distance. Stable moisture helps roots grow through the block without stress.
Bottom watering and top misting
Bottom watering lets the block draw up moisture without washing away the seed or collapsing the top. Light misting helps during germination if the surface starts to dry. Use enough water to rehydrate the block, then stop before the tray sits in standing water for long periods.
Airflow and light timing
Seedlings dry faster under warm lights and in moving air. That is useful after emergence, but too much airflow before roots fill the block can dry the top layer too quickly. Keep the light close enough to avoid stretch, and use airflow in a controlled way rather than blasting the tray.
Surface algae and crust control
Surface algae usually means the mix stayed too wet, too still, or too long under warm light. Crust forms when the top dries hard after repeated drying and wetting. Both problems make emergence harder. Reduce standing water, increase light only after sprouts appear, and cover lightly with vermiculite instead of thick soil when the crop allows it.
When should seedlings be transplanted?
Transplant seedlings when they are sturdy, not when they are crowded. The best time is after roots hold the block together, before the plant is root bound, and after the seedling has enough leaf growth to handle move stress. For outdoor planting, hardening off should happen before the final transplant.
Readiness signs for roots and leaves
Look for roots that knit the block without circling hard around the outside, and leaves that match the crop’s normal seedling stage. If the block falls apart when lifted, wait a little longer. If roots are wrapping around the block edge, transplant sooner rather than later.
Picture a tomato seedling in a 12-cell block with roots reaching the edges but not circling tightly. That plant is usually ready for a larger container or garden bed after hardening off. If the same seedling sits longer and the roots spiral, transplant shock gets harder to avoid.
Using the seed-starting calculator
A seed-starting calculator helps you set indoor sowing dates based on the expected transplant timing. Start backward from your outdoor planting window, then count the indoor weeks the crop needs. That timing keeps seedlings from becoming oversized while they wait for warm weather.
Hardening off before outdoor planting
Hardening off is the step that gradually moves seedlings from protected indoor conditions to outdoor sun, wind, and temperature swings. It reduces transplant shock by acclimating the leaves and stems before final planting. Johnny’s includes Hardening Off Seedlings With Niki Jabbour in the same soil-block resource cluster.
Avoiding root binding in blocks
Root binding happens when seedlings stay too long and roots fill the block edge, then tighten into a mass. Once that starts, the seedling can stall. Move plants on time, especially in smaller blocks that dry quickly and fill faster. A larger block size buys a little more room, but it does not replace timely transplanting.
Frequently asked questions
What tools do you need to make soil blocks?
You need a soil-block maker, a blocking mix, a tray that fits the block size, and a dibbler for planting holes. Labels help with crop tracking. For indoor sowing, grow lights can help, especially LED and T5HO options. Johnny’s also groups blocking instructions and a Soil Blocker ROI Calculator with this topic.
Do soil blocks need a tray underneath?
Yes. A tray supports the blocks after pressing and makes watering, moving, and light placement easier. Tray size should match the block size so the blocks sit upright and do not spread apart. Without a tray, blocks dry unevenly and can break more easily when you move them.
Should you use one seed or multiple seeds per block?
Use one seed per block for most medium and large seeds. Use 1 to 3 seeds only for tiny seeds that are hard to handle or that germinate less predictably. If you sow multiples, thin carefully early. The goal is to avoid crowding, not to treat every crop the same.
What size soil block is best for tiny seeds?
Small blocks are usually the better match for tiny seeds because they fit shallow sowing and dry less slowly than very large blocks. The key is not size alone, though. The block must also match the tray and the blocking mix, or the block may crumble before the seedling establishes.
Can you use the same method for flowers and vegetables?
Yes, the same sowing method works for many flowers and vegetables, but seed depth and count still need to follow the crop. Tiny flower seeds often need a surface sow or very shallow cover. Larger vegetable seeds need one seed per deeper hole. Always match the block to the crop, not the other way around.
How deep do you make the hole in a seed block?
Make the hole deep enough to match seed size, not deeper. Tiny seeds need a shallow pinch or surface indent, medium seeds a standard shallow hole, and large seeds a deeper hole that holds the seed securely. If the hole is too deep, seedlings may fail to emerge or may weaken at the surface.