How to Tell Whether Seeds Are Rotting Before They Sprout
If a seed is soft, slimy, moldy, or foul-smelling before its usual germination window ends, it is likely rotting; if it stays firm and clean, it may simply be stalled. Ignore that split, and you can lose time, space, and an entire seed-starting tray. This guide gives you the symptom-and-timeline checks that help you wait, rescue, or restart.
Whether seeds rotting checklist
- Wait: the seed is still firm, the mix is only evenly moist, and the crop is still inside its normal germination window.
- Rescue: the seed is firm but conditions are off, such as a cold, wet, or airless tray that needs better warmth, drainage, or airflow.
- Restart: the seed is soft, slimy, moldy, collapsed, or foul-smelling, or the tray has clearly passed the normal window and the seed contents are breaking down.
How can you tell seeds are rotting?
Start with the clock, then inspect the seed. If the expected germination window has not passed and the seed is still firm, it may simply be slow. If the seed is soft, discolored, moldy, or smells bad, that points to seed rot, especially in a wet medium with little air. Extension guides note that germination timing varies by crop and temperature, so compare the seed’s condition against the crop’s normal window before pulling it; see the University of Minnesota Extension and UC ANR guidance on germination timing and seed-starting conditions for context.
Timeline first, then symptoms
A seed that has not emerged after a normal window is not automatically dead. Old seeds often sprout more slowly, and some crops naturally take longer. The key moment is when slow germination no longer fits the crop, the seed’s age, and the condition of the medium. For a quick reality check on whether a batch still has usable viability, use a paper-towel check rather than guessing; the paper-towel method is covered in this germination test guide.
Say your tomato seeds have been in a warm tray for about 10 days and still look clean and firm. That points more to a stall than rot. If the same tray smells sour and the seeds have turned mushy, decay has already started.
What you’ll need
- Clean label markers
- Seed trays or resealable plastic baggies
- Paper towels or coffee filters
- Sterile or clean seed starting mix
- A small trowel or spoon for careful digging
- Optional heat mat for warmth-loving seeds
What do rotten seeds look like in a seed tray?
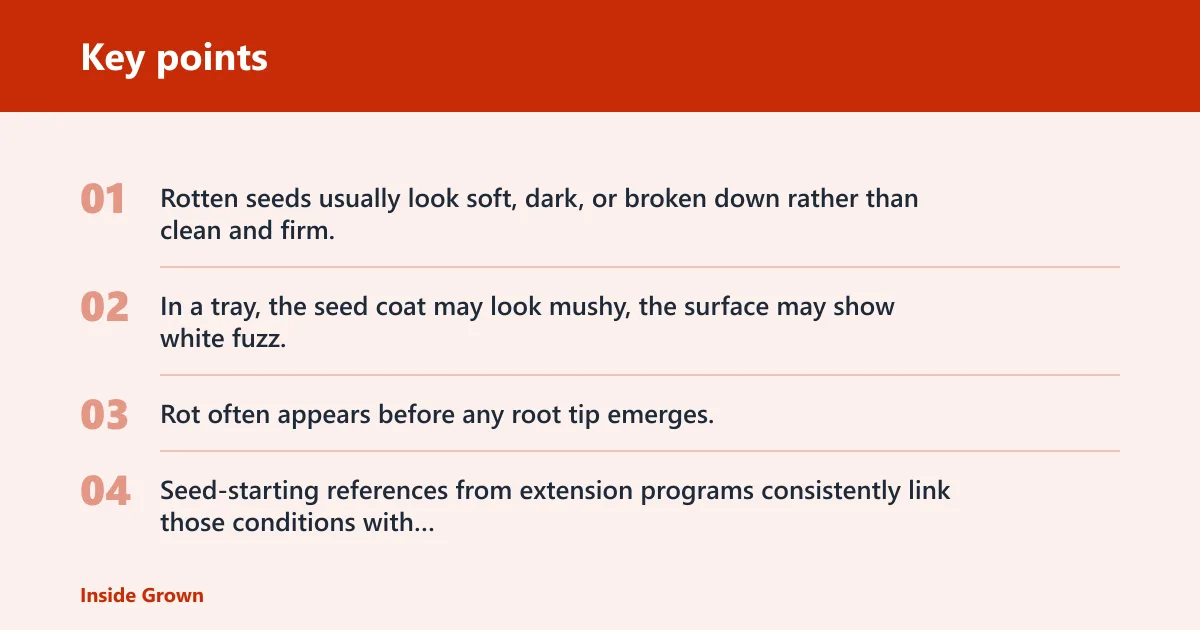
Rotten seeds usually look soft, dark, or broken down rather than clean and firm. In a tray, the seed coat may look mushy, the surface may show white fuzz, and the surrounding mix may smell stale or sour. Rot often appears before any root tip emerges, especially when the mix stays too wet and oxygen is limited. Seed-starting references from extension programs consistently link those conditions with decay and poor emergence.
Whether seeds rotting diagnostic table
| Symptom | Likely cause | Time since sowing | Confidence | Next action |
|---|---|---|---|---|
| Mushy seed coat | Seed rot from too-wet mix and low oxygen | Any time, but most concerning after the first few days in a saturated tray | High | Discard the seed and reduce watering |
| Soft, slimy feel | Advanced decay or pathogen activity | Usually after the seed should have remained firm in a normal window | High | Remove the seed and replace the mix |
| Foul odor | Rotting tissue in wet conditions | Most useful clue after several days in closed, wet, or stagnant conditions | High | Pull the seed and inspect nearby seeds |
| White fuzz on the seed or surface | Mold from excess moisture | Often appears within the first week if humidity stays trapped | Medium to high | Increase airflow and remove affected seeds |
| Dark brown or black discoloration | Decay or pathogen damage | More suspicious once the normal germination window has passed | Medium | Discard the seed if the coat is collapsing |
| Swollen but still hard | Water uptake without successful sprouting | Early to mid-window, before the crop’s normal emergence period ends | Medium | Wait a little longer if the window is still open |
| Split seed coat without a radicle | Stall after imbibition, often from stress | Usually after several days with no visible root | Medium | Check warmth and moisture before restarting |
| Floating seed after a soak test | Often poor viability, though not proof of failure | Before sowing or when sorting older seed lots | Low to medium | Use a germination test before tossing all seed |
| Cold, wet mix | Low oxygen plus slow metabolism | Most concerning during the first week for warm-season crops | High | Move to a warmer spot and ease watering |
| Crusted surface | Surface drying after repeated wetting | Anytime after repeated misting or uneven watering | Medium | Lightly break the crust and improve moisture balance |
| No change after the expected germination window | Old seed, poor viability, or rot | Most meaningful when the full crop-specific window has passed | Medium | Inspect one seed and compare it with the rest |
| Seed coat breaks down at the edges | Final-stage failure signs | Late-stage, after clear loss of firmness | High | Discard and clean the tray |
Why do seeds rot instead of sprouting?
Seeds can rot when moisture is present but oxygen is limited. Too-wet medium, poor drainage, cold soil, and compacted mix slow the seed’s metabolism and invite pathogens. A seed needs moisture to germinate, but saturation turns that help into a failure point. University extension resources consistently note that excessive moisture, poor aeration, and cool temperatures raise the risk of seed rot and damping-off in seed-starting systems.
Common causes to check
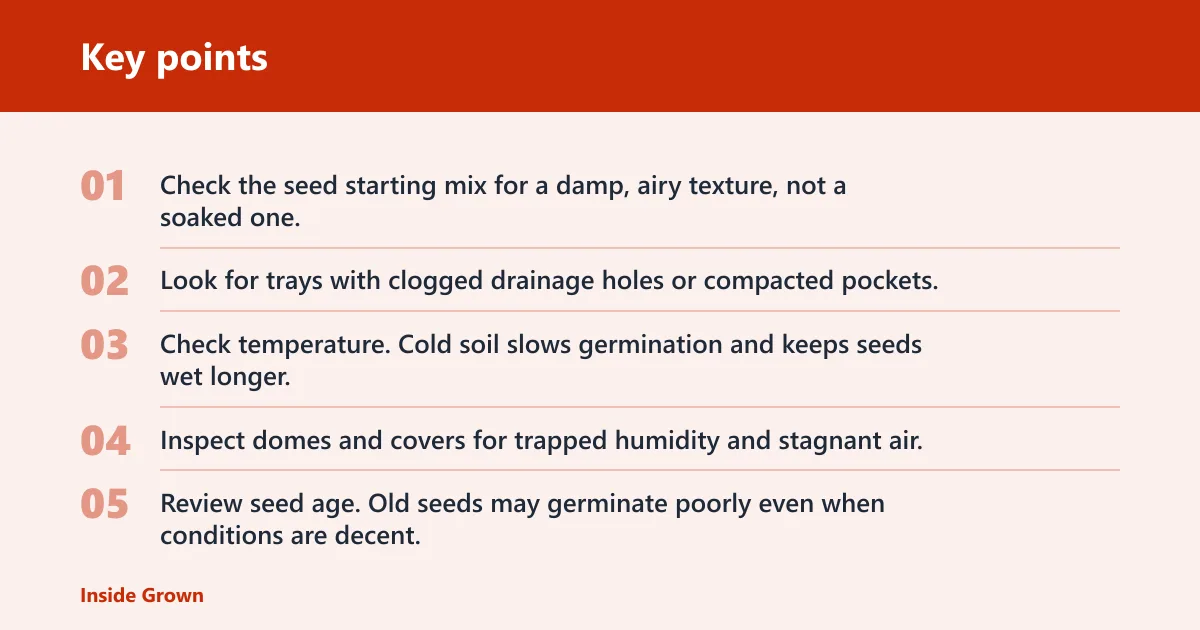
- Check the seed starting mix for a damp, airy texture, not a soaked one.
- Look for trays with clogged drainage holes or compacted pockets.
- Check temperature. Cold soil slows germination and keeps seeds wet longer.
- Inspect domes and covers for trapped humidity and stagnant air.
- Review seed age. Old seeds may germinate poorly even when conditions are decent.
Suppose a tray of peppers sits in a cool room with a heavy mix that stays wet for days. The same seed batch might still be viable, but the cold, water, and low oxygen can push it toward decay instead of sprouting. Seed-starting guidance from university extensions and seed-industry resources typically recommends warm, evenly moist, well-aerated conditions for peppers and similar warm-season crops.
What should you do next?
If the seed is still firm and within its normal germination window, wait and keep conditions steady. If the medium is too wet, too cold, or airless, fix the setup first. If the seed is soft, foul-smelling, or collapsing, restart with fresh seed and clean supplies. In practice, the decision comes down to whether the seed can still recover without being disturbed again.
If that did not work, try this next
- Improve warmth: move the tray to a steady warm spot or use a heat mat if the crop benefits from it.
- Fix moisture: let the mix dry slightly at the surface, then water only enough to restore even dampness.
- Increase airflow: open covers or domes partway so humidity does not sit on the seed surface.
- Restart if needed: replace the mix, clean the tray, and sow fresh seed if the first seed is decomposing.
A common first-timer mistake is pulling a sowing plug apart to check the seeds every morning. That breaks roots that are just starting and can turn a salvageable tray into a lost one. Check only when the timing and symptoms point to a real problem.
How long should you wait before assuming seeds failed?
Wait through the normal germination window for that crop, then reassess. Older seeds may need longer, and some crops are naturally slow. If the seed is still firm and the mix is not rotten, give it more time; if the seed has turned soft or moldy, waiting longer will not help. Extension tables for germination windows vary by crop and temperature, so use the crop’s expected range rather than a one-size-fits-all timer.
Use viability as part of the decision
Seed viability is the chance that a seed can still germinate. Age lowers that chance, but age alone does not prove a seed is dead. If you suspect weak stock, run a simple germination test with a few seeds on a paper towel or coffee filter inside a labeled baggie. That method gives a faster read on whether a whole packet is worth saving before you commit tray space.
- Place a few seeds on a lightly moist paper towel or coffee filter.
- Seal them in a labeled resealable plastic baggie.
- Keep the bag warm, but not hot.
- Check daily for swelling, splitting, and root emergence.
Should I dig up a seed to check if it is still alive?
Dig up a seed only after the usual window has passed, or if the tray shows clear failure signs such as smell, fuzz, or mushiness. If the seed is still firm and the crop is known to be slow, leave it alone. Repeated digging does more harm than good, and it can spread decay through the tray if the problem is already microbial.
When inspection is worth it
Use a spoon or small trowel and lift one seed from the edge of the tray, not the center. Check for a firm coat, a white root tip, or decay. If one seed is rotten, inspect the rest only if the same wet conditions affected the whole tray. If the batch is generally clean and within the normal window, re-cover and wait.
How do I stop seed rot from happening again?

Use clean supplies, a sterile or clean seed starting mix, and drainage that keeps the medium moist rather than saturated. Pre-sprouting can help some crops, but it is not a fix for every seed. Seeds that dislike repeated handling or disturbance are poor candidates for pre-sprouting, especially delicate or slow root crops and seeds that resent transplanting. Better candidates are crops that tolerate careful handling and have more obvious, visible germination stages.
Seeds that are poor candidates for pre-sprouting or repeated disturbance
Skip repeated handling for seeds that are easily damaged, slow to recover, or likely to be set back by root disturbance. Avoid overhandling tiny seeds that are hard to place accurately, seeds with long taproots that dislike transplanting, and crops that are better sown directly where they will grow. In that group, examples often include carrots, parsnips, beets, spinach, dill, and other direct-sow crops rather than the broader “easy pre-sprout” list that beginners sometimes see.
Pre-sprouting with less risk
Paper towels or coffee filters work well for visible monitoring because you can see whether a seed is swelling, splitting, or breaking down. Keep the medium lightly moist, not soaking. Separate seeds by variety in labeled baggies, and check them often so decay does not spread.
Prevention
For a repeat problem, start with sanitation. Clean trays, fresh mix, and clear labels reduce mix-ups and carryover pathogens. Use a heat mat only when the crop needs extra warmth, and stop if the tray gets too wet or too warm. Extension guidance on damping-off prevention also emphasizes airflow, clean containers, and avoiding overwatering because those conditions reduce pathogen pressure at the seed and seedling stage.
Which seeds are most likely to rot before sprouting?
Seeds that sit in wet, cold, or poorly drained conditions are most at risk. Old seeds can fail more often because viability drops with age, and hard-to-germinate seeds often stay in the medium longer, which gives rot more time to start. Seed industry and extension sources also note that germination windows are crop-specific, so the risk rises when a slow crop is left damp beyond its normal emergence period.
Higher-risk situations
- Cold rooms with slow-drying trays
- Mix that stays wet after watering
- Covered domes with trapped humidity
- Deeply buried seed in dense soil
- Older seed lots with weak germination rates
Heat mats can speed germination for warmth-loving seeds, but they can also worsen rot if overwatering is already a problem. Warmth helps only when drainage and airflow are under control.
Frequently asked questions
How can you tell if seeds are rotting before they sprout?
Check for soft texture, discoloration, white fuzz, and a foul smell. Then compare the seed’s age with its normal germination window. A firm seed with no visible root may still be fine; a mushy or smelly seed is usually failing and should be removed.
Why do seeds rot instead of germinating?
Too much moisture and too little oxygen are the main reasons. Cold soil slows the seed down, poor drainage keeps the medium wet, and pathogens move in when the seed sits too long in those conditions. Old seed stock can make the problem worse.
Can I save seeds that smell bad or feel mushy?
No. A bad smell and a mushy texture usually mean the seed is already decomposing. Pull it out, discard it, and clean the container or tray before reusing it. If nearby seeds were in the same wet mix, inspect them too.
Sources
- University of Minnesota Extension, seed germination and seed-starting guidance: https://extension.umn.edu/planting-and-growing-guides
- UC ANR, vegetable seed germination and seedling production resources: https://ucanr.edu/sites/gardenweb/
- Cornell Cooperative Extension, damping-off prevention in seedlings: https://www.gardening.cornell.edu/homegardening/scenefaq/seedlings.html
- North Carolina State Extension, seedling diseases and damping-off: https://content.ces.ncsu.edu/damping-off-in-seedling-production
- Seed Savers Exchange, seed storage and viability basics: https://www.seedsavers.org/seed-storage