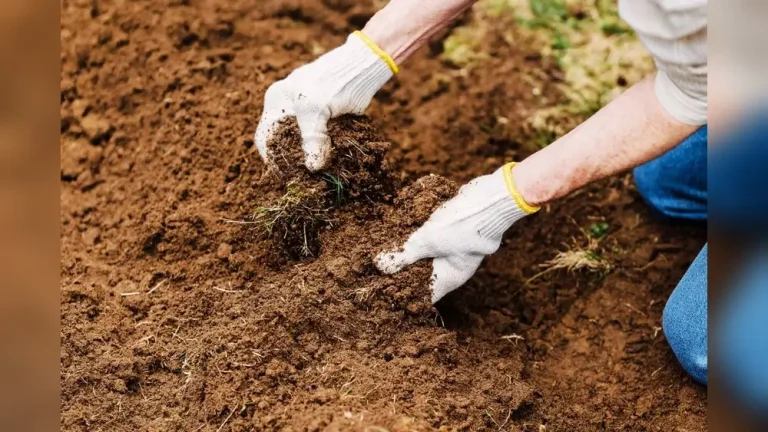
How to Improve Clay Soil for Landscaping Plants Fast
Fix the root zone first: dig wide, not deep, add compost to the planting zone, set plants high, and mulch; save full-bed soil work for later, because clay structure changes slowly. Skip that, and roots sit in cold, wet soil, plants stall, and expensive shrubs fail after the first rain cycle. This guide shows what to do at planting time and what actually improves clay beds over seasons.
What you’ll need before you start
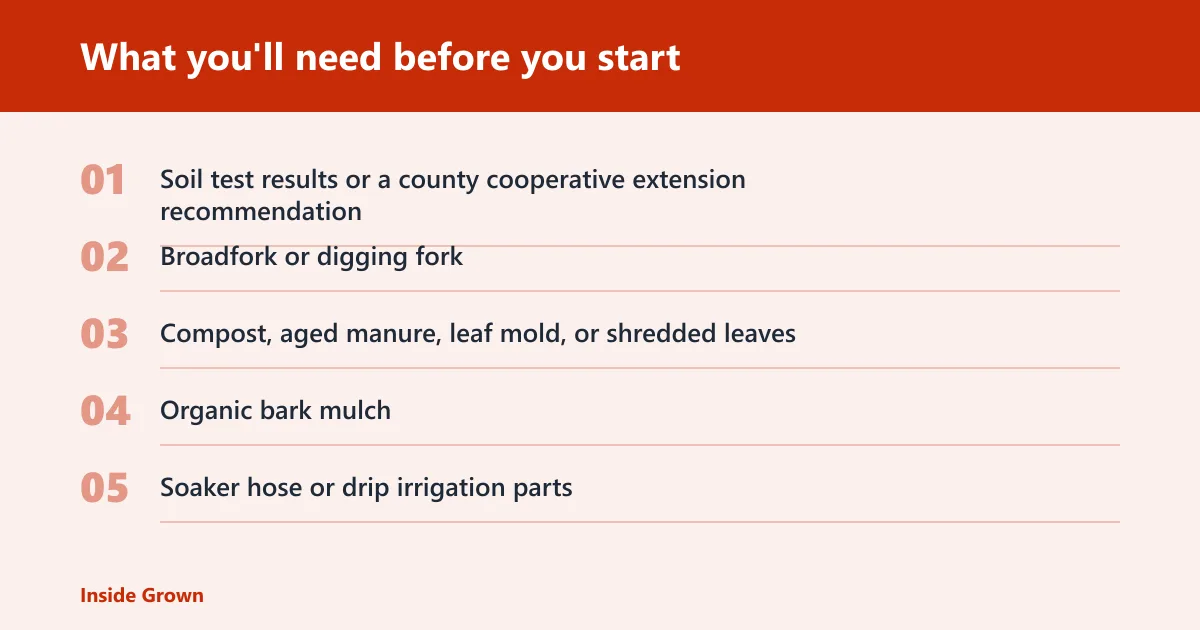


- Soil test results or a county cooperative extension recommendation
- Broadfork or digging fork
- Compost, aged manure, leaf mold, or shredded leaves
- Organic bark mulch
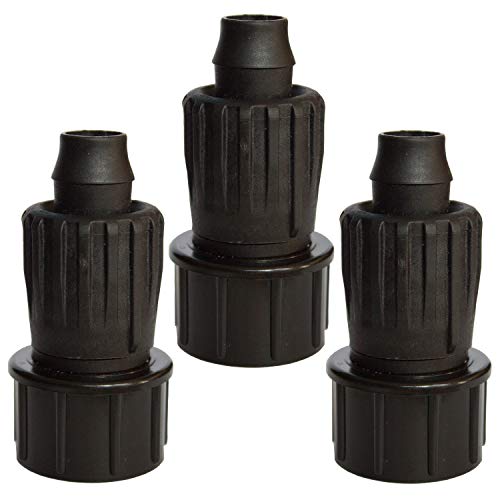
- Soaker hose or drip irrigation parts
- Expanded shale for longer-term bed improvement
- Gloves, wheelbarrow, and a tarp for mixing materials
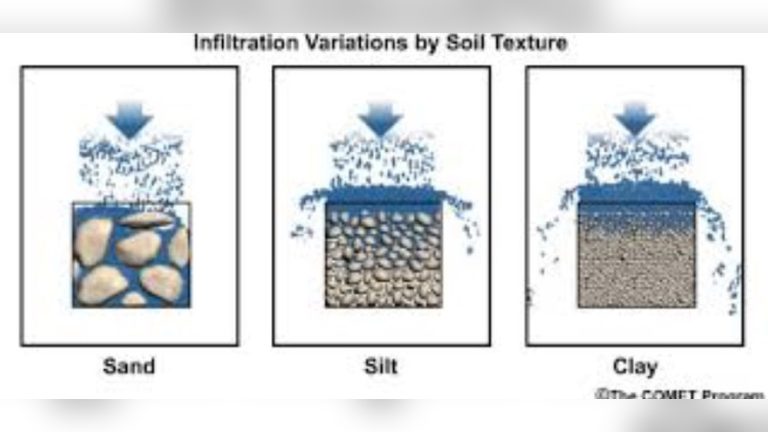
Clay soil has very small particles. It packs hard when wet or dry, holds water and nutrients, and leaves little pore space for roots. A soil test can keep you from spending on the wrong fix, and extension guidance can tell you whether drainage, pH, or compaction is the main limit.
According to How to Amend & Improve Clay Soil – In 4 Simple Steps — Winter rye germinates in soil as cold as 33–34°F (1–2°C).
How do you know clay soil is too wet to work?
Clay is too wet to work when it smears, sticks to tools, and forms a slick ribbon that keeps its shape instead of crumbling. If a handful makes a muddy ball and leaves a shine on the surface, stop. Working that soil now usually makes a dense smear layer that roots struggle to cross.
The hand test for workable moisture
- Grab a handful from 3 to 4 inches down.
- Squeeze it once.
- Break it open with your fingers.
- Proceed only if it crumbles into rough aggregates instead of smearing.
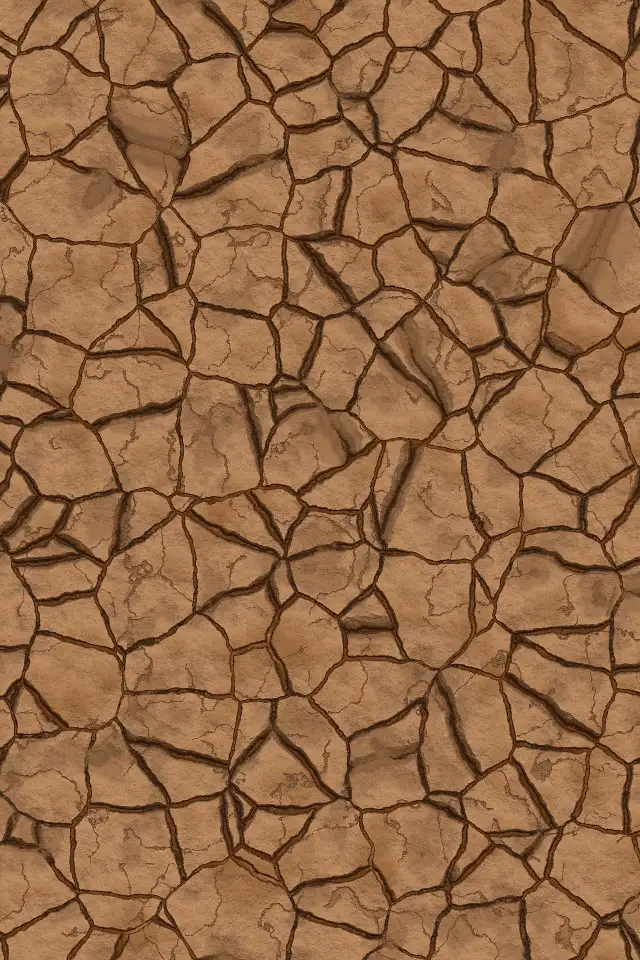
Clay soil can become hard and cracked when dry, but that does not mean it is ready to dig. Work it when it is damp enough to cut cleanly and dry enough to crumble at the break point.
What to avoid when the soil sticks or smears
- Do not till or fork saturated ground.
- Do not walk repeatedly through the same bed.
- Do not mix in sand to “dry it out.”
How to improve clay soil without replacing it?

Improve the root zone, not the whole yard. The fastest useful change is targeted aeration plus organic matter in the planting area, then mulch and slow watering after planting. That gives roots a better start this season while the deeper structure changes in smaller, repeated steps over time.
Step 1: Test drainage and mark the root zone
- Dig a small hole in the intended planting area.
- Fill it with water and watch how long it lingers.
- Mark only the bed area that new roots will use.
Keep work local. For shrubs and perennials, the useful amendment zone is the planting pocket and the surrounding root run, not the whole bed. That targeted approach avoids unnecessary disturbance and keeps the soil profile from being turned upside down.
Step 2: Loosen compacted clay without overworking it
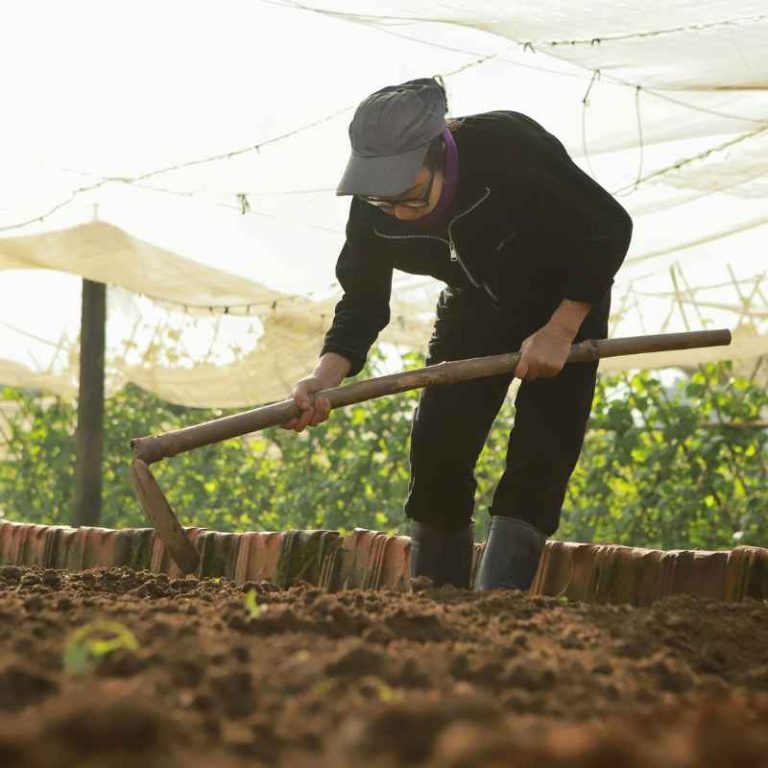
- Use a broadfork or digging fork on soil that is workable, not saturated.
- Push the tines in, rock them gently, and lift without flipping the layer.
- Stop when the soil opens instead of turning glossy.
A broadfork or digging fork creates cracks and channels that let roots, water, and air move more easily. Aeration is most useful in fall and spring, and the goal is opening space, not pulverizing clods into paste.
Step 3: Mix in the right amendments for the job
- Blend compost, aged manure, leaf mold, or shredded leaves into the top layer.
- Work organic matter into the top 6 to 12 inches of soil.
- Add expanded shale if you want longer-lasting pore space.
Clay soil improves when you add organic matter such as compost and aged manure. Organic matter should be dark, crumbly, and earthy-smelling. Expanded shale does not decompose, so it can help create lasting air pockets when mixed with organic matter in the amended zone.
For planting beds, keep disturbance focused on the top 8 to 10 inches. That is enough for most plantings without creating a hard interface below the root zone.
What should you mix into clay soil for landscaping plants?
Mix compost first, then add other stable organic materials as needed. For shrubs, perennials, and flowers, the best blend is usually compost plus leaf mold or shredded leaves, with aged manure only if it is fully finished. Expanded shale makes sense when the bed needs longer-lasting pore space.
The material matters. Compost should look finished, not fresh and fibrous. Leaf mold and shredded leaves help keep particles apart while feeding soil life over time. Aged manure adds organic matter, but it should be cured enough that it does not burn tender roots.
How deep should you amend clay soil before planting?
Amend the top 6 to 12 inches for planting, with most beds aiming at the upper part of that range. Keep the amendment where roots will actually grow. Deep disturbance below that zone wastes effort and can create a layered profile that drains worse, not better.
For shrubs and perennials, a widened planting hole and an amended surrounding zone usually work better than a single deep, narrow hole. Plant high so the root flare sits above the surrounding grade, then backfill with the improved mix.
Should you add sand to clay soil?
Usually no. Sand can make clay behave like concrete if the proportions are wrong, especially when it is mixed casually into a small area. A true engineered soil blend can work, but that is not the same as tossing in a few bags of sand and hoping for drainage.
Safer alternatives are compost, leaf mold, shredded leaves, and, where needed, expanded shale. Those materials improve pore space and biological activity without creating a dense, cement-like mix.
Step 4: Plant, mulch, and water for root establishment
Set plants in a widened, amended root zone, cover the surface with 2 to 3 inches of mulch, and water slowly near the base. That combination reduces runoff on dense soil, keeps the surface cooler, and helps roots move down instead of circling in a wet pocket near the top.
Planting and watering sequence
- Set the plant so the root flare stays just above grade.
- Backfill with the amended soil mix and firm lightly.
- Apply 2 to 3 inches of organic bark mulch, kept away from stems.
- Place a soaker hose or drip line near the plant base.
- Run slow watering for about 30 to 60 minutes, then check moisture about 3 inches deep before watering again.
Slow watering matters because clay accepts water slowly. If water runs off before it penetrates, root zones stay dry underneath and muddy on top. Check moisture depth before every irrigation cycle until plants are established.
How can you improve clay soil over time?
Long-term change comes from repeated organic matter additions, periodic aeration, and cover crops in open beds. One amendment pass helps planting. Multiple seasons of organic input help the soil structure change in a lasting way. That is the difference between survival and real improvement.
Repeat organic matter additions
- Top-dress beds with compost or shredded leaves each season.
- Refresh mulch when it thins below the target depth.
- Re-aerate compacted areas in fall and spring.
How often you re-amend depends on traffic, rainfall, and how fast the bed settles. In practical terms, a yearly top-up in active beds is more realistic than a one-time overhaul. Clay changes slowly, but it does change when organic matter keeps arriving.
Use cover crops in open beds
Cover crops are useful where the bed is open for a season or more. Daikon radish roots can get fairly long, cereal rye can germinate in cool soil, and crimson clover tends to do best in warmer USDA zones. Their roots make channels that later roots can follow.
That makes cover crops a longer-term tactic, not a fix for plants that need to go in now. Use them where the bed can rest between planting cycles.
What plants grow best in clay soil while you improve it?
Clay-tolerant plants establish more reliably when drainage is only moderate and the root zone has been widened and mulched. Shrubs, tough perennials, and many native plants usually outperform shallow-rooted, droughty favorites that hate wet feet. Match the plant to the bed condition, not to wishful thinking.
For planting in heavier clay, choose plants that can handle slower drainage and seasonal wetness while the structure improves. If the site still holds water after rain, favor plants known to tolerate moist soils rather than forcing dry-site species into a bad setting.
Clay-soil amendment decision table and failure checklist

Use the table below to choose the right strategy for shrubs, perennials, and small flower beds. Budget and drainage severity matter as much as plant type. A small, wet bed with a limited budget needs a different answer than a larger shrub border with time to build soil structure.
| Plant type | Bed size | Drainage severity | Best strategy | Budget range |
|---|---|---|---|---|
| Shrubs | Single planting hole or border strip | Moderate | Loosen with fork, amend top 8 to 10 inches, mulch, drip irrigation | Low to medium |
| Perennials | Small bed | Moderate to heavy | Compost plus leaf mold, shallow targeted aeration, 2 to 3 inches mulch | Low |
| Flower bed | New bed under 100 sq ft | Heavy | Expanded shale plus organic matter, planted high, slow watering | Medium |
| Mixed border | 100 sq ft or more | Moderate | Stage improvement over seasons, top-dress annually, add cover crop in open sections | Medium to high |
Failure-case checklist for wet-soil work
- Soil shines or smears when cut
- Boot prints fill with water or hold a slick film
- Tools pull up greasy ribbons of clay
- Water still sits in the test hole long after filling
- The bed was worked right after rain
If any of those are true, stop and wait for drier conditions. Working wet clay creates more compaction, not less. That is the most common way a promising planting bed gets worse.
Common mistakes
One-time fixes fail when they ignore the root zone and water movement. The problem is usually not a lack of effort. It is doing the right material in the wrong place, or doing it when the soil is too wet.
- Tilling saturated clay
- Planting too deep instead of high
- Adding sand as a casual shortcut
- Using too little mulch or piling it against stems
- Expecting one compost pass to permanently change heavy clay
- Ignoring drainage tests before buying plants
Prevention: keep foot traffic out of wet beds and refresh mulch each season so the surface stays open to water and air.
Frequently asked questions
How do you improve clay soil without replacing it?
Work the planting zone, not the whole bed. Add compost or similar organic matter to the top 6 to 12 inches, loosen with a fork when the soil is workable, then mulch 2 to 3 inches deep. Repeat organic additions over time instead of trying to fix everything at once.
What should you mix into clay soil for landscaping plants?
Use compost first, then add leaf mold, shredded leaves, or aged manure if it is fully finished. For beds that need longer-lasting pore space, mix in expanded shale as well. Keep the blend in the root zone, and do not bury the plant below its original crown level.
How deep should you amend clay soil before planting?
Aim for the top 6 to 12 inches, with many beds doing well at the top 8 to 10 inches. That gives roots a better start without creating a deep, disturbed layer that drains poorly. Keep the work limited to the area the roots will use this season.
Should you add sand to clay soil?
Usually avoid it. Small amounts of sand mixed into clay can make the texture worse, not better, unless the blend is engineered in the right ratio. Compost, leaf mold, and expanded shale are safer choices for shrubs, perennials, and flower beds.
How do you know if clay soil is too wet to work?
If a handful smears, shines, or forms a sticky ribbon, it is too wet. A simple check is to dig a small sample from about 3 inches down and squeeze it once. If it does not break into rough crumbs, wait for drier conditions before digging or amending.
How often do you need to re-amend clay soil?
Re-amend regularly in active beds, and top-dress with organic matter again when mulch thins or the soil settles. Clay improves slowly, so yearly additions are normal. Beds with more foot traffic or more intense rain exposure may need attention more often.