How to Tell If Soil Is Safe for Edible Gardens
You can’t tell by appearance alone: if a site may have lead, arsenic, old paint, treated lumber, or industrial fill, test about the top 6 inches before planting edibles. Growing food in contaminated soil can put heavy metals in harvests and leave you guessing for years. This guide explains what soil tests can and cannot tell you, how to spot contamination risks, and what to do if your soil is unsafe.
Quick answer: plant, test, or build raised beds
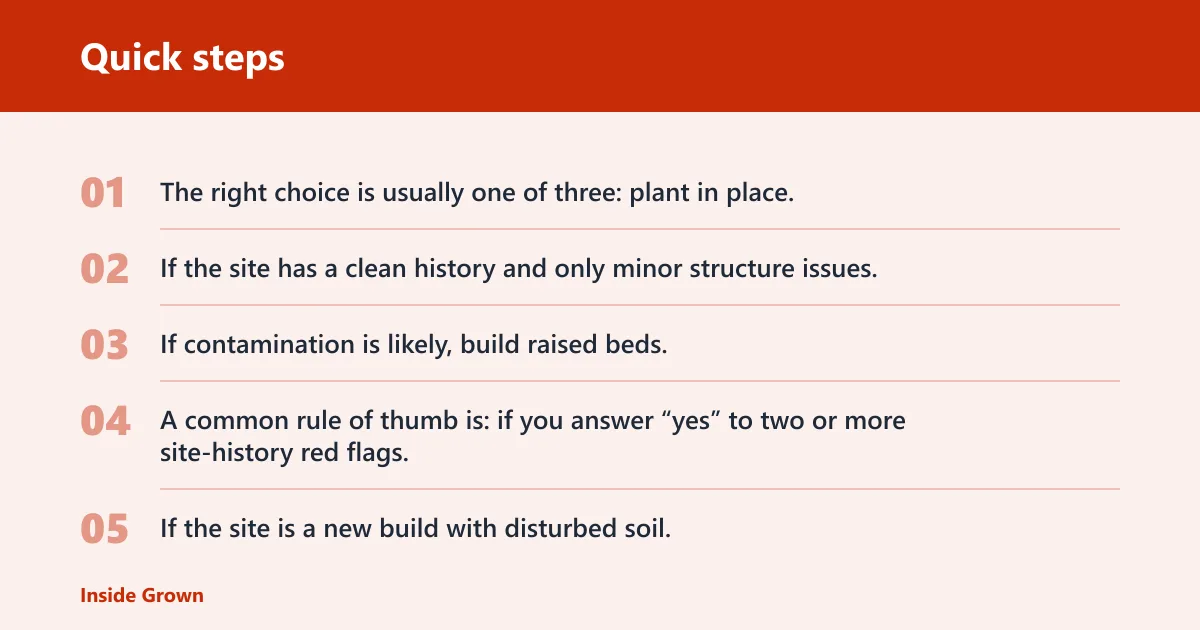
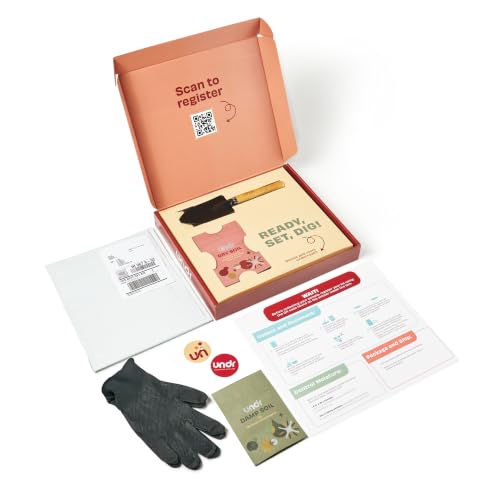


The right choice is usually one of three: plant in place, send a soil sample for lab testing, or use raised beds with clean fill. If the site has a clean history and only minor structure issues, you may be able to plant after improving drainage and compaction. If the history is unclear, test first. If contamination is likely, build raised beds.
A common rule of thumb is: if you answer “yes” to two or more site-history red flags, or if the site has any strong contamination clue, move to lab testing rather than relying on visual checks. If the site is a new build with disturbed soil, that is already enough reason to check carefully before installing an edible bed.
Can you eat soil if it looks clean?
No. A clean look does not prove the soil is low in lead, arsenic, cadmium, mercury, or pesticide residues. Soil can look dark, crumbly, and healthy while still carrying contamination from old paint dust, treated wood, historic fill, petroleum, or construction debris. Visual inspection tells you about structure, not food safety.
What makes soil unsafe for food crops?
Soil becomes unsafe for edibles when it contains contaminants that can move into harvests or expose you during gardening. Common pathways include lead paint dust near older buildings, treated wood, historic fill, pesticides, petroleum, and construction debris. Heavy metals matter most in urban areas and near roads, where dust and fill can raise risk.
Which crops need the strictest caution?
Leafy greens and root crops need the strictest caution when contamination is possible. Lettuce, spinach, kale, carrots, beets, radishes, and other crops that either sit close to soil or grow in it can collect more contamination than fruiting crops such as tomatoes or peppers. That does not make fruiting crops immune, but it changes the risk level.
Picture a 20-by-20-foot bed near an old garage where the soil looks loose but the site once had peeling exterior paint. Even if tomatoes may be the first crop you want to grow, the better move is to test before planting lettuce or carrots, because those crops deserve the most caution.
What metals matter most?
Lead, arsenic, cadmium, and mercury are commonly treated as key concern metals. They are especially important in older urban settings and near roads, where past paint, traffic dust, and fill can leave behind contamination. If the site history suggests any of those sources, an accredited lab is the right way to check.
Edible soil checklist
This checklist helps you decide whether to plant, test, or build raised beds. Use it as a triage tool, not as proof that soil is clean. A “yes” to history clues or a cluster of field problems should move you toward testing, especially before you install a permanent food garden.
| Can I grow food here? | Yes/no prompt | Why it matters |
|---|---|---|
| Site history red flags | Was there old paint, treated wood, historic fill, industrial use, pesticides, petroleum, or construction debris? | These are common contamination pathways. |
| Site history red flags | Is the site near an old house, garage, road, or other source of dust? | Lead and other metals are more likely in those settings. |
| Quick field checks | Does water puddle or run off after rain or irrigation? | Poor drainage can point to compaction or clay dominance. |
| Quick field checks | Is digging hard, even after rain? | Hard digging often means compacted soil. |
| Quick field checks | Are plants stunted, shallow-rooted, or growing in bare patches? | Those are common signs of poor soil structure. |
| When to send a lab sample | Are you unsure about any contamination source? | Visual inspection does not tell you about food safety. |
| When to send a lab sample | Are you planning leafy greens or root crops? | Those crops need the strictest caution. |
Score threshold: 0-1 “yes” answers and no contamination clue may support planting after basic soil improvement. About 2 to 3 “yes” answers, or any contamination clue, should trigger lab testing. Any strong contamination source or uncertain history points to raised beds until the site is cleared or remediated.
What signs point to compaction instead of contamination?
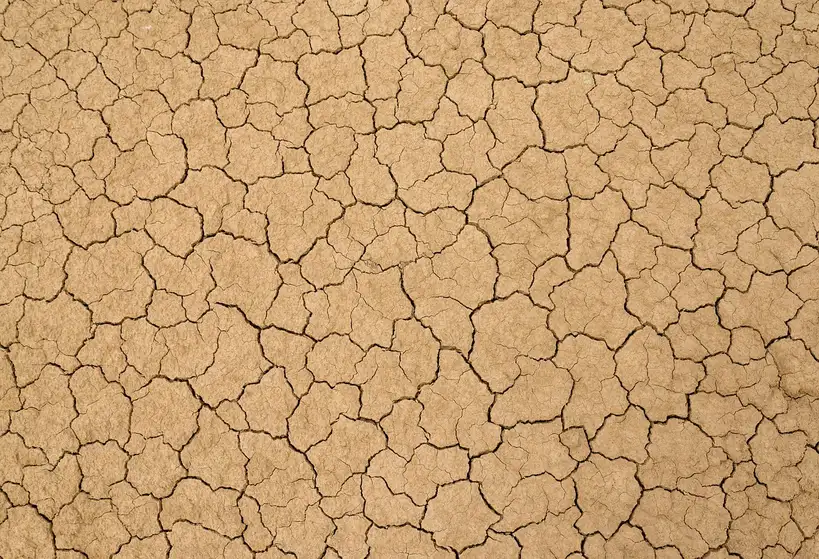
Compaction shows up as a soil structure problem, not a food-safety problem by itself. It reduces pore space for water, oxygen, and nutrients. Common signs include pooling or puddling water, runoff, hard digging, stunted growth, shallow roots, and bare patches. Those clues tell you the soil is difficult for plants, but they do not rule contamination in or out.
How do you check compaction at home?
Use a long metal rod or a shovel to gauge resistance. Push it into the soil in several spots. If it stops quickly or feels notably resistant, the soil may be compacted. Test after irrigation or rain and in high-traffic areas, since heavy equipment and frequent foot traffic often cause compaction.
New homes are a common setting for compacted soil in future garden areas. Topsoil may be added over severely compacted subsoil at new construction sites, which can leave a bed that looks usable but still drains poorly. That is why new-build lots deserve a closer check before you plant edibles.
Why does traffic matter?
Heavy equipment use is a common cause of compacted soil, and a lot of foot traffic can also compact soil. Driveways, paths, utility work, and staging areas often leave the surface dense enough to block water movement. When that happens, roots struggle to spread and crops lose access to moisture and air.
How do you check drainage, texture, and pH?
Drainage, texture, and pH help you judge whether soil can support edible plants, but they do not prove it is free of contaminants. Drainage tells you how quickly water moves through the bed. Texture tells you whether sand, silt, and clay dominate. pH affects nutrient availability and contaminant mobility.
What should you look for in drainage?
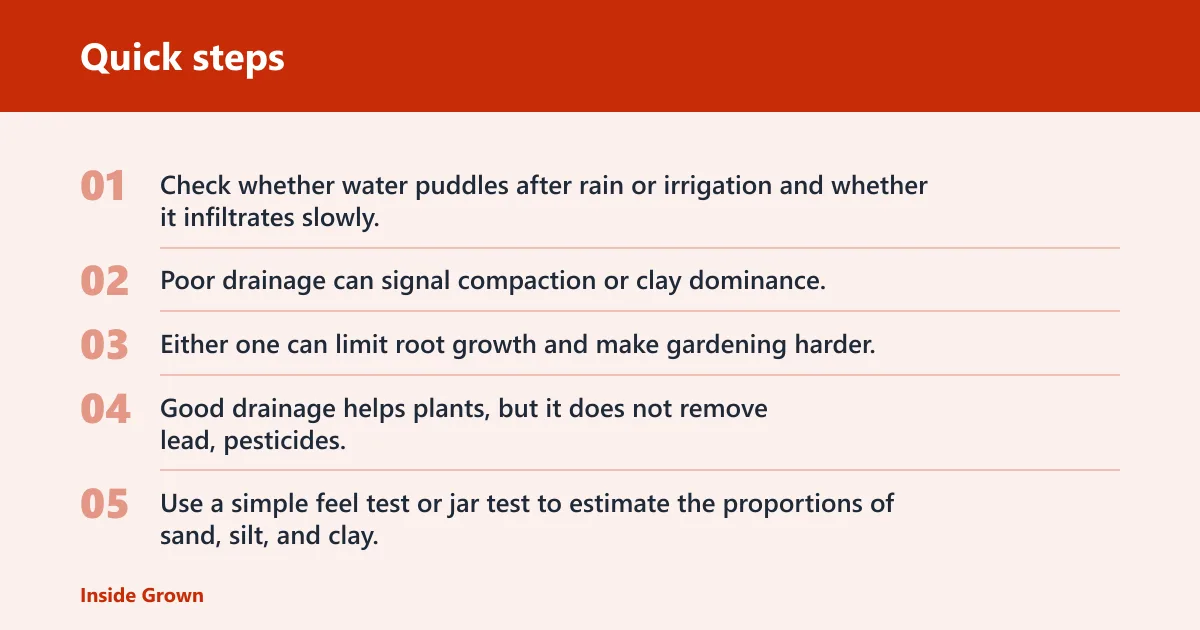
Check whether water puddles after rain or irrigation and whether it infiltrates slowly. Poor drainage can signal compaction or clay dominance. Either one can limit root growth and make gardening harder. Good drainage helps plants, but it does not remove lead, pesticides, or other contaminants from the soil.
How do you read soil texture?
Use a simple feel test or jar test to estimate the proportions of sand, silt, and clay. Sandy soil drains quickly. Clay holds more water and can hold contaminants more tightly. Silt often falls in between. Texture helps you interpret structure and cleanup options, but it is not a food-safety test.
What can pH tell you?
Soil pH influences nutrient availability and contaminant mobility. Home kits can measure it, and lab tests can confirm it. Match pH to crop needs before planting herbs and vegetables, especially if the bed is being remediated or rebuilt. A pH reading alone cannot tell you whether the soil is safe to eat from.
Where does organic matter fit?
Soil organic matter improves structure and biological activity. It helps rebuild better beds after cleanup or in raised beds. It does not remove heavy metals, petroleum, or pesticide residues by itself, so it should be treated as a support step, not a safety step.
When does soil need lab testing?
Send soil for lab testing when site history is unclear, when contamination is plausible, or when you plan to grow crops that are more vulnerable to uptake. A visual check can miss lead dust, historic fill, and older pesticide residues. If you are deciding whether to plant edibles in the ground, lab results are the better call.
What should a soil testing laboratory report?
Ask for contaminant concentrations in ppm or mg/kg, and make sure the report includes sampling depth guidance. Those details matter because the top layer is often the most relevant for edible beds. If the lab cannot explain the depth it wants sampled, choose one that can.
How do you collect samples without contaminating them?
Take multiple subsamples from the same area and mix them into a composite sample unless the lab tells you otherwise. Avoid touching the sample with contaminated tools or containers. Use clean equipment, and sample about the top 6 inches for edible beds unless the lab specifies a different depth; keep debris out of the jar or bag.
Suppose a backyard behind a 1950s house has one bare strip near a downspout and one greener strip near a fence. If the history suggests old paint and the area will hold spinach and carrots, a composite sample from several spots in the future bed is a better next step than guessing from the greener patch.
If native soil is risky, what next?
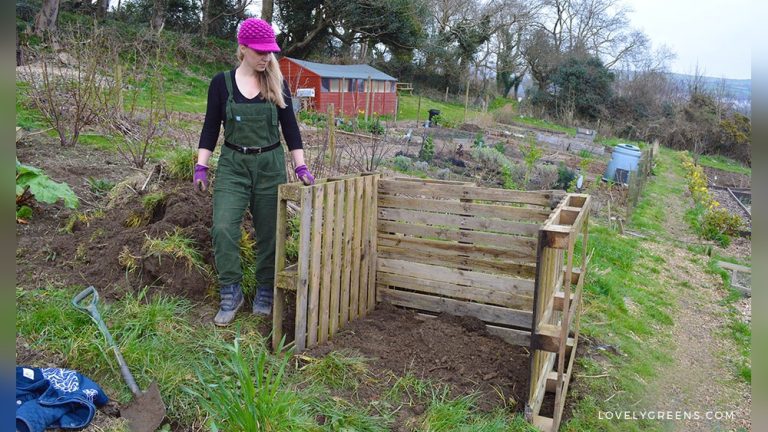
When native soil is unsafe, cannot be trusted yet, or is too fill-affected to judge, raised beds make more sense than in-ground planting. Use clean fill and decide whether a barrier is needed between the bed and native soil. That choice depends on the site history and the contaminants you suspect.
When should you choose raised beds?
Choose raised beds when contamination is likely, when lab results come back elevated, or when the site history is too uncertain for comfort. Raised beds are also useful when construction has left the ground uneven, compacted, or mixed with debris. They let you control what your edible crops grow in.
What belongs in a raised bed plan?
Use clean fill from a trustworthy source, then decide on a barrier based on the site below. If the native soil may contain contaminants, a barrier can reduce contact between the bed and what is underneath. Organic matter can improve structure in the new bed, but it does not neutralize contaminants.
For long-term edible gardening, the goal is not perfect-looking soil. The goal is soil you can justify planting food in. If the site history is clean and the structure is poor, you can work the bed. If the site history is suspect, test first. If the site is clearly contaminated, build above it.
Frequently asked questions
How do I know if my garden soil is safe for vegetables?
You need both a site-history check and, when risk is unclear, lab testing. Look for lead paint dust, treated wood, historic fill, pesticides, petroleum, and construction debris. If any of those are plausible, especially near roads or older buildings, visual inspection alone is not enough for vegetables.
What signs show soil may be unsafe for an edible garden?
Warning signs include a history of old paint, treated lumber, industrial use, fill dirt, or construction debris. A bare patch, puddling, or hard digging can point to structure problems, but those do not prove contamination. If the history is suspect, send a sample rather than guessing.
How do I test soil before planting herbs and vegetables?
Start with a visual and history check, then collect a composite sample from the top 6 inches of the intended bed unless the lab says otherwise. Use clean tools, take several subsamples, and avoid debris. Ask the laboratory to report contaminant concentrations in ppm or mg/kg with depth guidance.
What should I check in soil after new construction?
Check for compaction, fill, and drainage problems first. New homes are a common setting for compacted soil, and topsoil may have been added over dense subsoil. Then check history for buried debris, treated wood, petroleum, and other contamination pathways before deciding whether to plant in ground or use raised beds.
How do I make edible soil safe enough for growing food?
If the issue is compaction, improve structure with organic matter and better water management. If contamination is suspected or confirmed, use remediation or raised beds with clean fill. Organic matter helps soil function, but it does not remove heavy metals or pesticide residues.