How to Prepare Soil Under Gravel Landscaping
Test drainage and compaction first, then grade the area to about a 1–2% slope. If soil stays wet or soft, add a compacted base before fabric or gravel. Poor prep causes puddles, rutting, weed growth, and gravel that sinks or shifts. This guide covers how to judge soil, fix slope and drainage, and choose fabric, base depth, and gravel thickness.
Can you put gravel over soil?
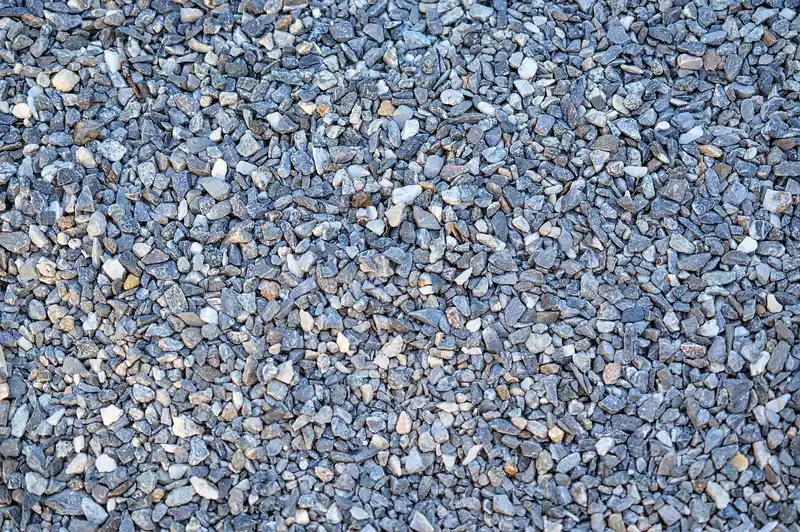


Yes, gravel can go over soil if the ground is cleared, leveled, compacted, and dry enough to support the finished surface. Bare soil alone is not enough for a lasting result, especially where water pools or feet and wheels will pass often. Decorative beds and paths also need different build-ups.
When soil is ready enough for gravel
Free-draining soil is the easiest starting point. BBC Gardeners’ World says gravel gardens suit free-draining sandy soil best, and many gravel gardens can be created on bare soil. That still assumes the soil is not soft, muddy, or heavily rutted before work starts.
When bare soil is not enough
Do not place gravel straight onto mud or a waterlogged surface. That traps moisture, lets stones sink, and makes weeds easier to establish at the surface. Heavy clay soil also makes gravel gardens difficult, because water tends to sit near the top rather than moving away.
Decorative areas vs paths
A decorative gravel bed can often sit on prepared soil with a lighter build-up than a path. A walking surface needs more structure because repeated loading pushes gravel downward and sideways. For paths, think in layers: excavated soil, compacted sub-base, then gravel.
Check drainage and slope first
Drainage should come before fabric or gravel. If water cannot move away from the area, no top layer will fix the problem for long. A finished gravel surface also needs a gentle fall so rain does not pond near walls, steps, or door thresholds.
Free-draining soil and runoff paths
Check where water goes after rain. If the site drains quickly and does not hold puddles, it is much easier to prepare. If the area sits below a roof edge, a driveway, or a downpipe outlet, factor in runoff before choosing the finished level.
When to raise the finished level
Raise the build-up if the existing ground stays wet, if clay is widespread, or if the area is close to a house and needs a safer finished height relative to damp soil. For heavier soils, BBC Gardeners’ World recommends digging in organic matter and grit. In some sites, a raised bed is the cleaner fix.
Suppose a 4 m by 1.2 m side path collects water after every storm because the soil is compacted and the fall runs back toward the house. In that case, lowering the problem area may not be enough; the better choice is to regrade the base, improve drainage, and set a proper slope away from the wall.
Compact and level the ground
Once debris is gone, the base must be even and stable. A plate compactor is recommended to tamp down dirt before laying gravel, and a hand tamper works for small areas where machinery will not fit. The goal is a firm, consistent surface before any gravel goes down.
Clear weeds, roots, and stones
Remove visible weeds, roots, construction debris, and loose stones first. Anything left behind can create lumps or settling points later. If the soil is very soft or full of organic matter, scrape back until you reach a more stable layer before you compact.
Set the finished falls before adding layers
Mark the final height and slope before you start adding material. A common target is a 1–2% fall away from buildings, meaning the surface drops about 1–2 cm over every 100 cm of run. That is enough to move water without making the surface uncomfortable underfoot.
- Remove weeds, roots, and loose debris.
- Shape the ground to the planned slope.
- Compact the soil with a plate compactor or hand tamper.
- Check for soft spots, then compact again where needed.
- Add any sub-base, re-level it, and compact it before gravel.
Which prep method should you use under gravel?
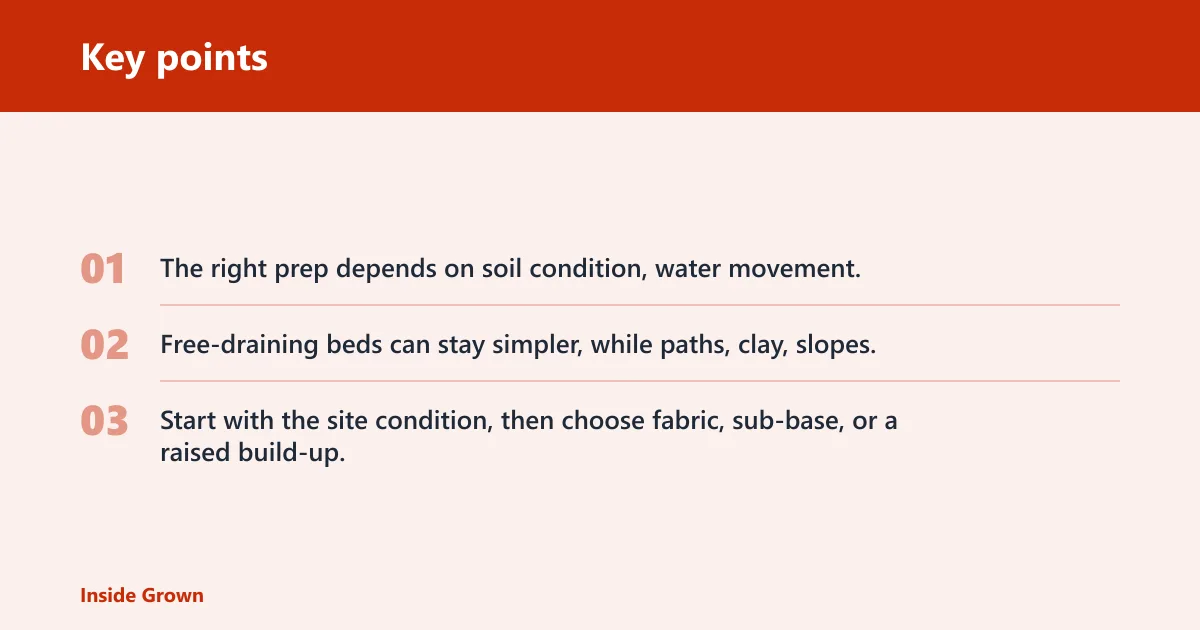
The right prep depends on soil condition, water movement, and how you plan to use the area. Free-draining beds can stay simpler, while paths, clay, slopes, and planting zones need different treatment. Start with the site condition, then choose fabric, sub-base, or a raised build-up.
| Soil condition | Test result | Recommended prep | Material layer | When to avoid fabric |
|---|---|---|---|---|
| Free-draining soil | Water soaks in without standing puddles | Clear, level, and compact the soil | Gravel directly over compacted ground, or fabric first if weed pressure is high | Skip fabric if the site needs maximum water and air movement for planting |
| Compacted soil | Surface is hard but uneven, with shallow depressions | Break up high spots, fill low spots, then compact with a plate compactor | Optional fabric, then gravel or a stone base for paths | Avoid fabric where you need frequent access to rework the soil below |
| Clay soil | Water lingers or the surface stays sticky after rain | Dig in organic matter and grit, or raise the bed | Raised build-up, then gravel; consider a sub-base on traffic areas | Do not rely on fabric to fix poor drainage in clay |
| Sloped site | Runoff moves downhill fast or erodes the surface | Regrade to a controlled fall and add edging | Compacted base, then gravel with retained borders | Skip fabric if it will slide or wrinkle on a badly prepared slope |
| Planting area | Plants need root access and regular watering | Improve soil, then plant before adding gravel mulch | Light gravel layer after planting | Avoid fabric if it may block water and air reaching soil |
| High-traffic path | Footprints, wheel tracks, or rutting appear after use | Excavate, compact, add a crushed stone base, then compact again | Base layer of crushed stone, then decorative gravel | Only skip fabric if the path design uses another separator and the soil is stable |
Should you use fabric or a base layer?
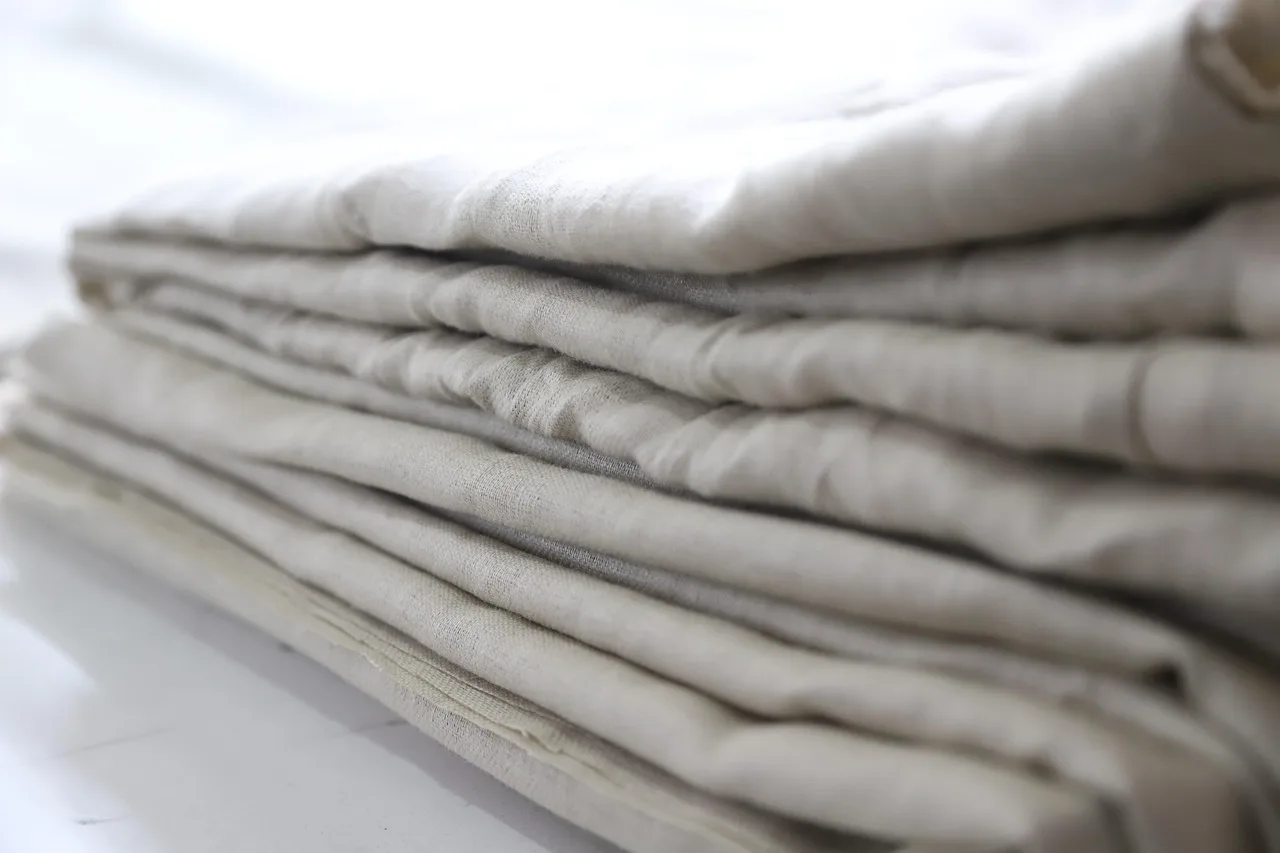
Landscape fabric is optional, not mandatory. It is often used beneath gravel to help stop weeds, and it can help keep gravel from mixing with soil. But Gardeners’ World notes that it can also prevent water and air reaching soil, so the site and use matter.
What landscape fabric does and does not do
Fabric can reduce weed growth through the gravel layer and keep stone from disappearing into the soil below. It does not fix poor drainage, and it does not replace compaction. If the ground is soft, muddy, or badly sloped, prepare the base first.
When a crushed stone base makes sense
Some projects add a base layer of crushed stone before decorative gravel. That is most useful for paths, driveways, and any area that must carry repeated foot or wheel traffic. The base must be leveled and compacted before the top gravel is added.
When to skip fabric
Skip fabric where planting roots need direct soil contact, where drainage is already marginal, or where the wrong fabric would trap water under the surface. Fabric can also become visible as it degrades if the gravel layer is too thin or the surface shifts.
A common first-timer mistake is putting fabric over a wet clay patch and then adding decorative stone on top. The surface may look neat for a while, but the water problem remains below, so the gravel still sinks and the area becomes patchy again.
How deep should gravel be?
Depth depends on use, stone size, and whether the area is decorative or walked on often. Garden gravel is commonly installed at about 4–7 cm after the base is prepared. For paths and other traffic areas, the layer should be deeper and paired with a compacted sub-base.
Typical depth for garden gravel
Gardeners’ World says a 4-5 cm layer of gravel is added after planting. That range suits planted beds and many decorative zones. Too little gravel allows weeds through and lets the surface migrate or thin out quickly.
Depth for paths and other traffic areas
Paths need more than a light top dressing. If the area will be walked on every day, use an excavated base, a compacted crushed stone layer, and enough top gravel to cover the surface without exposing the base material. The deeper build-up helps reduce sinking and rutting.
Match depth to gravel size
The same source says 10-15mm gravel is a good size for planting areas and paths. Homes and Gardens notes that larger stones shift less while finer gravel compacts more tightly. Smaller gravel feels smoother underfoot, while larger stone tends to move less.
Choose the right gravel, edging, and finish
Choose gravel that fits the use, then contain it with edging so it stays where you place it. Metal or composite edging is often recommended for clean borders, though wood and stone can also work. Finish by raking the surface and topping up low spots after settling.
Why 10 to 20 mm gravel is common
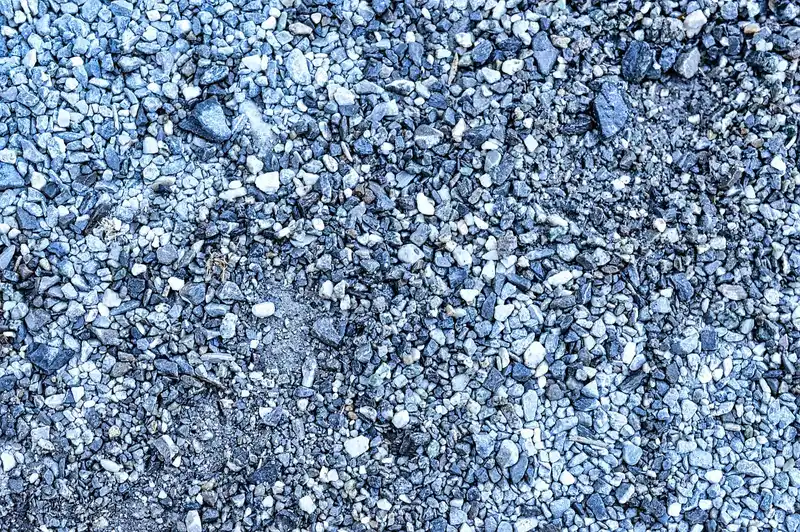
Gravel in the 10–20 mm range is commonly chosen because it is often considered a good balance between walkability and stability. Smaller pieces lock together more tightly, while larger stones shift less under movement. For planting areas and paths, the 10-15mm range is often a practical starting point.
How edging keeps gravel contained
Edging helps keep gravel from spreading onto lawns, beds, and paving. Homes and Gardens recommends metal or composite edging to keep gravel contained. Wood or stone can work too, but the edge must be continuous enough to resist migration at corners and curves.
Final raking and top-up maintenance
Rake the surface level after installation, then check it again after the first heavy rain. Top up where the gravel settles into low spots. Over time, some migration is normal, especially at thresholds and bends, so a quick rake keeps the surface even.
Frequently asked questions
Can you just put gravel over dirt?
Yes, if the dirt is cleared, leveled, and compacted first. Gravel can be put directly on soil, but preparation affects drainage, weeds, and durability. Bare dirt that is soft, uneven, or waterlogged needs more work before the stone goes down.
How do you prepare ground for gravel?
Remove weeds and debris, shape the slope, compact the soil, and add a base only where the site needs it. For paths or driveways, a compacted crushed stone base is useful. For decorative beds, a lighter build-up may be enough if drainage is good.
Do you need to put sand down before gravel?
No, sand is not the default layer under gravel. It can shift, hold moisture, or create an unstable base if used in the wrong place. Use sand only if a specific site design calls for it; most gravel installs rely on compacted soil or crushed stone instead.
Can you put gravel straight onto mud?
No, mud is a poor base for gravel. Wet soil will let stones sink, shift, and mix downward over time. If the area is muddy, wait for it to dry, improve drainage, or rework the site with a raised build-up and compacted base.
What should be laid under gravel?
What goes underneath depends on the site. A prepared soil surface may be enough for a simple decorative bed, while paths often need a compacted crushed stone base. Landscape fabric is optional and useful mainly for weed suppression or separation, not as a fix for drainage problems.
How do you keep gravel from sinking into soil?
Keep gravel from sinking by compacting the soil first, correcting soft spots, and adding a base where needed. A plate compactor is recommended to tamp down dirt before laying gravel. In weak or wet ground, use a crushed stone sub-base and consider edging to reduce movement.