How to Clean Rocks and Soil From a Landscape Bed
Start by matching the method to the mess: dry leaves and dust need blowing or raking, packed soil needs hand removal, and light residue should be rinsed only after you protect nearby plants. Bad cleanup can push mud into the bed, clog drainage, and bury crowns or roots. This guide shows what caused the buildup and which cleaning method fits each type.
What you need before you start


- Leaf blower or hand rake for dry leaves, twigs, and loose soil
- Stiff-bristled brush for stuck-on dirt, algae, and dark film
- Garden hose with adjustable spray nozzle for controlled rinsing
- Optional pressure washer for heavy buildup on durable stone
- Bucket
- Mild dish soap or white vinegar for spot cleaning, used carefully near plants
- Gloves
- Tarp or flat shovel for moving stone if you need to inspect the base
Which cleaning method fits your rock bed?
Use the mess as the guide. Loose debris calls for dry removal first. Surface grime usually responds to rinsing. Algae or film needs brushing after wetting. Soil moving up from below means the bed needs inspection, not just a wash. White marble chips stain easily, while lava rock holds dirt in pores, so the rock type changes the pace.
| Bed condition | Best match | What to avoid |
|---|---|---|
| Dry leaves, twigs, loose dust | Leaf blower or hand rake first | Hosing first, which creates muddy runoff |
| Surface grime after rain or irrigation | Garden hose with adjustable nozzle | High-pressure blasting near plants |
| Algae, moss, or dark film in shade | Brush after rinsing; soap on spot areas if needed | Bleach or strong cleaners near planting beds |
| Soil pushing up from below the rock layer | Lift rock, inspect fabric and drainage, then repair | Repeated rinsing that keeps feeding more mud upward |
| Condition | DIY clean-up | Replace or rebuild |
|---|---|---|
| Thin surface grime on durable rock | Yes | No |
| Light algae on river rock or gravel | Yes, with careful brushing | No |
| Repeated mud return after rain | Only as a short-term fix | Yes |
| Failed fabric, thin stone layer, or compacted base | Usually not worth repeated cleaning | Yes |
How do you clean rocks and soil from a rock bed?
Start with dry removal, then rinse in sections, then scrub only the stubborn spots. If soil keeps working up from below, the problem is below the rock layer, not on top of it. In that case, cleaning in place may only spread the mess and bury plants again.
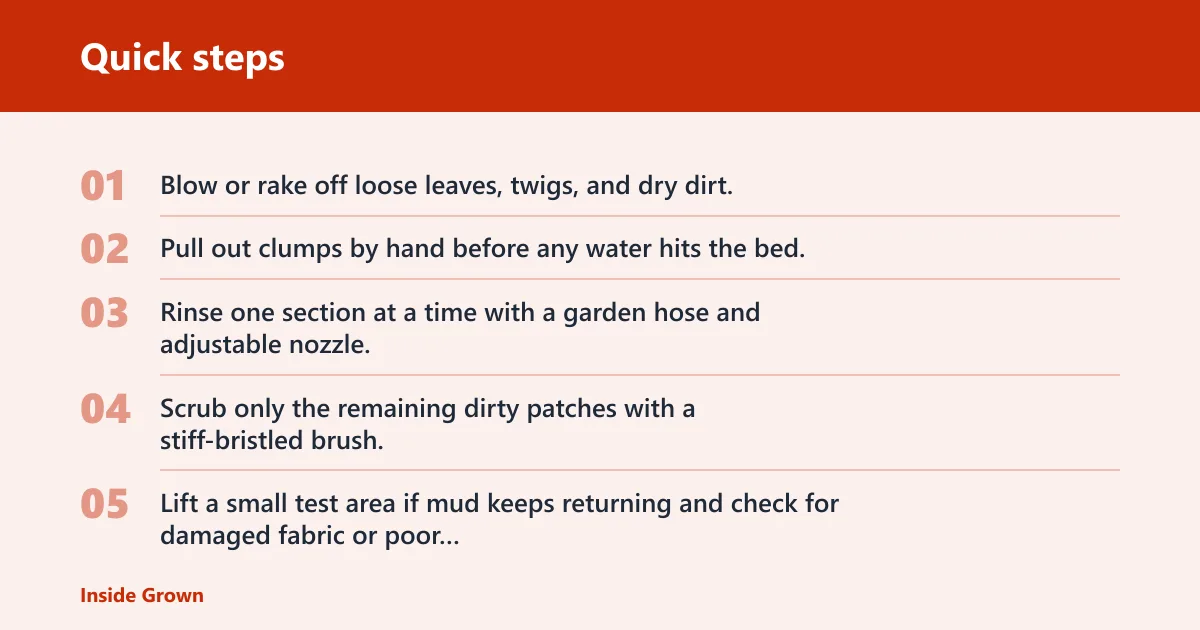
- Blow or rake off loose leaves, twigs, and dry dirt.
- Pull out clumps by hand before any water hits the bed.
- Rinse one section at a time with a garden hose and adjustable nozzle.
- Scrub only the remaining dirty patches with a stiff-bristled brush.
- Lift a small test area if mud keeps returning and check for damaged fabric or poor drainage.
- Let the rock dry before you spread it back, then return only what stays clean.
Picture a roughly 12-foot strip of gravel under a downspout. If you hose it before removing leaves, the water pushes the debris deeper and turns the top layer into slurry. Dry removal first keeps the cleanup local, which matters most in compact gravel and crushed stone beds.
If that did not work, move to the base layer. Pull back a small section, look for fabric that has split or folded, and check whether soil is pumping upward after rain. A quick surface wash cannot fix a bed that is filling from underneath.
How to handle mixed debris beds
When leaves, decomposing mulch, and soil are all mixed together, clean in this order: dry debris first, loose topsoil second, rinse third, scrub last. That sequence matters because wetting the bed too early turns leaf litter into a paste that works down between the stones.
When should you use soap, vinegar, or a pressure washer?
Use mild dish soap for light organic residue, white vinegar only for small spot treatment with plant protection, and pressure washing only for heavily soiled stone. Keep vinegar off nearby leaves and soil where possible; overspray can injure plants and alter soil pH in the treated area. White marble chips need extra care because they stain easily, while river rock tolerates washing better than porous lava rock.
Soap and vinegar are spot tools
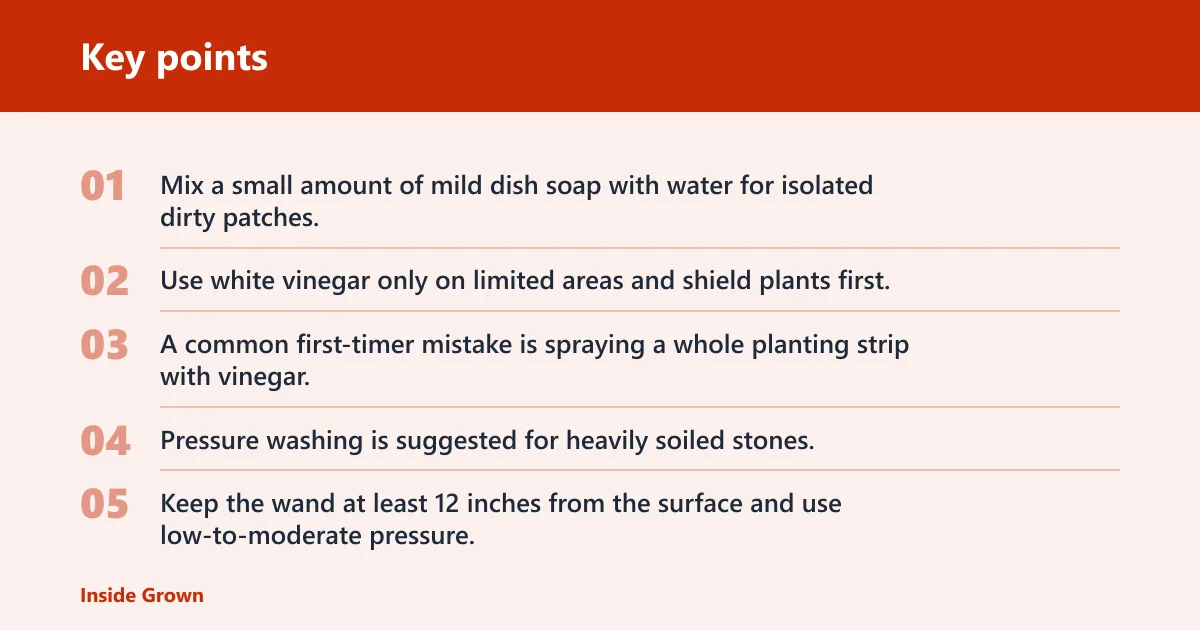
Mix a small amount of mild dish soap with water for isolated dirty patches, then rinse well. Use white vinegar only on limited areas and shield plants first. A common first-timer mistake is spraying a whole planting strip with vinegar, then watching the nearby foliage curl by the next day.
Pressure washing is the last step, not the first
Pressure washing is suggested for heavily soiled stones. Keep the wand at least 12 inches from the surface and use low-to-moderate pressure; 1,500 to 2,000 PSI is the recommended range. River rocks respond well to pressure washing, but soft or porous stone needs more distance and less force.
Suppose a roughly 200-square-foot bed of river rock has gray film from irrigation overspray. A careful rinse may remove part of it, but stubborn buildup can need a pressure washer held back from the surface rather than pressed into the bed. That keeps the stones in place and reduces plant damage.
Match the method to the stone type
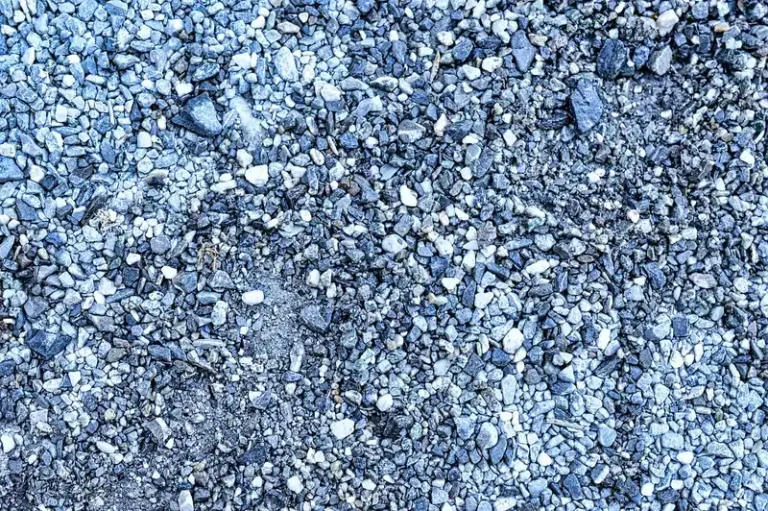
Gravel and crushed stone can trap debris between pieces, so they often need patient rinsing and deeper cleaning than smooth stones. River rock is often easier to wash because the surface is smoother. Lava rock is porous, so it grabs dirt and organic matter and usually needs brushing after rinsing, not aggressive blasting.
What if the dirt keeps coming back?
If mud returns after each rain, the problem is usually below the rock layer. That points to failed fabric, poor grading, or a thin rock layer that lets soil migrate upward. Cleaning the surface again may help for a week, but it will not stop soil from moving through the bed.
Inspect the base, not only the surface
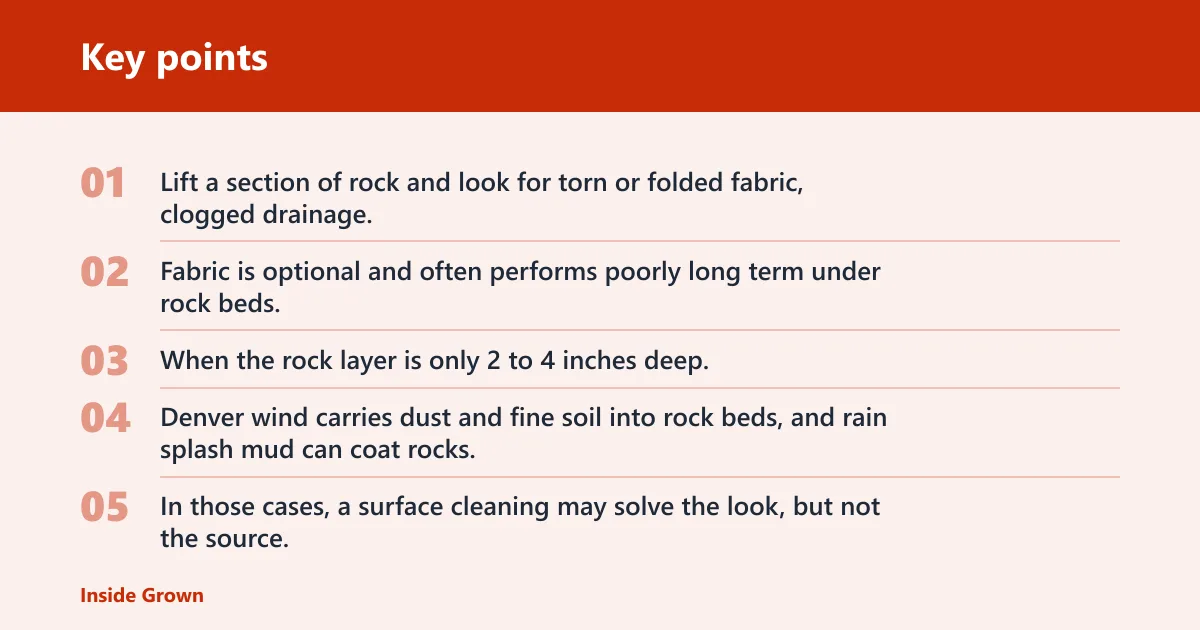
Lift a section of rock and look for torn or folded fabric, clogged drainage, or soil packed directly under the stone. Fabric is optional and often performs poorly long term under rock beds, so a failure does not mean the bed was built wrong, only that the base may need repair.
When the rock layer is only 2 to 4 inches deep, soil can show through fast after wind and runoff. Denver wind carries dust and fine soil into rock beds, and rain splash mud can coat rocks. In those cases, a surface cleaning may solve the look, but not the source.
When a top cleanup is enough
If the bed is dry, the rock is still stable, and the dirt is mostly surface dust or leaf stain, a full clean-out is usually unnecessary. Rinse, brush, dry, and return the stone. That is the right call when the mess is cosmetic and the base is sound.
When the bed should be rebuilt or replaced
If you keep finding wet soil, roots buried under sludge, or fabric that breaks apart as soon as you lift it, replacement may be faster than repeated cleaning. Large sections of compacted gravel or crushed stone can be worth rebuilding when the cleanup time and labor exceed the cost of fresh stone and base repair.
Rock bed cleaning checklist
Use this checklist to match the mess to the method before you start. It keeps a cosmetic cleanup from turning into a bed-wide repair and helps you decide whether the work is worth doing in place.
| Bed condition | Method | Decision |
|---|---|---|
| Dry leaves, twigs, loose dust | Blow or rake first | Clean in place |
| Surface grime after irrigation or rain | Hose rinse, then spot brush | Clean in place |
| Algae or dark film in shade | Rinse, brush, then spot clean with soap if needed | Clean in place if drainage is sound |
| Soil keeps rising from below | Lift rock and inspect base | Repair or rebuild |
| Situation | DIY | Replace |
|---|---|---|
| River rock with light surface dirt | Yes | No |
| Gravel and crushed stone with trapped debris | Yes, but expect more labor | Maybe, if the base is failing |
| White marble chips with stain buildup | Yes, with careful spot cleaning | Maybe, if staining is widespread |
| Lava rock packed with dirt and organic matter | Only for light cleanup | Often worth replacing if deeply fouled |
Avoid these three mistakes: hosing before debris removal, blasting roots or crowns with water, and skipping the dry-down before spreading the stone back into place.
Common mistakes
Blasting nearby plants with rinse water can wash soil away from roots and spread dirty runoff across the bed. Keep the nozzle aimed at the stone, not at stems or crowns. If a plant sits at the edge, shield it with a hand, board, or piece of cardboard while you rinse.
Using bleach near plants is a poor choice. The safer options here are water, mild dish soap, and limited vinegar spot treatment with protection for nearby foliage. Do not flood the soil with either cleaner.
Skipping drying before you reset the rock traps moisture under the surface. Cleaned rocks should dry for 4 to 6 hours in sunny weather, and humid conditions may require up to 24 hours. Returning wet stone too soon keeps dirt and algae active.
Overcleaning soft or porous stone can do more harm than good. Lava rock, in particular, holds dirt in its pores, so a brush often works better than force. White marble chips also deserve care because they stain easily and can look worse after rough handling.
Frequently asked questions
How to clean rocks in yard
Use the same sequence as for a rock bed: dry removal, rinse, spot scrub, then dry. Yard rock that sits under trees or irrigation often needs more frequent cleanup because debris settles into the gaps. If mud keeps returning, look below the rock layer for the source.