How to Make Poor Soil Better Before Spring Planting
Check drainage, compaction, and texture first. If water still sits after 24 hours, loosen the soil, add only the amendment the test calls for, and do not pile on compost by default. Poor soil that stays wet or crusted can stunt roots, delay planting, and waste seed and fertilizer. This piece shows how to diagnose those problems and choose the lightest fix before spring planting.
Test texture and drainage to find the soil’s real problem


What you’ll need
- Spade or garden fork
- Hand trowel
- Bucket or tarp
- Watering can or hose
- Compost, leaf mould, or well-rotted manure
- Topsoil for raised beds, if needed
- Mulch such as shredded leaves or straw
- Soil pH test kit
- Clear plastic sheeting for cold, thawed ground
-
Clear and inspect the bed.
Remove weeds, rocks, sticks, and debris, then look at the soil surface and dig cleanly. This also shows whether the bed is simply messy, or whether rubble, hardpan, or standing water is part of the problem. -
Check drainage first.
Dig a spade-depth hole, fill it with water, and watch how fast it disappears. Roots need air as well as water, so a hole that stays full after 24 hours points to a drainage problem before feeding or fertilizing. -
Test the texture by hand.
Grab a handful of moist soil and squeeze it. Clay holds together and feels sticky, sand falls apart and feels gritty, and loam forms a soft ball that breaks with light pressure. That hand test tells you how the soil will hold water and how quickly it will drain. -
Probe for compaction.
Push a fork into the bed and notice resistance, especially in paths or places that get walked on or parked on. If the soil is dense only in the top layer, broad loosening is enough; if the whole profile is tight, dig a little deeper without turning the bed into powder. -
Choose the least invasive fix.
Add compost, leaf mould, or rotted manure when the soil needs more organic matter, but keep the amount moderate and repeat it over time. If the bed is contaminated, permanently wet, or packed with rubble, switch to raised beds instead of trying to rescue the native ground. -
Recheck before planting.
After loosening or amending, test again with water and a fork. If the bed still seals over, stays soggy underneath, or has a hard layer below the surface, stop and move to a better option before sowing seed.
How do you tell what kind of soil you have?
The quickest way is a handful test, then a drainage check. Clay, sand, and loam can behave differently in spring, and that texture often helps determine whether organic matter, topsoil, or a different planting method is needed. Texture also explains why one bed dries fast while another stays heavy and cold.
Hand test for clay, sand, and loam
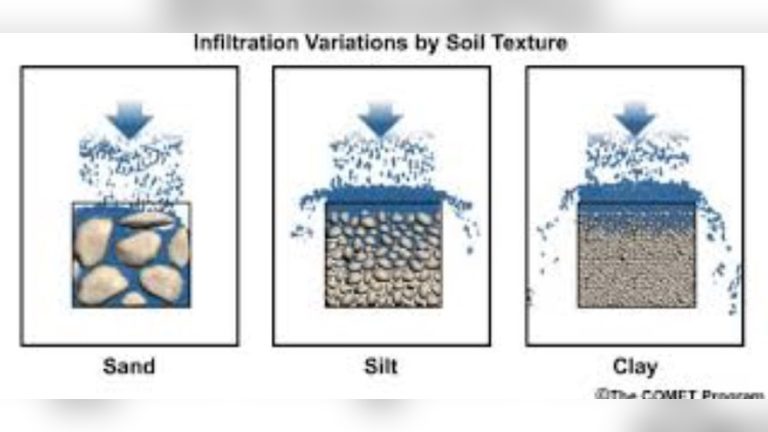
Squeeze a damp handful. Clay often feels sticky and can ribbon between your fingers. Sand often feels sharp and usually will not hold a ball for long. Loam often forms a crumbly lump that breaks apart without turning into paste. This matters because clay holds water and drains slowly, while sand drains quickly and dries out fast.
What texture means for drainage and water retention
Use texture to match the fix to the fault. Well-rotted organic matter can improve both clay and sandy soil, but it works in different ways: it loosens clay and helps sand hold moisture and nutrients longer. Repeated applications matter because one layer of compost does not rebuild the whole profile.
Picture a 4-by-8-foot bed that feels slick after rain. If it ribbons in your hand and forms a dense slab, that bed needs structure and air, not a thick blanket of compost on top. A sandy bed in the same size may need the opposite: organic matter to slow water loss and reduce nutrient leaching.
How do you fix poor soil before planting?
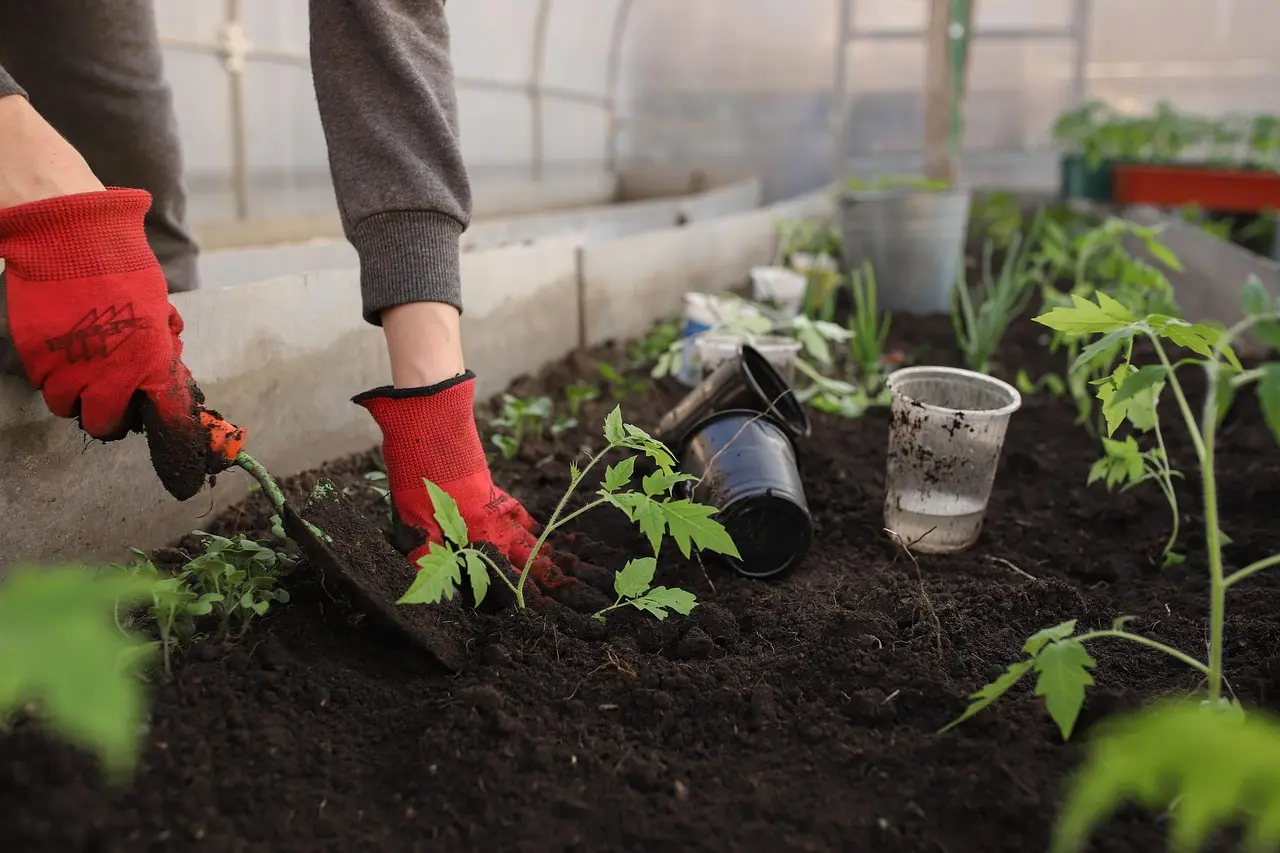
Start with drainage and compaction, then add only the amendment that fits the diagnosis. That sequence keeps you from burying a wet, dense bed under compost when the real issue is airless soil below the surface. If the ground is permanently wet, contaminated, or full of rubble, raised beds are the better fix.
-
Loosen only the tight layer.
Work a fork or broadfork through compacted soil when it is just damp, not wet. Walking, parking, and construction traffic cause compaction, and wet soil is easier to damage, so avoid working it when it smears or sticks to the tool. -
Add organic matter in moderation.
Spread compost, leaf mould, or well-rotted manure over the bed and work it in lightly, or leave it as a top-dressing if the surface is fragile. A mulch layer is better than digging organic matter in immediately when you are trying to protect soil structure. -
Use topsoil where native ground fails.
In raised beds, mix topsoil with compost to make a controllable growing medium. Choose this route when the native soil is unsuitable, especially if it is rubble-filled or unreliable enough that rescue work would take more effort than replacement. -
Switch to raised beds when needed.
Raised beds are recommended for contamination or permanent wetness, and beds around thirty centimetres deep suit most vegetables and perennials. They let you control drainage and composition instead of fighting the native ground year after year.
Suppose a front bed stays shiny and soft after a spade-depth water test, while the neighbor’s bed drains overnight. That first bed is not just “bad soil”; it is a drainage problem. Adding more compost on top will not fix airless roots underneath.
Spring soil decision table
This table turns common spring problems into the lightest useful fix. Start with the symptom you can see, run the quick field test, then decide whether a small amendment is enough or whether raised beds make more sense.
| Observed problem | Quick field test | Best fix | When to use raised beds instead |
|---|---|---|---|
| Clay that sticks | Handful test forms a ribbon and smears | Add well-rotted organic matter repeatedly; loosen gently when not wet | Use them if the clay stays waterlogged after 24 hours |
| Sand that dries fast | Handful falls apart and feels gritty | Mix in compost, leaf mould, or rotted manure to hold moisture longer | Use them if the native sand is too poor to support regular watering |
| Waterlogged ground | Spade-depth hole still holds water after 24 hours | Do not feed first; improve drainage only if there is a fixable outlet | Use them when wetness is permanent or caused by a high water table |
| Compacted paths | Fork meets hard resistance and the surface seals easily | Relieve compaction with a fork or broadfork, then keep traffic off it | Use them if the area keeps getting walked on or driven over |
| Rubble-filled beds | Trowel hits brick, stones, or buried debris | Remove what you can, then stop if the whole bed is full of debris | Use them when rubble makes planting depth and drainage unpredictable |
| Cold but otherwise healthy soil | Texture is crumbly and drainage is fine, but the bed is still cold | Wait for the bed to warm, or use clear plastic to trap heat after thaw | Usually not needed unless the site also has wetness or compaction |
Should you add compost or topsoil before planting?
Add compost when the soil needs organic matter and structure; add topsoil when you are building a raised bed or replacing an unsuitable surface. Compost is the lightest useful fix for many beds. Topsoil belongs where you need a fresh growing medium, not as a blanket over a badly drained native bed.
When compost is the lightest useful fix
Use compost, leaf mould, or well-rotted manure when the bed is workable but weak. These materials improve clay and sandy soils in opposite ways, so the same amendment can help either texture for different reasons. Keep the layer modest and repeat it over time instead of burying the bed in one pass.
When topsoil belongs in a raised bed
Choose topsoil for a raised bed when native soil is too poor, too rocky, or too unpredictable to rescue. Mixed with compost, it gives you a controlled planting mix and consistent depth. That is better than trying to force vegetables into rubble or soil that never drains properly.
When raised beds beat trying to rescue native ground
Raised beds are the answer for permanent wetness, contamination, or rubble. Competitor guidance often uses beds of around thirty centimetres, which gives most vegetables and perennials enough root room while improving drainage and letting you control the soil blend from the start.
How do you prepare soil for spring planting in wet weather?
Do not work wet soil just because the calendar says spring. If the ground stays soggy, compacted, or crusted on top, you need to protect the structure first and wait for the bed to drain. When the soil is thawed but still cold, clear plastic can help warm it for early planting in short-season regions.
A common first-timer mistake is adding compost to a bed that is wet from top to bottom. That can turn the surface into a slick mat while the lower layer stays dense. Instead, let the bed dry enough to crumble, then loosen only the compacted layer and cover bare soil with mulch.
Cold soil versus poor soil
Cold soil is not automatically bad soil. If drainage is fine and the texture is healthy, the bed may only need time to warm before direct sowing. Clear plastic can speed that process; in one Almanac test, clear plastic warmed soil to 56°F in four days and thawed the ground down 6 inches.
Black plastic warmed the soil to 50°F in that test, so clear plastic is the better warming aid when you want sunlight to enter and heat to build. Remove the plastic once the soil is ready, or plant transplants through it if the crop and layout allow it.
Common mistakes
Most spring failures come from fixing the wrong problem. A bed can look improved on top and still stay dense or wet underneath, so the surface should not be the only clue. Diagnose first, then amend.
- Adding compost before checking drainage.
- Working clay soil while it is wet.
- Using topsoil as a patch over contaminated or rubble-filled ground.
- Ignoring compaction in paths and traffic lanes.
- Assuming cold soil is the same as poor soil.
- Burying too much organic matter at once instead of top-dressing and repeating.
Soil pH deserves a separate check. Acidic or alkaline readings can shape plant selection and amendment choices, and wood ashes can raise soil pH while adding potassium. Use a pH kit before you change the bed for acid-loving or lime-tolerant plants.
Mulch belongs on top, not mixed in immediately. It protects bare soil over winter, reduces nutrient loss, and limits surface capping. That makes spring digging easier later, but it does not replace drainage repair, texture work, or compaction relief.
Frequently asked questions
How do I prep garden soil for spring?
Start with a spade-depth drainage test, then check the texture with a handful test. If the bed drains well but feels weak, add compost or other well-rotted organic matter. If it stays wet, compacted, or contaminated, shift to raised beds instead of trying to force the native soil into shape.
How do I treat soil before planting?
Remove debris, loosen compaction only where needed, and amend according to the diagnosis. Compost helps many beds, but topsoil is better for raised beds and replacement mixes. If the bed still holds water after 24 hours, fix drainage or change the planting setup before you sow or transplant.
How do I get soil ready for planting?
Match the fix to the problem. Clay needs air and organic matter, sand needs more moisture-holding material, and compacted ground needs loosening before anything else. Once the soil crumbles and drains properly, add mulch to protect the surface until planting time.
How do I improve poor garden soil?
Improve the profile slowly with repeated additions of compost, leaf mould, or rotted manure. That approach helps both clay and sandy soil, but it works best when drainage and compaction have already been checked. If the site is permanently wet or rubble-filled, raised beds are the practical answer.
When should I prepare garden soil?
Prepare it as soon as the bed can be worked without smearing or sticking, and before direct sowing or transplanting. Cold soil may only need time or clear plastic to warm up. Wet soil needs to dry first, or the work will make compaction worse instead of better.
How can I tell if my soil is clay or sandy?
Use the handful test. Clay sticks together and can ribbon between your fingers, while sand feels gritty and falls apart quickly. Loam sits between them, forming a soft crumbly ball. That difference tells you whether the bed will hold water too tightly or lose it too fast.