Spring Soil Prep Checklist for New Garden Beds
For new spring garden beds, check soil moisture first, then drainage, then compaction, and only then add amendments. If soil forms a tight ball when squeezed, wait. Wet soil breaks down structure fast and can trap water around roots, so the safest prep order is diagnosis before digging. This spring soil prep checklist for new garden beds follows that decision sequence.
Spring soil prep basics
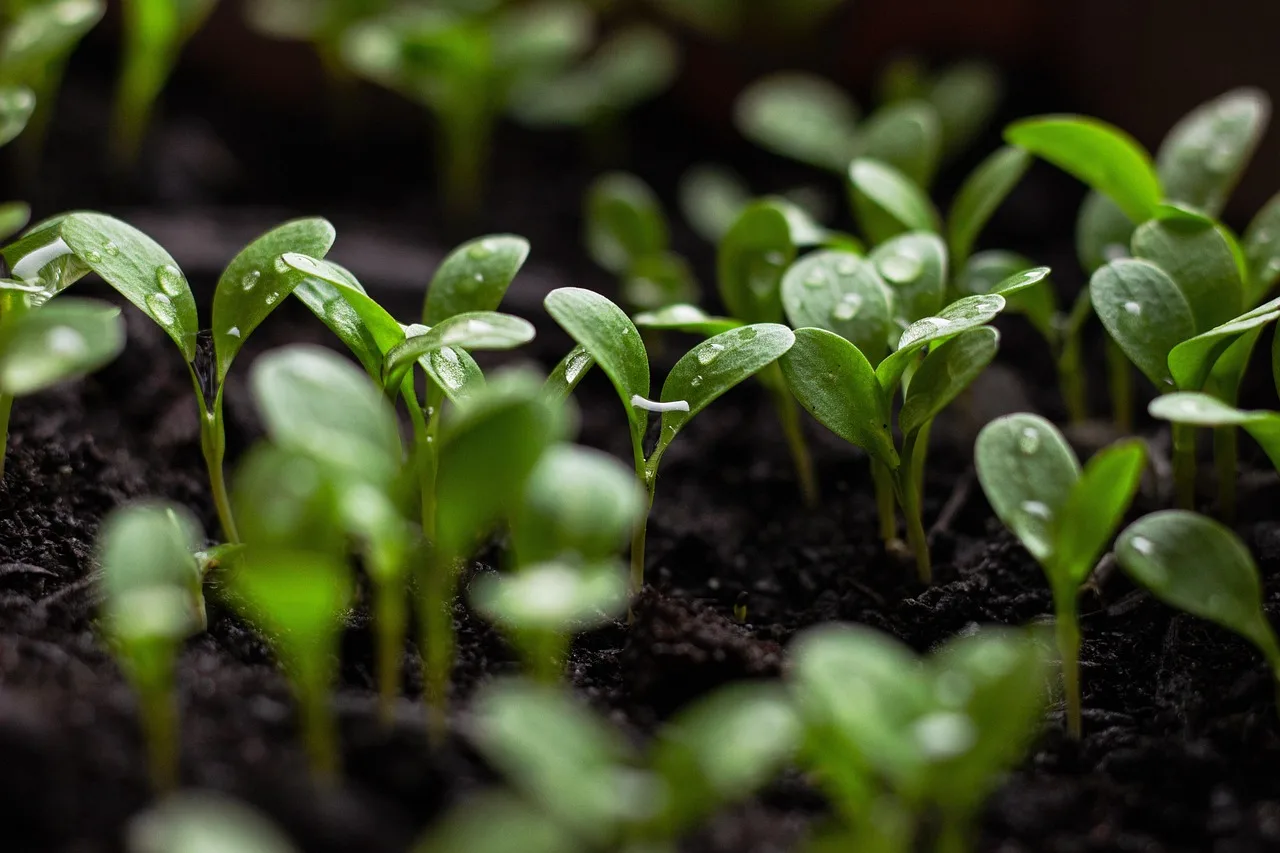
New beds need a sequence, not a random stack of fixes. Bare ground, winter debris, clay, sand, and compacted soil each need a different first move, and starting in the wrong place can lock in the problem for the season.
Start 3–4 weeks before your last frost date if you can. That gives time to clear the bed, test drainage, loosen compacted ground, and wait out any wet spell before you add compost or plant.
Quick answer
Do the squeeze test first. If the soil crumbles, move to the 12-inch drainage test, then loosen only compacted areas, then add finished compost, then test pH and NPK, and only then decide whether the bed should stay in the ground or become a raised bed. If the soil still smears, stays shiny, or drains too slowly, stop and wait.
What you’ll need
- A garden fork or broadfork
- A shovel or spade for the drainage test
- Finished compost
- A soil test kit for pH and nutrients
- Mulch for the finished bed
- A simple marker or notes app to track test results
Step-by-step checklist
- Clear the bed surface. Remove leaves, dead stems, and leftover mulch so you can see the soil and judge drainage correctly. If debris stays in place, it hides wet spots and makes the next tests less reliable. If you need to be more specific: pull off weeds, rake back old mulch, and remove any matted plant debris.
- Check soil moisture. Take a handful of soil and squeeze it. Workable soil should crumble when squeezed, not stay as a muddy ball.
- Test drainage next. Dig a roughly 12-inch hole, fill it with water, and watch how fast it drains. Under about 4 hours is generally considered good; over about 8 hours can point to a drainage problem that should be addressed before planting.
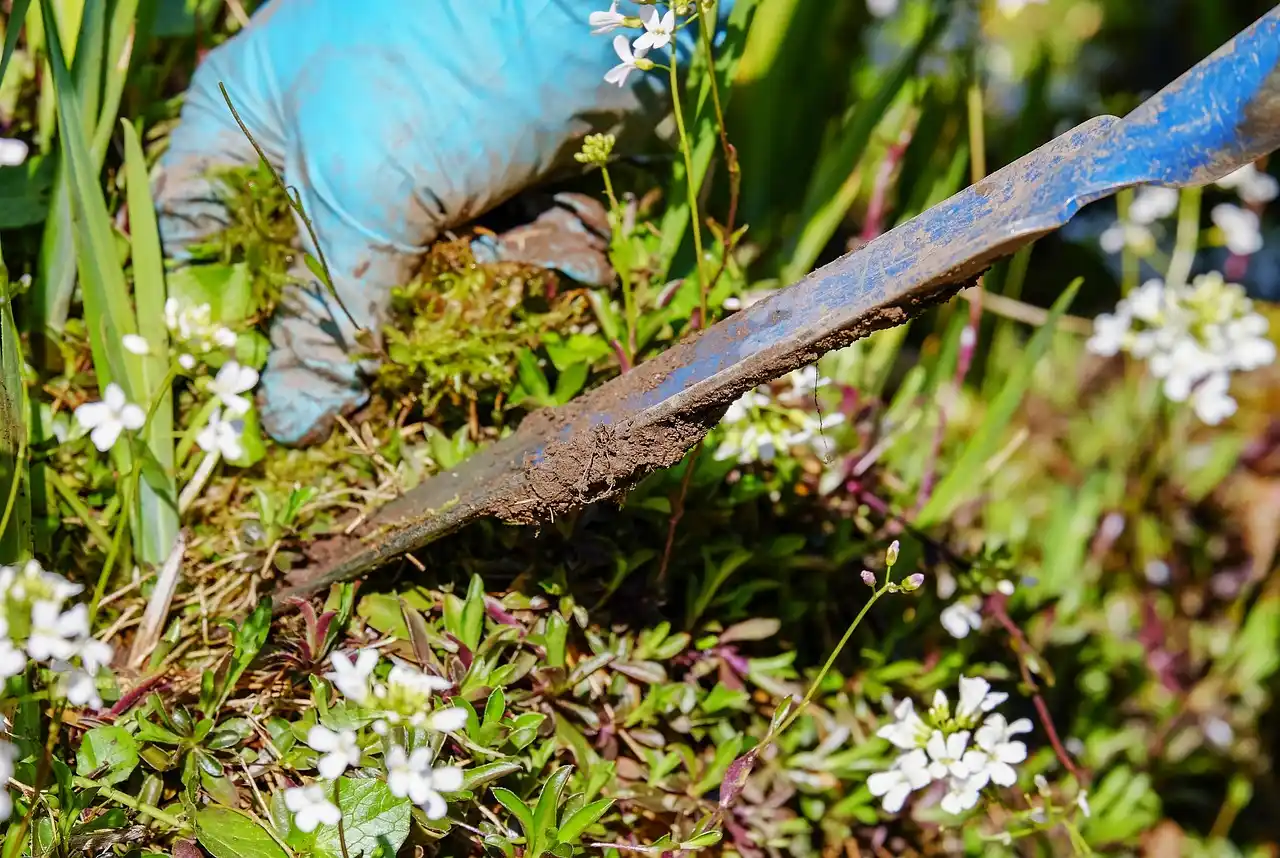
- Loosen compacted ground. Use a garden fork or broadfork to open the soil if it feels dense or stays slick after rain. Stop short of pulverizing the bed; the goal is to open pore space for air and water.
- Order a soil test. Check pH plus nitrogen, phosphorus, and potassium before you guess at fertilizer. Most vegetables prefer pH 6.0–7.0, and the test tells you whether lime or sulfur belongs in the plan.
- Add amendments by condition. Put finished compost in next, unless drainage still fails. Use the test results to decide whether the bed needs lime, sulfur, or no extra nutrient adjustment yet.
A common first-timer mistake is spreading compost over a bed that still drains poorly. That can bury the problem instead of solving it, especially in a low spot where water already sits after rain.
New bed readiness matrix
This matrix shows the decision sequence for the four most common starting conditions. The first step is the action to take before any amendment, the amendment priority is what comes next, and the stop condition tells you when to pause. If the stop condition is not met, do not add compost, fertilizer, or mulch yet.
| Starting condition | First step | Amendment priority | What to avoid | Stop condition |
|---|---|---|---|---|
| Clay-heavy | Wait for the squeeze test to pass, then loosen lightly with a fork | Finished compost on top, then retest before adding anything else | Do not dig or till while the soil is shiny, sticky, or wet | Soil crumbles, not smears, and a drainage test stays under 4 hours |
| Sandy | Check moisture and add compost first to improve water retention | Finished compost, then only targeted nutrients after a soil test | Do not skip the soil test or assume sand needs the same fix as clay | Soil holds together loosely without turning sticky |
| Compacted | Loosen with a garden fork or broadfork before any amendment | Finished compost after the bed is opened up | Do not compact the surface again with foot traffic or overworking | Fork tines enter more easily and water no longer pools at the surface |
| Poorly drained | Run the 12-inch hole water test and solve drainage first | Raised beds or regrading before compost, then a light compost top-dress | Do not bury a drainage problem under extra soil or mulch | Water drains in under 4 hours after the fix |
How do you know the soil is ready?
The squeeze test gives the fastest answer: workable soil should fall apart or crumble when you squeeze it, not form a shiny mud ball. If it smears, sticks, or leaves a wet print, stop and wait. Working wet soil compacts it and squeezes out the air roots need.
Use this check on several spots in the bed, especially where shade keeps soil wet longer. One dry edge does not mean the whole bed is ready.
Moisture test
Pick up a handful of soil from 3 or 4 spots in the bed. If each sample breaks apart with light pressure, the bed is likely workable. If the sample forms a smooth ribbon or ball, the soil is still too wet to cultivate. This is the simplest way to avoid sealing in compaction before spring planting.
What should you test before planting?
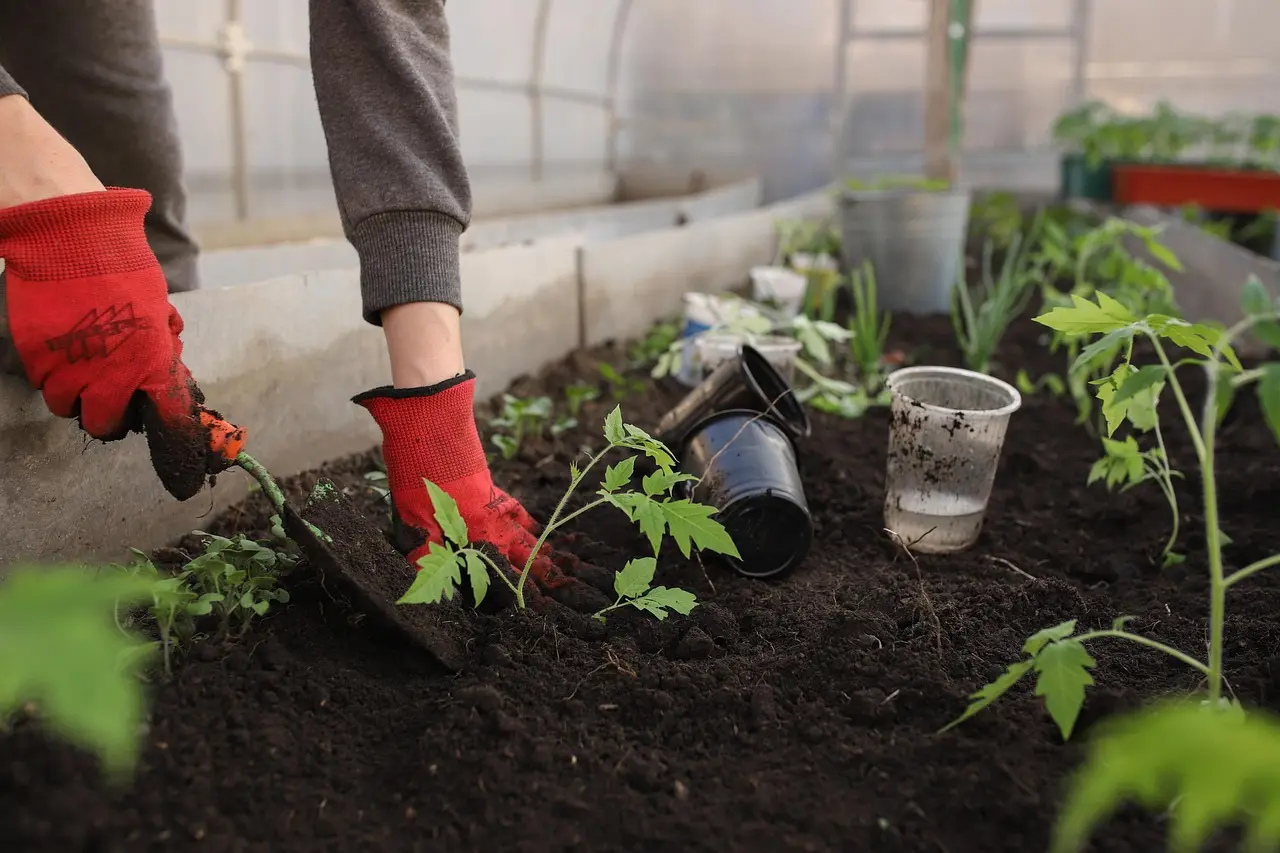
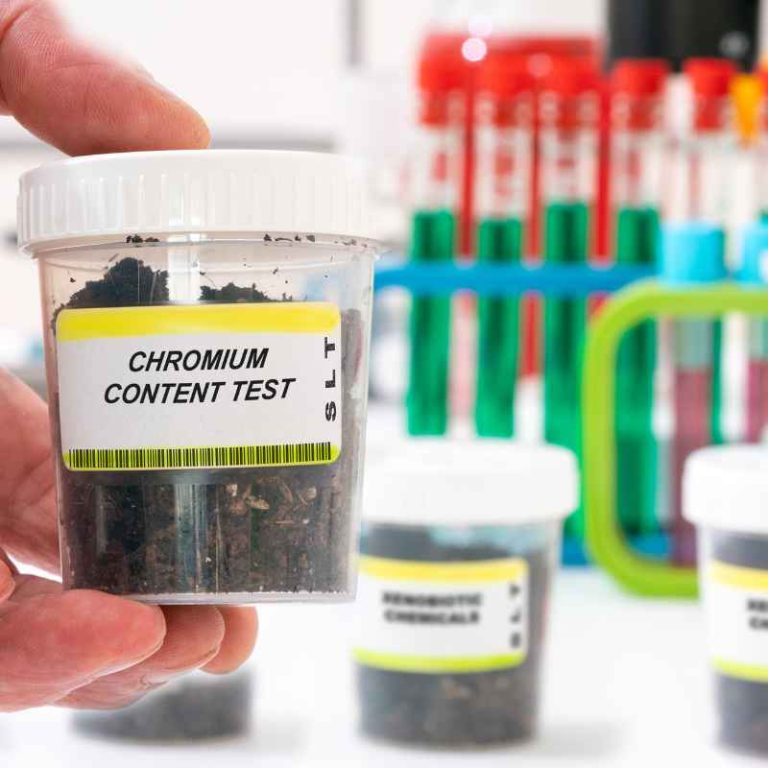
Test drainage and soil chemistry before you add fertilizer. The drainage test tells you whether the bed can support roots without standing water, and a soil test for pH plus NPK tells you what to amend instead of guessing. That keeps you from adding the wrong material to the wrong problem.
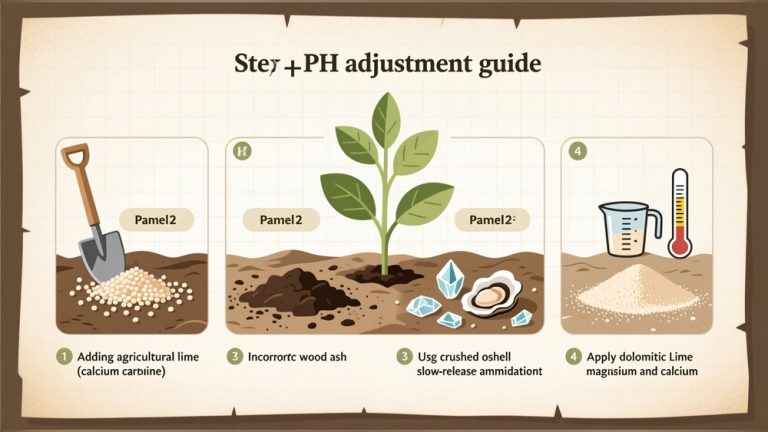
For pH, most vegetables do best between 6.0 and 7.0. If the result is below 6.0, lime is often the next adjustment; if it is above 7.5, sulfur may be used to bring it down. Let the test lead.
Drainage test
- Dig the test hole. Make a 12-inch hole in the bed and fill it with water. Refill once if the first fill disappears very quickly, then time the second drain cycle for a clearer result.
- Read the drain rate. Under 4 hours is a workable sign. More than 8 hours means the bed needs drainage help before planting, especially for vegetables and annual flowers.
- Run a soil test. Use a kit that measures pH plus nitrogen, phosphorus, and potassium. Those three nutrients guide fertilizer choices better than a guess based on general spring advice.
- Match the correction. If pH sits below 6.0, use lime only after the test says it is needed. If pH sits above 7.5, sulfur may be the right direction. Do not add fertilizer until the nutrient reading is known.
Say your new 4-by-8-foot bed drains in 10 hours after a rain. Compost alone will not fix that. Raised beds are the better next move because they lift the root zone above the waterlogged layer instead of trapping plants in it.
pH and NPK testing
Run a soil test for pH plus nitrogen, phosphorus, and potassium before planting. That gives you the information needed to decide on lime, sulfur, or fertilizer without adding the wrong correction. If the pH falls outside the preferred range, fix that before adding more nutrients.
How do you fix compacted or poor-draining soil?
Loosen compacted ground with a garden fork or broadfork before you add compost, and choose raised beds if drainage stays slow after testing. That order matters because compaction limits air and water movement first, while poor drainage means the site may need elevation or regrading, not just amendment.
Compacted soil has reduced pore space, so roots struggle to spread and water lingers near the surface. A fork or broadfork opens channels without turning the bed into fine powder. If the soil is still wet, wait until it passes the squeeze test before you work it.
Compaction fix
- Open the soil. Push a garden fork or broadfork into the bed and rock it gently to loosen the profile. Work in sections rather than turning the whole bed over, which can destroy structure.
- Retest drainage. After loosening, repeat the 12-inch hole water test. If water still clears in more than 8 hours, the problem is bigger than compaction alone.
- Switch to raised beds. Build raised beds when the site remains slow to drain. That lifts roots above the wet layer and makes new plantings more likely to establish cleanly.
Picture a front-yard bed with heavy clay that stays shiny after rain. Forking it while wet would make it denser. Waiting for a crumble test, then loosening and confirming drainage, avoids that trap.
Prevention: keep foot traffic out of the bed after it is prepared. Even one season of stepping on the same path can press pore space back down and undo the work.
Compost and mulch for new beds
Finished compost is the default amendment for most new beds. It should be dark brown, earthy-smelling, and fully broken down. A common starting amount is 2–3 inches as a top-dress, then lightly mixed into the upper layer or left on top where the bed is already in good shape.
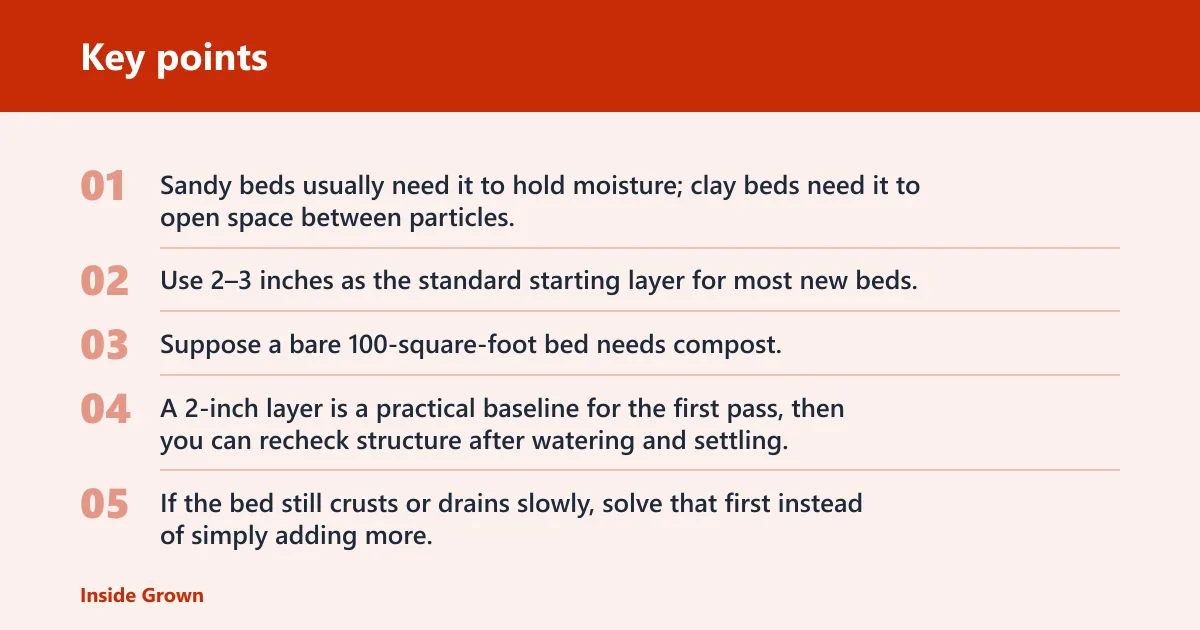
Compost helps both drainage and water retention, depending on the base soil, and it supports microorganisms that improve structure over time. Sandy beds usually need it to hold moisture; clay beds need it to open space between particles.
How much compost should I add to a new garden bed?
Use 2–3 inches as the standard starting layer for most new beds. That amount is enough to change the surface layer without burying poor soil under a thick blanket that hides drainage or compaction problems. If the bed is very sandy or very clay-heavy, use the soil test and drainage results to decide whether to repeat the top-dress later.
Suppose a bare 100-square-foot bed needs compost. A 2-inch layer is a practical baseline for the first pass, then you can recheck structure after watering and settling. If the bed still crusts or drains slowly, solve that first instead of simply adding more.
When should I mulch after planting?
Mulch goes on after planting, not before you confirm the bed is ready. A common 2-inch layer suppresses weeds and helps hold moisture as temperatures warm. Keep mulch off stems and crowns so young plants do not stay wet at the base.
If the soil is still cold and wet, delay mulch until after the surface drains and plants are in. Heavy mulch over a slow bed can trap moisture where roots do not need it yet.
Mulch timing
Apply mulch after the bed is planted and watered in. Use it to stabilize moisture once the soil is already in planting condition, not as a substitute for testing or fixing the bed first.
Frequently asked questions
When should I start spring soil prep for new garden beds?
Start 3–4 weeks before your last frost date if possible. That window gives you time to clear the bed, test the soil, and wait for a wet spell to pass before you amend or plant. If spring stays soggy, the right time is the first stretch when the squeeze test passes.
How do I know if my garden soil is workable after winter?
Squeeze a handful of soil. If it crumbles, it is ready for light prep; if it forms a muddy ball, wait. The goal is to avoid compaction before it starts, because wet soil loses structure fast when it is walked on or turned.
Do I need to add compost before planting new beds?
Yes, for most new beds, finished compost is the first amendment to add after drainage and compaction checks. Use a 2–3 inch top-dress as the common starting point. Skip the extra layer if the bed still drains poorly or if a soil test shows a different correction should come first.
Should I till or broadfork new garden bed soil?
Use a broadfork or garden fork for compacted ground, and avoid tilling as the default move. Broadforking opens channels without fully inverting the soil, while tilling can worsen structure if the bed is wet or already tight. Choose the tool based on the soil condition, not the calendar.
What soil test should I do before planting in spring?
Run a soil test for pH plus nitrogen, phosphorus, and potassium. That gives you the information needed to decide on lime, sulfur, or fertilizer. Most vegetables prefer pH 6.0–7.0, so anything outside that range should guide your next step, not your guess.
How do I check drainage before planting a new bed?
Dig a 12-inch hole, fill it with water, and time the drain. Under 4 hours is good; more than 8 hours means drainage needs attention before planting. If the site keeps clearing slowly after loosening, use raised beds rather than forcing plants into a wet root zone.
These are the three items that matter most for a new spring bed. They help you read the soil, correct the structure, and verify the result before planting.
 Upgrade pickLuster Leaf · 20 tests · pH/N/P/K · USA designed and assembled
- Measures pH plus nitrogen, phosphorus, and potash at home
- All components included for 20 complete tests
- Plant pH preference chart for over 450 varieties included
Drawback: Capsule-based chemical tests require careful timing and handling.$15.99Price as of 19 Nov 2026View on Amazon →As an Amazon Associate we earn from qualifying purchases. Prices and availability are accurate as of the date shown and are subject to change.

- Measures pH plus nitrogen, phosphorus, and potash at home
- All components included for 20 complete tests
- Plant pH preference chart for over 450 varieties included
Rapitest Soil Test Kit
Use this to check pH plus nitrogen, phosphorus, and potassium before you guess at fertilizer. Based on the published product details, it includes 20 tests and a plant preference chart. One drawback: color-matching kits can be slower to interpret than digital meters, and lighting can affect the reading.
Also greatFiskars · Cast aluminum tines · Ergonomic handle · Hand cultivator- Heavy-duty cast-aluminum head and tines for tough soil
- Ergonomic handle reduces hand strain during use
- Rust-resistant polished aluminum stays sharp over time
Drawback: Hand-sized only; limited to small beds and pots.$8.94Price as of 19 Nov 2026View on Amazon →As an Amazon Associate we earn from qualifying purchases. Prices and availability are accurate as of the date shown and are subject to change.

- Heavy-duty cast-aluminum head and tines for tough soil
- Ergonomic handle reduces hand strain during use
- Rust-resistant polished aluminum stays sharp over time
Fiskars Ergo Garden Cultivator
This hand cultivator is useful for loosening the top layer, breaking minor crusting, and working compost into small beds. Its cast-aluminum tines are built for tougher soil, but the tradeoff is that a hand tool covers less ground than a fork or broadfork in a large new bed.
Also greatEspoma · 4 lb bag · Pack of 2 · All-natural compost aid- Contains specially cultured ingredients to speed decomposition
- All-natural, no synthetic plant foods or chemicals
- Made in the USA by a leader in organic gardening since 1929
Drawback: For compost piles/tumblers only; does not amend garden beds directly.$22.41Price as of 19 Nov 2026View on Amazon →As an Amazon Associate we earn from qualifying purchases. Prices and availability are accurate as of the date shown and are subject to change.

- Contains specially cultured ingredients to speed decomposition
- All-natural, no synthetic plant foods or chemicals
- Made in the USA by a leader in organic gardening since 1929
Espoma Organic Compost Starter
This is a compost aid, not a replacement for finished compost in the bed. It can help break down organic matter in a compost pile, but it does not solve drainage or compaction in place, so it is less useful for immediate spring bed prep.
Must-have
These are the three items that matter most for a new spring bed. They help you read the soil, correct the structure, and verify the result before planting.
Nice-to-have
These items help when the bed needs more than a simple top-dress or when you want to fine-tune drainage and aeration.
Pair with itEASYGO PRODUCTS · 4 cu ft bag · Medium grade perlite · Soil amendment- Improves soil aeration and drainage in garden beds
- Lightweight porous structure mixes easily into soil
- Helps retain moisture while preventing compaction
Drawback: Single 4-cubic-foot bag; large beds may need multiple bags.$39.99Price as of 19 Nov 2026View on Amazon →As an Amazon Associate we earn from qualifying purchases. Prices and availability are accurate as of the date shown and are subject to change.

- Improves soil aeration and drainage in garden beds
- Lightweight porous structure mixes easily into soil
- Helps retain moisture while preventing compaction
Palmetto Horticultural Perlite
Perlite can improve aeration and drainage in garden beds, especially where soil stays dense or sticky. The drawback is that it is a bulk amendment, so it works best when you need a larger structural change and are ready to mix it evenly through the root zone.
As an Amazon Associate we earn from qualifying purchases. Prices and availability are accurate as of the date shown and are subject to change.

Cordless Tiller Cultivator
This tool can help break up loose soil, but it should not be the default fix for wet or badly compacted ground. The downside is that power tilling can worsen structure if the bed is still wet or already tight, so it belongs after moisture and drainage checks, not before them.
Consumables and spares
These items support the prep process, but they do not replace the core decisions about moisture, drainage, and compaction.
Our pickSpeedinistic · 3-in-1 · No batteries · Moisture/light/pH- Measures moisture, pH, and sunlight simultaneously
- No batteries required for readings
- Lightweight, portable design
Drawback: Not suitable for testing any liquid pH values; only works on soil.$6.99Price as of 19 Nov 2026View on Amazon →As an Amazon Associate we earn from qualifying purchases. Prices and availability are accurate as of the date shown and are subject to change.

- Measures moisture, pH, and sunlight simultaneously
- No batteries required for readings
- Lightweight, portable design
Speedinistic 3-in-1 Soil pH Meter
This meter gives quick readings for moisture, pH, and light without batteries. It is handy for a fast second check, but its built-in scale is not a substitute for a soil test kit when you need nutrient numbers or more precise pH guidance.