How to Identify Soil Crusting and Prevent It
Soil crusting is a thin, hard surface layer that can form after rain or watering; if seedlings fail to break through but the soil below stays loose, a common response is a shallow hand rake, a fine mist, or a thin mulch after seedlings are established, rather than deep tillage. Ignoring it can thin stands, delay germination, and waste seed. This guide shows how to tell crusting from compaction or salt damage, then choose the least disruptive fix for new beds, clay soils, or sodium-affected ground.
What soil crusting looks like


Soil crusting is a hardened surface layer that forms after heavy rain or irrigation. It can block seedling emergence, reduce water infiltration, and slow air movement near roots. The key clue is a thin sealed top layer over soil that still feels softer a little deeper down.
Surface clues after rain or irrigation
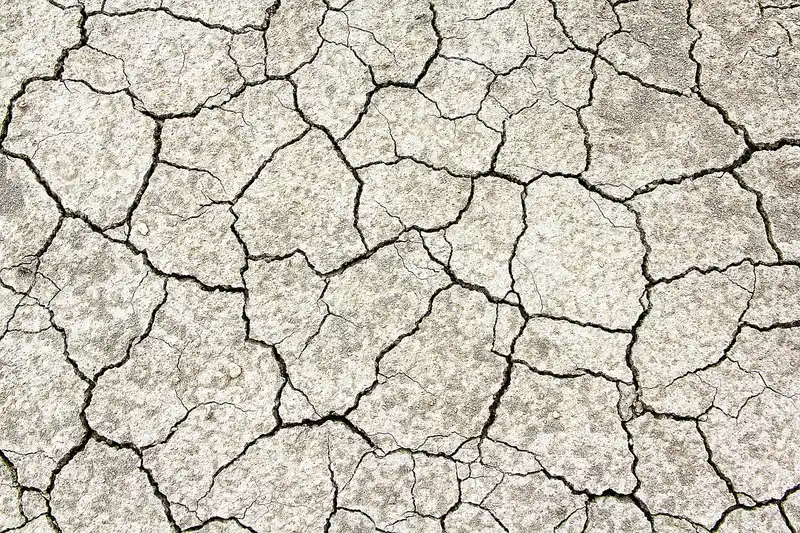
Look for a smooth, sealed skin, tiny cracks, or a surface that turns from soft to firm after drying. Rain droplets can break soil aggregates into smaller particles, and those particles can reorganize into a dense, impermeable layer. Clay-heavy beds do this faster because fine particles pack together easily.
Seedling response that points to crusting
Crusting usually shows up as uneven emergence, bent stems at the surface, or seedlings trapped just below a hard seam. In direct-sown beds, the seed may have germinated but the sprout cannot push through. In transplant beds, the surface may still seal around the planting hole and slow root entry into the surrounding soil.
When a hard top layer is probably something else
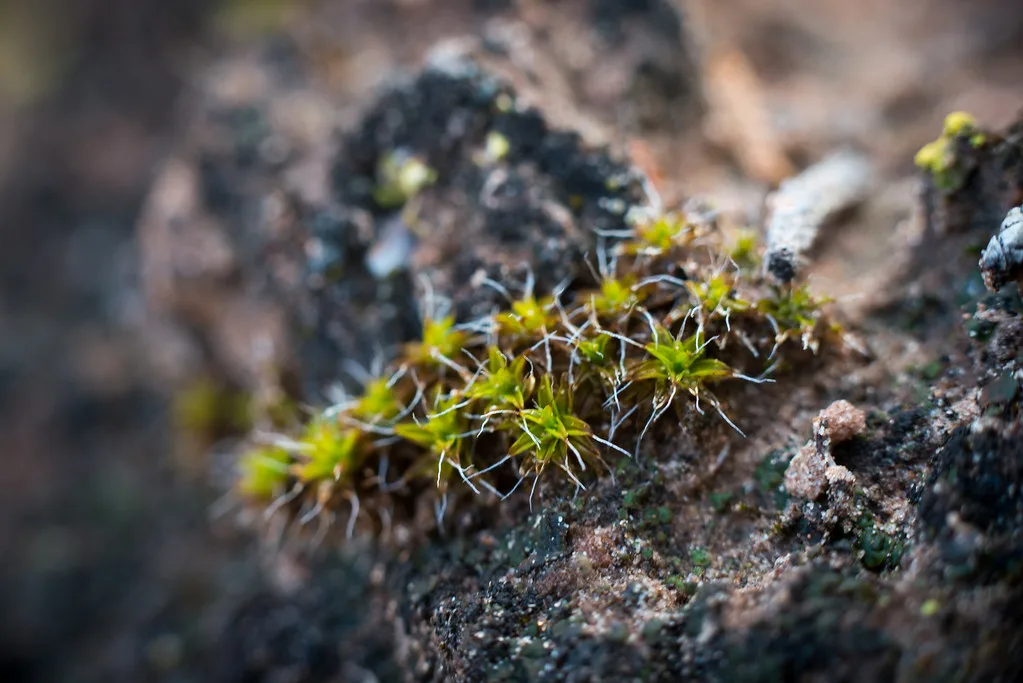
A dry, powdery top layer that loosens with one irrigation is often just dry topsoil. A firm layer that starts deeper than the first inch may point more toward compaction. Biological soil crusts are different again: they are living surface communities, usually in dryland settings, and should not be treated as a garden problem.
Soil crusting field checklist
This quick check separates crusting from compaction and biological soil crust. Use it after rain, irrigation, or the first signs of patchy emergence. The goal is to avoid breaking the wrong layer, because that can damage seed or leave compaction untouched.
| Signal | Likely crusting | Likely compaction | Likely biological soil crust |
|---|---|---|---|
| Where the hard layer is | Top 1/4 inch to 1 inch | Below the surface, often deeper than a hand rake reaches | On the surface as a living skin |
| What happened before it formed | Heavy rain or irrigation | Traffic, repeated pressure, or machinery | Dryland conditions, little disturbance |
| Seedling symptom | Sprouts stop at the surface seam | Roots stay shallow or misshapen | No garden seedling symptom; it is not a crop-bed crust |
| Best first response | Shallow rake or mist | Reduce pressure and address structure | Avoid breaking it unless land use requires it |
Soil crusting and prevent decision checklist
- Likely crusting: the surface sealed after rain or watering, seedlings are stuck at the top, and soil below the seam still feels loose.
- Likely compaction: the hard layer starts deeper than the surface, water sits or runs off, and a trowel meets resistance below the top layer.
- Likely biological soil crust: the surface looks like a living skin in a dryland setting, with no seedling trap at the seam and no recent garden irrigation trigger.
| Scenario | Safest first response |
|---|---|
| Newly sown bed with a thin sealed top | Wait for the surface to soften, then use a shallow rake at the top quarter inch |
| Clay-heavy bed that crusts after storms | Add organic matter and mulch after seedlings are established; use gentle surface loosening only where needed |
| Bed with sodium-related structure problems | Get a soil test before any gypsum decision |
What you’ll need
- Hand trowel or hori-hori
- Small hand rake or cultivator
- Watering can with a fine rose or mist setting
- Mulch, compost, aged manure, or leaf mold
How do I know if my soil is crusting?
Check the surface after a soaking event, then compare the top layer with the soil a finger or trowel can reach just below it. If seedlings are trapped at the seam and the lower soil is looser than the top, crusting is likely. A hard layer that starts deeper points elsewhere.
Check the surface after a soaking event
- Inspect the bed within 24 hours after rain or irrigation.
- Look for a sealed, smooth, or slightly cracked skin at the top.
- Press a fingertip into the surface and note whether only the top resists.
Test whether seedlings are trapped at the seam
- Find spots with patchy emergence.
- Gently brush away loose bits from the surface.
- Check whether sprouts stop right at the crust line.
Press, lift, and look for a thin sealed layer
- Insert a trowel edge just beneath the top layer.
- Lift a small section and look for a dense plate-like seam.
- Confirm whether the soil below is still crumbly rather than packed through depth.
Say your direct-sown lettuce bed looks bare in strips two days after a hard rain. If the top 1/4 inch has sealed and sprouts are bent just under the skin, that points to crusting. If the trowel hits resistance 3 or 4 inches down, the problem is more likely compaction.
How do I break soil crust without hurting seedlings?
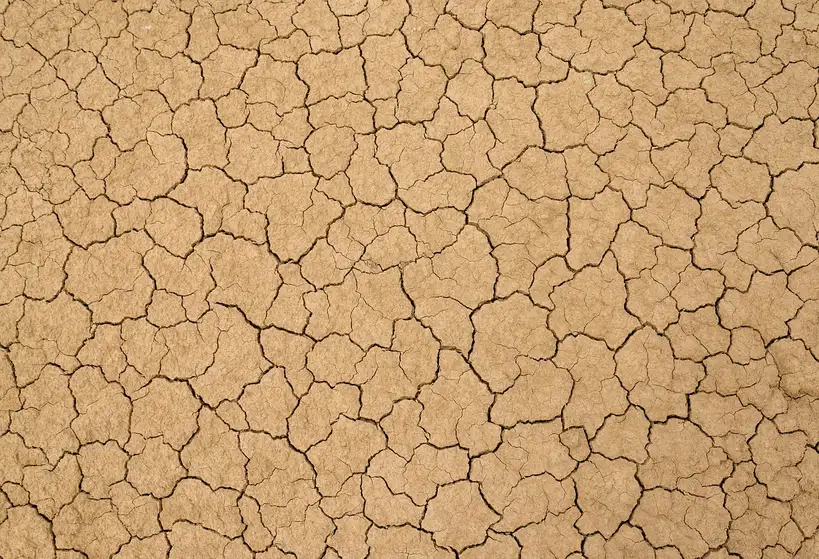
Start with shallow light raking or hand cultivation only when the crust is minor and the seed is not directly against the surface. For stubborn crusts, soften the top with a fine spray first. Stop if roots, radicles, or sprouts are near the surface, because breaking the crust can damage them.
Use shallow light raking only on minor crusts
- Choose a small hand rake or cultivator.
- Work only the top quarter inch.
- Keep the tool moving lightly across the surface, not down into the bed.
A common first-timer mistake is raking too deeply in a freshly seeded bed. That can bury seed unevenly and tear tiny roots. If the crust is thicker than a thin skin, pause and soften it first rather than forcing the tool through.
Soften stubborn crusts with fine spray watering
- Set a watering can to a fine rose or mist.
- Apply enough moisture to dampen the crust, then stop.
- Repeat misting several times daily if the surface re-seals, instead of soaking the bed at once.
Stop if roots, radicles, or sprouts are near the surface
- Check for white radicles or green tips at the seam.
- Leave those spots alone until the surface softens naturally.
- Mark the area and recheck later rather than scraping it now.
If that didn’t work, try this next
- Wait for the next light irrigation or rain to soften the seam.
- Use a slightly broader hand rake on only the sealed patches, keeping the depth shallow.
- If emergence is still stalled and the bed was direct-sown within the last week, avoid deeper cultivation and let the remaining seed decide the stand.
How can you prevent crusting in new garden beds?
Build aggregation before the bed gets sown. Organic matter helps soil particles bind into more stable aggregates, which reduces surface sealing. Compost, aged manure, and leaf mold all help. Mulch and cover crops also protect the surface from raindrop impact and keep the top layer from sealing over.
Add organic matter to improve aggregation
- Mix compost, aged manure, or leaf mold into the top layer before sowing.
- Keep the material evenly distributed rather than leaving a thin surface dusting.
- Recheck the bed after the next rain to see whether the surface still seals.
Mulch to take the force out of rain impact
- Apply a thin mulch after seedlings are established or after transplants are settled.
- Use enough to soften raindrop impact without burying tiny stems.
- Top up the mulch when bare patches appear.
Use cover crops where beds will sit bare
- Sow a cover crop on beds that will rest for a season.
- Let roots create channels in the soil.
- Turn the cover under before the next planting window to add organic matter.
Picture a bare bed left open after harvest. A single storm can seal the surface, while the same bed under a cover crop sheds rain better and keeps a looser top layer. That difference matters most in clay-heavy beds, where fine particles pack together easily and harden strongly when dry.
Does clay soil crust more easily?
Yes. High clay soils crust more readily because fine particles pack together easily, and they harden strongly when dry. Beds with low organic matter crust faster as well, because they lack the aggregates that keep the surface open after rain or irrigation.
What changes in clay-heavy beds
Clay-heavy beds need more protection from direct raindrop impact and more attention to organic matter. The goal is not to fluff the soil endlessly. It is to keep the surface from sealing, while avoiding aggressive cultivation that can smear wet clay into a denser layer.
What changes in low-organic-matter beds
Low-organic-matter soil needs repeated additions of compost, aged manure, or leaf mold so aggregates stay more stable. That reduces surface sealing and improves the way water moves through the top layer. In beds that crust every time they are watered, mulch after planting and cover crops between crops help most.
When should you use gypsum?
Use gypsum only when sodium appears to be part of the problem and a soil test supports that choice. Gypsum can help high-sodium soils because it causes clay particles to form more stable aggregates. It is not a general fix for ordinary clay soil, low organic matter, or poor surface protection.
Only when sodium is the problem
- Test the soil before buying or applying gypsum.
- Confirm sodium-related structure issues, not just a hard surface.
- Apply gypsum only if the test points to sodium management.
Why soil testing comes first
Without a test, gypsum can become an expensive detour. A crust caused by raindrop impact and low organic matter needs aggregation and surface cover, not a mineral amendment alone. If sodium is not the driver, the safer move is to improve soil structure and protect the surface.
Why gypsum does not replace organic matter
Even when gypsum is appropriate, it does not replace compost, aged manure, or leaf mold. Organic matter improves aggregation across the bed, reduces sealing, and supports a better surface structure over time. Gypsum addresses a sodium issue; organic matter addresses the bed itself.
Frequently asked questions
What is soil crusting?
It is a hardened surface layer that forms after rain or watering. The layer can block seedlings from emerging, slow water entry, and reduce air movement near roots. If the top seals but the soil below is still loose, a shallow rake or fine spray is the right first response.
What are soil crusts?
Soil crusts are thin, dense surface layers that form when raindrops break aggregates into finer particles and those particles settle into a tight skin. They are most common after heavy rain or irrigation on bare soil, especially in clay-heavy beds and in soils low in organic matter.
How do I know if my soil is crusting: check the bed right after?
Check the bed right after rain or watering. If seedlings stop at a thin surface seam and the top layer feels sealed while the soil beneath is still crumbly, crusting is likely. If resistance starts several inches down, look at compaction instead.
Why does my soil form a hard top layer after rain?
Heavy rain can break soil aggregates into smaller particles, and those particles can reorganize into a dense layer as the surface dries. Clay-heavy soils do this more readily, and low organic matter makes the surface easier to seal. A cover of mulch or a cover crop helps prevent the impact.
How do I break soil crust without hurting seedlings: use a shallow hand rake?
Use a shallow hand rake on only the top quarter inch if the crust is minor. If it is stubborn, mist the surface with a fine spray and try again later. Do not scrape where radicles or sprouts are already near the top, because the risk of damage is higher than the benefit.
When should I act after I notice a crusted soil surface?
Act right away if seedlings are trapped and the crust is thin. Wait if the bed was just seeded and sprouts have not yet appeared, unless the crust is already blocking visible seedlings. If the surface is hard but the problem starts deeper, address compaction later with a different approach.