Gardening Tips for Planning a Kitchen Garden Layout
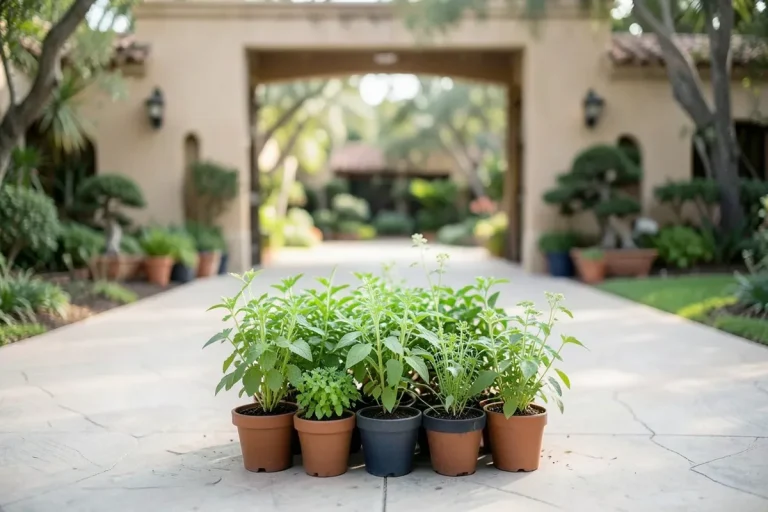
Plan a kitchen garden layout by placing the crops used most within about 10 to 20 feet of the door, grouping plants by water and harvest needs, and reserving the easiest-to-reach beds for quick-cut herbs and greens. If the layout is poor, you miss harvests, waste space, and end up with beds that are hard to keep productive. This guide covers spacing, bed placement, crop grouping, and harvest timing so your garden fits how you cook and how much time you have.
What a kitchen garden


A kitchen garden is a small, compact space near the house or kitchen, often used for herbs, vegetables, fruit, and edible flowers. It is usually more curated and more aesthetic than a standard vegetable patch, and it can include a sitting area if the site allows it.
That difference matters for layout. A kitchen garden is not built only for bulk harvests or preservation. It is shaped around daily use, easy access, and repeated picking, so the plan should prioritize the crops you reach most often.
What belongs in the space
Start with the foods you use fresh. Parsley, basil, chives, lettuce, scallions, cherry tomatoes, salad greens, strawberries, and edible flowers all fit the kitchen-garden role well because they support frequent harvests and direct use at the door.
Mixing edibles and ornamentals also works in this setting. Flowers can soften bed edges, break up long rows, and support pollinators and beneficial insects at the same time.
When a sitting area makes sense
A sitting area belongs only if it does not steal the best growing ground or block access. In a compact design, a small bench, stool, or bistro spot can fit at the edge of the garden where it will not interfere with harvesting or maintenance.
Where should a kitchen garden be placed in the yard?
Place the garden where you can reach it fast, see it often, and get enough light for the crops you want to grow. Put it on the brightest practical site that still gives you quick access to water. The best spot is close to the kitchen, easy to reach, and sheltered enough that routine tasks like watering, harvesting, and replanting stay simple.
Distance from the kitchen
Short walking distance matters more than a perfect view. If you have to cross the yard for herbs, lettuce, or tomatoes, you will harvest less often and let more crops age past peak quality. The most-used beds should sit closest to the door or the path you already take every day.
Sun, water, and wind exposure
Choose the sunniest practical site that still allows quick access to water. Most kitchen crops need strong light, but a spot that bakes in wind or dries too fast can add maintenance. A protected side yard may work better than a bright back fence if it shortens the trip from the kitchen and keeps watering simple.
When a side yard beats the back fence
A side yard often wins when it gives you better access, more regular visits, or a shape that fits beds and paths cleanly. A farther back-fence site can look tidy on paper and still fail in use if the walk is long enough that harvests and watering become chores you skip.
How big should a kitchen garden be?
Size the garden to the time you can give it, not only to the space you have. A small plot that stays weeded, watered, harvested, and replanted will outperform a larger bed system that outgrows your weekly maintenance budget.
Match size to maintenance time
Think in weekly care minutes. If you have only a short window for watering, tying, deadheading, weeding, and replanting, keep the layout compact and the crop mix simple. More beds mean more edges, more paths, and more work.
A common first-timer mistake is building enough beds for a full pantry goal, then finding out the garden needs more time than the household can spare. The result is not only extra labor. It also creates thin harvests, missed succession windows, and a garden that looks finished on paper but falls behind in midsummer.
Plan for yard shape and access
Use the shape you actually have. A long narrow strip may fit rows or a single line of raised beds. A square area often works better as divided blocks. Odd corners can hold containers, herbs, or vertical crops rather than forcing awkward paths through the center.
Avoid overbuilding
Leave room for paths, turning space, and access to every bed edge. If you cannot reach the center of a section without stepping into the soil, that section is already too large for easy upkeep unless you add paths or change to a different layout style.
Layout choices for your space
The best layout type depends on site size, shape, and how often you can tend it. Raised beds, rows, containers, and mixed zones each solve different problems, so choose the structure that matches your access and your harvest goals.
Raised beds versus rows
Raised beds can suit high-yield planning because they divide the garden into discrete sections, keep soil organized, and make access easier from the sides. Rows suit wider, more open sites and can work well for crops that need succession planting in straight blocks.
For compact gardens, raised beds usually make the clearest plan. For broader yards with plenty of room to walk between crop lines, rows can be simpler to lay out and easier to replant in sequence.
When containers fit best
Containers fit best where the yard is tiny, the ground is rented, or the soil below is poor and unusable. Use them for herbs, compact greens, strawberries, or a few high-value crops you want right beside the kitchen door.
Containers should not carry the whole plan unless the site is very small. They often dry faster, can need more frequent watering, and may become a maintenance burden if the crop mix is too broad.
Using mixed zones in small yards
Small yards often work best as mixed zones: a few raised beds, a short run of containers, and one vertical edge for climbers. That structure keeps the most used crops close, gives taller plants room without shading everything, and leaves a path that feels open rather than crowded.
Kitchen garden layout worksheet

This worksheet helps you turn space, crop timing, and weekly care minutes into a layout decision. Use it before you buy materials or place beds, because the same yard can support very different plans depending on how much time you have and what you cook most.
| Section | What to record | What it tells you | Layout signal |
|---|---|---|---|
| Space audit | Yard dimensions, sun hours, distance to kitchen, usable width, and the spots that stay open for paths | Whether the site is compact, narrow, square, or best suited to mixed zones | Choose beds, rows, containers, or a mixed layout |
| Crop-duration map | Crop categories, short-lived crops, follow-on crops, and the months or weeks each group stays productive | Where succession planting is needed and which sections should turn over fastest | Reserve the quickest turnover for lettuces, radishes, and similar crops |
| Maintenance budget | Weekly care minutes, watering frequency, weeding load, and how often you can harvest | How much bed area you can realistically keep in good shape | Limit bed count and keep the closest sections for the highest-use crops |
Worksheet steps
- Measure the full space, including any narrow side yard or corner that could hold a bed or container run.
- Mark sun exposure across the day and note the most reliable light for herbs, fruiting crops, and greens.
- Record the walking distance from the kitchen to each possible planting zone.
- List the crops you cook most and sort them by how often you harvest them.
- Mark which crops finish fast and which need follow-on plantings.
- Write down your weekly care minutes and compare that number with the number of beds or sections you want.
- Choose the layout type that fits the smallest bottleneck, not the most attractive option.
| Your space | Suggested layout type | Section allocation |
|---|---|---|
| Tiny yard or patio edge | Containers plus one narrow bed | 1 herb cluster, 1 greens section, 1 vertical crop corner |
| Small rectangular yard | Raised beds with a central path | 2 to 4 beds, with the closest bed for herbs and quick harvests |
| Long narrow strip | Rows or a single line of beds | One crop block for each plant group, with trellises on the far edge |
| Moderate square area | Mixed zones | One herb bed, one production bed, one vertical section, one flower edge |
How do you divide the garden?
Divide the garden into squares, rectangles, beds, rows, or zones based on the shape of the site and the routes you need for access. The goal is not symmetry alone. It is a plan that keeps harvests within reach and maintenance simple enough to repeat every week.
Squares, rectangles, and zones
A common planning method is to draw a sketch and divide the area into squares or rectangles. That approach works because each section can hold one crop type or one crop group, which makes it easier to rotate plantings and track what needs attention.
For a compact plot, keep section shapes regular unless the yard forces a different form. Clean geometry makes planting simpler, and it helps you see at a glance where tall crops, short-lived crops, and long-season crops belong.
Pathways and access routes
Paths should let you reach every bed without stepping into the soil. Example layouts often use 2-foot walkways, which gives enough room for access in a compact garden while keeping the growing area from becoming cramped.
Keep the main access route direct. If a bed is hard to reach, it will receive less weeding, less harvesting, and fewer succession plantings. That is how productive space turns into unused space.
Bed count and section allocation
Start with the fewest sections that still let you separate crop types. Herbs can share a border or a close bed. Greens can occupy the fastest-turnover section. Tomatoes, peppers, and climbing beans can move to the warmest or most supported side. Flowers can edge the layout or fill gaps where pollinators benefit most.
Suppose a 22-foot by 40-foot plot is cut into sections with 2-foot walkways throughout. Dividing one 22-foot side into four 4-foot-wide sections gives a clear example of how to keep crop blocks organized without losing access. That kind of plan stays usable because each block has a job.
What should go where?
Place the most frequently harvested crops closest to the kitchen, reserve vertical supports for climbers, and use the more distant or less visible sections for plants that need less frequent picking. Group crops by light, height, and care needs so the layout supports the way the garden is used.
Herbs near the door
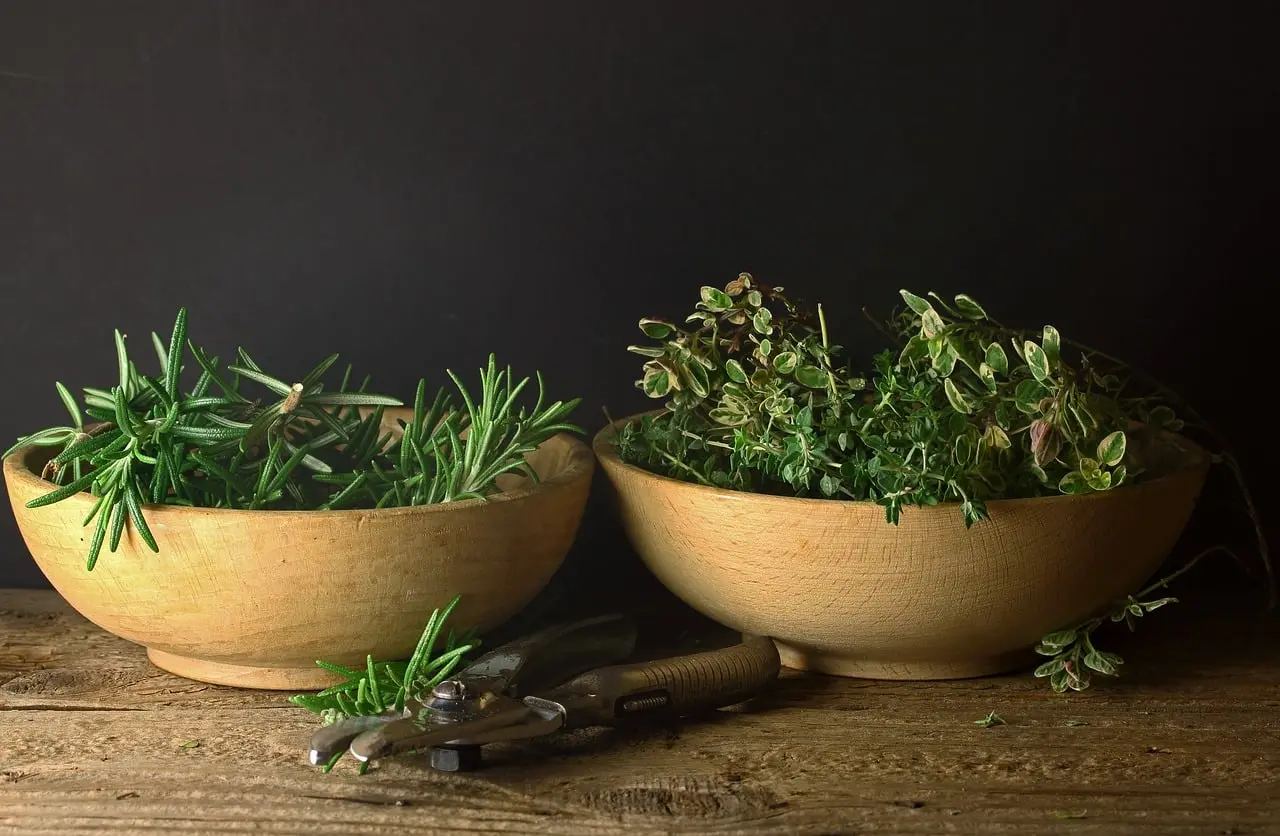
Herbs belong near the door because they are small, used often, and easiest to harvest in short trips. Parsley, basil, thyme, mint in a contained spot, chives, and dill work well in the nearest bed or in pots at the entry.
Tall crops on trellises
Vertical gardening uses trellises to maximize space and suits climbing crops in small gardens. Pole beans, cucumbers, and some peas are commonly used in this role, especially when the bed is narrow and height is preferable to using more ground area.
Put tall crops where they will not shade the lowest growers. A trellis on the north side of a bed often protects the shorter crops in front, while still giving the climbers a strong support line.
Flowers and companion planting in the mix
Companion planting can help organize the garden by pairing compatible crops and placing helpful plants together. Marigolds and onions are often used in these plans, especially near tomatoes or along edges where they can support pest management without taking over the bed.
Pollinator-supporting flowers belong in the layout, not only at the margins. They add visual interest, draw beneficial insects, and help break up large blocks of edibles so the garden feels like one plan rather than a collection of separate patches.
Say your back yard is small, sunny, and only a few steps from the kitchen, but your weekly care time is limited. A compact raised-bed plan with one herb section, one greens section, and one trellised edge will usually outperform a larger mixed plot that needs more watering and replanting than you can manage.
A kitchen garden layout works best when every section has a clear job. Keep the shortest path to the crops you cut most often, use the smallest possible number of beds that still separate crop groups, and give succession crops a defined place before the season starts.
Frequently asked questions
How do I plan a kitchen garden layout from scratch?
Begin with a sketch of the yard, the sunniest usable spot, and the shortest route from the kitchen. Then mark bed shapes, path widths, crop groups, and the sections that need succession planting. Build the plan around access and maintenance time, not around a photo-ready pattern.
How big should a kitchen garden be for my space?
Make it as large as you can maintain without falling behind on watering, weeding, harvesting, and succession planting. A smaller, well-kept garden usually produces more useful food than a larger one that becomes hard to reach. Start with the time you have, then fit the beds to it.
What vegetables and herbs work best in a kitchen garden?
Choose crops you use fresh and often: basil, parsley, chives, lettuce, scallions, cherry tomatoes, salad greens, herbs for finishing, and compact fruit like strawberries. Add edible flowers if you want a more varied display and extra insect support. The best crops are the ones you will pick regularly.
How do I divide a kitchen garden into sections?
Draw the space as squares or rectangles, then assign each section a crop type or job. Put herbs and quick-cut greens near the kitchen, give climbing crops a trellis edge, and reserve one section for succession planting. Keep paths wide enough to reach every bed without stepping into the soil.
How do I plan succession planting in a kitchen garden?
Map each crop by how long it stays productive, then assign a follow-on crop to the same section before the first one finishes. Short-lived crops such as lettuce need replacements ready to go. That way, the bed keeps producing instead of sitting empty after the first harvest window closes.