How Far Should a Grow Light Be From Seedlings?
Start seedlings about 24-36 inches from some LED panels, about 6-12 inches from fluorescent tubes, or about 24-48 inches from HID lamps, then adjust by PPFD: too close can bleach leaves or curl them; too far can stretch stems. Wrong spacing slows roots, weakens stems, and can stall transplants. This article shows how to match fixture type, seedling stage, PPFD, and leaf symptoms to decide whether to raise the light, dim it, or both. For broader context, see our PPFD guide, DLI guide, seed-starting basics, LED vs fluorescent comparisons, and transplant shock prevention.
How far should a grow light be from seedlings?
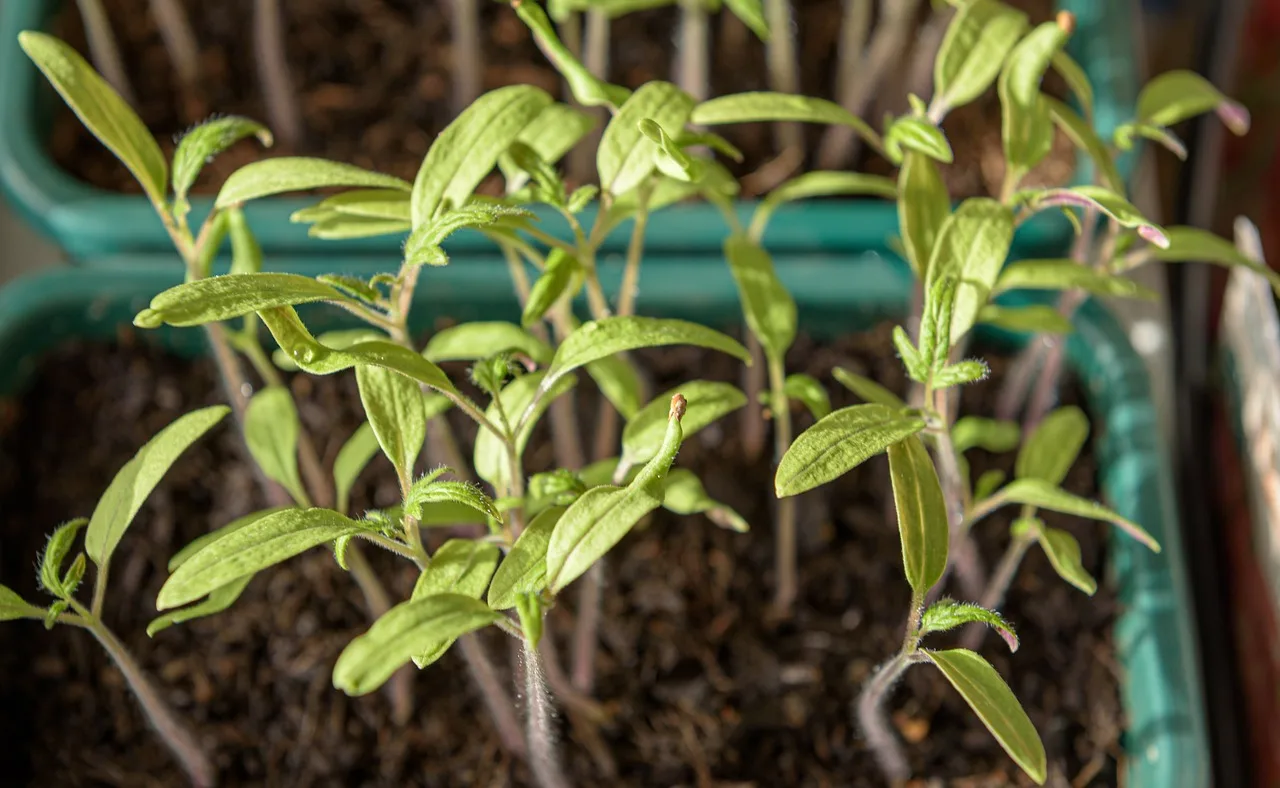


Use fixture type and output first, then confirm with canopy-level PPFD and plant response. Many seedlings can sit about 4-12 inches below the light, but that range spans very different fixtures. Low-output bars can sit closer than high-power panels, and HID lamps usually need the most headroom. Cornell and other extension guidance consistently emphasizes canopy readings and fixture-specific spacing rather than a single universal distance; manufacturer PPFD maps and spec sheets are the best way to verify the actual output pattern for your exact model.
For a fast starting point, low-output LED bars can begin around 6-12 inches, T5 fluorescent fixtures around 4-12 inches, full-spectrum LED panels around 12-24+ inches, and HID lights around 24-36+ inches. Seedling stage matters too. Germination, cotyledons, and true leaves do not want the same intensity. As a practical benchmark, many extension guides place seedlings in roughly the 100-300 µmol/m²/s PPFD band, with the lower end preferred for germination and cotyledons and the higher end for well-rooted true-leaf starts.
Seedling light distance by fixture type
| Fixture type | Starting height | Why it starts there |
|---|---|---|
| Low-output LED bar | 6-12 inches | Lower output can sit closer without pushing PPFD too high; verify with the fixture’s PPFD map or spec sheet. |
| Full-spectrum LED panel | 12-24+ inches | Higher output often needs more distance, especially at full power; the manufacturer’s PPFD map should guide the final height. |
| T5 fluorescent | 4-12 inches | Lower heat and lower intensity let you hang them nearer; University of Minnesota Extension cites roughly 4-6 inches for certain fluorescent setups. |
| HID lamp | 24-36+ inches | High heat and high intensity require more separation from tender seedlings; a higher hang reduces scorch risk. |
LED grow lights: bars, boards, and full-spectrum panels
LEDs vary more by wattage and diode density than by brand label alone. A low-output bar can start near the tray, while a dense full-spectrum panel may need to stay much higher. Dimmer control matters here, because it changes intensity without moving the fixture. Manufacturer PPFD maps are the most reliable way to compare a 220W panel with a 750W panel, because wattage alone does not show how evenly that light lands across a 2×2 or 4×4 canopy.
That difference is why a 220W panel and a 750W panel should not get the same distance advice. The stronger unit may need a higher hanging position or a dimmer setting to keep PPFD in range at canopy height. In practice, a 220W fixture may be close enough for young starts only when dimmed, while a 750W panel may need to be hung high or run well below full power to avoid bleaching the center row.
T5 fluorescent lights: closer spacing and lower heat
T5 fluorescent fixtures generally sit closer than high-power LEDs because they put out less heat and less intense light. A practical starting band is 4-12 inches above seedlings, and University of Minnesota Extension is cited for approximately 4-6 inches under certain fluorescent setups. That tighter placement can work well over a shallow 10×20 tray, especially during cotyledon stage, as long as the canopy stays compact rather than pale or curled.
HID lights: distance, heat, and why they need more room
HID lights are usually a poor fit for very young seedlings unless the fixture is kept far enough away. Their heat output makes leaf stress more likely than with LEDs or fluorescents, so 24-36+ inches is the safer starting zone. In small propagation spaces, that heat can build quickly, especially under a shelf with limited airflow or when a dome traps warm air at canopy level.
Picture a tray under a high-output lamp inside a shallow propagation shelf. The seedlings may not only get more light than they need, they may also face warm air trapped under the shelf. In that case, distance alone is not enough if heat is still collecting at canopy level. Raising the light 2-4 inches and improving airflow is often more useful than making a large one-time jump.
What PPFD should seedlings get?
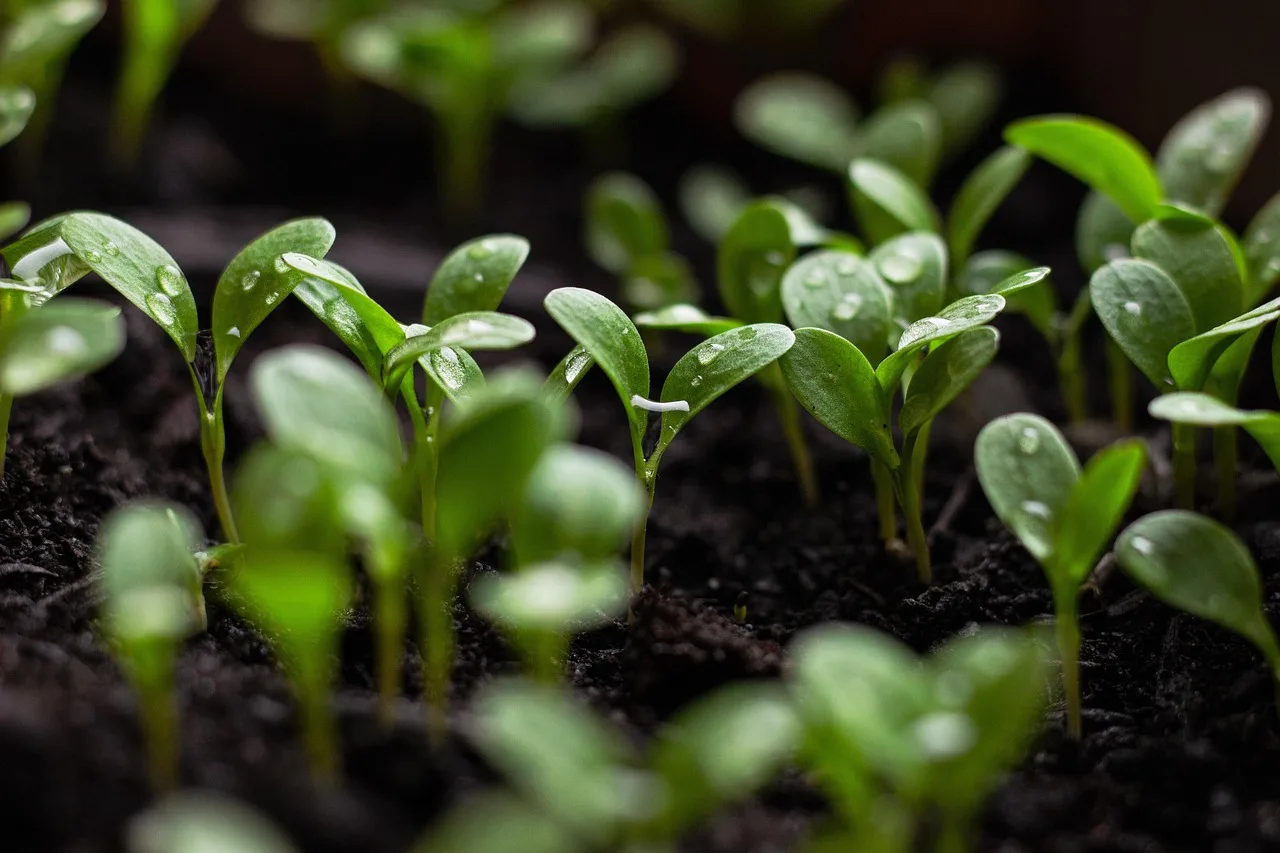
PPFD is more useful than inches alone because it measures light reaching the canopy in µmol/m²/s. A practical seedling target is often around 100-300 µmol/m²/s (University extension guidance commonly places seedlings in that general band, with exact needs varying by species and photoperiod). Use that range as the main check, then use height and dimmer settings to land there for the stage you are growing.
Seedlings move through light needs in steps. Germination usually needs gentler light or none until emergence. Cotyledon-stage plants can handle moderate light. True-leaf seedlings can take more, but they still stay below the intensity that would suit mature plants. DLI matters too: a 150 µmol/m²/s canopy for 12 hours delivers about 6.5 mol/m²/day, while the same PPFD for 18 hours delivers about 9.7 mol/m²/day.
PPFD target table for seedlings
| Stage | Practical PPFD target | What it should look like |
|---|---|---|
| Germination | 50-100 µmol/m²/s | Gentle intensity; avoid pushing dry media and stressed sprouts. |
| Cotyledons | 100-200 µmol/m²/s | Compact growth without pale, tired leaves. |
| True leaves | 150-300 µmol/m²/s | Healthy green color and tighter internodes if nutrients and watering are steady. |
How DLI changes the answer
DLI is the total light a plant gets over a full day. It depends on both PPFD and photoperiod. A short day at moderate PPFD can deliver less total light than a long day at the same canopy reading, so you need both numbers to judge the full daily dose. For seedlings, a common starting DLI is modest; as a rule of thumb, 5-10 mol/m²/day is a useful working band for many starts, with the exact target depending on species and growth rate.
Say a tray sits in the correct PPFD range for 12 hours, then the schedule changes to 18 hours without moving the fixture. The daily light load rises even if the canopy reading stays the same. That is why photoperiod must be part of the decision, not an afterthought. If the leaves start to pale after extending the day, the issue may be DLI rather than distance alone.
Why canopy-level readings matter
Measure at canopy height, not at the fixture and not on the bench. The canopy is the reference point because that is where the leaves intercept light. Also check the whole tray, since corners and edges often receive less than the center. Manufacturer PPFD maps are especially helpful here because they show the hotspot and falloff pattern before you hang the fixture over a 10×20 or 2×2 tray.
A PAR meter gives the clearest answer. If you do not have one, use the fixture guide as a starting point and then judge the seedlings. Even light across the tray matters as much as the number at one spot.
Light stress signs on seedlings
Too little light usually shows up as stretching, leaning, long internodes, and weak stems. Too much light or heat can bleach leaves, make them curl, and slow growth. Mixed symptoms mean the setup is off in more than one way, often because light is strong in one area and weak in another. The key inversion to avoid is this: too-close lights cause bleaching and curl; too-far lights cause stretch and lean.
Signs the light is too far away
- Stems stretch upward between nodes.
- Seedlings lean toward the light.
- Leaves may look pale because the plant is not receiving enough intensity.
- Growth becomes thin and floppy instead of compact.
Signs the light is too close
- Leaves bleach or turn pale from excessive intensity.
- Leaf edges curl upward or inward.
- Growth slows even though the fixture is on long enough.
- Heat stress appears sooner in small domes or tight shelves.
A common beginner mistake is setting the grow light too close just because the seedlings look a little pale, instead of checking the full setup. A tray can stretch in the shaded corners and bleach in the center at the same time. That usually means coverage is uneven, not that the whole tray needs the same fix.
Suppose a 2-by-2 tray under a bright panel has pale upper leaves in the middle and leggy seedlings at the outer edge. Raising the fixture 2-4 inches can help the center, but the corners may still need more light or a different light spread. One change may not solve both signals, and a dimmer plus a small height change often works better than a large move.
Seedling light calibration checklist
Use this checklist when you want a diagnosis instead of a guess. The goal is to match fixture type and output, set a reasonable starting height, then correct based on symptoms. Make changes one step at a time so you can tell what worked.
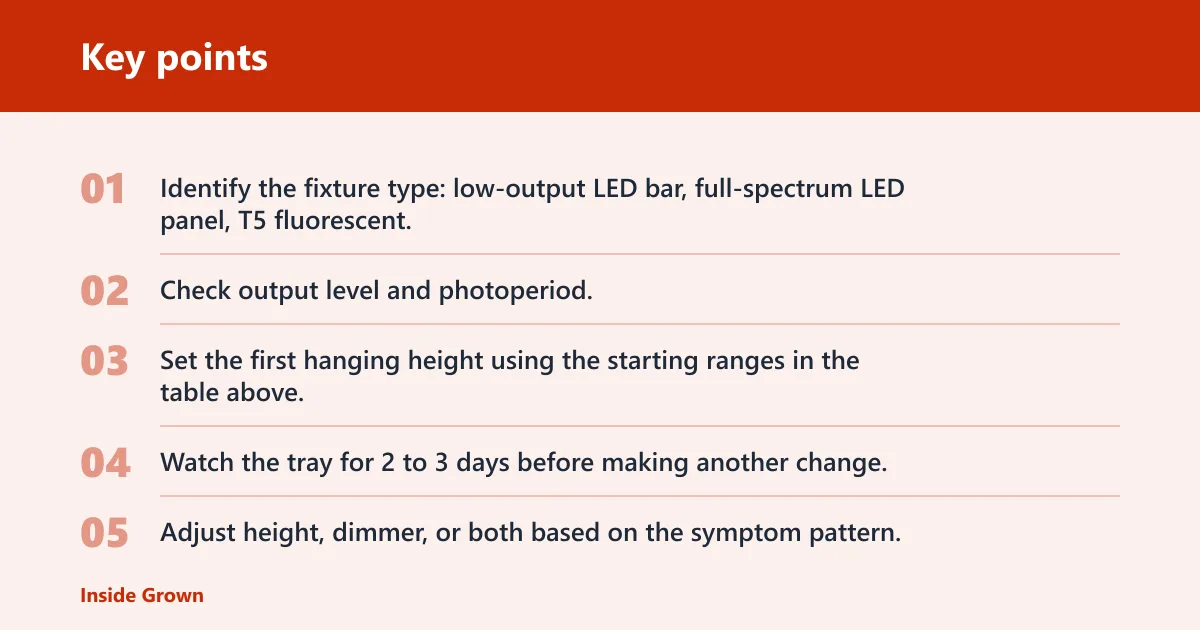
- Identify the fixture type: low-output LED bar, full-spectrum LED panel, T5 fluorescent, or HID.
- Check output level and photoperiod. A stronger fixture or longer day needs a lower starting intensity.
- Set the first hanging height using the starting ranges in the table above, then read PPFD at canopy height if you can.
- Watch the tray for 2 to 3 days before making another change.
- Adjust height, dimmer, or both based on the symptom pattern.
| Scenario | Likely diagnosis | Exact correction |
|---|---|---|
| Stretchy seedlings | Light is too far away or too weak at canopy height. | Lower the fixture 2-4 inches or increase intensity if the light is already within the suggested range; keep the canopy in the 100-300 µmol/m²/s range. |
| Bleached seedlings | Light is too close, too intense, or too hot. | Raise the fixture 2-4 inches first; if the light has a dimmer, reduce intensity as well, especially under high-output LEDs or HID lamps. |
| Uneven tray growth | Coverage is uneven across the canopy. | Center the fixture, check the tray corners with a meter if possible, then adjust height before changing power so the spread improves across the whole tray. |
| Healthy compact growth | Distance and output are working together. | Keep the current setup, then recheck after true leaves expand or after you change photoperiod, because stage changes can shift the target. |
When to move the fixture higher
Raise the light when seedlings show bleaching, curled leaves, or heat stress. That is the safer first move for high-output LEDs and HID lamps, especially if the fixture is already near the lower end of its range. Higher hanging height can also even out a hot center spot. If a 10×20 tray looks crisp in the middle and stressed at the edge, a small raise often improves the pattern before any other change.
When to use the dimmer first
Use the dimmer first when the fixture has plenty of spread but too much intensity. That works well for many full-spectrum LED panels because output can be reduced without changing the geometry above the tray. If the canopy still looks stressed, raise the light after dimming. This is often the cleaner move when the tray is already evenly lit but the leaves show bleaching rather than stretch.
How to judge even coverage across the tray
Look at the tray as a whole. If the center is compact but the edge rows stretch, the fixture may be high enough in the middle but weak at the perimeter. A PAR meter at several canopy points gives a clearer answer than a single reading. Manufacturer PPFD maps help you compare that meter pattern against the fixture’s claimed footprint before you make a larger hanging adjustment.
Frequently asked questions
How close can LED grow lights be to seedlings?
Low-output LED bars can start around 6-12 inches from seedlings. Full-spectrum LED panels often need 12-24+ inches, and the exact height depends on power, diode density, dimmer setting, and the PPFD measured at the canopy. A dimmer can let you keep a stronger fixture closer, but only if the tray still lands in the correct PPFD band.
How high should a fluorescent grow light be above seedlings?
T5 fluorescent fixtures can generally sit 4-12 inches above seedlings. University of Minnesota Extension is cited for approximately 4-6 inches under certain fluorescent setups. If leaves pale or curl, raise the fixture slightly and recheck the tray for even coverage.
How do I know if my seedling light is too close?
Look for pale or bleached leaves, curling, and slowed growth. Heat stress is more likely with HID lamps and some high-output LEDs, especially in small propagation spaces. If those symptoms appear, raise the fixture first and reduce intensity if the unit has a dimmer. The symptom pattern should improve within a few days if excessive intensity was the main issue.
How do I know if my seedling light is too far away?
Seedlings that are too far from the light usually stretch, lean, and develop long internodes. Stems become weak, and the canopy may look uneven across the tray. Lower the fixture or increase intensity until the canopy lands closer to the target PPFD.
Should I adjust light distance or dimmer for seedlings?
Use the dimmer first when the fixture has one and the spread is already even. Raise or lower the fixture when the whole tray is off target or when the center is too intense. Mixed symptoms often need both, height for spread and dimming for intensity. A good rule is to change height in 2-4 inch steps and use the dimmer for finer tuning.
Do different grow lights need different hanging heights for seedlings?
Yes. Fixture type and output change the correct height. T5 fluorescents and low-output LED bars can run closer, full-spectrum LED panels often need more space, and HID lights need the most separation because they add much more heat near the canopy. Always compare the hanging height to a manufacturer PPFD map or spec sheet rather than wattage alone.