How to Plan a Vegetable Garden Layout for Maximum Yield
Plan a vegetable garden for better yield by placing taller crops on the north side, using paths that are about 18–24 inches wide, grouping plants by sun needs, and replanting beds soon after they empty. Skip that, and you lose light, crowd roots, and spend the season trimming, bending, and harvesting less food from the same square footage. This guide shows how I map sun, crop height, spacing, soil, access, and succession planting into a layout that produces more.
This guide is part of our Vegetable gardening guide series.
How do you plan a vegetable garden layout for maximum yield?


Start with space, sunlight, soil, and water
The best layout depends on space, soil quality, and sunlight. A sunny, open plot can hold taller fruiting crops and wider rows. A cramped yard with part shade needs tighter spacing, more vertical support, and a layout that gives the highest-yield plants the best light.
Before I draw beds, I mark where sun hits in the morning, midday, and late afternoon. Then I note which areas dry out fast, where runoff collects, and where a hose or spigot can reach without dragging lines across planting space.
Think in crops per square foot, not bed count
Bed count is the wrong unit. Yield comes from how much useful crop each zone can produce over the season, and that changes with spacing, harvest frequency, and height. A layout with fewer beds can outproduce a larger one if it wastes less light and less edge space.
Use a crop list, not a bed list. Rank what you want most, such as tomatoes, lettuce, peppers, beans, carrots, herbs, or greens. Then decide which crops get prime sun, which can take partial shade, and which can fill small gaps between longer-season plants.
Build the plan around harvest goals
A yield-first layout starts with what needs to be harvested often and what can wait. Leafy greens, herbs, and bush beans can go where they are easy to pick repeatedly. Larger, slower crops need room to finish without taking over the whole garden.
This is where a one-page worksheet helps. List each crop by space demand, vertical habit, sun need, and harvest frequency, then assign the crop to a bed zone. That simple ranking turns a blank patch of ground into a plan with purpose.
According to almanac.com — Square-foot gardening divides space into 1×1-foot squares.
Which layout should you use: raised beds, rows, square-foot gardening, or containers?
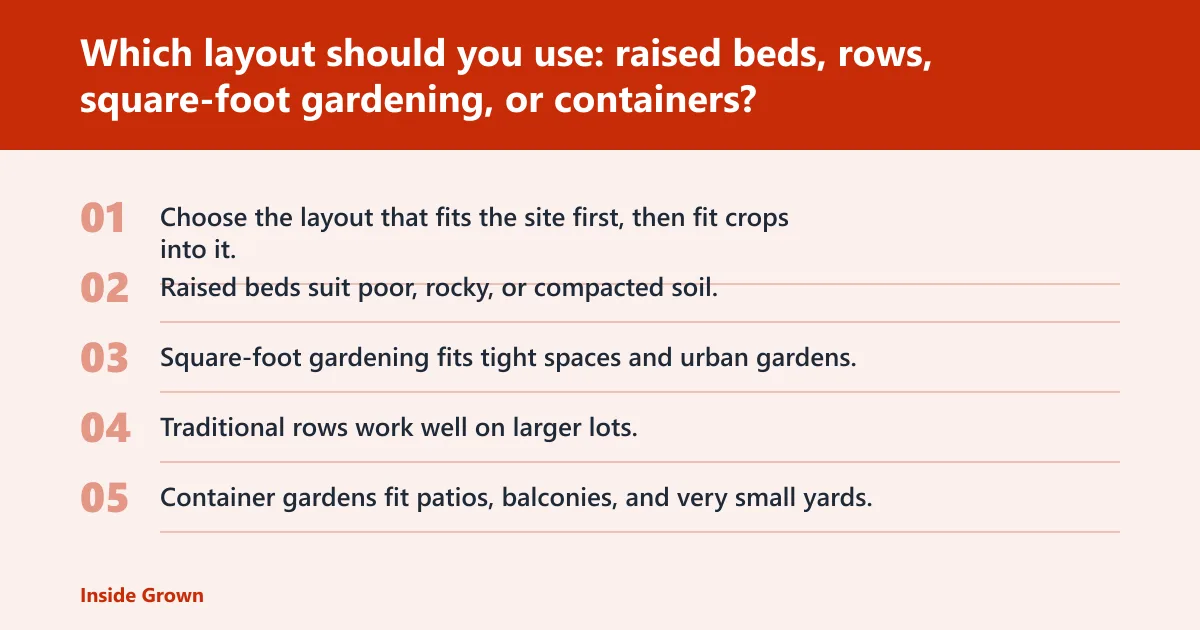
Choose the layout that fits the site first, then fit crops into it. Raised beds suit poor, rocky, or compacted soil. Square-foot gardening fits tight spaces and urban gardens. Traditional rows work well on larger lots. Container gardens fit patios, balconies, and very small yards.
Raised beds for poor or compacted soil
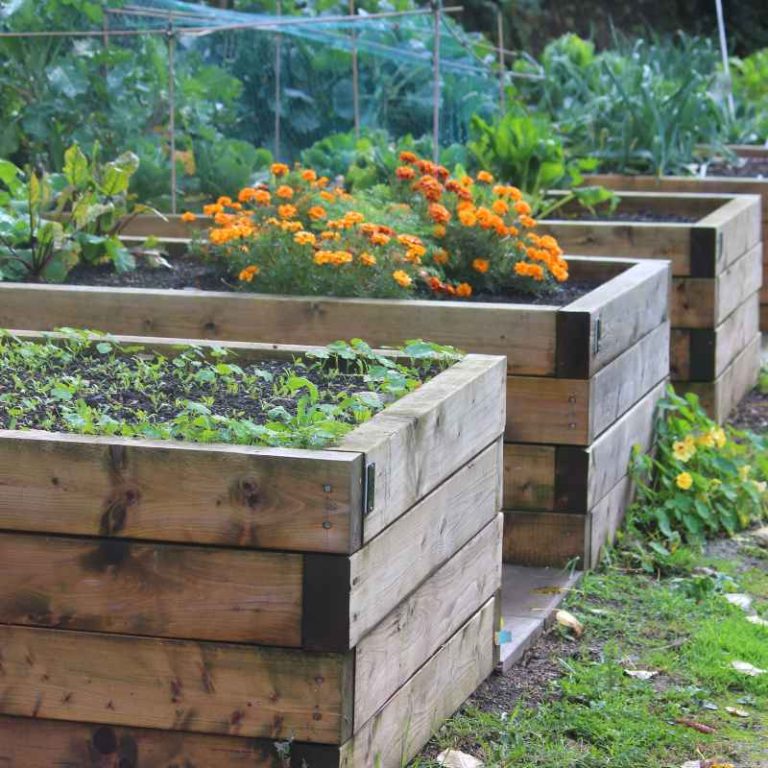
Raised beds help gardeners control soil quality, and they are a strong choice for poor, rocky, or compacted ground. They also make it easier to add compost, hold shape, and separate planting soil from whatever is underneath.
A beginner-friendly example is a simple 4×8 raised bed layout. That size is easy to reach from both sides, simple to irrigate, and flexible enough for mixed crops. Raised beds also pair well with drip irrigation and mulch, which helps where water needs to be conserved.
Square-foot gardening for tight spaces
Square-foot gardening divides space into 1×1-foot squares and replaces long rows with dense groupings. That structure works well in small yards and urban gardens because it reduces wandering paths, simplifies spacing, and cuts down on weeding between scattered plants.
It is most useful when the goal is to fit many crops into a small footprint without losing track of what is planted where. It also helps newer gardeners avoid overplanting an entire bed with one crop that peaks all at once and then disappears.
Traditional rows for larger plots
Traditional row gardens are often used on larger lots. They are efficient for crop rotation, easier to water at scale, and simpler for large crops that need room to spread. Rows also make it easier to run hoes, hoses, and harvest baskets through the garden.
Rows are usually the better fit when the plan includes potatoes, corn, squash, or other wide crops that need long runs and simple maintenance access. They are less efficient in tiny gardens, where every extra foot of aisle can reduce planting area too much.
Containers for patios and balconies
Container layouts are suited to patios and balconies, and they also work in very small yards where ground space is already spoken for. Use compact varieties and arrange pots by sunlight and watering needs, because containers dry faster and are easier to misplace in poor light.
Tomatoes, peppers, lettuce, and herbs are all sensible container crops. The key is to put the sun-hungry pots where they get the most light and keep the thirstier containers where watering is easiest to reach every day.
How should sun exposure shape the map?
Sun exposure should drive the map before bed style does. Put fruiting crops in the brightest zone, place tall plants where they will not shade shorter ones, and reserve partial shade for leafy greens and herbs. A garden can lose a lot of yield when one row blocks another.
Use the sunniest area for fruiting crops
Tomatoes, peppers, and other fruiting crops should get the sunniest area because they return more harvest when light is steady and direct. If the garden has one hot, open stretch, that is where the heaviest producers belong.
If the sunniest area is small, concentrate those crops there and avoid spreading them thinly across the whole site. A few well-placed high-value plants usually outperform a scattered layout that gives everything middling light.
Place tall crops where they will not shade shorter ones
Tall crops are often placed on the north side in many gardens so they do not block light from lower crops. That rule matters most in narrow beds and small plots, where even a few feet of shade can reduce growth across an entire row.
Keep trellised beans, tall tomatoes, or corn away from lettuce, spinach, radishes, and low herbs. A common mistake is putting the biggest plants in front because the bed looked balanced on paper. The result is a shaded front edge and thinner harvests.
Save partial shade for leafy greens and herbs
Partial shade is useful, not wasted. Leafy greens, cilantro, parsley, mint, and some cool-season crops can do well there, especially in strong afternoon sun. Place them where nearby structures or taller crops soften the heat instead of stealing the whole day of light.
In mixed-light gardens, treat shade as a placement tool. Put the lowest-light crops there on purpose rather than leaving that space unused or trying to force sun-loving crops into it.
How wide should paths be, and where should access go?
Paths should fit the gardener, the tools, and the way harvest happens. Good access saves time, reduces soil compaction, and keeps the center of the bed reachable. Too much path wastes growing space; too little path makes every task awkward and slows harvest.
Choose path widths that match use
Path width should be based on who walks there and what gets carried through it. Narrow paths may be enough between small beds, but wider access is better when a wheelbarrow, watering can, or harvest crate needs to pass through without scraping plants.
The practical tradeoff is simple: wider paths improve movement and maintenance, while narrower paths preserve planting area. The right answer is the smallest path that still allows easy access without stepping into beds.
Keep harvest access on all sides when possible
Harvest access matters more than many new gardeners expect. If a bed can be reached from both sides, picking is faster and plants are less likely to be trampled. That is especially useful for crops harvested often, such as lettuce, herbs, and beans.
Where full access is not possible, leave the most active edge where the hands naturally land. Put frequent-harvest crops near that edge and save the harder-to-reach center for crops that are picked less often.
Which crops should be grouped together in one layout?
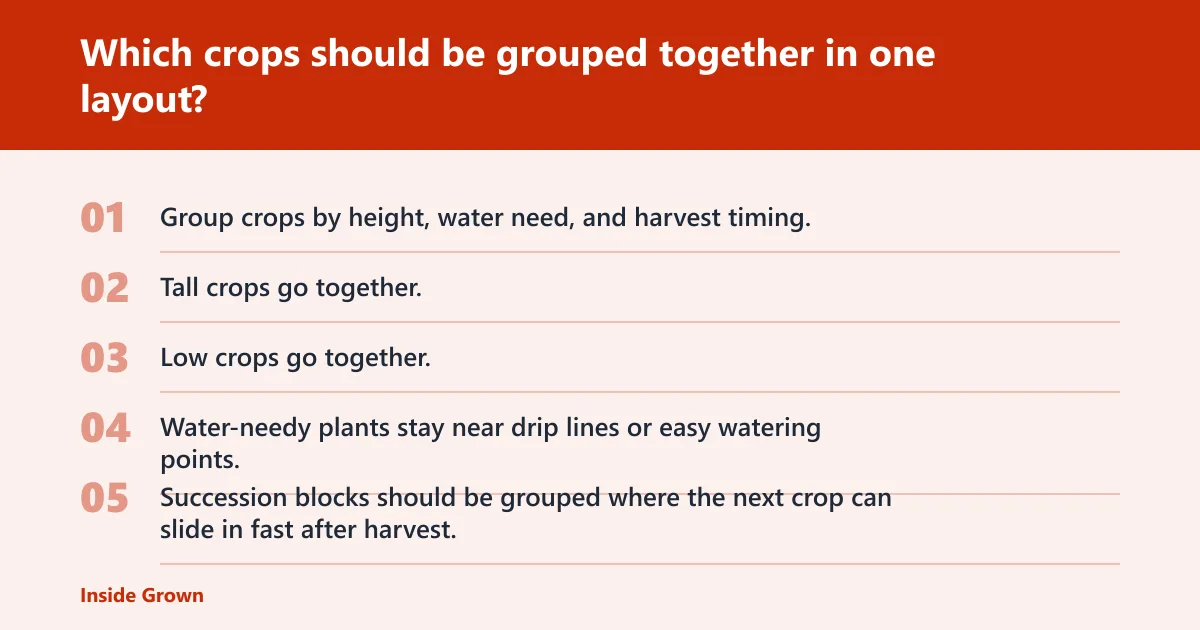
Group crops by height, water need, and harvest timing. Tall crops go together. Low crops go together. Water-needy plants stay near drip lines or easy watering points. Succession blocks should be grouped where the next crop can slide in fast after harvest.
Group tall, medium, and low crops separately
Tall crops need their own zone so they do not shade low crops. Medium crops, such as peppers or bush beans, can fill the middle layer. Low crops, such as lettuce, spinach, and radishes, work best at the front edge or in open squares with steady light.
This kind of crop grouping keeps the structure of the garden clear. It also reduces the chance that a fast-growing plant will hide a slower one and steal its room before harvest.
Keep water-needy crops near drip lines
Water-needy crops should sit close to drip irrigation or to the easiest watering point in the garden. That reduces missed watering and helps the driest parts of the plot stay productive during hot spells. Low-water layouts can pair mulched raised beds with drip irrigation.
Mulch slows evaporation and keeps the surface more even between waterings. Used together, drip irrigation and mulch make the layout less dependent on daily hose work.
Set aside blocks for succession planting
Succession planting works best when a layout has dedicated space for it. Leave one or two blocks that can be rotated from spring greens to summer beans to fall radishes or more lettuce. Do not lock every square into one long-season crop.
This is where yield improves over time. A bed that is replanted fast can produce several harvest windows in one season, while a bed that sits empty after one crop only pays once.
| Crop type | Space demand | Vertical habit | Sun need | Harvest frequency | Best placement |
|---|---|---|---|---|---|
| Tomatoes | High | Tall, staked or trellised | Full sun | Frequent once fruiting | North side or rear of bed |
| Peppers | Medium | Compact | Full sun | Frequent in peak season | Sunny middle zone |
| Lettuce | Low to medium | Low | Partial sun | Repeated cut-and-come-again | Front edge or shaded side |
| Beans | Medium | Climbing or bush | Full sun | Frequent harvest | Trellis line or row edge |
| Herbs | Low | Low | Partial sun to full sun | Frequent snipping | Edges, corners, or container rims |
How do you fit more vegetables into a small garden without wasting space?
Fit more vegetables into a small garden by using vertical supports, filling edges with quick crops, and keeping beds in constant rotation. Small gardens waste yield when they leave gaps after early harvests, overbuild paths, or put sprawling crops where compact ones could produce more.
Use vertical supports for climbers
Trellises, cages, and stakes turn upward space into harvest space. Pole beans, peas, and trained tomatoes can produce more useful crop per square foot when they are lifted off the ground instead of spreading across the bed.
Vertical growing also improves airflow and keeps fruit cleaner. Just make sure the support does not block sun from lower crops behind it.
Fill edges with quick crops and herbs
Bed edges are often wasted. They are prime spots for radishes, scallions, lettuce, parsley, and basil because these crops mature quickly and can be picked often. The edge is also easier to reach, so frequent harvest does not disturb the rest of the bed.
Use the outer strips as working space, not dead space. A thin border of fast crops can add a lot of harvest without needing a whole separate bed.
Stagger planting dates so beds stay productive
Staggering planting dates keeps the garden from hitting one harvest peak and then going quiet. Start one section early, follow with a second round a few weeks later, and replant open ground immediately after harvest. That turns one season into several harvest windows.
- Map the sunniest, brightest zone first.
- Place tall crops on the north side or rear.
- Assign low crops to partial shade or front edges.
- Reserve one block for quick turnover crops.
- Replant empty spots within the same week when possible.
How do you use the yield-first planning worksheet?
Use the worksheet to rank crops by space demand, vertical habit, sun need, and harvest frequency, then turn that ranking into a bed-by-bed placement plan. This makes the layout decision concrete and exposes weak spots before planting begins, such as too many tall crops in one bed or too little room for succession.
Step 1: Rank each crop
Write each crop on one line and score it by space demand, vertical habit, sun need, and harvest frequency. High-space crops should be easy to spot. Tall crops should automatically rise toward the north side. Frequent harvest crops should land where they are easy to reach.
Step 2: Turn scores into zones
Move the highest-ranked crops into the best sun, the medium crops into the middle, and the shade-tolerant crops into softer light. Then decide which beds need trellis space, which need drip lines, and which can hold fast-turnover crops.
Step 3: Build the bed map
Lay out each bed from back to front. Put the tallest crop zone at the rear, medium crops in the middle, and low crops at the edge. Leave one succession block open or lightly planted so it can change roles as the season moves on.
Use the worksheet to compare two or three options before planting. One version may give better sun to tomatoes. Another may favor greens and herbs. The best plan is the one that matches the crop mix, not the one that looks neatest on paper.
Frequently asked questions
How do I plan a vegetable garden layout for maximum yield?
Start by mapping sunlight, soil quality, and watering access, then place tall crops on the north side and reserve the brightest area for the heaviest producers. From there, group crops by height, water need, and harvest frequency so every square foot has a job all season.
How do I layout a vegetable garden in a small space?
Use square-foot gardening, vertical supports, and compact crops that earn their space. Keep paths narrow enough to preserve planting area, but wide enough for access. Put fast crops on edges and use succession planting so beds never sit empty for long.
Should I use raised beds, rows, or square-foot gardening?
Use raised beds for poor, rocky, or compacted soil; square-foot gardening for small spaces and urban gardens; and traditional rows for larger lots where rotation and scale matter. The best choice is the one that fits the site and the crop mix instead of forcing a preset shape.
What direction should vegetable rows run for the best sun exposure?
Run rows so taller crops do not shade shorter ones, and place the tallest plants on the north side when possible. That keeps light moving across the bed instead of stopping at a wall of foliage. In mixed-light gardens, the sunniest stretch should hold fruiting crops.
How wide should garden paths be between beds?
Paths should be wide enough for comfortable movement, harvest baskets, and tools, but not so wide that they steal too much planting space. The best width is the narrowest one that still allows easy access without stepping into beds or compressing the soil.
Which vegetables should I group together in one layout?
Group tall crops with tall crops, low crops with low crops, and water-needy plants near drip irrigation or easy watering points. Keep fast-harvest crops together in a succession block so they can be replanted quickly. That keeps the garden organized and helps each zone match its light and water needs.