How to Install Irrigation Lines Under Mulch Safely
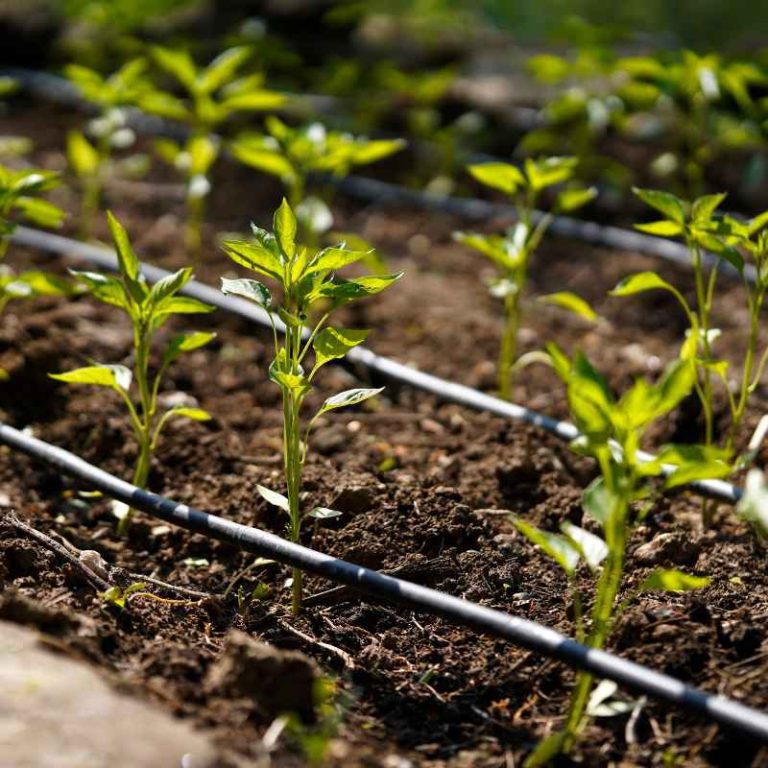
Lift mulch only where needed, keep drip lines roughly 6–12 inches from stems and main roots, and leave visible access points at valves, tees, and flush ends. Bury tubing too deep or route it through roots, and you can cut plants, hide leaks, and turn a simple repair into a full redo. This guide covers the layout, install steps, and inspection points for established mulched beds.
How to plan the layout before you cut or lift mulch


Start with the plants, not the tubing. Mark stem lines, crown lines, and any spot where roots flare near the surface, then map where the mainline, drip tubing, valves, tees, and flush ends will sit before the bed is opened. That keeps the work narrow and keeps service points visible later.
Identify the parts before the bed is disturbed
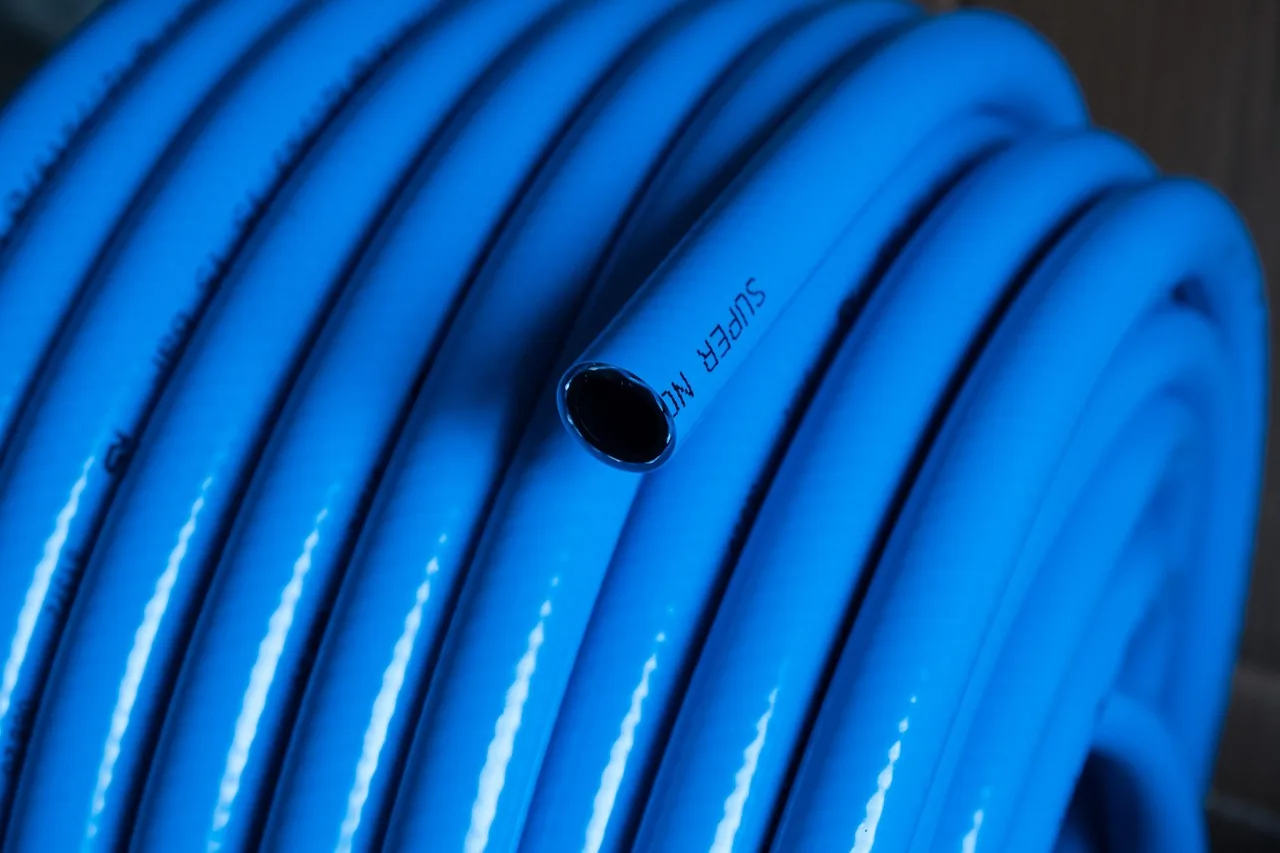
The water source may be a hose bibb or a supply line. From there, the filter should sit where it can protect the rest of the system, because fine particles can clog emitters. Mainline tubing carries water into the bed; drip line or branch tubing places water close to the plant root zone. Emitters are the outlets that control delivery and need to stay inspectable.
Drip irrigation sends water straight to the root zone, cuts evaporation and runoff, and can help suppress weeds while moderating soil temperature. That is why people install it. The layout and install order are what keep it from hurting established plants.
Check water source and compatibility first
Before opening mulch, connect the supply and test for leaks at every connection point. Confirm that the water source pressure and flow match the tubing and emitters being used. If the flow is weak or uneven at the source, fix that first so hidden problems do not show up after the bed is covered again.
Place the filter close enough to service without digging. If the system is fed from a hose bibb, keep the connection accessible. If the line comes from a supply line, leave room for inspection and shutoff access.
How do I run drip line under mulch without cutting roots?
Lift mulch only in narrow strips along the planned route, then tuck the tubing into the cleared path instead of stripping the whole bed. Run the line around root zones, not through them. Keep tubing away from stems and crown areas, because a short detour is safer than slicing through established roots.
Move around root zones, not through them
For shrubs and perennials, follow the outer edge of the root zone whenever possible. Sensitive transplants need even more care, since shallow roots can sit close to the surface. Keep the line close enough to water the plant, but far enough to avoid rubbing against stems and flare areas.
Secure fittings before the mulch goes back down. A connection that drips under a mulch layer is hard to find later, and a hidden leak can soak one section while another stays dry.
Use a narrow working strip
Open only enough space to place the tubing, fit the connectors, and confirm the emitter orientation. Then return the mulch without packing it hard against the stem. If the bed has dense plantings, work section by section instead of exposing the whole area at once.
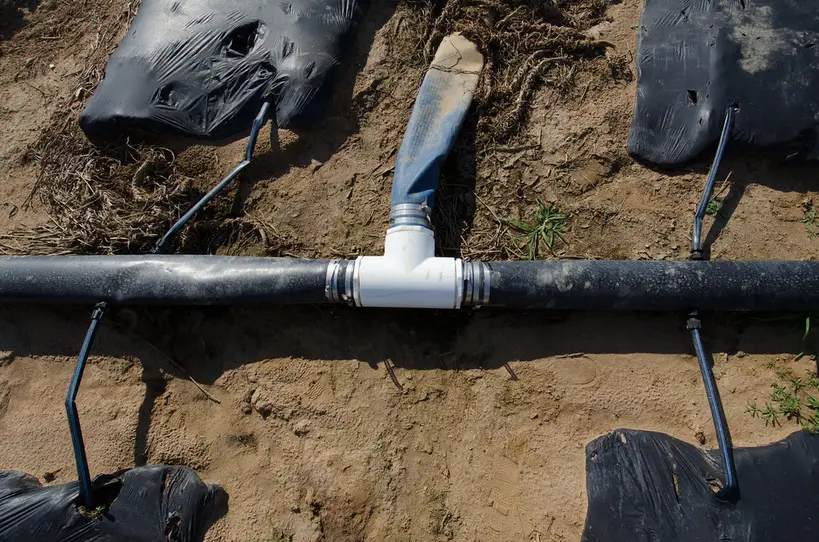
Should drip tubing go on top of soil or under mulch?
Either can work, but access should decide the placement. Tubing that stays visible is generally easier to inspect, flush, and repair. Light mulch cover is fine in established beds when the line needs protection and the service points remain easy to reach. Full burial is usually a poor trade if future repairs mean digging through roots.
When tubing should stay visible
Keep tubing visible near valves, tees, flush ends, and branch points. These are the spots most likely to need inspection. Visibility also helps if emitters clog or a fitting loosens, because a small wet patch is easier to trace before the bed gets covered again.
When light cover is enough
In established beds, a light mulch cover can keep tubing from moving while still allowing some access. That works best when the line is laid on the soil surface and the top layer of mulch is returned without burying the parts that need routine checks.
If the route crosses a spot that will be reworked later, leave that section exposed. Hidden tubing is harder to adjust when plants grow, mulch settles, or the bed design changes.
How deep should mulch be over irrigation lines?
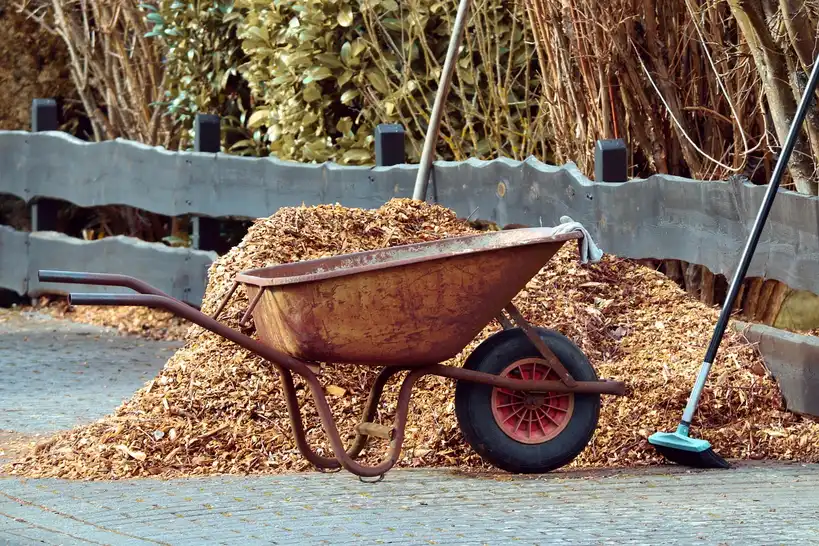
A mulch depth of 2 to 4 inches is the working target over drip lines. That range helps the soil hold moisture and slows weed growth without burying emitters so deeply that flow problems are hard to spot. Too much mulch can also trap moisture and push an established bed toward overwatering.
Organic mulch and inorganic mulch behave differently
Organic mulch options include wood chips, bark, straw, and shredded leaves. Some inorganic mulch options mentioned here are gravel and rocks. Organic materials usually shift more and need topping up; inorganic materials can make access harder if they settle around fittings or press on visible tubing.
Over emitters, depth matters more than appearance. Keep access points from disappearing under extra layers. If mulch builds up after rain or seasonal cleanup, pull it back from the service spots before it hides the line.
Do not bury inspection points
Valve handles, tees, flush ends, and emitter clusters should stay easy to find. If those points disappear, maintenance turns into excavation. That is where small leaks become larger problems.
| Area | Safe placement target | Why it matters |
|---|---|---|
| Stems and crown lines | Keep tubing 6–12 inches away | Reduces stem damage and root flare contact |
| Mulch over tubing | 2 to 4 inches | Supports moisture control without burying access points |
| Valves, tees, flush ends | Visible and reachable | Makes repair, flushing, and inspection possible |
| Emitters near plants | Close to the root zone, not against stems | Improves water delivery and lowers clog trouble |
Bed-install checklist for safe placement and inspection
Use this one-page checklist during installation and again after the mulch goes back down. It keeps the sequence tight and reduces the chance of hidden damage.
Pre-install root-and-stem clearance checks
- Mark stems, crown lines, and root flare areas before lifting mulch.
- Identify the water source, filter location, valves, tees, and flush ends.
- Confirm the route avoids major roots and dense stem clusters.
- Check that the supply connection and pressure look compatible with the tubing plan.
Routing rules for line placement around plants
- Lift mulch only in narrow strips where the line will run.
- Keep drip tubing roughly 6–12 inches from stems and main roots.
- Route around the root zone instead of crossing through it.
- Leave service points visible so repairs do not require digging up the bed.
Post-install inspection points for leaks, clogs, and mulch depth
- Run water and check every connection for seepage.
- Look for even output at emitters and note any weak spots.
- Confirm mulch stays in the 2 to 4 inch range over the line.
- Watch for buried emitters, shifted mulch, or wet patches that point to leaks.
How to keep hidden emitters working evenly
Emitters clog when debris moves through the system, which is why a filter belongs in the line. It protects the emitters from fine particles, but it still needs maintenance. If one section outputs less water than another, do not guess. Check the filter, the fittings, and the emitter outlets in order.
Track clog risk by output pattern
Uneven watering often shows up before a fitting fails completely. A dry patch next to a saturated one can mean a blocked emitter, a kinked line, or a connector leak. After rain, heat, or mulch shifting, inspect the system rather than assuming the bed is fine because the surface looks even.
Use a monthly inspection habit
Regular system checks at least once a month are recommended. That is also the time to clear debris, confirm flow consistency, and look for leaks near hidden fittings. The system lifespan is stated as 5 to 15 years, and consistent maintenance helps it reach the upper end of that range.
How often should I check a mulched drip system for leaks?
Check a mulched drip system at least once a month, and more often after heat spikes, heavy rain, or fresh mulch work. Hidden tubing can leak for a while before the surface tells the story. Monthly checks catch wet spots, loose fittings, clogged emitters, and buried access points before they spread.
What to inspect each time
Look at the water source connection first, then the filter, then the visible fittings and emitters. Check whether mulch has shifted or piled up over service points. If a section is staying wetter than the rest, lift the mulch and confirm the line is intact.
Will mulch change how often I need to water?
Yes. Mulch usually slows drying, so watering often needs adjustment after installation. The exact change depends on heat, wind, soil type, and plant size. Mulch can also cause overwatering if the schedule is left unchanged, so soil moisture monitoring matters more once the line is hidden.
Use soil moisture, not a fixed calendar
Check the soil by hand under the mulch and at the root zone, then adjust on hot spells or after rain. If the top layer looks dry but the soil below is still damp, delay the next run. If the bed dries too fast, increase run time or frequency in small steps.
Seasonal adjustment matters
Established shrubs and perennials often need less frequent watering after the bed settles in. New transplants may need closer attention. During dry spells, shorten the gap between checks. During cool or wet periods, back off before the mulch keeps the bed too wet for too long.
Frequently asked questions
How do I run drip line under mulch without cutting roots?
Lift only a narrow strip of mulch, then route the tubing around the root zone instead of through it. Keep the line 6–12 inches from stems and main roots. That keeps the install low risk for established beds and makes future inspection easier.
Should drip tubing go on top of soil or under mulch?
It can do either, but access decides the best choice. Visible tubing is easier to inspect and repair. Under a light mulch cover, it stays protected while service points remain reachable. Full burial makes maintenance harder and can hide leaks until they spread.
How deep should mulch be over drip lines?
Use 2 to 4 inches as the working target. That depth helps with moisture retention and weed suppression without burying emitters or service points. If mulch piles up after settling, pull it back so the line stays inspectable and the bed does not stay too wet.
What kind of mulch is safest over irrigation lines?
Organic mulch options include wood chips, bark, straw, and shredded leaves. Inorganic mulch options mentioned are gravel and rocks. The safest choice is the one that stays stable, leaves access points open, and does not press emitters too deeply into the bed.
How do I keep drip emitters from clogging under mulch?
Install a filter to keep debris out of the system, then inspect emitters on a regular schedule. Watch output patterns instead of assuming the line is fine because the surface looks dry or damp. A weak or uneven stream usually points to a clog or a fitting problem.
Can I bury drip tubing or should it stay visible?
Some sections can sit under light mulch cover, but key service points should stay visible. Valves, tees, flush ends, and emitters near sensitive plants need access. If a line is buried too deeply, routine checks, cleaning, and repairs become slow and disruptive.