How to Install Drip Irrigation for Strawberries and Herbs
Use a small drip system with a pressure regulator, filter, and two watering zones: one steadier line for strawberries and one shorter, lower-output line for herbs. If both crops get the same schedule, strawberries can dry out or herbs can stay too wet. This guide covers the parts list, bed layout, emitter spacing, assembly, and setup for raised beds and mixed plantings.
What you’ll need
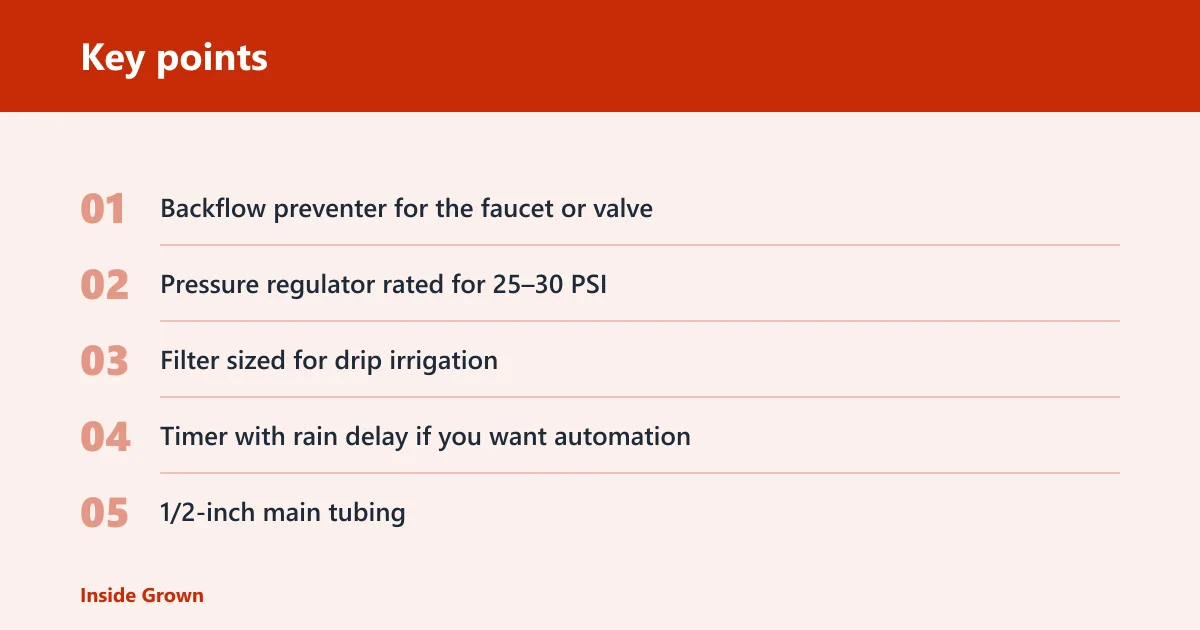
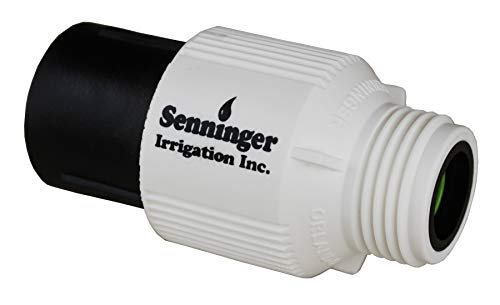


- Backflow preventer for the faucet or valve
- Pressure regulator rated for 25–30 PSI
- Filter sized for drip irrigation
- Timer with rain delay if you want automation
- 1/2-inch main tubing
- 1/4-inch micro tubing
- Drip tape or emitter tubing for the strawberry row
- Emitters, including 1-gallon-per-hour emitters for herbs or spot watering
- End caps or figure-eight closures
- Barbed tees, elbows, couplers, and takeoff fittings
- Tubing stakes or landscape staples
- Tape measure and garden marker
- Tubing cutter or sharp snips
- Optional: soaker hose for a small, low-pressure area
📊 This Old House says drip lines typically need 25–30 PSI. Source: How To Install Drip Irrigation.
How should you plan the bed layout?
Map strawberries and herbs as separate watering zones before you cut tubing. Strawberries need even moisture around the root zone, while basil usually wants more consistent water and rosemary or thyme usually need less. In a 4×8 bed, that split keeps the system simple and more accurate.
Map strawberry rows and herb zones
Draw the bed from above and mark each row, mound, or herb clump. Keep strawberry lines near the plants, but off the crown. Put thirsty herbs together and keep drier herbs on a separate branch or valve so they do not share the same run time.
Choose separate watering zones for different crops
One zone should run the strawberry line. A second zone should feed herbs. That split matters because basil usually needs more consistent moisture than rosemary or thyme, which prefer a drier cycle and less frequent watering.
Measure line runs before you cut tubing
Measure the route from the faucet to the bed, then through the bed and back to the end cap. That helps you stay within a practical run length for 1/2-inch tubing and avoid weak flow at the far end.
How do you connect drip irrigation to an outdoor faucet?
Attach the head assembly at the faucet in this order: backflow preventer, timer, pressure regulator, filter, then the main tubing. That sequence protects the water supply, keeps pressure in the drip range, and catches debris before it reaches the emitters.
- Shut off the faucet.
- Screw on the backflow preventer.
- Add the timer, if used.
- Thread on the pressure regulator.
- Attach the filter after the regulator.
- Connect the 1/2-inch main tubing to the outlet fitting.
- Run the main tubing to the bed and secure it with stakes.
Set the timer only after the system is assembled and checked for leaks. Many timers include rain delay, which helps if weather shifts after you set the schedule.
Check pressure and test for leaks
Drip lines typically need 25–30 PSI. Open the faucet slowly, watch each fitting, and let water run for a minute so trapped air clears. If a joint seeps, reseat the tubing fully before moving on.
What tubing size should I use for strawberries and herbs?
Use 1/2-inch tubing for the main line and 1/4-inch tubing for short branches near plants. For strawberries, drip tape or emitter tubing both work in raised beds. For herbs, 1/4-inch micro tubing gives tighter control around basil, rosemary, thyme, and mixed herb pockets.
When to use drip tape
Drip tape fits rows and raised beds well. Epic Gardening notes that tape comes in different wall thicknesses and slit spacings, and slit spacing is often set closer in sandy soil and wider in clay or soils with more organic matter. It fits a straight strawberry run well.
When to use emitter tubing
Emitter tubing is better when plant spacing is uneven or when you want water near a few crowns rather than along a whole strip. A common setup uses 1-gallon-per-hour emitters near each strawberry plant or herb clump.
When a soaker hose makes sense
A soaker hose can work for a small bed, but it gives less control than emitter-based tubing. Use it only when plant spacing is simple and you do not need different water rates for strawberries and herbs.
How do you install drip irrigation for strawberries in raised beds?
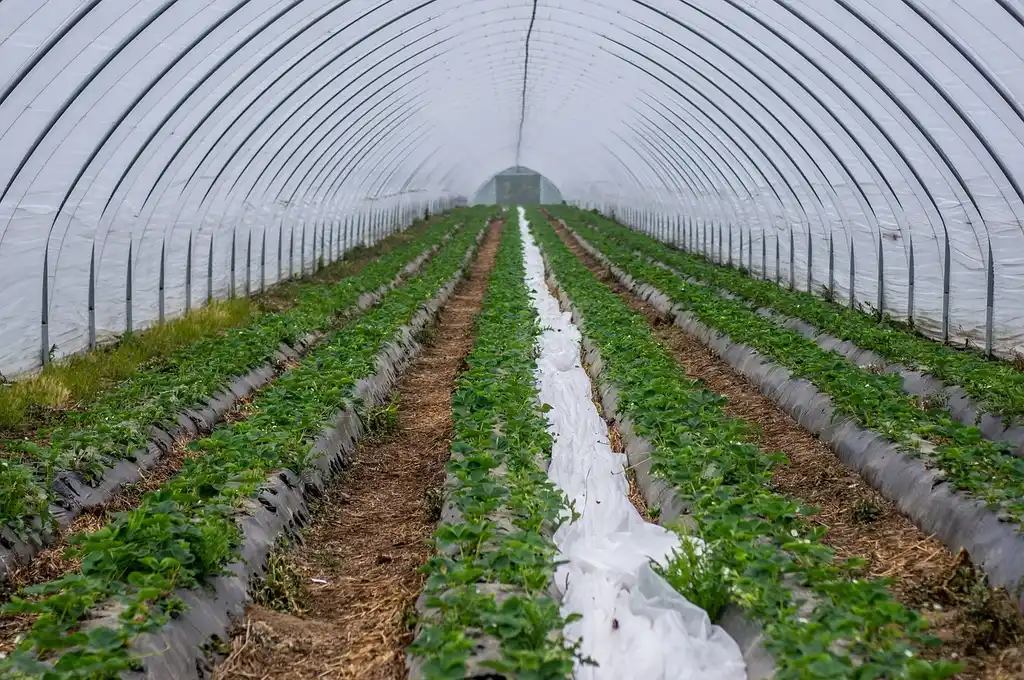
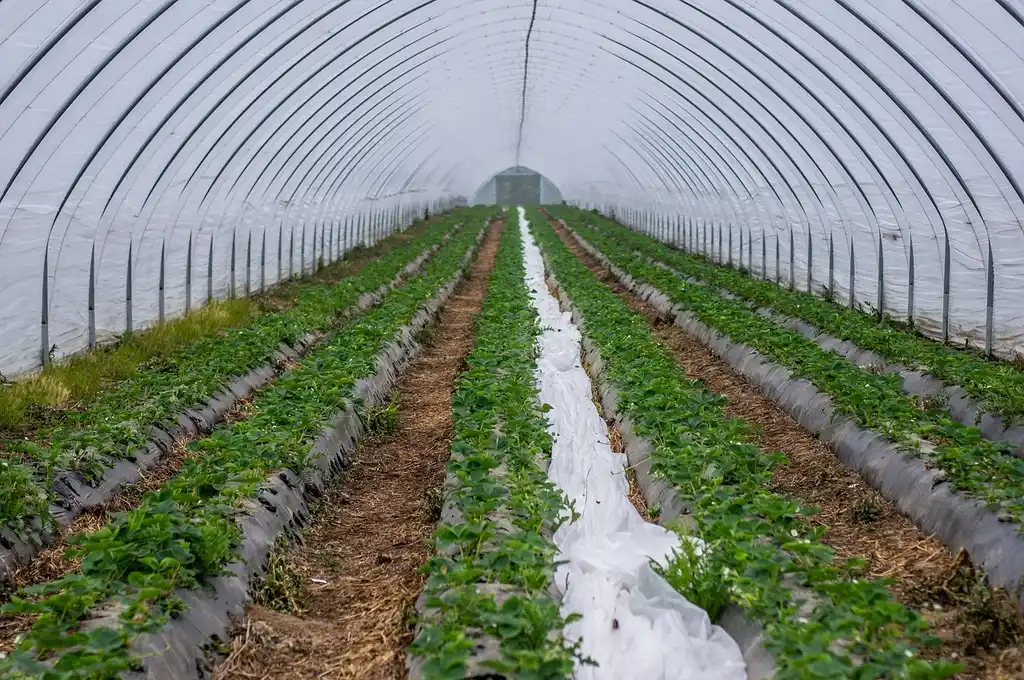
Run the strawberry line beside the plants, not over the crowns. Keep moisture even along the row so roots stay active, but leave the crown itself drier. In raised beds, drip tape or emitter tubing can both work; the better choice usually depends on row width and plant spacing.
- Lay the main tubing along the bed edge.
- Branch into the strawberry row with a tee or takeoff.
- Set the line about 2 to 4 inches from the crown line.
- Place emitters or tape so each plant gets steady coverage.
- Stakes hold the line in place before mulch goes down.
- Cap the end or fold it closed.
For mounded rows, keep the line on the soil shoulder. That gives the roots water without soaking the crown. Say your bed has one strawberry row down the middle and herbs on one end; a separate branch lets you water the row longer without overdoing the herbs.
Set spacing for rows or mounded beds
Use closer spacing where plants are tight and wider spacing where the root spread is broader. If you choose drip tape, remember that slit spacing changes by soil type: sandy soil calls for closer spacing, while clay or richer soil can handle wider spacing.
Secure and cap the ends
Fasten tubing with stakes so it does not crawl out of position under mulch. End caps matter because open ends waste pressure and make leak checks harder. Folded ends are fine on short runs if they stay tight and secure.
How do you set up the herb zone?
Split herbs by water need, not by convenience. Basil can share a wetter branch with strawberries if needed, but rosemary and thyme should sit on a shorter, lower-output run. That keeps the bed from becoming uniformly moist when only part of it needs it.
Group basil with higher moisture needs
Basil usually does best on a line with closer emitter spacing or a slightly longer run time. Put it near the strawberry zone if both areas need similar moisture, but keep the branch separate so you can adjust it without changing the whole bed.
Give rosemary, thyme, and similar herbs less water
Rosemary and thyme usually need less frequent watering than basil. Use a shorter branch, fewer emitters, or a lower-output emitter on those plants. A common first-timer mistake is watering every herb on the same schedule, then wondering why the woodier herbs struggle.
Use micro tubing for targeted spots
1/4-inch micro tubing works well when each herb gets its own point source. That lets you place a single emitter close to a basil plant or a small cluster of thyme without wetting the whole strip.
Drip parts and zones worksheet
For a 4×8 mixed bed, a simple parts list keeps the install orderly. This layout assumes one strawberry zone across the long side and one herb zone on the opposite side, both fed from a single head assembly at the faucet.
| Item | Quantity | Use |
|---|---|---|
| Backflow preventer | 1 | Installed at the faucet |
| Pressure regulator | 1 | Set before the main tubing |
| Filter | 1 | Catch debris before emitters |
| Timer | 1 | Automate watering |
| 1/2-inch main tubing | 12 to 16 ft | Feed both branches from the faucet |
| 1/4-inch micro tubing | 10 to 12 ft | Herb branch and short plant runs |
| Drip tape or emitter tubing | 8 ft | Strawberry row |
| 1-gallon-per-hour emitters | 6 to 8 | Herbs and spot watering |
| Tees, elbows, couplers | As needed | Branch and repair points |
| End caps or figure-eight closures | 2 to 4 | Close line ends |
Estimated flow for the strawberry zone: 8 ft of drip tape or four 1-gallon-per-hour emitters gives a modest row output that keeps roots evenly moist. Estimated flow for the herb zone: three to four 1-gallon-per-hour emitters give targeted watering for basil, while rosemary and thyme can get fewer points or shorter run time.
Use this quick checklist after the bed is running:
- Water reaches the far end within the first minute.
- No emitter sprays above the soil line.
- Strawberry crowns stay visibly drier than the surrounding soil.
- Basil stays moist more often than rosemary or thyme.
- End caps stay closed under pressure.
Common mistakes
The most common problem is wet strawberry crowns. Move the line a few inches away from the crown line and retest. If the whole bed looks damp, the herb zone may be getting the same run time as the strawberries, which is too much for drier herbs.
- Check for clogged emitters by removing the end cap and flushing the line.
- Inspect pressure if the far end looks dry; long 1/2-inch runs near 200 feet can lose output.
- Reduce run time if puddling forms around crowns or basil stems.
- Clean the filter if debris keeps returning after a flush.
- Swap a stretched branch for a shorter 1/4-inch run if one section stays weak.
Suppose the strawberry row is wet near the faucet but dry at the far end. Shorten the branch, or split the bed into two shorter runs. If a herb corner stays soggy, cut its emitter count first before changing the whole system.
If that didn’t work, try this next: shut off the system, remove the last fitting, and flush each line for 30 seconds. Then reconnect and reopen the faucet slowly. That step clears sediment before you start replacing parts.
Frequently asked questions
Do strawberries need drip tape or drip emitters?
Both work. Drip tape suits straight rows and raised beds, while emitters fit uneven spacing or individual crowns. If your bed is narrow and regular, tape is simpler. If plant spacing changes, emitter tubing gives more control around each crown.
How far apart should drip emitters be for herbs?
For small herb clumps, a common rule of thumb is one 1-gallon-per-hour emitter per plant or one emitter about every 12 inches in a short row. Basil can take more frequent watering than rosemary or thyme, so keep those herbs on separate branches if possible.
Do I need a pressure regulator and filter for drip irrigation?
Yes. Drip systems usually need 25–30 PSI, so a pressure regulator keeps flow in range, and a filter keeps debris from clogging emitters. Put both in the head assembly after the faucet connection and before the main tubing.
How long can a 1/2-inch drip line run before pressure drops?
A common guide is to keep 1/2-inch tubing to about 200 feet per zone. Longer runs can leave the far end weak, especially if you add many emitters. If your bed needs more length, split it into two zones or shorten the branch lines.
How do I keep drip emitters from clogging?
Use a filter, flush the line at startup, and close the end securely so dirt does not enter. If you have hard water or well water, inspect the filter more often. When a zone looks weak, remove the end cap and flush before replacing emitters.