How to Install a Filter for Drip Irrigation on Well Water
Put the filter before the drip manifold, after the pump or supply line, and match it to the debris in the well: 80–100 mesh for sand or grit, 120–150 mesh for standard drip emitters, and finer only if the emitter maker specifies it. Pick the wrong mesh, and emitters clog, flow drops, and plants receive uneven water while failures keep returning. This guide shows how to identify the sediment you have, choose the right filter type and mesh, and install it in the correct spot.
This guide is part of our Irrigation systems for home gardens series.
Why well water clogs drip systems
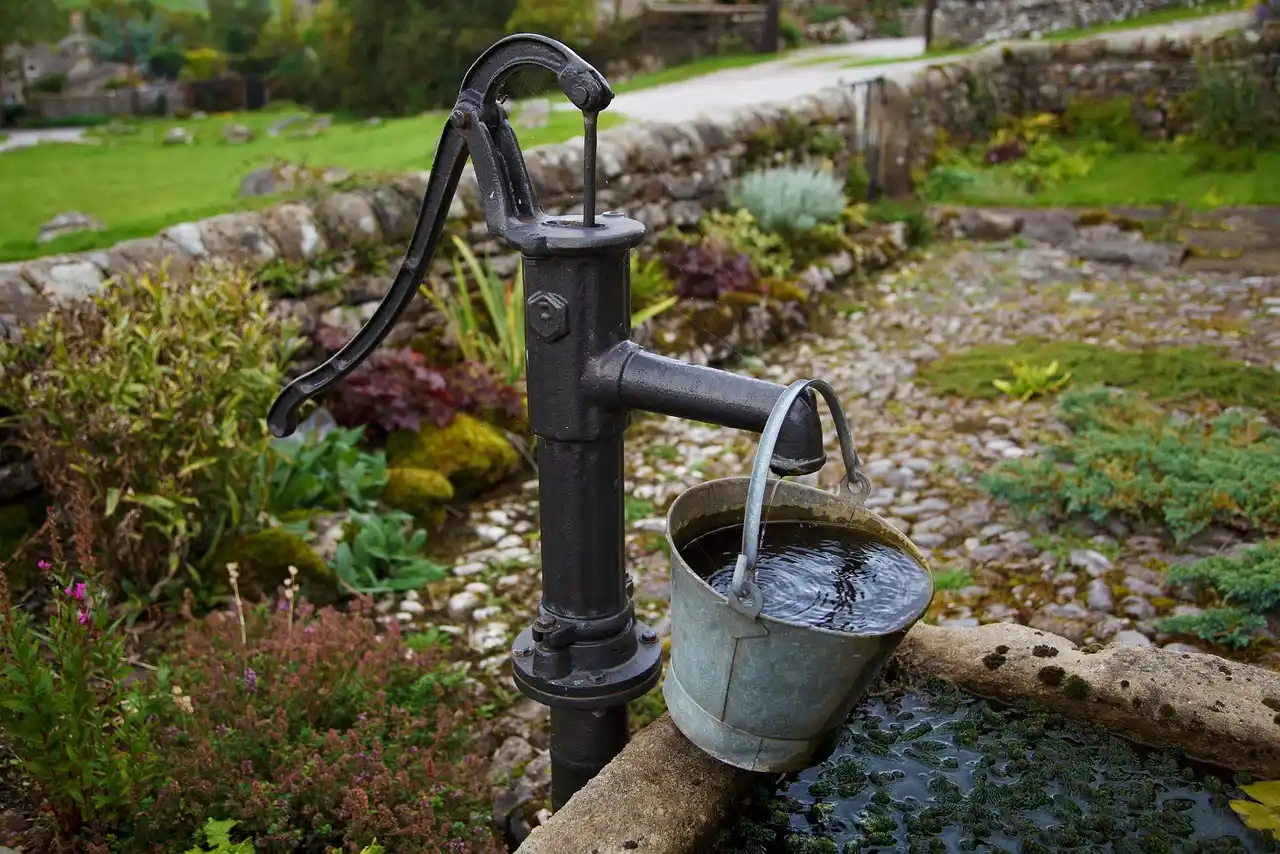


Well water often carries sand, silt, iron bacteria, scale, or seasonal debris from a changing water table. Any of those can load a drip filter fast, and the smallest particles reach emitters if you skip filtration or choose the wrong mesh.
Drip emitters clog easily because they move a small amount of water through tiny internal passages. Pressure-compensating emitters resist flow changes, but they still need clean water; they do not stop grit, slime, or mineral flakes from entering the emitter body.
Seasonal change matters. Spring runoff, late-summer drawdown, or a pump that starts pulling from a different depth can change the sediment load enough to require more frequent cleaning or a different filter element.
What you’ll need
- Drip irrigation filter, either screen or disc type
- Pressure regulator matched to the system pressure and flow
- Fittings for the filter inlet and outlet size
- Thread sealant or PTFE tape for threaded connections
- Hose clamps if you are using barbed fittings
- Flush valve or end flush hardware for the drip laterals
- Basic hand tools for tightening and leak checks
Well water filter decision table
Use the symptom first, then match the contaminant, then pick the filter style and rating. The table below is for common home-garden well setups, not municipal water with different treatment needs.
| Symptom | Likely contaminant | Recommended filter type | Mesh / micron range | Maintenance interval | Warning signs of undersizing |
|---|---|---|---|---|---|
| Visible grit in buckets; emitters fail after startup | Sand or fine gravel | Screen filter, or disc if loading is heavy | 80–100 mesh, about 177–149 microns | Check after first 1–2 runs, then weekly until stable | Pressure drops fast; filter plugs within one irrigation cycle |
| Cloudy water that clears after settling | Silt | Disc filter | 100–120 mesh, about 149–125 microns | Inspect every 2–4 weeks in dry weather | Repeated clogging at the manifold; uneven drip lines |
| Brown slime, stringy deposits, slimy emitters | Iron bacteria or organic biofilm | Disc filter, plus line flushing | 120–150 mesh, about 125–100 microns | Inspect every 1–2 weeks; flush end lines monthly | Filter loads with gooey residue; emitters clog again soon after cleaning |
| White crust on parts; flow fades over time | Scale or mineral precipitate | Screen filter for coarse flakes; disc if mixed debris | 100–150 mesh, about 149–100 microns | Inspect monthly; more often if water is hard | Pressure loss builds even when the filter looks partly clear |
| Spring-only clogs after storms or pump drawdown | Seasonal silt and debris | Disc filter | 100–120 mesh, about 149–125 microns | Check at each seasonal startup | Flow swings between runs; filter needs cleaning every few days |
What filter do you need for your well?
For most drip on well water, choose the least restrictive filter that still protects the emitter passages. Screen filters are simple and easy to rinse; disc filters handle mixed debris and biofilm better because their stacked grooves trap particles more effectively.
Screen filter versus disc filter
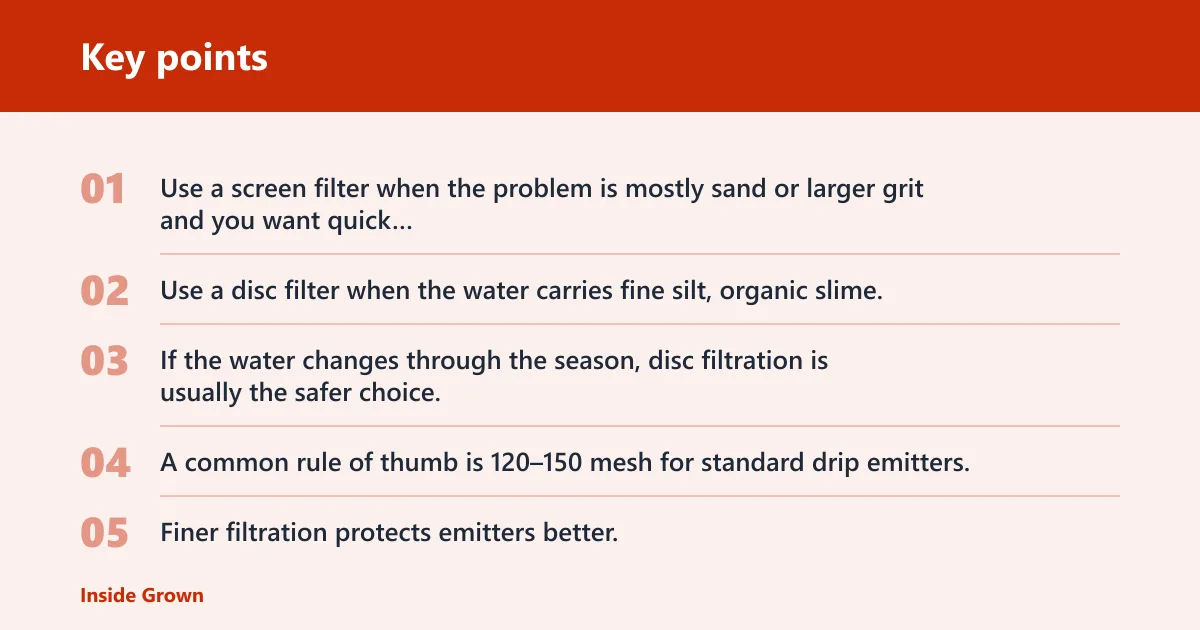
Use a screen filter when the problem is mostly sand or larger grit and you want quick cleaning. Use a disc filter when the water carries fine silt, organic slime, or mixed debris that packs into a screen too quickly. If the water changes through the season, disc filtration is usually the safer choice.
Choosing mesh or micron for drip emitters
Finer filtration protects emitters better, but it also raises pressure loss and can clog faster. Match the filter to the emitter maker’s minimum if that spec is tighter than the rule of thumb.
Say your 1/2-inch drip line feeds pressure-compensating emitters and the well leaves a light dusting of sand in the filter bowl. Start at 100 mesh, then move finer only if emitters still clog and the pressure stays above the regulator setting.
Sizing for flow rate and inlet or outlet diameter
Choose a filter housing that matches both the line size and the system flow. A small 3/4-inch garden zone may do fine with a compact filter rated for that zone’s flow, but a whole-yard manifold on a well pump usually needs a larger body to avoid pressure drop. Do not size by inlet diameter alone; check the manufacturer’s flow-rate capacity.
Where do you install the filter?
Install the filter after the pump and before the drip tubing or manifold. That keeps pump debris, sand, and scale out of the emitters. If the filter sits downstream of the regulator or branch split, dirty water can reach parts of the system before it is stopped.
Filter and regulator order
Put the filter upstream of the pressure regulator unless the regulator maker says otherwise. The regulator should see filtered water, because grit can damage its internal seat and cause pressure drift. A typical order is pump or supply line, then filter, then regulator, then drip manifold or tubing.
Small zone versus whole-yard layouts
A small garden zone can use a compact filter if the flow stays within the rated capacity. A larger system fed by a well pump should use a filter sized for peak zone demand, not average demand. If the filter is too small, it becomes the throttle point and the farthest emitters get starved first.
How do you install the filter?
Shut the water off, connect the filter in the correct direction, set the pressure downstream, then flush and inspect for leaks. Keep the sequence simple. The filter must be accessible, because every well-fed drip system needs regular cleaning.
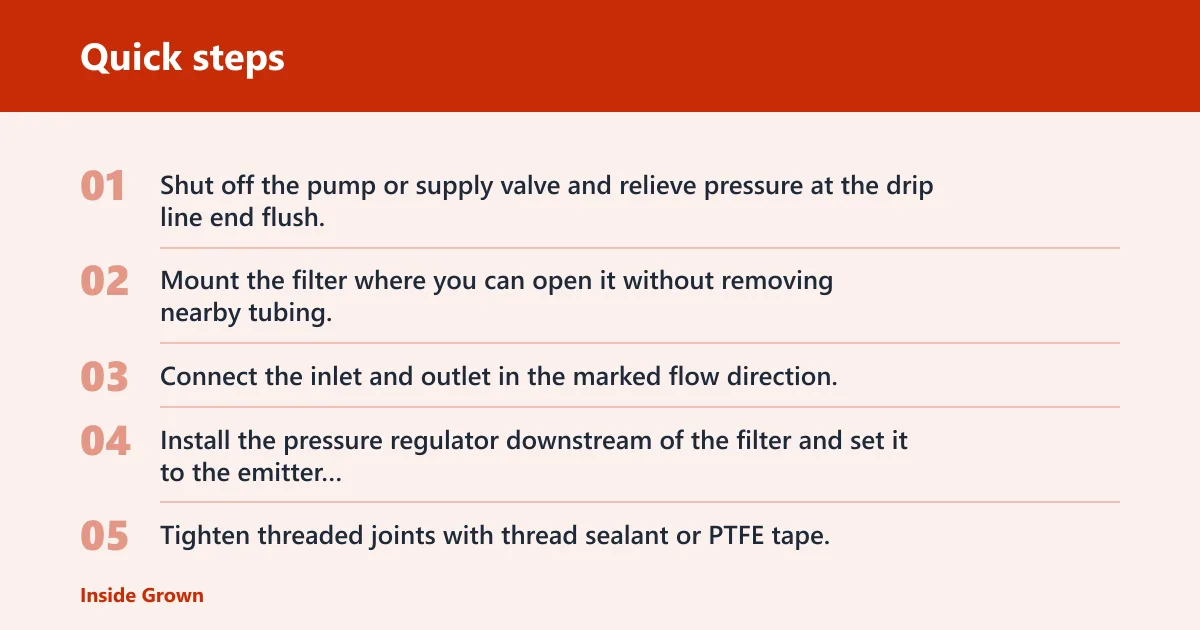
- Shut off the pump or supply valve and relieve pressure at the drip line end flush.
- Mount the filter where you can open it without removing nearby tubing.
- Connect the inlet and outlet in the marked flow direction.
- Install the pressure regulator downstream of the filter and set it to the emitter requirement.
- Tighten threaded joints with thread sealant or PTFE tape, then secure barbed fittings with clamps.
- Turn the pump back on and check for leaks at every joint.
- Open the flush valve or end flush and run water until the discharge clears.
- Close the flush point, then recheck pressure at the farthest line.
If the downstream pressure is below the regulator target, add a larger filter body or move to a coarser mesh only if the emitters allow it. A practical adjustment is one rating step at a time, such as moving from 150 mesh to 120 mesh, then rechecking pressure and clogging after the next irrigation cycle.
Picture a 4-zone vegetable bed on a well pump with one zone that runs fine and another that loses pressure at the end of the row. That usually means the filter is either too small for the peak flow or too fine for the debris load, not that the entire drip system needs replacement.
Common mistakes
The most common failure is using a filter that is too fine for the water. That protects emitters on paper, but it can load too quickly and starve the system. The second mistake is skipping routine flushing, which lets settled debris stay in the lines after the filter has already done its job.
Another mistake is ignoring pressure swings from the well pump. Pulsation can shake loose debris into the filter and make cleaning intervals shorter, especially right after startup. A pressure regulator helps, but it does not correct a clogged filter or an undersized housing.
A third issue is treating all well water the same. Sand calls for a different setup than iron bacteria or scale. If the filter loads with sticky residue instead of dry grit, move toward a disc filter and shorten the inspection interval.
Prevention: inspect the filter at the start of every season, then again after the first two irrigation cycles if the well has a history of sand or iron slime.
Frequently asked questions
What kind of filter do I need for drip irrigation on well water?
Start with the debris you actually have. If emitters clog anyway, move one step finer only after checking pressure loss and flow capacity.
How many mesh should a drip filter be for well water?
Most drip systems on wells land in the 120–150 mesh range, with 80–100 mesh for visible sand. Standard drip emitters usually need about 100–150 mesh protection. If the emitter spec names a minimum, use that number instead of a generic recommendation.
Where do you install the filter in a drip system?
Install it after the pump and before the pressure regulator if the regulator is downstream, or in the sequence the regulator maker specifies. The main goal is to keep debris out of the emitters and protect the regulator from grit that can score its internal parts.
Do I need a pressure regulator with a filter on well water?
Yes, in most drip systems. Set the regulator to the emitter’s required pressure, commonly around 15–25 psi for many home drip layouts, then place it where it sees filtered water. Filtered, regulated water keeps flow steadier and reduces emitter wear.
How often should I clean a drip irrigation filter on a well?
Inspect it after the first few runs, then every 1–4 weeks depending on sediment load. If spring water is dirtier or the filter bowl fills quickly, shorten the interval to weekly. Clean sooner whenever pressure drops or the filter shows visible loading.
Can I use a sediment filter before drip irrigation?
Yes, if it is rated for the flow and the pressure drop stays acceptable. A sediment filter can help when the well sends heavy grit, but it must still match drip needs at the outlet. Check that the final filtration level still meets the emitter maker’s minimum.