Pressure Regulator in Drip Irrigation: How to Use It
Use a pressure regulator set to roughly 20–30 PSI for many drip irrigation lines. If your supply pressure is above that range, install one and match it to the emitters’ rating. Without pressure control, drip tubing can split, fittings can pop, and flow turns uneven. This guide shows how to choose, place, install, and troubleshoot the right regulator by system type.
What you’ll need before you install it
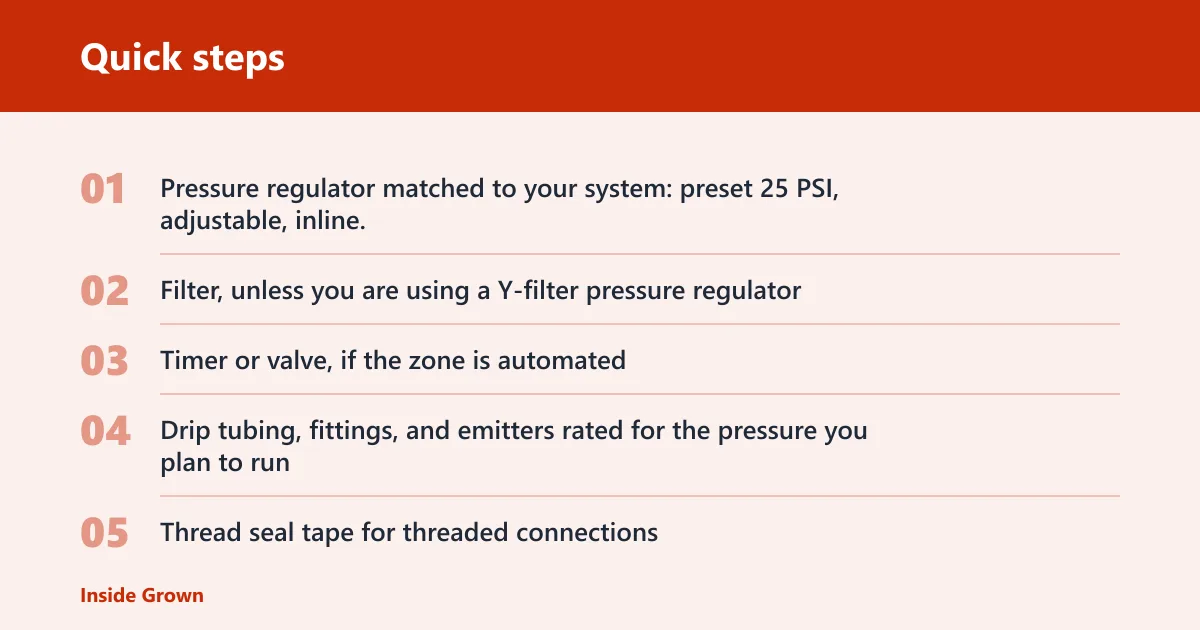



- Pressure regulator matched to your system: preset 25 PSI, adjustable, inline, Y-filter pressure regulator, retro-regulator, or extra duty model
- Filter, unless you are using a Y-filter pressure regulator
- Timer or valve, if the zone is automated
- Drip tubing, fittings, and emitters rated for the pressure you plan to run
- Thread seal tape for threaded connections
- Tubing cutter or clean snips
- Bucket or towel for startup leaks
- Paper and marker to label zone PSI and regulator type
📊 Preset regulators are often set to 25 PSI. Source: Sprinklerwarehouse.
How does a drip irrigation pressure regulator work?
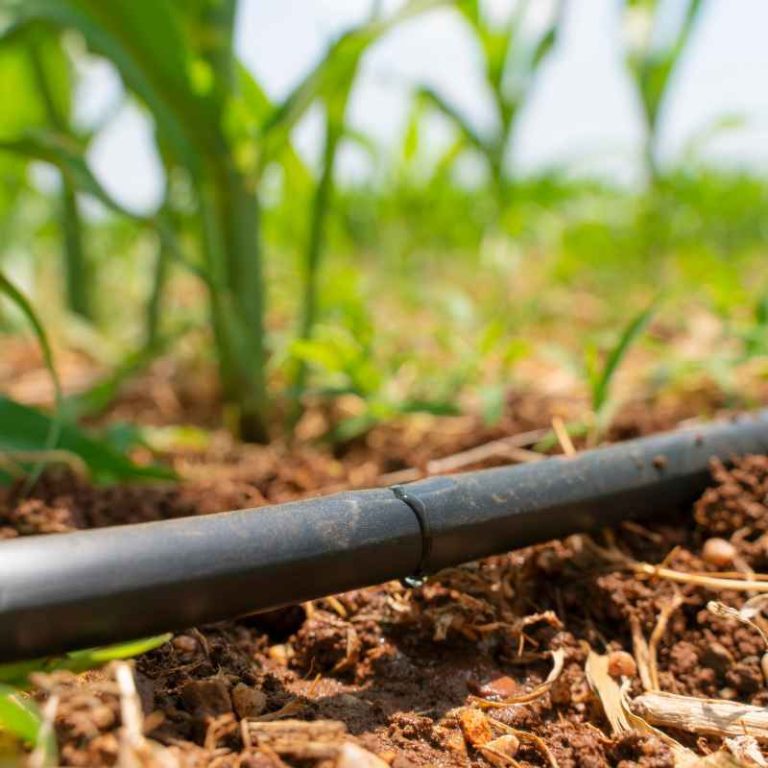
A drip irrigation pressure regulator lowers incoming water pressure to a level that drip tubing, fittings, and emitters can handle. Most residential drip systems operate best at approximately 20 to 30 PSI. That lower pressure keeps flow even, cuts leaks, and limits emitter blowouts.
Why drip lines need lower pressure than sprinklers
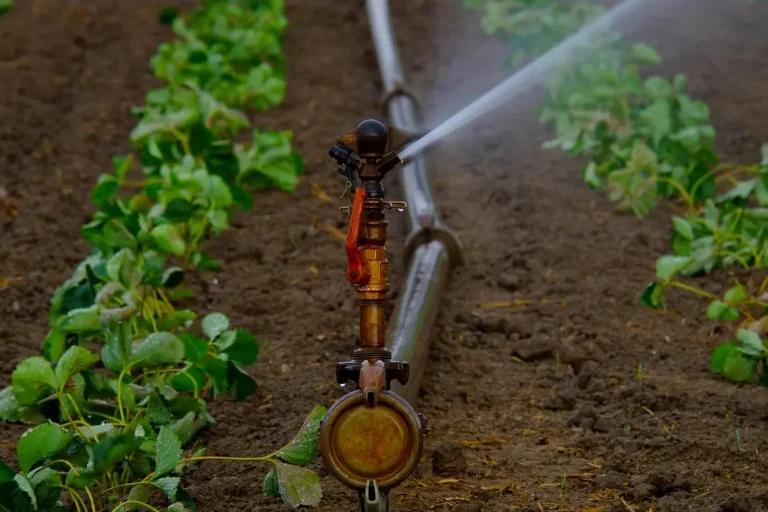
Sprinkler systems are built to throw water farther and usually run at higher pressure. Drip systems push water through small passages, so high pressure can force open weak points, distort fittings, and make some emitters discharge too fast while others barely flow.
What the regulator is protecting
A pressure regulator helps prevent leaks, damaged components, emitter blowouts, and uneven watering. It protects the assembly downstream of the regulator, especially drip tubing, barbed fittings, and low-flow emitters that depend on steady pressure.
Do you need a pressure regulator for drip irrigation?
Most drip zones do need one, especially if the supply pressure is unknown or above the emitter rating. Use a regulator whenever a hose bib, timer, or valve feeds drip tubing directly. If pressure is too low, you may see weak emitters and poor coverage; if it is too high, parts can fail.
Signs the system needs pressure control
Watch for split tubing, popped fittings, hissing leaks, or one section of the zone watering much harder than another. Weak emitters can also point to a clogged filter, too many emitters on one zone, or a regulator that is undersized for total demand.
When a hose bib setup needs one
A hose bib often supplies water at pressure higher than drip parts prefer, so a preset or adjustable regulator is usually the right starting point. If the zone is simple and the emitter layout is fixed, a preset 25 PSI model is often enough.
When a valve-fed zone needs one
A valve-fed setup still needs pressure control if the zone feeds drip tubing instead of sprinklers. Place the regulator after the valve and before the drip tubing. If the zone is large or the flow changes during expansion, an adjustable or extra duty model can be a better fit.
What size pressure regulator do you need for drip irrigation?
For most home drip systems, start with a regulator in the 20 to 30 PSI range, and use 25 PSI when the tubing and emitters are designed for standard residential drip. Size also depends on flow demand: more emitters, longer zones, and larger residential or commercial systems may need extra duty capacity.
Preset versus adjustable output
A preset pressure regulator is simple and often set to 25 PSI. Choose it when the system layout is stable and the emitter rating is already known. An adjustable pressure regulator is useful when different plant groups need different flow requirements, but it should be checked after adjustment.
How water source type changes the choice
For a hose bib, a preset regulator often solves the problem quickly. For a valve-fed manifold or a larger system, an adjustable or extra duty regulator is more useful because flow demand is less predictable and the zone may need more capacity than a small residential unit can provide.
How zone size and emitter count affect flow
More emitters increase total flow demand. A small patio bed with a few emitters can often run on a preset 25 PSI unit, while a long run with many emitters may need a more robust pressure regulator so pressure stays more stable when the zone opens fully.
When extra duty capacity matters
Extra duty pressure regulators are built for higher flow rates and are intended for larger residential or commercial irrigation systems. Verify flow capacity before use. If the regulator is too small for the zone, you may get weak emitters, pressure drop, or uneven watering near the far end of the line.
Where should the regulator go in the system?
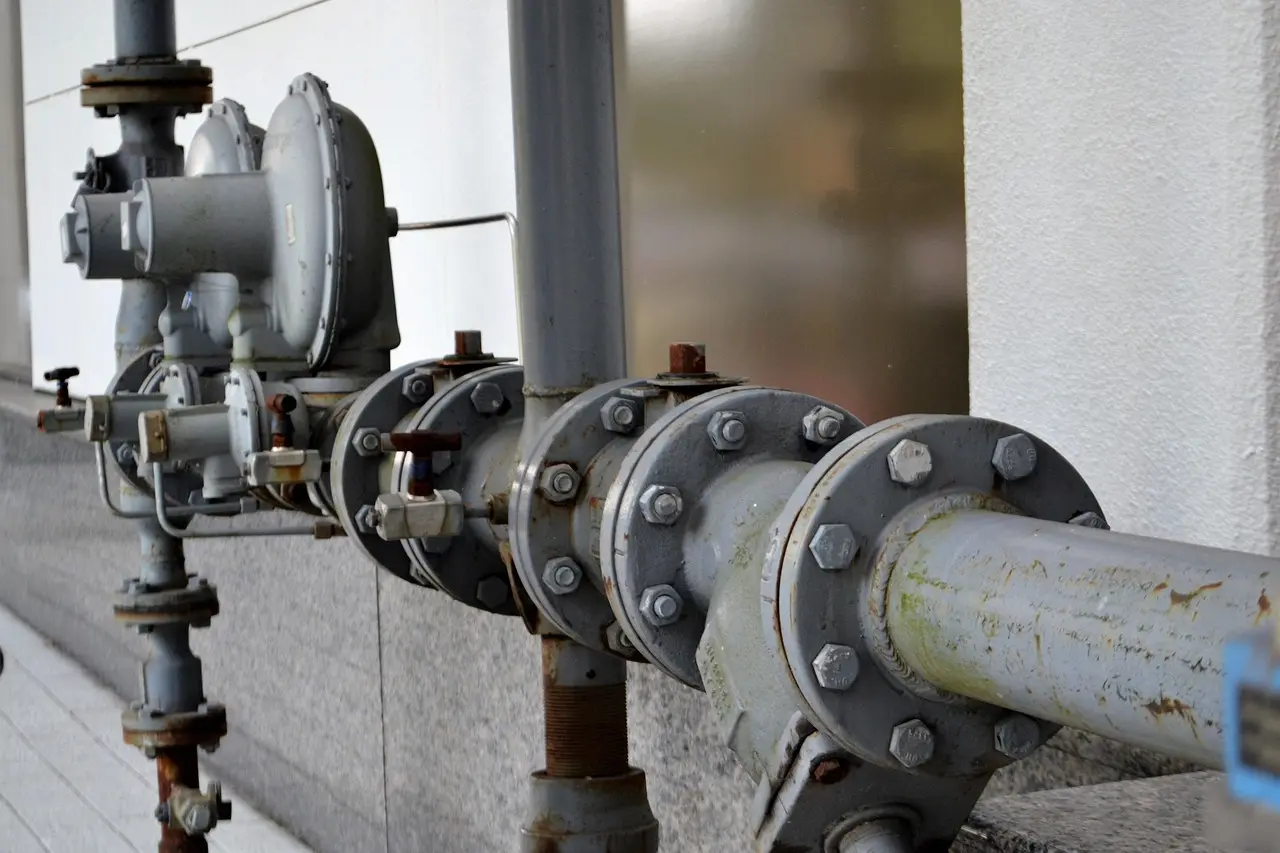
Place the regulator after the water source, timer, or valve, and before the drip tubing. In many layouts, the sequence is water source, then timer or valve, then pressure regulator, then filter if the layout calls for a separate one, then drip tubing. The exact filter order depends on the assembly you choose.
How the filter fits into the assembly
A filter catches debris and protects emitters from clogging. In many drip layouts it sits after the regulator, while a Y-filter pressure regulator combines filtration and pressure regulation in one body. If you use a separate filter, follow the component sequence for your parts rather than forcing a one-size-fits-all order.
When to use inline, Y-filter, or retro-regulator setups
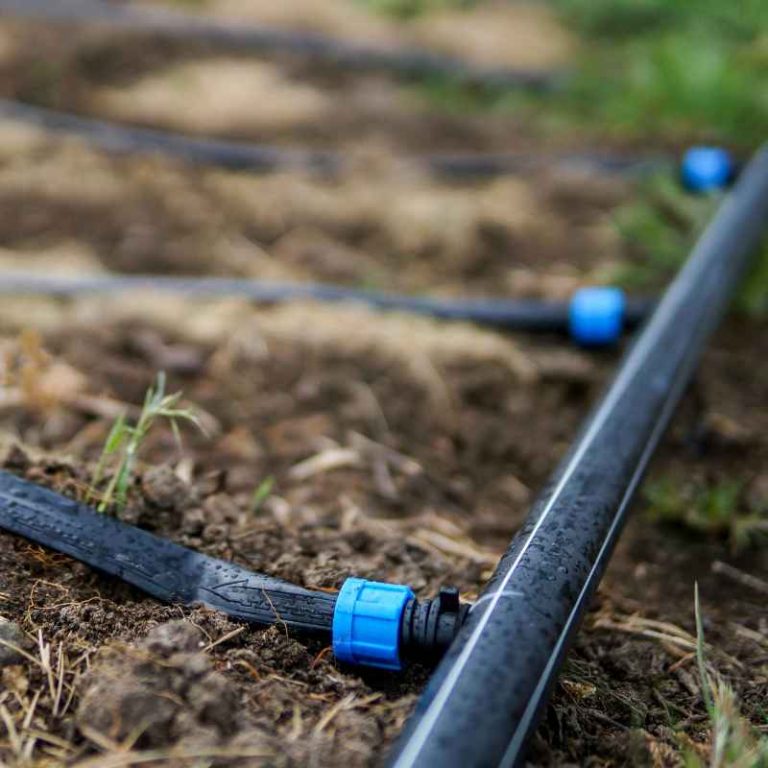
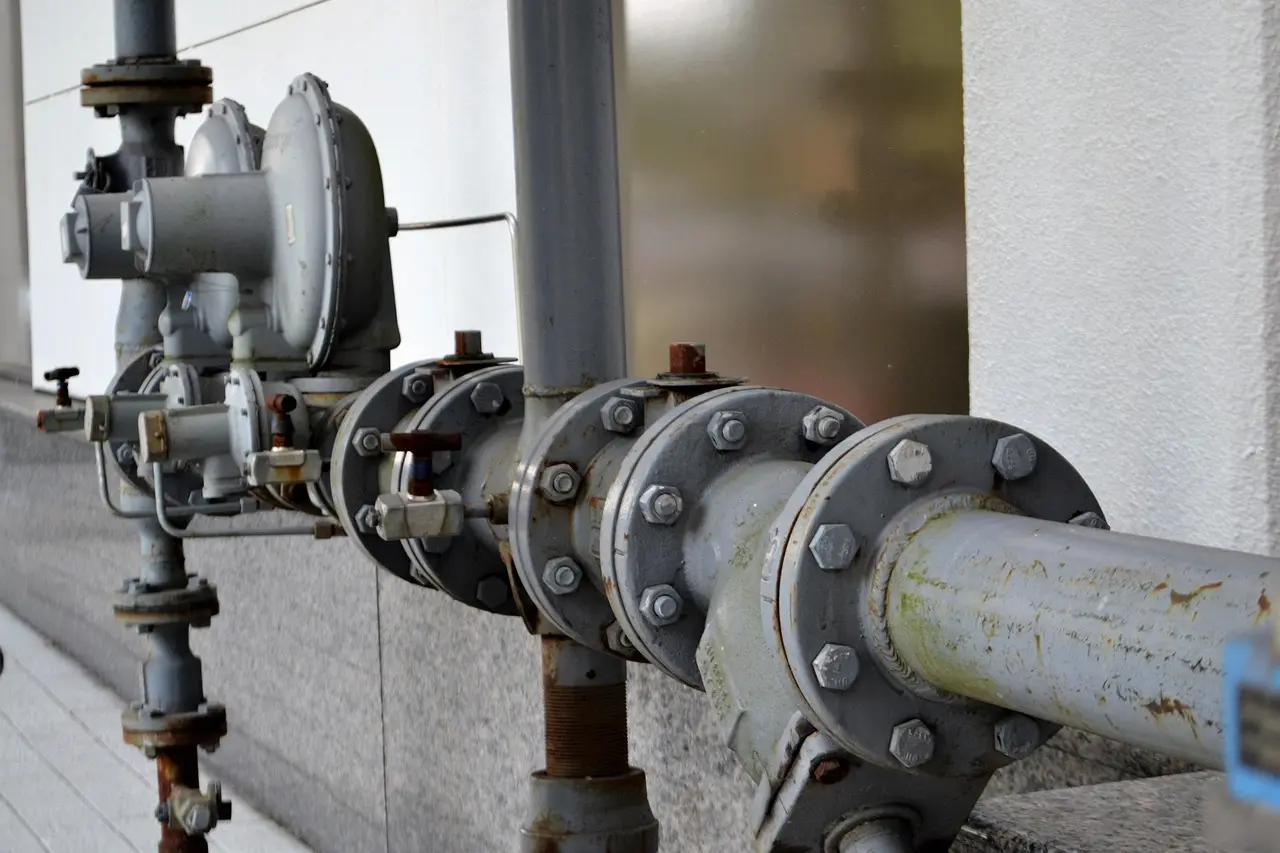
An inline pressure regulator is installed within the irrigation assembly and is used before drip tubing. A Y-filter pressure regulator is a compact choice when you want filtration and regulation together. A retro-regulator is meant for upgrades, since it adds pressure control to an existing drip irrigation system.
How to read the flow direction arrow
Check the arrow on the regulator body before tightening anything. The arrow must point in the direction of water flow, from the source toward the drip tubing. Installing it backward can cut flow or stop it, and may damage the unit.
| Water source and zone setup | Regulator type | Target PSI | Common failure symptoms |
|---|---|---|---|
| Hose bib, small bed, fewer than 20 emitters | Preset pressure regulator | 25 PSI | None when matched correctly; if undersized, weak emitters or leaks |
| Hose bib, mixed emitters, about 20 to 50 emitters | Adjustable pressure regulator | 20 to 30 PSI | Uneven output if set too high; low flow if set too low |
| Valve-fed zone, medium bed, 30 to 80 emitters | Inline pressure regulator | 25 PSI | Blowouts, leaks, or pressure loss if the regulator is too small |
| Valve-fed zone with debris risk or clog-prone source | Y-filter pressure regulator | 25 PSI | Clogging, weak emitters, or pressure drop when the screen loads with debris |
| Existing system upgrade, old line added to new drip tubing | Retro-regulator | 20 to 30 PSI | Uneven watering, split tubing, or loose fittings if pressure is left uncontrolled |
| Larger residential or commercial zone, high flow demand | Extra duty pressure regulator | Matched to emitter rating | Weak emitters or pressure loss if capacity is too low |
How do you install a drip irrigation pressure regulator?
Shut off water, confirm the thread type, and install the regulator in line before the drip tubing. Then reconnect the tubing, start the zone, and check every joint for leaks. A proper install prevents blowouts and helps the zone settle into a steady output pattern.
- Shut off the water at the hose bib, valve, or controller and open the line to release pressure.
- Check the regulator body for the flow arrow and thread size before connecting anything.
- Wrap threaded joints with thread seal tape, then tighten the regulator so the arrow points toward the drip tubing.
- Attach the filter if it is a separate part, then connect the drip tubing downstream of the regulator.
- Start the zone and inspect every fitting for leaks, loose joints, or uneven discharge at the emitters.
How to add one to an existing system
Use a retro-regulator when the drip line is already built and pressure control is missing. Cut into the supply line ahead of the drip tubing, install the retro-regulator with the flow arrow facing downstream, and reconnect the line. Then test the zone again for leaks and output balance.
Common mistakes and how to fix them
Most problems come from mismatched pressure, blocked filtration, or too much flow on one zone. If the pressure is wrong, the regulator cannot protect the tubing. If the filter is loaded with debris, emitters may act weak even when the regulator is correct.
Wrong PSI for the tubing or emitters
Fix: replace the regulator with one that matches the emitter rating and the tubing’s pressure limit. If the system uses standard residential drip parts, 25 PSI is often the simplest starting point. If output is still uneven, confirm the emitter specification before changing anything else.
Filter clogging and flow loss
Fix: clean or replace the filter, then flush the line. A Y-filter pressure regulator can help when debris is a regular problem. If the zone starts strong and fades, the filter is a likely restriction.
Too many emitters on one zone
Fix: split the zone or move part of the load to another valve. A regulator cannot make up for a zone that exceeds its flow capacity. Say your bed has 90 emitters on one line and the last row is weak; that often points to overload, not a bad emitter.
Uneven output after retrofitting an older system
Fix: confirm that the retro-regulator is installed ahead of all drip tubing and that the arrow points the correct way. Suppose an older line was converted from spray to drip and some plants get a trickle while others get a burst; that often means the pressure control point is wrong or missing.
Symptoms of a damaged or undersized regulator
Fix: replace the unit if the body leaks, the outlet pressure wanders, or the zone still blows fittings after cleanup. If that did not work, step up to an extra duty pressure regulator for larger residential or commercial irrigation systems and retest the zone.
Prevention: label the regulator PSI and the zone it serves, so future repairs do not mix up a 25 PSI drip line with a higher-pressure branch.
Frequently asked questions
Where should a pressure regulator go in a drip system?
Place it downstream of the source control, meaning after the hose bib, timer, or valve, and before the drip tubing. That location protects the rest of the drip assembly and keeps pressure controlled where the small parts begin.
Should the filter go before or after the pressure regulator?
In many drip layouts, the filter sits after the regulator, and a Y-filter pressure regulator combines both jobs in one unit. The correct order depends on the parts you buy, but the key is keeping debris out of the emitters while maintaining the target PSI.