How to Add Drip Irrigation to Your Existing Sprinkler System
Adding drip irrigation to your existing sprinkler system is one of the smartest upgrades you can make for your garden or landscape. Drip irrigation saves water, delivers moisture directly to plant roots, and helps reduce weeds and disease. Many homeowners think this change is complicated or expensive, but with the right guidance, you can complete the conversion in a weekend—and enjoy healthier plants while using less water.
This article gives you a clear, step-by-step guide for adding drip irrigation to your current sprinkler system. You’ll understand the benefits, what tools and parts you need, common mistakes to avoid, and how to keep your system running smoothly. If you want a greener landscape and a smaller water bill, this practical guide will help you get there.
Why Add Drip Irrigation To Your Sprinkler System?
Switching from traditional sprinklers to drip irrigation is about more than just saving water. Drip systems deliver water slowly and directly to plant roots. This method gives you several key advantages:
- Water Savings: Drip systems use 30–50% less water than sprinklers because less evaporates or runs off.
- Healthier Plants: Consistent moisture at the roots means less stress for flowers, vegetables, and shrubs.
- Fewer Weeds: Water doesn’t spray between plants, so fewer weed seeds get the moisture they need to grow.
- Disease Reduction: Sprinkler heads wet leaves, which can encourage mold and mildew. Drip lines keep foliage dry.
- Flexibility: You can easily expand or adjust your drip system for new plants or garden beds.
According to the U.S. Environmental Protection Agency, homes with efficient irrigation can save up to 8,800 gallons of water annually. For dry climates or areas with water restrictions, this is a major benefit.

Understanding The Basics Of Drip Irrigation
Drip irrigation uses small tubes to deliver water slowly and directly to the soil around plants. The main components are:
- Emitters: Small devices that release water at a fixed rate (like 0.5, 1, or 2 gallons per hour)
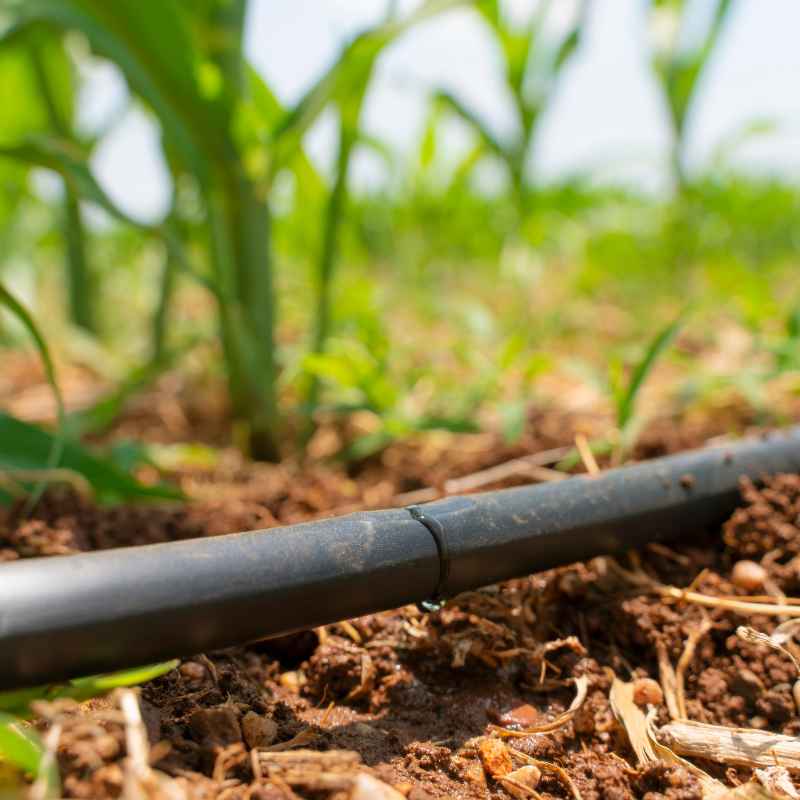
- Tubing: Flexible hoses (often 1/2″, 1/4″) that transport water to the emitters
- Pressure Regulator: Reduces high pressure from your sprinkler system, preventing leaks or blowouts in the drip lines
- Filter: Removes dirt and debris to keep emitters from clogging
- Fittings and Connectors: Used to split, connect, or end sections of tubing
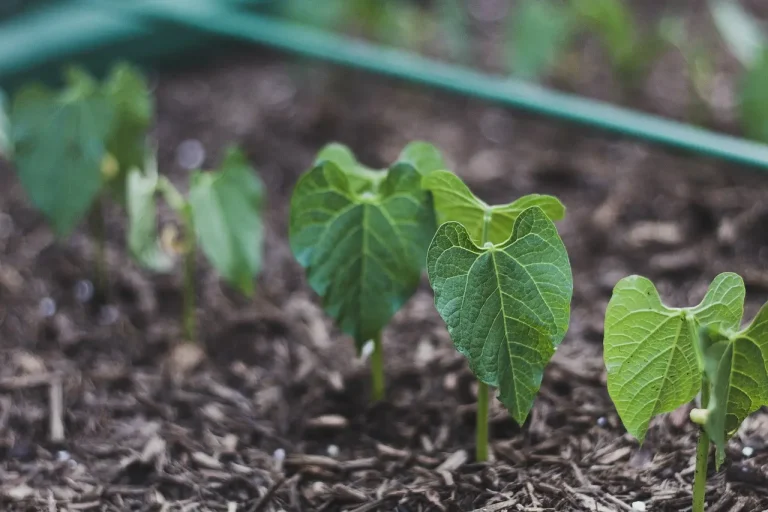
Drip lines are usually placed on the soil’s surface or slightly buried. Water moves slowly into the root zone, so soil stays moist but not soggy. Unlike sprinklers, there’s little runoff, and you don’t waste water on sidewalks or mulch.
Is Your Sprinkler System Compatible?
Most in-ground sprinkler systems can be adapted for drip irrigation. However, you need to check a few things:
- Zone Valves: Each area (zone) of your yard has its own valve. You can convert one or more zones to drip.
- Water Pressure: Sprinkler zones often run at 30–60 psi. Drip systems need 20–30 psi, so a pressure regulator is required.
- Backflow Prevention: Prevents water from flowing back into your home’s drinking water supply.
- Pipe Type: Drip systems work with both PVC and poly pipe, but you may need special adapters.
If your system is very old or damaged, consider replacing faulty valves or pipes before adding drip. Most brands like Rain Bird, Hunter, and Toro offer conversion kits that work with their sprinkler heads.
Planning Your Drip Irrigation Layout
Before you buy parts or start digging, you need a clear plan. This step saves time and avoids costly mistakes.
1. Map Your Garden
Draw a simple sketch of your landscape. Mark all sprinkler heads, plants, trees, and garden beds. Note the locations of:
- Existing sprinkler heads
- Groups of plants (by type or water need)
- Paths, patios, or areas you don’t want to water
This map will help you decide which zones to convert and where to run your drip lines.
2. Decide Which Zones To Convert
You don’t have to convert your entire yard at once. Many homeowners start with garden beds, shrubs, or vegetable patches. Grass lawns are usually left on sprinklers.
For example:
- Zone 1: Lawn (keep sprinklers)
- Zone 2: Flower beds (convert to drip)
- Zone 3: Trees and shrubs (convert to drip)
Converting a single zone is often easier and lets you test the system before expanding.
3. Group Plants By Water Needs
One common mistake is mixing plants with different water requirements on the same drip line. Group drought-tolerant and water-loving plants separately. This way, you can adjust emitter flow rates and watering times for each group.
4. Measure Tubing Length
Use your map to measure the distance from the valve to each plant. Add extra length for turns and connections. Most homeowners underestimate tubing needs—buy 10–20% more than your estimate.
Choosing Drip Irrigation Parts And Tools
The right parts make installation smooth and efficient. Here’s what you’ll need for a basic conversion:
Main Components
- Drip Conversion Adapter: Connects your sprinkler riser to drip tubing
- Pressure Regulator: Lowers water pressure to avoid damaging drip lines
- Backflow Preventer: Keeps dirty water out of the main supply
- Filter: Protects emitters from clogging
- Drip Tubing: 1/2″ mainline for long runs, 1/4″ for branches to plants
- Emitters: Choose flow rates (e.g., 1 GPH, 2 GPH) based on plant needs
- Fittings: Tee, elbow, coupler, and end caps for connecting tubes
- Stakes and Hold-Downs: Secure tubing in place
Basic Tools
- Pipe cutter or sharp scissors
- Punch tool for making holes in tubing
- Shovel or trowel (if burying lines)
- Tape measure
- Gloves
Optional Accessories
- Timer: For automatic scheduling
- Moisture sensor: Adjusts watering based on soil moisture
- Goof plugs: For sealing unwanted holes in tubing
Brand Compatibility
Most major brands offer compatible parts. However, mixing brands can sometimes cause leaks or loose connections. When possible, stick with one brand for adapters, tubing, and fittings.
Here’s a quick comparison of popular brands:
| Brand | Conversion Kit Price | Warranty | Common Features |
|---|---|---|---|
| Rain Bird | $25–$40 | 3 years | Easy adapters, filter, regulator included |
| Hunter | $30–$50 | 2 years | Heavy-duty fittings, flexible tubing |
| Toro | $20–$35 | 3 years | Color-coded emitters, quick-connect |
Step-by-step Guide: Adding Drip Irrigation To A Sprinkler Zone
Now let’s break down the actual process. This method works for most residential systems.
1. Turn Off Water And Test The System
Before starting, shut off the water supply to your sprinkler system. Run each zone briefly to note which heads you want to convert. Mark them with flags or paint.
2. Remove Sprinkler Heads
Unscrew the sprinkler heads you want to convert. Keep the riser (the vertical pipe sticking up) in place. If the head is hard to remove, use pliers or a sprinkler tool. Check for debris or damage inside the riser.
3. Install Drip Conversion Adapter
Screw a drip conversion adapter onto each open riser. These adapters are designed to fit standard 1/2″ or 3/4″ sprinkler threads. Most adapters include a built-in filter and pressure regulator.
If your adapter does not include a filter or regulator, install them in line with the main tubing.
4. Attach Main Drip Tubing
Connect 1/2″ drip tubing to the adapter. Run the tubing along the ground to the area you want to water. Use stakes to keep it secure and avoid sharp bends, which can restrict flow.
5. Branch Out To Plants
At each plant or group of plants, use the punch tool to make a hole in the main tubing. Insert a barbed connector, then attach 1/4″ tubing to reach the base of each plant. Push an emitter into the end of the 1/4″ tube.
Tip: Place emitters 4–6 inches from the stem for shrubs, or at the drip line (edge of the canopy) for trees.
6. Cap Unused Risers
If there are sprinkler heads you don’t want to convert, cap the risers with a threaded plug. This prevents leaks and ensures full pressure for your drip lines.
7. Flush And Test The System
Before installing all emitters, run the system for a few minutes to flush out dirt. Then install the emitters and end caps. Turn on the water and check for leaks or weak spots. Emitters should drip steadily, not spray.
8. Adjust Watering Schedule
Drip irrigation usually runs longer than sprinklers, but less often. For example, you might water for 30–60 minutes two or three times per week, depending on weather and soil type.
9. Cover Or Mulch Tubing
To protect tubing from sun and foot traffic, cover lines with mulch or bury them 1–2 inches deep. This keeps water cooler and reduces wear.
Common Mistakes To Avoid
Even experienced gardeners make errors when converting to drip irrigation. Watch for these pitfalls:
- Skipping the pressure regulator: High pressure will blow out drip lines and emitters.
- No filter: Even clean city water can clog emitters with tiny grit.
- Overwatering: Drip lines deliver water slowly, so plants need less time but more thorough soaking.
- Underestimating tubing needs: Add extra length for changes in layout or expansion.
- Ignoring plant water needs: Don’t put cactus and tomatoes on the same line.
- Not flushing lines: Always flush before installing emitters to prevent blockages.
- Loose fittings: Use proper barbed connectors and check for leaks at every joint.
- Forgetting to cap old risers: Unused risers can cause leaks and lose pressure.
A less obvious mistake: Some homeowners forget to adjust their irrigation timer after switching to drip. Drip zones need longer, less frequent cycles compared to spray heads.
Real-world Example: Converting A Garden Bed
Let’s look at a practical example. Imagine you have a 200-square-foot flower bed with three sprinkler heads.
- Remove all three heads and install drip adapters.
- Run 1/2″ tubing in a loop around the bed, connecting at each adapter.
- Punch holes near each group of flowers and insert 1 GPH emitters.
- Use 1/4″ tubing to reach plants far from the main line.
- Cap one riser that’s not near plants.
- Test and adjust the system to run twice a week for 45 minutes.
Result: Less water wasted, healthier flowers, and fewer weeds between plants.
Advanced Tips: Expanding Or Customizing Your System
Once you’re comfortable with a basic conversion, you can add more features:
Add A Fertilizer Injector
Some drip systems allow for inline fertilizing. A fertilizer injector mixes plant food into the water, delivering nutrients directly to roots. This is ideal for vegetable gardens and high-maintenance flowers.
Use Adjustable Emitters
Instead of fixed-rate emitters, try adjustable emitters. These let you increase or decrease flow for each plant. For example, a rose bush may need more water than a small herb.
Install A Moisture Sensor
A soil moisture sensor can automate watering. It checks soil dampness and only waters when needed, saving more water and preventing root rot.
Expand With Micro-sprayers
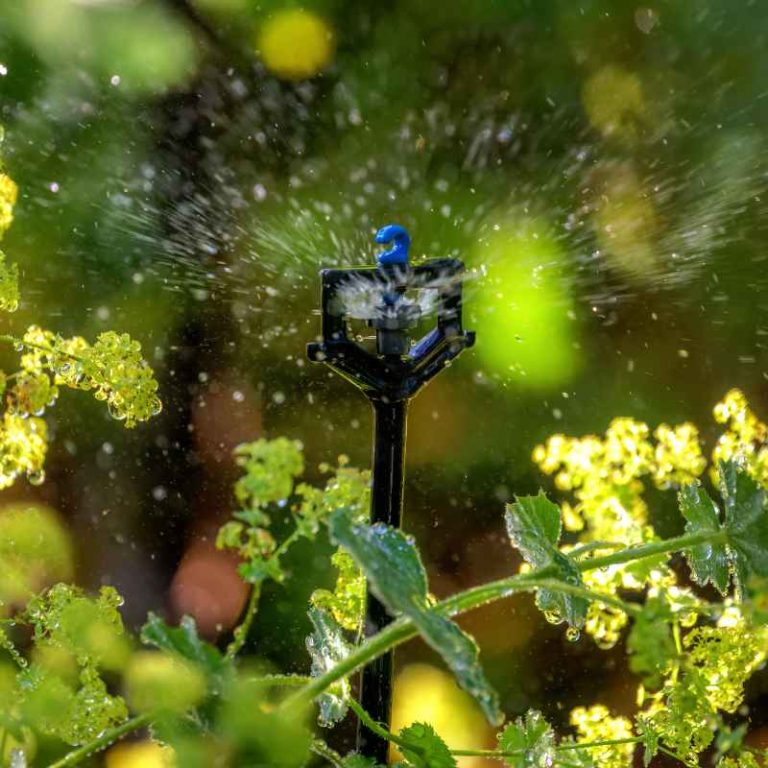
In areas with ground cover or closely spaced plants, use micro-sprayers or mini-sprinklers. These cover a wider area but still use less water than traditional heads.
Connect To Smart Controllers
Modern irrigation controllers (like Rachio or Orbit B-hyve) let you set schedules, monitor usage, and adjust watering from your phone.
Here’s how a traditional spray head compares with a drip emitter:
| Feature | Spray Head | Drip Emitter |
|---|---|---|
| Water Usage (per hr) | 1.5–2.5 gallons per minute | 0.5–2 gallons per hour |
| Evaporation Loss | High | Low |
| Best For | Lawns, large open areas | Flowers, shrubs, gardens |
| Weed Growth | More likely | Much less |
Maintenance And Troubleshooting
Drip systems require less upkeep than sprinklers, but regular checks are still necessary.
Inspect For Leaks And Clogs
- Walk your lines every few weeks to check for leaks or dry spots.
- Emitters can clog with soil or minerals. Clean them by soaking in vinegar or using a soft brush.
- Replace broken stakes or tubing as needed.
Seasonal Adjustments
- In cold climates, drain and store above-ground tubing before winter. Water left inside can freeze and burst lines.
- In hot summers, check for sun damage and cover exposed tubing with mulch.
Flushing The System
- At least twice a season, remove end caps and run water to flush out dirt.
- Clean filters at the start and end of each season.
Upgrading And Expanding
- If you add new plants, simply punch more holes and insert new emitters.
- For large expansions, consider adding a second conversion kit to another sprinkler head.
Here’s a quick look at maintenance needs for sprinklers vs. drip:
| Task | Sprinkler System | Drip Irrigation |
|---|---|---|
| Check for Leaks | Monthly | Monthly |
| Clean Emitters/Heads | Yearly | Every 2–3 months |
| Winterization | Drain pipes, blow out lines | Drain, store above ground tubing |
| System Adjustments | Harder, needs tools | Easy, hand tools only |
Two Insights Beginners Often Miss
- Drip systems are not always “set and forget.” Soil type, sun exposure, and plant age all affect how much water is needed. Sandy soil dries faster, while clay holds water longer. Adjust your emitter flow and schedule as plants grow.
- You can mix drip and sprinklers on the same valve, but it’s not ideal. Drip lines need low pressure and longer run times. If you must mix, use pressure-regulating adapters on every drip line, but be aware that uniform watering is difficult.
Environmental And Cost Benefits
Switching to drip saves more than water. Many cities offer rebates for converting sprinklers to drip. You could save $10–$30 per year on your water bill for each converted zone, depending on your climate and yard size.
Environmentally, less water means less runoff carrying fertilizers and pesticides into storm drains. Gardens become healthier, and you contribute to sustainable water use.
For more technical details and research, the EPA WaterSense program offers guides and statistics.
Final Thoughts
Upgrading your sprinkler system with drip irrigation is a practical way to care for your plants and save water. The process takes a bit of planning and work, but the rewards last for years. Healthier plants, lower water bills, and easier maintenance make this project well worth your time.
Start with a single garden bed or shrub zone. Use quality parts, group plants by water needs, and don’t rush the installation. With regular checks and a few simple adjustments, your new drip system will deliver reliable, efficient watering—giving you more time to enjoy your garden and less time worrying about waste.

Frequently Asked Questions
How Much Does It Cost To Convert A Sprinkler Zone To Drip Irrigation?
The cost varies by yard size and materials, but most homeowners spend $30–$100 per zone. Basic kits start around $25, and you may need extra tubing or emitters. Labor is free if you do it yourself.
Can I Run Drip Irrigation And Sprinklers On The Same Zone?
It’s possible, but not recommended. Sprinklers and drip lines need different pressure and run times. If you must mix, use pressure-regulating adapters on drip lines and monitor your plants closely.
How Long Should I Run My Drip Irrigation System?
Most drip systems need to run 30–60 minutes, two to three times per week. Adjust based on soil type, weather, and plant needs. Check soil moisture regularly to avoid under- or overwatering.
Do I Need To Remove My Old Sprinkler Heads?
You remove the heads you want to convert, but any unused risers should be capped. Leave sprinkler heads in grass or lawn zones you are not converting.
What’s The Biggest Advantage Of Drip Irrigation Over Sprinklers?
Water efficiency is the top benefit. Drip irrigation delivers water exactly where plants need it, reducing waste from evaporation or runoff. This means healthier plants, fewer weeds, and lower water bills.