How to Set Up a Permanent Watering Source With Nelson’S System
Setting up a permanent watering source is one of the smartest moves for any gardener, farmer, or landscaper. When you rely on hoses, manual watering, or temporary setups, you face wasted time, inconsistent moisture, and even plant stress. Nelson’s watering system offers a proven solution that can save labor, boost plant health, and deliver reliable water for years.
But setting up a system that truly lasts—and works well—means more than buying some parts and laying pipes. It takes planning, careful installation, and a little knowledge of water flow. This guide walks you through every step, from choosing the right Nelson components to real-world installation tips, so you can build a watering setup that runs smoothly, season after season.
Why Choose Nelson’s Watering System?
Nelson has been a leader in irrigation technology for decades. Their products are known for durability, efficiency, and adaptability. Unlike basic hoses or cheap sprinklers, Nelson’s system is designed for permanent installation. That means you can water gardens, lawns, or crops with minimal effort. The system can handle a range of water sources—from wells to city water—and supports both manual and automated control.
Nelson’s systems are popular because:
- Long-lasting materials: Their pipes and connectors resist UV, rust, and cracking.
- Consistent coverage: Sprinklers and emitters distribute water evenly.
- Easy expansion: You can add new zones or lines as your needs change.
- Automation ready: Compatible with timers, sensors, and smart controllers.
A permanent watering source with Nelson’s system can reduce water waste by up to 40% compared to manual watering, according to industry studies. That means healthier plants, lower bills, and less work.

Planning Your Permanent Watering Source
Before you buy parts or start digging, take time to plan. A well-designed system delivers water where you need it, when you need it, without leaks or weak spots. Proper planning prevents common mistakes like uneven watering, low pressure, or wasted money.
Assess Your Water Needs
Start by estimating how much water your garden, lawn, or crops require. Consider:
- Area size: Measure the square footage or acreage.
- Plant types: Lawns need more water than drought-tolerant shrubs.
- Climate: Hot, dry climates may require more frequent watering.
- Soil type: Sandy soil drains fast; clay holds water longer.
For example, lawns typically need 1–1.5 inches of water per week. Vegetable gardens may need 0.5–1 inch. Multiply your area by the recommended depth to find weekly requirements.
Identify Your Water Source
Nelson’s system works with several sources:
- Municipal water
- Well water
- Rainwater tanks
Check water pressure and flow rate. Most Nelson sprinklers require 30–60 PSI and 2–5 gallons per minute (GPM). If your source is weak, you may need a booster pump.
Sketch A Layout
Draw your property and mark:
- Water source location
- Areas to be watered
- Obstacles (buildings, trees, slopes)
- Ideal pipe routes
A simple sketch helps you plan pipe lengths, sprinkler placement, and zones. Avoid running pipes under heavy roots or where digging is difficult.
Decide On System Type
Nelson offers:
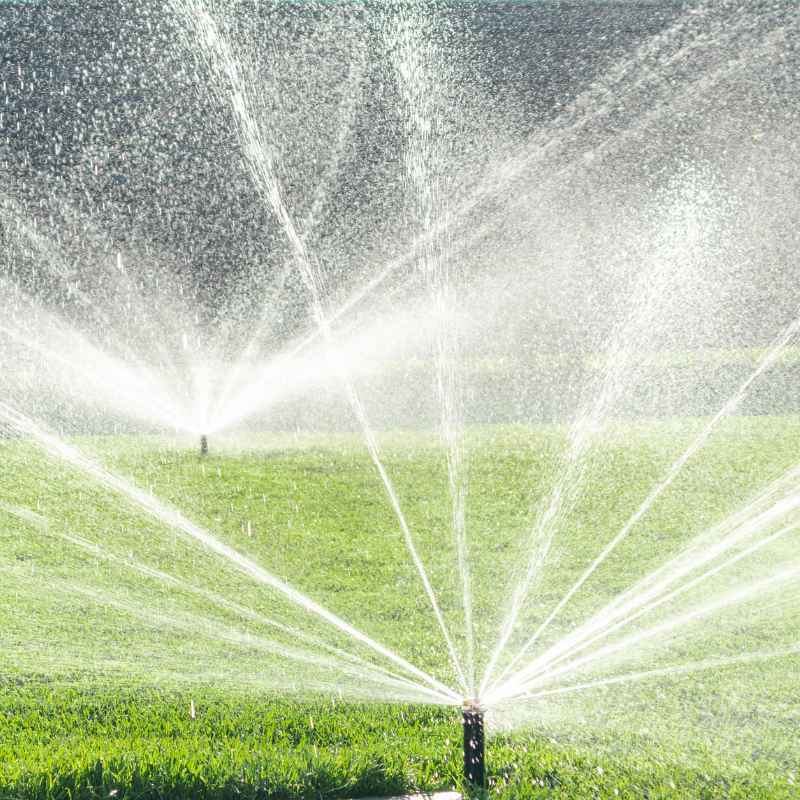
- Sprinkler systems (for lawns, large gardens)
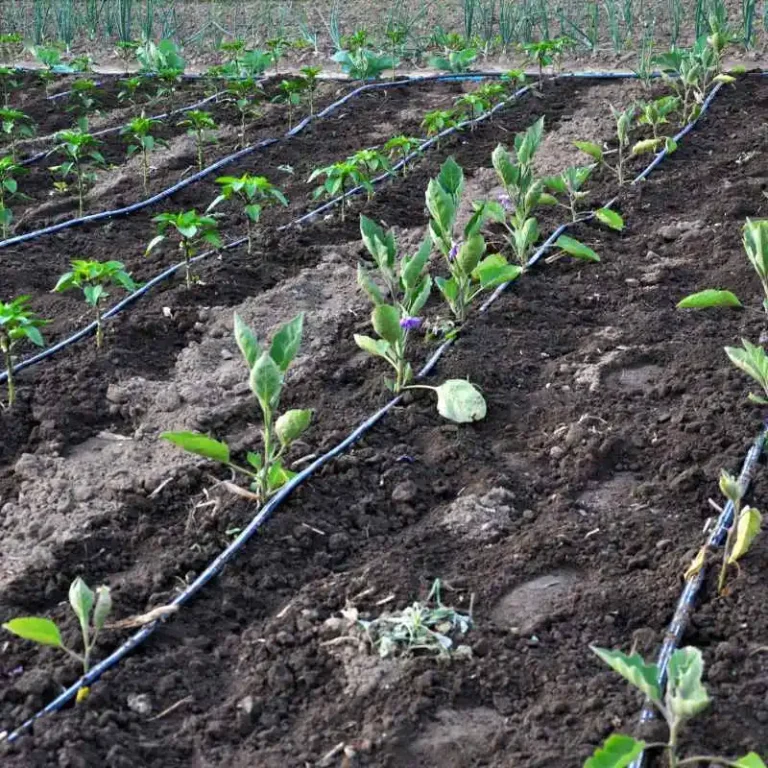
- Drip systems (for beds, rows, shrubs)
- Hybrid systems (combining both)
Sprinklers cover large areas quickly; drip systems save water and reduce runoff. Choose based on your plants and landscape.
Choosing Nelson’s Components
Picking the right parts is key to a reliable setup. Nelson offers a wide range, so match components to your needs—not just price.
Pipes And Tubing
Nelson’s pipes are made from high-density polyethylene (HDPE), which lasts up to 30 years outdoors. They resist cracks and UV damage.
Common sizes:
- 1/2 inch: Good for small gardens or drip lines.
- 3/4 inch: Standard for lawns and medium zones.
- 1 inch: For large areas or high flow.
Larger pipes carry more water with less pressure loss. If you have a big lawn or several zones, use 1-inch pipes for main lines and branch to smaller sizes.
Sprinklers
Nelson’s rotary sprinklers offer even coverage and adjustable throw. Their impact sprinklers are known for reliability in tough conditions.
Choose based on area:
- Rotary: Quiet, gentle, covers up to 50 feet.
- Impact: Handles wind, covers 20–80 feet, great for large fields.
For beds, use micro-sprinklers or drip emitters.
Valves And Controls
Manual and automatic valves let you control water flow. Nelson’s electric valves connect to timers or smart controllers.
- Manual valves: Simple, cheap, but require turning on/off yourself.
- Automatic valves: Save time, ensure consistent watering.
Timers can be battery-operated or wired. Smart controllers let you adjust schedules from your phone.
Connectors And Fittings
Nelson’s connectors prevent leaks and make expansion easy. Use compression fittings for HDPE pipes; they’re strong and simple to install.
- Elbows: For corners
- Tees: Branch lines
- Couplings: Join pipes
Choose connectors based on pipe size. Always buy a few extra for repairs.
Filters And Pressure Regulators
Filters prevent clogging from debris or sediment. Nelson’s inline filters are easy to clean. Pressure regulators keep water at the right level for sprinklers and drip lines.
- Filters: Essential for well water or dirty sources.
- Pressure regulators: Prevent overwatering and burst pipes.
Comparing Nelson Components
Here’s a quick comparison of Nelson’s main pipe sizes and their uses:
| Pipe Size | Typical Use | Max Flow (GPM) | Estimated Lifespan |
|---|---|---|---|
| 1/2 inch | Drip lines, small beds | 4 | 20–25 years |
| 3/4 inch | Main lines for gardens | 8 | 25–30 years |
| 1 inch | Main lines for lawns, fields | 12 | 30+ years |
Installing Nelson’s Watering System: Step-by-step
Installation is where planning meets reality. Here’s how to get it right.
Step 1: Prepare The Site
Clear the area where pipes will run. Remove rocks, roots, and debris. If installing underground, mark utilities first. Dig trenches 6–12 inches deep; deeper if the area freezes.
Step 2: Lay Out Pipes
Position main lines first. Use string or spray paint to mark routes. Cut pipes to length with a sharp pipe cutter—never use a saw, as rough edges can cause leaks.
Connect pipes with compression fittings. Push pipes fully into connectors to ensure a tight seal. For corners, use elbows; for branches, use tees.
Step 3: Install Sprinklers And Emitters
Sprinklers should be spaced based on their throw radius. Overlapping spray patterns prevent dry spots.
- Rotary: Space 30–40 feet apart
- Impact: 50–80 feet apart for fields
Drip emitters go near the base of each plant. Use stakes to hold tubing in place.
Step 4: Add Valves And Controls
Install valves near the water source or at zone entrances. If using automatic valves, wire them to the timer or controller. Follow Nelson’s wiring diagrams—never guess.
Mount timers in a dry, accessible spot. Set schedules based on plant needs and climate.
Step 5: Install Filters And Regulators
Place filters at the entry point. Pressure regulators go after the filter but before the valves. Clean filters monthly; replace regulators if water pressure changes.
Step 6: Test The System
Turn on water and check for leaks. Fix any loose connectors or dripping joints. Test sprinklers for even coverage. Adjust heads for proper throw.
Check pressure at the furthest point. If it’s low, upgrade pipe size or add a booster pump.
Step 7: Bury Pipes And Finish
After testing, bury pipes in trenches. Cover with soil and tamp down. Avoid heavy rocks or sharp debris. Mark valve locations for easy access.
If you’re using drip lines, cover with mulch to protect from UV and animals.
Common Mistakes And How To Avoid Them
Many first-timers make errors that cost time and money. Here’s what to watch out for:
- Underestimating pipe size: Small pipes can limit flow and cause weak sprinklers. Always size pipes for future expansion.
- Ignoring water pressure: Too low, and sprinklers won’t cover; too high, and pipes may burst. Use pressure regulators.
- Poor layout: Pipes that zigzag or cross too many obstacles are prone to leaks and hard to repair.
- Skipping filters: Sediment can clog emitters and reduce system lifespan.
- Inadequate coverage: Sprinklers must overlap to prevent dry spots.
- Incorrect valve placement: Valves too far from the source can cause uneven pressure.
- Not testing before burial: Always check for leaks and coverage before covering pipes.
Even experienced installers sometimes skip steps to save time—but this usually leads to higher repair costs later.
Automation And Smart Controls
Nelson’s system is ready for automation. Timers, controllers, and sensors can make watering nearly hands-free.
Types Of Automation
- Basic timers: Set start and stop times; good for gardens and lawns.
- Smart controllers: Adjust watering based on weather, soil moisture, or remote control.
- Rain sensors: Stop watering during rainfall to save water.
Smart controllers can reduce water use by up to 30% compared to manual timers. They also help prevent overwatering, which can cause root rot and disease.
Installing Automation
Connect automatic valves to the controller. Follow wiring diagrams carefully. Mount controllers indoors or in weatherproof boxes. Set schedules based on plant needs and adjust for seasons.
Some smart controllers connect to Wi-Fi, letting you monitor and change settings from your phone. Look for units compatible with Nelson’s valves.
Maintenance And Troubleshooting
A permanent watering system needs regular care to stay reliable.
Maintenance Tasks
- Inspect pipes and fittings: Check for leaks monthly.
- Clean filters: Remove debris every 4 weeks.
- Flush lines: Run water through to clear sediment twice a year.
- Adjust sprinklers: Make sure spray covers all areas.
- Test automation: Check timer and controller function.
For underground systems, check valve boxes for water buildup or pests. If you live in a freezing area, drain pipes before winter.
Troubleshooting Common Issues
- Low pressure: Check for clogs, leaks, or undersized pipes.
- Uneven watering: Adjust sprinkler heads or change layout.
- Timer not working: Check batteries or wiring.
- Drip emitters clogged: Clean or replace as needed.
If problems persist, consult Nelson’s support or hire a professional.
Real-world Example: Backyard Garden Installation
Let’s look at a real example—setting up a Nelson system for a 2,000 square foot backyard vegetable garden.
Planning
- Water source: Municipal tap, 45 PSI, 4 GPM
- System type: Drip lines for rows, rotary sprinklers for edges
- Pipe size: 3/4 inch main line, 1/2 inch drip branches
Installation
- Trenched main line 8 inches deep from tap to garden
- Installed manual valve at entrance
- Connected rotary sprinklers at corners, spaced 35 feet apart
- Ran drip lines along each row, with emitters every 18 inches
- Added inline filter and pressure regulator
Results
- Even coverage, no dry spots
- Water use dropped by 25% compared to hoses
- Maintenance limited to filter cleaning and emitter checks
This setup cost around $350 in parts and took one weekend to install. The owners report less time spent watering and healthier plants.
Comparing Nelson’s System To Other Brands
Nelson stands out for durability and easy expansion, but how does it compare to other brands? Here’s a quick look:
| Brand | Pipe Material | Sprinkler Types | Automation Options | Average Lifespan |
|---|---|---|---|---|
| Nelson | HDPE, PVC | Rotary, Impact, Drip | Manual, Smart | 25–30 years |
| Rain Bird | PVC | Rotary, Spray, Drip | Manual, Smart | 20–25 years |
| Orbit | Poly, PVC | Spray, Drip | Manual, Smart | 15–20 years |
Nelson’s systems cost a bit more up front but deliver longer life and easier upgrades. Their impact sprinklers are especially popular in windy or tough climates.
Tips For Long-term Success
A permanent watering source is an investment. Here’s how to make it last:
- Expand wisely: When adding new zones, use larger pipes for main lines.
- Protect pipes: Bury deep enough to avoid damage from digging, pets, or frost.
- Label valves: Use waterproof tags so you know which valve controls each area.
- Monitor water use: Track bills and adjust schedules to save money.
- Upgrade automation: As technology improves, consider newer controllers for better efficiency.
Many beginners miss the importance of pipe diameter and pressure regulation. Using too-small pipes or skipping regulators can limit performance and shorten system life. Another overlooked tip: clean filters regularly, even if your water seems clear. Small particles can build up and cause clogs.
Environmental Benefits
Permanent watering systems help conserve water. Nelson’s systems can reduce runoff, evaporation, and overwatering.
- Targeted watering: Drip emitters deliver water right to roots.
- Reduced runoff: Sprinklers with proper overlap keep water on the soil.
- Less evaporation: Underground pipes and mulch protect moisture.
According to the EPA, efficient irrigation can save up to 8,800 gallons of water per year for a typical household. That’s good for your wallet and the environment.
Cost Breakdown
Installing a Nelson system is an investment, but costs vary by size and complexity.
Typical Costs
- Pipes and fittings: $100–$400
- Sprinklers and emitters: $50–$200
- Valves and controls: $60–$150
- Filters and regulators: $40–$120
- Automation: $80–$250 (timer or smart controller)
Total For A Small Garden: $250–$600
Total For A Large Lawn: $700–$1,800
Professional installation adds $300–$1,000, but DIY is possible with basic tools.
Safety And Compliance
Before you dig, check local codes and call utility locating services. Some areas require permits for permanent irrigation. Nelson’s components meet most US standards, but check for lead-free and pressure-rated parts.
Always mark pipe locations and valve boxes. If installing near electrical, use waterproof boxes and follow safety guidelines.
Where To Buy Nelson’s System
Nelson’s watering systems are sold at most garden centers, home improvement stores, and online. For best results, buy from authorized dealers. Look for warranty coverage and support.
For more product details, visit the official Nelson website: Nelson Irrigation.

Frequently Asked Questions
How Long Does Nelson’s Watering System Last?
Nelson’s pipes and fittings can last 20–30 years if installed and maintained properly. Sprinkler heads may need replacement every 5–10 years, depending on use and weather.
Can I Install Nelson’s System Myself?
Yes, most Nelson components are DIY-friendly. Basic tools and careful planning are enough for small gardens or lawns. For larger systems, consider professional help.
What Is The Minimum Water Pressure Needed?
Nelson sprinklers work best at 30–60 PSI. Drip systems function at 15–25 PSI. If your pressure is too low, use a booster pump or larger pipes.
How Often Should I Clean Filters?
Clean filters every 4 weeks or sooner if you notice reduced flow or clogged emitters. Well water or dirty sources may require more frequent cleaning.
Is Nelson’s System Compatible With Smart Controllers?
Yes, Nelson’s automatic valves and controls work with most smart irrigation controllers. Check compatibility before purchase and follow wiring instructions.
Setting up a permanent watering source with Nelson’s system is a smart move for anyone who wants reliable, efficient, and long-lasting irrigation. With careful planning, quality components, and regular maintenance, you can enjoy healthy plants and lower water bills for decades.
Remember to size pipes correctly, use filters, and automate for maximum efficiency. Your garden—and your wallet—will thank you.