
How to Place Drip Emitters Around Tomatoes and Peppers
Set two drip emitters per tomato or pepper plant at transplanting, one about 4 to 6 inches from the stem on each side, then shift or add emitters outward as roots spread. In general, use more emitters in sandy soil and fewer in clay because the wetting pattern changes with texture: sand wets deeper and narrower, loam spreads more evenly, and clay spreads laterally but accepts water more slowly. University extension drip guides commonly recommend matching emitter placement to the active root zone and adjusting flow to soil type, while manufacturer guidance for pressure-compensating emitters and regulators emphasizes stable output at the recommended system pressure. This guide gives a stage-by-stage placement map by soil type, plus spacing and adjustment rules for beds and containers.
How soil texture and root zones affect watering

Why does emitter placement matter so much?
Drip emitters send water in a point-source pattern, so placement matters more than with overhead watering. Tomatoes build wider root zones than their stems suggest, while peppers keep a smaller, shallower root system. The goal is even moisture through the active root zone, not a wet collar at the stem.
Soil texture changes the wetting radius. Sandy soil pulls water down and dries faster. Loam spreads more evenly. Clay moves water laterally more than vertically, so the same emitter can wet a broader circle but also create runoff if the rate is too high. Extension irrigation guidance consistently notes that sandy soils need shorter, more frequent irrigations, while clay soils need slower application to avoid runoff and ponding.
What you’ll need
How many drip emitters should I put around each tomato plant?
What is the practical starting point for tomatoes?
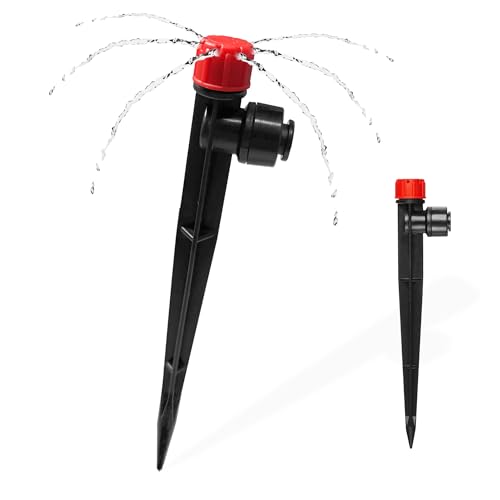
Use one emitter for a very small transplant, two emitters for most young plants, and three to four emitters for medium to mature tomatoes. Set them around the root zone, not tight against the stem, and move the pattern outward as the canopy spreads. The outer root zone matters more than the stem base.
Tomatoes push roots beyond the original transplant hole. A mature plant often needs the wetting circle extended toward the canopy edge, especially in hot weather or fast-draining soil. One emitter can work in a tiny bed or short-term container setup, but it usually leaves dry spots as the plant grows.
What step-by-step setup works best before the table
- Set one or two emitters 4 to 6 inches from the stem at transplanting.
- Run the system briefly and check whether moisture reaches 6 to 8 inches deep near the root ball.
- Move to two emitters 6 to 8 inches out once the plant starts branching.
- Add a third or fourth emitter near the canopy drip line when the plant fills its space.
- Check that the wet area reaches beyond the stem circle and toward the outer roots.
Where should pepper emitters go so the roots get water?
How is pepper placement different from tomato placement?
Peppers usually need a tighter wetting circle than tomatoes, because their root system is shallower and generally smaller. Start with one or two emitters about 4 to 6 inches from the stem, then keep them closer than you would for a tomato unless the plant is unusually large. They often need lighter but more frequent watering.
That smaller root zone dries faster at the surface, especially in warm beds or raised beds. Use enough emitters to wet the root zone evenly, but avoid flooding the crown. A wet stem area raises disease risk without improving root coverage.
How should peppers change as they mature?
- Place one emitter per side on young transplants in loam or clay.
- Use two emitters for stronger growth or sandy beds.
- Keep the pattern tighter than tomato spacing, usually inside the outer canopy edge.
- Recheck after heat spells, because peppers show surface drying before tomatoes do.
How do I place emitters as plants grow?
When should the wetting pattern move outward?
Start near the young root zone, then shift water outward as the plant expands. For tomatoes, the outer canopy line becomes the better target by midseason. For peppers, expansion is smaller, so adjustments are usually modest but still worth checking after pruning or a growth spurt.
Say your tomato starts at 8 inches tall with two emitters 5 inches from the stem. A month later, the canopy spreads to 18 inches across. Move one emitter outward or add one at the drip line, then recheck the wetting circle after a normal run. The change should widen coverage, not soak the stem.
What is the adjustment sequence?
- Inspect the wet edge 30 to 60 minutes after a run.
- Shift one emitter 2 to 4 inches outward if the center is wet but the outer root zone is dry.
- Add one more emitter when the plant canopy outgrows the original circle.
- Recheck after pruning, transplant shock recovery, or a heat wave.
Emitter placement table
How many emitters, how far out, and what flow rate should each soil type use?
| Plant | Stage | Emitters per plant | Approximate distance from stem | Recommended flow rate |
|---|---|---|---|---|
| Tomato | Small transplant | 1 to 2 | 4 to 6 inches | 0.5 to 1.0 GPH |
| Tomato | Medium vegetative | 2 to 3 | 6 to 10 inches | 1.0 GPH |
| Tomato | Mature, fruiting | 3 to 4 | 10 to 14 inches, near canopy edge | 1.0 to 2.0 GPH |
| Pepper | Small transplant | 1 to 2 | 4 to 6 inches | 0.5 to 1.0 GPH |
| Pepper | Medium vegetative | 2 | 5 to 8 inches | 0.5 to 1.0 GPH |
| Pepper | Mature, flowering or fruiting | 2 to 3 | 6 to 10 inches | 1.0 GPH |
Sandy soil often needs the higher end of emitter count or flow because water spreads less and dries faster. Loam usually matches the middle of the range. Clay can use fewer emitters, but the runtime should stay short enough to prevent runoff and surface pooling. This soil-by-soil rule is consistent with extension irrigation guidance and with manufacturer emitter charts that show wider, shallower wetting patterns in sand and slower infiltration in clay.
How wet should the soil be before you irrigate?
What is the root-zone target for tomatoes?
For tomatoes, irrigate when the top 2 to 3 inches feel dry but the soil 4 to 8 inches deep is still slightly moist and cool, not powdery. A simple root-zone feel test works well: squeeze a handful from 6 inches down. If it forms a weak ball that breaks apart, the soil is in range; if it crumbles instantly in sand or dusts off in loam, it is time to irrigate. In clay, wait until the top layer loses its sheen and the 4 to 6 inch zone is just starting to lighten in color, but do not let it hard-crack. For blossom-end rot prevention, the key is steady moisture, not alternating drought and flooding; extension publications on blossom-end rot repeatedly link irregular soil moisture to calcium transport problems. See also blossom-end rot.
What is the root-zone target for peppers?
For peppers, irrigate a little earlier than tomatoes: when the top 1 to 2 inches are dry and the soil 4 to 6 inches down is barely moist. Peppers have a smaller, shallower root system, so they show stress sooner at the surface. If the plant wilts in midday but recovers by evening, that can be a sign the root zone is running too dry between cycles. Keep the moisture more even than you would for tomatoes, especially in containers or raised beds.
How does the target change by soil type?
Sandy soil: check 4 to 6 inches deep; irrigate when that layer no longer holds together at all. Expect more frequent, shorter runs because sand drains quickly and has less water storage.
Loam: check 6 to 8 inches deep; irrigate when the soil feels slightly damp but no longer leaves a cool, moist smear on your fingers. Loam usually gives the widest margin for timing.
Clay: check 3 to 5 inches deep at first, then a little deeper once roots are established; irrigate when the surface is dry but the subsoil still has a faintly plastic feel. Clay should be watered slowly enough to infiltrate before the surface seals or runs off. If water beads or pools, the application rate is too fast for the soil.
When should you irrigate again after a run?
In sandy beds, recheck the root zone the same day and again the next morning if temperatures are high. In loam, check the next day. In clay, check after the surface drains and before it crusts. The goal is to keep the root zone evenly moist rather than bouncing between saturated and dry layers. For more bed-specific guidance, see watering tomatoes in raised beds.
What emitter flow rate is best for tomatoes and peppers?
Which flow rates work best in most beds?
For most beds, 0.5 and 1.0 GPH emitters give the best control. Use 0.5 GPH when the soil stays wet for a long time, or when the plant is still small. Use 1.0 GPH for most garden beds. Save 2.0 GPH for larger plants, very sandy soil, or a layout that needs faster refill between cycles.
Pressure-compensating emitters help keep output steadier across longer lines or mild pressure variation. Non-compensating emitters can work in short runs, but they are less forgiving if pressure changes. A pressure regulator is still needed; most drip systems operate around 20 to 30 psi, and many manufacturer specifications place pressure-compensating emitters in that range for stable flow. The exact range varies by product, so check the emitter and regulator label together. For selection help, see drip pressure regulators and filters.
What pressure should the system run at?
For a typical vegetable drip layout, set the pressure according to the emitter manufacturer’s specification, then use a regulator to hold it steady. Many common garden drip emitters are designed for low-pressure operation, and pressure-compensating models are often rated around a narrow operating band that keeps discharge consistent. If pressure is too high, output can increase unevenly, fittings can loosen, and tubing can fail. If pressure is too low, emitters may underperform at the far end of the run.
How far apart should emitters be in a vegetable bed?
How do soil type and spacing work together?
Space emitters to match each plant’s root spread, not just the bed grid. In a row of tomatoes, that often means one or two emitters per plant, with the line secured so each outlet lands near the active root zone. In mixed beds, keep emitters close enough that wetting circles overlap only slightly, if at all.
For 1/4-inch distribution tubing, use stakes or hold-downs so the line stays where you place it. Inline dripline can work in straight rows with fixed spacing, but it must match the plant spacing well. If the bed has uneven soil or a strong slope, check for runoff at the downslope end.
How deep should drip emitters be buried or covered with mulch?
Should emitters be on top of the soil or under mulch?
Keep emitters on the soil surface, then cover them with 2 to 4 inches of mulch, or leave them just under the mulch layer so you can still check them. The goal is less evaporation without losing access for inspection. Mulch also helps stabilize soil moisture, which is especially useful for tomatoes because irregular moisture can contribute to blossom-end rot; see mulching vegetable beds.
Mulch helps hold moisture in the root zone, but it should not hide clogged emitters. If you need to see the outlet, keep it on top of the mulch. If you want less evaporation, tuck the tubing just beneath the mulch and lift it occasionally to inspect the flow.
How do I tell if the setup is wrong?
What do dry centers, runoff, and blossom-end rot mean?
Dry centers usually mean the emitters are too close together, the flow rate is too low for the soil, or the runtime is too short to reach the outer root zone. Runoff usually means the flow is too high for the soil texture or the cycle is too long. Blossom-end rot is tied to uneven calcium transport, which often follows moisture swings rather than a simple lack of water. For a deeper diagnosis path, start with blossom-end rot before changing fertilizer.
Suppose a tomato in sandy soil gets one 2.0 GPH emitter right at the stem. The stem area stays wet, but the outer roots dry fast by afternoon. The fix is to move water outward and split it into two lower-flow points, then lengthen the cycle enough to wet the full root spread without puddling.
What are the most common mistakes?
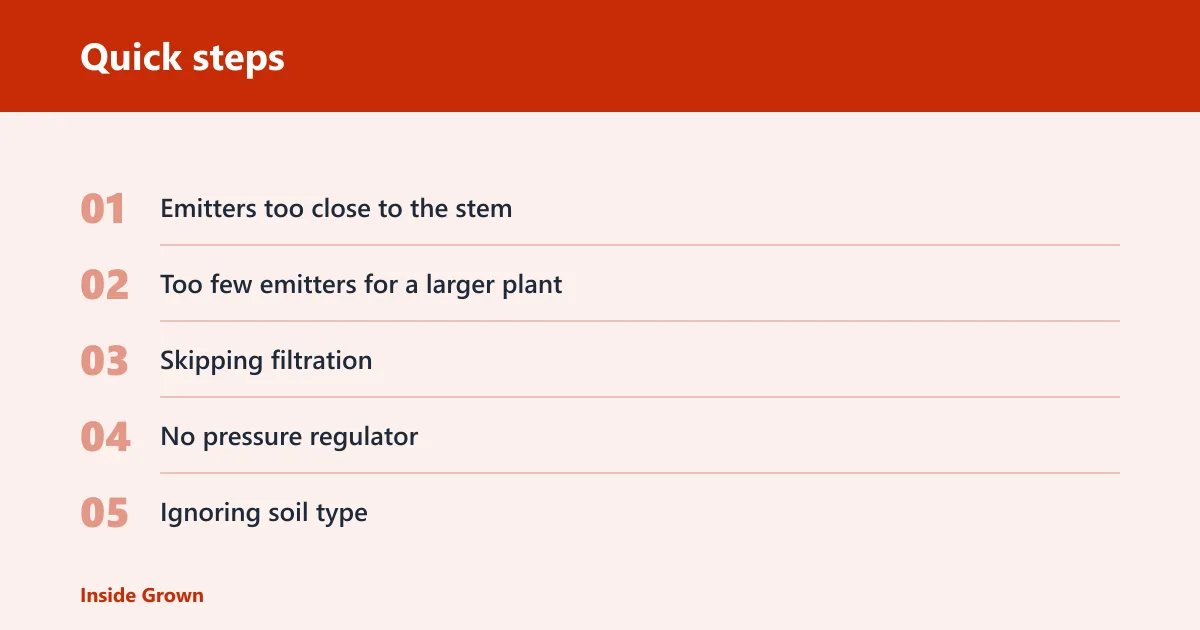
- Emitters too close to the stem: roots stay shallow and the wetting circle stays small.
- Too few emitters for a larger plant: the center stays moist while outer roots dry out.
- Skipping filtration: screen or disc filters reduce clogging, especially with well water or hard water.
- No pressure regulator: output becomes uneven and tubing can fail under higher pressure.
- Ignoring soil type: sandy beds need more coverage, clay beds need slower application.
- Long cycles on clay: water can run off before it soaks in.
If that didn’t work, try this next: check the filter first, then flush the line at the end cap, then move one emitter outward and reduce the cycle by 5 to 10 minutes if you see runoff. Recheck the soil 6 to 8 inches from the stem before changing anything else.
Frequently asked questions
Where should I place drip emitters for peppers so the roots get water?
Place one or two emitters 4 to 6 inches from the stem and keep the wetting circle tighter than you would for tomatoes. Peppers have a shallower root system, so they usually need lighter watering more often rather than a broad, saturated zone.
Should emitters go right next to the stem or farther out?
Farther out is the safer default. Put emitters near the active root zone, not against the stem, because the stem zone does not need the bulk of the water. As the plant grows, move the outlets outward so the wet circle tracks the expanding roots.
How do I adjust emitter placement as tomato plants get bigger?
Shift each emitter 2 to 4 inches outward when the center stays wet but the edge dries out, then add another outlet near the canopy line if needed. Recheck after pruning or fruit set, because the root demand can change as the plant expands.
Which parts should be in the setup?
- Drip emitters in 0.5, 1.0, or 2.0 GPH flow rates
- 1/4-inch distribution tubing or inline dripline
- Pressure regulator for the drip line
- Screen or disc filter with a fine mesh rating for emitter protection
- Hold-downs, stakes, or tubing clips
- Mulch, 2 to 4 inches deep
- Bucket or measuring cup for quick flow checks
- Small trowel or hand fork for checking soil moisture
Sources
- University extension irrigation guidance on drip irrigation application rates, soil texture, and moisture management for vegetable beds.
- Extension publications on blossom-end rot and the role of irregular soil moisture in calcium transport.
- Manufacturer technical guidance for pressure-compensating emitters, operating pressure ranges, and regulator sizing.
- Manufacturer and extension guidance on filters, emitter clogging prevention, and low-pressure drip system performance.