How to Flush Drip Irrigation Lines Before the Growing Season
Before spring planting, flush each drip irrigation line with the ends open for about 1–3 minutes per zone, or until the discharge turns clear, then inspect filters, emitters, and pressure before closing the system. Skipping that step can push sand, algae, and mineral grit into emitters, which can lead to uneven flow and dry plants. This guide walks through a spring startup sequence: inspect, flush, test, and bring each zone online before the first planting week.
What you’ll need


- Gloves and eye protection
- Bucket, hose catch point, or safe discharge area for runoff
- Pressure gauge or access to a dynamic pressure check
- Tools for end caps, plugs, or flush valves
- Replacement end caps or plugs if seals are worn
- Clean water source for rinsing filter parts
- Soft brush or rag for filter housing and seals
Drip irrigation lines checklist
| Zone name | Source water type | End-cap type | Pre-flush filter condition | Flush duration | Water clarity at start and finish | Pass/fail notes |
|---|---|---|---|---|---|---|
| Vegetable bed 1 | Rain barrel | Figure-8 plug | Screen filter coated with fine grit | 2 minutes | Cloudy at start, clear at finish | Pass if end cap reseals and emitters sample evenly |
| Herb row | Well water | Threaded cap | Disc filter with light sediment | 1.5 minutes | Cloudy at start, clear at finish | Pass if pressure stays steady after closing |
| Berry border | Municipal | Automatic flush valve | Clean after rinse | 1 minute | Clear almost immediately | Pass if no grit returns on a second sample |
| Greenhouse bench | Tank blend | Goof plug | Screen filter with algae film | 3 minutes | Cloudy, then visibly clear | Fail if discharge stays gritty after repeat flush |
Decision point: stop flushing when the discharge turns from cloudy or gritty to visibly clear, and a quick sample at the farthest emitter flows evenly. Clean the filter if debris returns, replace worn end caps if they seep after closing, and check pressure if flow stays weak after the line clears.
How do you flush drip lines before planting?
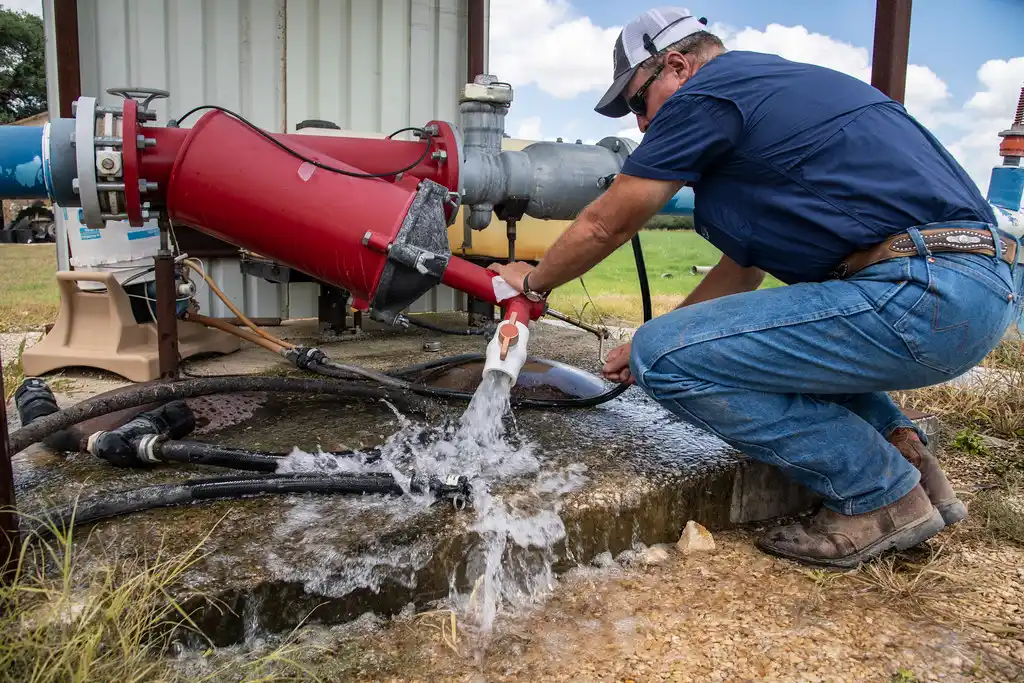
Shut off the water, relieve residual pressure, and start with the mainline before opening any lateral ends. Then flush each zone by itself, watch the discharge, and close the system only after the water runs clear and the farthest emitters sample evenly. Do not force debris through emitters.
- Shut off the supply valve and open a downstream point to bleed pressure.
- Put on gloves and eye protection before touching caps, plugs, or flush valves.
- Inspect and clean the filter first, then reinstall it so loosened debris does not re-enter the lines.
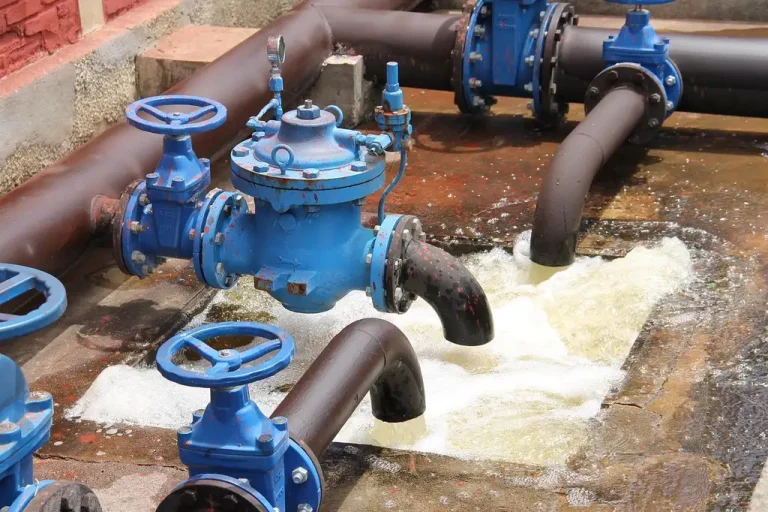
- Open the mainline flush port or drain point and let heavy sediment leave before you open laterals.
- Flush laterals zone by zone, keeping each group under control so grit does not move downstream into emitters.
- Watch for the clear-water stop rule: cloudy at first, then visibly clear at the discharge and at a far-end emitter sample.
- Close each end cap or flush valve, then check for a firm seal and repeat on the next zone.
- Restore normal flow and confirm pressure with a gauge or dynamic pressure check at operating flow.
Why the order matters
Flush the mainline first because it carries the largest volume and can dump settled sediment before it reaches smaller tubing. Then isolate the lateral lines zone by zone. A larger mainline can be equipped with dedicated flush valves or drain ports, while laterals usually need open end caps or plugs at the line ends.
Do I need to remove end caps to flush drip lines?
Yes, in most home-garden systems you need a reliable open path at the line end so debris can escape. Threaded caps, figure-8 closures, goof plugs, and automatic flush types all work only if they seal again after the flush. If a cap leaks or tears, replace it before you bring that zone back online.
Open end caps or flush valves only after the filter is clean and the supply is isolated. Keeping laterals in groups of fewer than ten ends when flushing, which keeps runoff manageable and makes it easier to spot a line that stays cloudy.
What to inspect at the line ends
Check for cracked tubing, flattened ends, loose inserts, and mineral crust around the seal. A worn cap can let air in and water out, which makes later pressure checks harder to trust. If the closure does not hold after you tighten it, replace it rather than trying to force a longer flush.
How long should you run water when flushing drip irrigation lines?
Run water until the discharge is visibly clear, usually after 1 to 2 minutes per end in a simple line. In a clean system, some guides say water clears after about 10 seconds. In clog-prone zones, a full-volume flush may run for 5 to 10 minutes. Use the cleanest point that still clears all visible grit. (Wikihow)
For a spring startup, use the shortest duration that gives clean discharge and even flow at the far end. If the line is still dirty after that, stop and inspect instead of extending the flush indefinitely. Repeated cloudy discharge usually means the filter, end seal, or water source still needs attention.
Clear-water stop rule
Stop when three things match: the discharge has turned clear, the last emitter sample no longer spits grit, and the flow at the far end matches the rest of the zone. If one of those stays off, keep flushing in short bursts and recheck the filter and end cap before you continue.
Should you clean the filter before or after flushing drip lines?
Clean the filter before flushing and inspect it again after the flush. A Y or screen filter can trap sand and plant debris, while a disc filter can hold finer grit and biofilm. If you leave a dirty filter in place, it can send loosened debris straight back into the line after you flush.
Take the filter apart at every startup cycle, rinse the screen or discs, and check the housing for cracks or warped seals. If it still loads up fast after one flush, the water source may be carrying more sediment than the filter can handle on its own.
What the filter tells you
Heavy sediment on the first rinse points to upstream grit. Slime or algae on the screen suggests biological growth in the water source or in stagnant line sections. White crust or hard flakes can point to minerals, which may need more than water alone to clear.
How often should you flush during the season?
Start with flushes at season opening and season closing. After that, increase frequency when the system uses surface water, hard water, or has had repairs or fertilizer injection. Flushing every two weeks during the season, while another calls for at least three flushes per season and after every five irrigation cycles.
If your water is cleaner and the system stays stable, three flushes per season may be enough. If it draws from a pond, ditch, or hard well water, use a shorter interval and keep a log by zone. The right cadence is the one that keeps the end discharge clear and the emitters even.
When to flush more often
Flush sooner after line repairs, filter changes, fertilizer injection, or any shutdown that leaves water sitting in the tubing. Surface water and hard water carry more sediment and mineral load, so they justify a tighter schedule than a clean municipal supply.
What if flushing does not fix the clog?
If the line stays uneven after a clear flush, the problem is likely beyond loose debris. Sediment can be washed out, but mineral scale, embedded biofilm, collapsed tubing, low pressure, or a failed regulator may keep the line from recovering. That is the point to stop forcing water through it.
If a 1/2-inch lateral clears at the end cap but the middle emitters still dribble after about two flushes, that may point to pressure loss, a kink, or internal scale. That pattern points away from loose grit and toward pressure loss, a kink, or internal scale. A flush will not correct a crushed section of tubing.
If that did not work, try this next
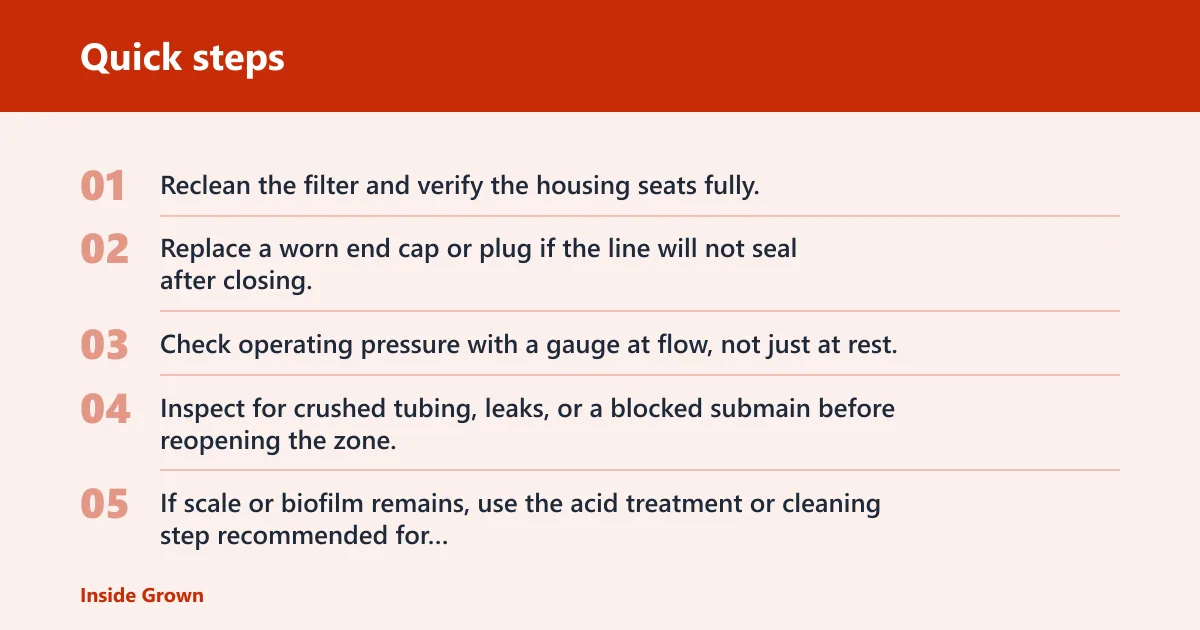
- Reclean the filter and verify the housing seats fully.
- Replace a worn end cap or plug if the line will not seal after closing.
- Check operating pressure with a gauge at flow, not just at rest.
- Inspect for crushed tubing, leaks, or a blocked submain before reopening the zone.
- If scale or biofilm remains, use the acid treatment or cleaning step recommended for that tubing and emitter type.
A common first-timer mistake is to keep flushing a zone that is already clear at the end cap but still starved for pressure. That turns a maintenance step into a delay. Fix the pressure problem first, then decide whether the emitters need chemical cleaning.
Can flushing harm drip emitters or pressure-compensating emitters?
Yes, if you push debris through them or run outside normal operating pressure. Flushing should happen within the system’s normal pressure range, with the ends open so sediment leaves the line instead of crossing the emitters. Pressure-compensating emitters can tolerate normal flushing, but they are not meant to be forced beyond design pressure.
Use a gauge or dynamic pressure check after flushing to confirm the regulator is still holding the correct range. That keeps the system from running too hard and protects the emitters from overpressure.
Common mistakes
- Skipping filter cleaning before startup. Clean it first, then check it again after flushing.
- Flushing all zones at once. Isolate laterals zone by zone so debris does not move downstream.
- Closing the system before the discharge is clear. Use a clear-water stop rule instead of guessing.
- Ignoring worn end caps. A poor seal lets dirt back in and makes the next flush less useful.
- Stopping after the discharge looks clear at the start of the line. Sample the far end too.
- Assuming every clog is loose sediment. Mineral scale, algae, and biofilm need different next steps.
Frequently asked questions
How do I flush drip irrigation lines before the growing season?
Shut off the supply, relieve pressure, clean the filter, then open the mainline and each lateral end in turn. Run water until the discharge turns visibly clear, usually 1 to 2 minutes per end, then check flow at the farthest emitters before sealing the line again.
How often should drip irrigation lines be flushed in a season?
Flush at season start and season end, then repeat as needed. Every two weeks, another recommends at least three flushes per season, and another suggests after every five irrigation cycles. Surface water and hard water usually need the tighter schedule.
Do I need to flush laterals, mainlines, and submains separately?
Yes. Flush the mainline first, then isolate and flush laterals zone by zone so debris does not move into emitters. Larger mainlines may have drain ports or dedicated flush valves, while laterals usually depend on open end caps or plugs at the line ends.