How to Winterize a Garden Irrigation System Fast
Shut off the supply, drain low points, blow out drip and soaker zones with low air pressure, and pull or wrap any part that can split before the first hard freeze; water left in a tube, emitter, valve, or backflow part can crack it fast. One missed pocket can turn one cold night into a split pipe, ruined emitters, and a repair bill in spring. This guide gives the exact shutdown order for mixed bed systems, plus the spots in small garden layouts that hold water.
How do I winterize a garden irrigation system before the first freeze?


Start before the first hard-freeze forecast, not after cold weather has already arrived. In frost-depth regions, that timing matters because water left in tubing, low spots, valves, and heads can freeze hard enough to crack parts in one night.
The shutdown is straightforward. Turn off the irrigation water supply, power down the controller, relieve pressure, and then clear each zone in order. For small gardens with drip, soaker hose, and mixed bed zones, the safest routine is usually a controlled blowout, not a blind drain-and-hope approach.
How to know it is time to winterize
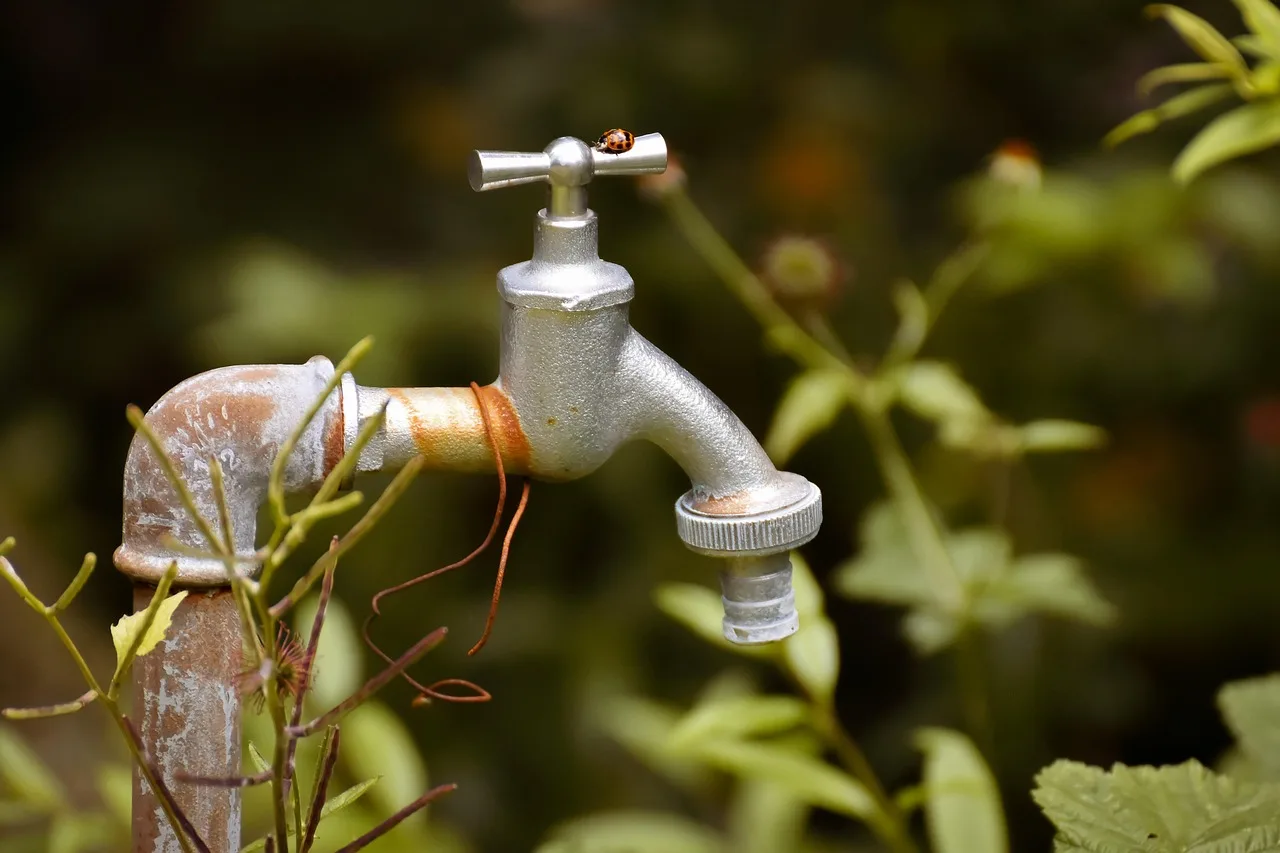
The first hard-freeze forecast is the cutoff. If the system still has water in exposed parts when temperatures drop below freezing, the risk jumps fast. Garden faucets outside the building envelope are especially vulnerable, and so are any shallow runs that pass under mulch or through raised beds.
Check the layout before you touch a valve. Low spots, long horizontal runs, and uphill-to-downhill transitions create water traps. In small beds, those traps are often hidden by mulch or plant debris, so they are easy to miss until spring damage shows up.
Should you drain it or blow it out?

Choose draining only when the irrigation was built for it, with drain valves at low points and a layout that actually sheds water by design. For mixed bed systems with drip tubing, soaker hose, and buried or partially buried lines, compressed air is often the safer choice because it removes water from places gravity cannot reach.
Manual drain systems can work well, but only on systems designed around them. If the system was not built with low-point drains, a drain-only shutdown can leave water in the mainline, branch lines, emitters, and backflow parts.
When manual drain systems are a fit
Use manual drain only if drain valves exist at low points. Open every manual drain valve, and let the mainline and remaining water between the shutoff and the backflow device empty out. If the system was designed for this method, it can be fast and clean.
Do not assume the layout can drain itself just because some water comes out. A few dry-looking minutes at the yard valve do not prove the line is empty. On small gardens, hidden dips and shallow trenches often keep a thin water layer behind.
When compressed air is the safer choice for mixed-bed zones
Compressed air is often better when the drainage design is unknown, when the system has mixed materials, or when the bed layout includes runouts, low spots, and tubing under mulch. Hunter says the blowout method uses compressed air for irrigation systems, and it should be done zone by zone.
That zone-by-zone approach matters because each station clears differently. One line may spit clear almost immediately, while another keeps holding water in a dip near the last emitter or sprinkler head.
Turn off the water supply and prep the system
Shut down the irrigation supply first, then power off the controller. Remove or seal the flow sensor before winterizing, because Hunter says flow sensors should be removed before winterizing. If the sensor is removed, seal the pipe opening so dirt and insects do not enter over winter.
Also clear any reachable fittings that hold standing water. Hose-end adapters, drain points, and exposed couplers should be checked before air is connected. This is the stage where a small amount of effort prevents a spring leak hunt.
Controller and power steps
Set the controller to off or rain mode, then disconnect battery backups if the manufacturer recommends it. If the controller retains settings through winter, note the program before shutdown so the spring restart is simple. Zoning labels help here; a mixed garden is easier to restart when each station is clearly marked.
Remove or seal the flow sensor and clear accessible fittings
Flow sensors should be removed before winterization. After removal, seal the pipe opening. Then check reachable fittings for trapped water, especially threaded adapters, unions, and any point where a line rises and then drops again.
| Part | Winter step | Why it matters |
|---|---|---|
| Flow sensor | Remove and seal the opening | Prevents freeze damage and keeps the pipe closed |
| Controller | Turn off zones and save settings | Prevents accidental startup during winter |
| Battery backup | Check manufacturer guidance | Avoids dead batteries and lost programming |
| Filters | Drain, clean, and store if removable | Stops trapped water and debris damage |
| Pressure regulator | Drain or remove if the layout allows it | Protects the diaphragm and body from freeze damage |
What should you do with the backflow preventer?
Handle the backflow preventer as its own winter step. It should not be blown through. Hunter says not to blow air through a backflow device, and that part can crack if water is trapped inside. Close or set the isolation valves and test cocks the way the manufacturer specifies.
Backflow devices often sit in the most exposed part of a system. That location makes them one of the first parts to freeze, especially when they are mounted outdoors or above grade.
Backflow device shutdown sequence
After the irrigation lines are cleared, isolate the backflow device, drain it according to the unit’s instructions, and leave its valves in the required winter position. Many units use isolation valves and test cocks that must be positioned a certain way after winterization. The exact arrangement depends on the device.
If the backflow sits in a box or cabinet, remove standing water from the enclosure too. A good shutdown protects both the brass body and the seals around it.
How to winterize a small garden irrigation system zone by zone
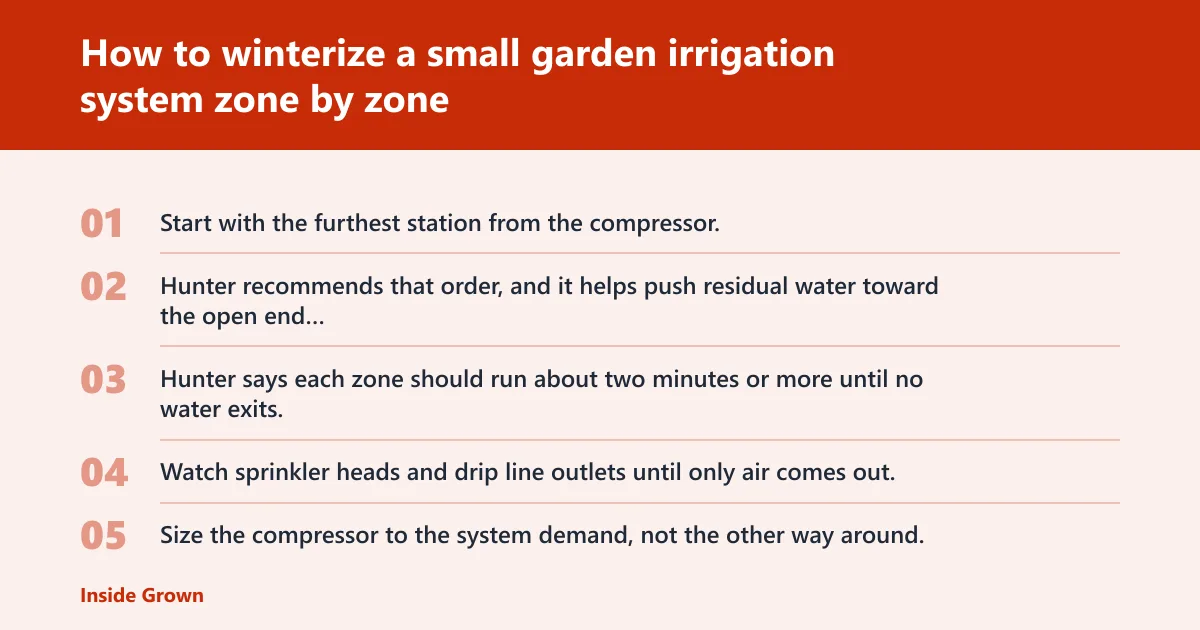
Turn on one zone at a time. Start with the furthest station from the compressor, then work back toward the connection point. Hunter recommends that order, and it helps push residual water toward the open end instead of into already cleared sections.
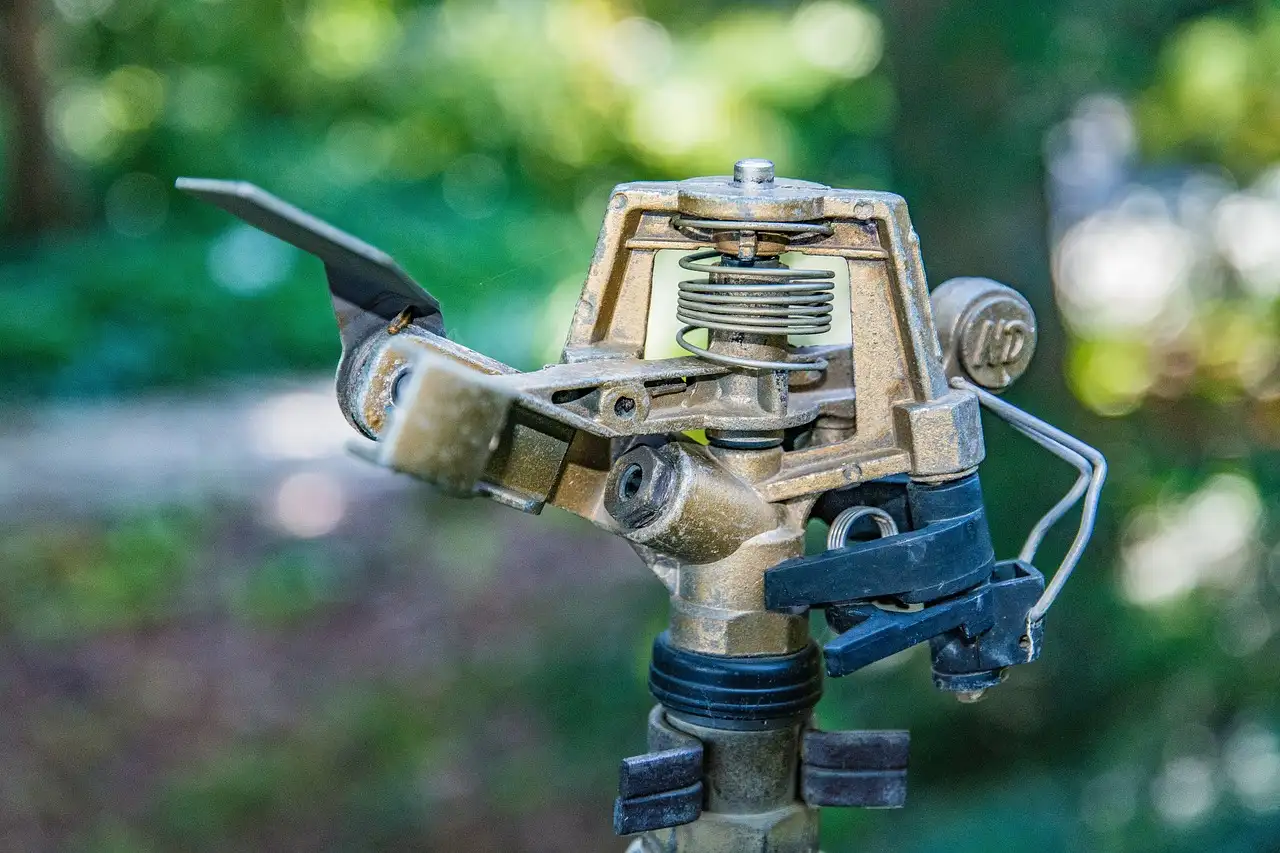
Use short cycles. Hunter says each zone should run about two minutes or more until no water exits, and two or three short cycles per zone are better than one long blast. Watch sprinkler heads and drip line outlets until only air comes out.
Compressed air setup and pressure limits
Size the compressor to the system demand, not the other way around. Hunter gives a formula for estimating compressor CFM: total GPM of the largest zone divided by 7.5. That is a practical starting point for small residential systems.
Keep pressure below component limits. Hunter warns not to exceed 50 psi for polyethylene pipe and 80 psi for PVC pipe. Lower is usually better when the line includes delicate drip tubing, emitters, or old fittings.
| Zone type | Common material | Winterization note |
|---|---|---|
| Drip bed zone | Polyethylene pipe | Stay at or below 50 psi and use short cycles |
| Sprinkler zone | PVC pipe | Stay at or below 80 psi and watch each head |
| Mixed bed zone | Polyethylene, drip tubing, fittings | Use the lower pressure limit of the weakest part |
Watch each head and outlet until no water exits
Sprinkler heads can keep spitting after the line seems empty. Drip emitters may dribble long after the main line looks clear. Keep watching until the zone sends only air and no visible water exits the heads or drip outlets.
That matters on small systems because a low point may hold enough water to break a fitting even when the rest of the zone is dry. Run the zone again if the first cycle leaves visible water behind.
What parts of an irrigation system are most likely to freeze and crack?
The parts most likely to fail are the ones that trap water or sit exposed. Low spots, mulch-covered tubing, raised-bed runouts, sprinkler heads, filters, pressure regulators, emitters, backflow devices, and outside faucets all deserve attention. Water trapped in any of them can freeze and split the part.
PVC pipe can crack if residual water freezes inside it. Polyethylene pipe is more forgiving in normal use, but it can still rupture if water is left inside over winter. Drip tubing and emitters are especially vulnerable because they are thin and small.
Freeze-risk checklist for small gardens
- Low spots in shallow trenches
- Runs under mulch that hide dips and sags
- Raised-bed runouts where water collects at the end of the line
- Sprinkler heads that hold water after shutdown
- Filters and pressure regulators with trapped water inside
- Emitters, tees, and hose-end adapters on drip lines
- Backflow preventers and outdoor shutoff points
Water traps that are easy to miss
Mulch-covered lines are the classic trap. A line that looks level from above may sag under the mulch and hold water in the low section. Raised-bed runouts are another common problem, because the last foot or two of tubing often slopes in a way that leaves a small reservoir behind.
Check the end of each bed separately. A zone that is clean at the manifold can still have a pocket at the far end.
What happens if water is left in drip tubing over winter?
Water left in drip tubing can freeze, expand, and split the tube or crack fittings and emitters. Even a small pocket in a low spot can open a seam or twist a connector. The damage may not be obvious until spring pressurizes the line and reveals the leak.
That is why drip and soaker zones need more than a quick shutoff. They need a clear sequence that empties the line, confirms flow stopped, and checks the ends of each run.
Filters, regulators, emitters, and hose-end adapters
Drain and clean filters before storage if they can be removed. Pressure regulators should be emptied if the design allows it, and emitters should be checked for debris that could freeze inside. Hose-end adapters should be disconnected, drained, and stored where possible.
These parts seem small, but they often fail first. A cracked filter housing or regulator body can cause a leak the next time the system runs.
Should manual drain valves be left open after winterizing?
No, not usually. Hunter says manual drain methods should only be used if drain valves exist at low points, and those valves should not be left open after winterization unless the manufacturer specifically instructs that. Leaving them open can invite dirt, insects, and debris into the system.
Open them to drain. Then close them again once the water is out and the shutdown is complete.
Manual drain valves, boiler drains, and stop-and-waste valves
If the system has boiler drain or stop-and-waste valves at low points, use them as part of the drain procedure. Open all manual drain valves, let the water escape, then return the valves to the required storage position. If the system never had these parts, do not assume they should be added as a winter fix.
A drain valve is useful only when it belongs in the design. Otherwise, it can create more confusion than protection.
Can you winterize a small garden irrigation system yourself?
Yes, a homeowner can usually handle a compact, clearly labeled system with short runs, visible valves, and known materials. DIY is reasonable when the layout is simple, the backflow device is reachable, and the compressor setup can be controlled zone by zone without guessing at hidden drainage.
Call a pro when the drainage design is unknown, the mainline is buried deeply, the backflow setup is complex, or the system has mixed materials and buried branches that cannot be inspected. That is especially sensible if the system has a history of trapped water or if you cannot verify pipe type and pressure limits.
DIY decision point
- Confirm the zone map or label each station.
- Identify pipe material: PVC, polyethylene, or mixed.
- Check whether low-point drains actually exist.
- Verify that the backflow device can be isolated and drained without blowing through it.
- Use compressed air only if you can keep pressure below the weakest component limit.
- Stop and call a pro if water keeps appearing after repeated short cycles.
Time and cost expectations for a small garden
A small residential shutdown often takes less time than a full-yard system, though the time can depend a lot on how many water traps there are. A simple two-zone bed system may go quickly; a mixed garden with drip, soaker hose, and a backflow device can take longer because each part may need separate attention.
Parts replacement costs can rise fast when winterization is skipped. A cracked backflow device, split tubing run, or broken regulator can erase any savings from a rushed shutdown.
Frequently asked questions
How do I winterize a garden irrigation system before the first freeze?
Turn off the irrigation water, power down the controller, remove or seal the flow sensor, and clear each zone in order before the first hard freeze. In frost-depth regions, waiting until after freezing weather starts increases the chance that trapped water will crack tubing, emitters, valves, or the backflow device.
Do I need to blow out drip irrigation lines in winter?
Usually yes, if the system is in a freezing climate and the lines do not drain completely on their own. Drip tubing, emitters, and small fittings hold water in low spots more easily than many homeowners expect, so a controlled blowout is often safer than relying on gravity alone.
Can I just drain my irrigation system instead of blowing it out?
Only if the system was designed for manual draining and has drain valves at low points. Drainage alone is not enough for many mixed garden systems, especially those with mulch-covered lines, raised-bed runouts, or components that trap water after the main supply is shut off.
What PSI should I use to winterize irrigation lines with compressed air?
Use pressure below the limits of the weakest component in the system. Hunter warns not to exceed 50 psi for polyethylene pipe and 80 psi for PVC pipe. Lower pressure is usually the safer choice for drip lines, emitters, and older fittings.
Should I winterize the backflow preventer separately?
Yes. The backflow preventer needs its own winter step and should not be blown through. Close or position its isolation valves and test cocks the way the manufacturer specifies, then drain the device so trapped water does not freeze and crack the body or seals.
What happens if water is left in drip tubing over winter?
It can freeze, expand, and split the tubing or crack fittings and emitters. Small pockets in low spots, under mulch, or at raised-bed runouts are the usual problem areas. The damage may stay hidden until spring pressure finds the weak point and causes a leak.