How to test irrigation coverage for dry spots fast
Test irrigation coverage with a 4-corner can test plus a center can in each zone; if any cup gets much less than the average, coverage likely needs correction. Ignoring dry spots wastes water, leaves turf patchy, and can hide clogged nozzles or low pressure until damage spreads. This guide shows how to separate coverage problems from poor infiltration and hardware faults, then tells you what to fix first.
This guide is part of our Irrigation systems for home gardens series.
What you’ll need



- Six or more identical straight-sided catch cans or cups
- A ruler or marked measuring strip
- A timer and notebook, or a printable audit sheet
- A screwdriver or narrow soil probe
- Access to the controller and each zone valve
What dry spots can tell you about your irrigation
Dry spots usually point to one of three issues: uneven sprinkler coverage, soil that cannot absorb water fast enough, or a non-irrigation cause such as shade, heat, or disease. Root depth matters too. If the active root zone is shallow, deep watering can look “better” on paper while still missing the plant’s usable reservoir.
Coverage problems
Poor spacing, blocked nozzles, pressure swings, mixed head types, tilt, or misalignment often create repeating dry arcs, edge strips, or one side of a zone that stays drier than the rest.
Infiltration problems
Clay soil, compacted ground, and slopes can all shed water before it moves into the root zone. Sandy soil absorbs faster, but it also stores less water for later use.
Non-irrigation causes to rule out first
Shade, heat reflected from pavement, and turf disease can mimic a watering problem. Check whether the dry patch matches a tree line, driveway edge, or traffic lane before changing controller settings.
How do I test sprinkler coverage for dry spots in my lawn?
Test one zone at a time, place similar catch cans across the spray pattern, and compare the water depth after a set runtime. Then check soil moisture below the turf. That sequence separates a coverage fault from a soil-infiltration limit and keeps you from extending runtime blindly.
- Pick one zone and shut off the others.
- Place at least six identical straight-sided catch cans across the zone, including edges and any dry-looking areas.
- Run the zone for a set time, ideally during a calm morning with low wind and lower evaporation.
- Measure the depth in each can and record it on the audit sheet.
- Check the soil with a screwdriver or narrow plug after watering. Stop if runoff starts.
Catch-can placement that actually helps
Put cans near the outer edges, under the middle of the pattern, and beside the driest visible spots. A common first-timer mistake is placing them only in the center, which hides weak edges and makes the zone look more even than it is.
How do I read the catch-can results?
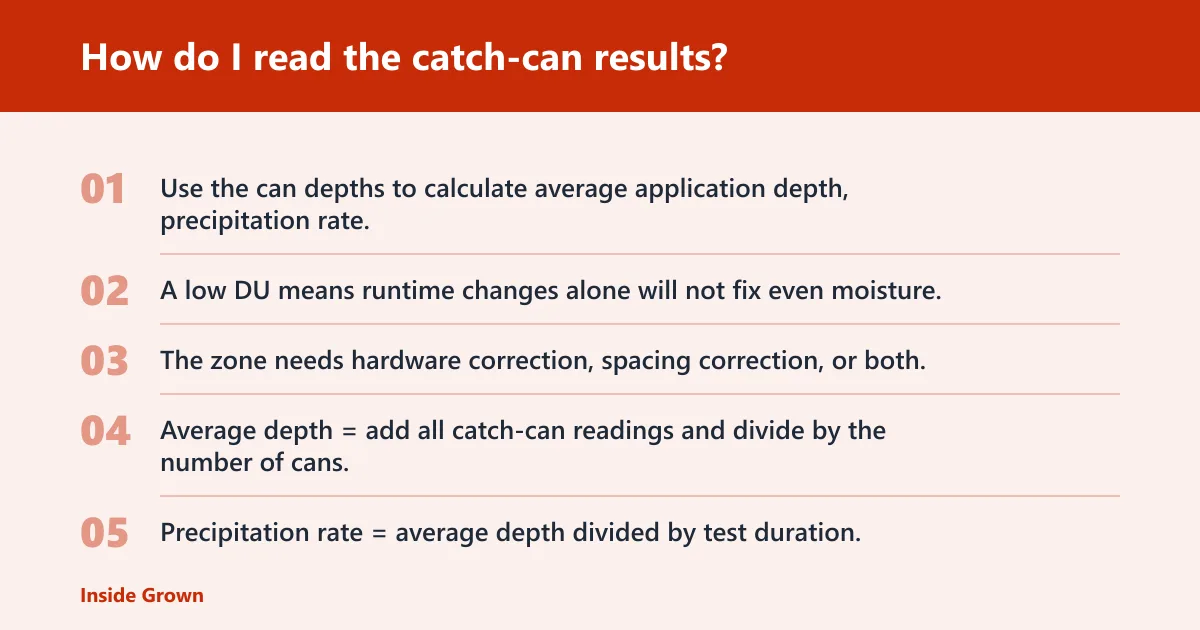
Use the can depths to calculate average application depth, precipitation rate, and lower-quarter distribution uniformity, or DU. A low DU means runtime changes alone will not fix even moisture. The zone needs hardware correction, spacing correction, or both.
| Can reading (in.) | Example zone total (minutes) | What it suggests | Repair priority |
|---|---|---|---|
| 0.08 | 10 | Likely blocked nozzle or weak head | High |
| 0.12 | 10 | Below-average coverage at an edge | High |
| 0.18 | 10 | Normal for the stronger part of the zone | Baseline |
| 0.20 | 10 | Possible overlap or oversized nozzle | Medium |
How to calculate the key numbers
Average depth = add all catch-can readings and divide by the number of cans. Precipitation rate = average depth divided by test duration, then convert to inches per hour if needed. Lower-quarter DU = the average of the lowest quarter of readings divided by the overall average. With six cans, that means the lowest two readings.
What the pattern usually means
If low readings line up with a specific head, suspect a clogged nozzle, tilt, poor pressure, or the wrong head type. If low readings follow the zone edge, spacing or arc may be the problem. If one side is wet and the opposite side is dry, look for pressure loss, misalignment, or a mixed-head layout.
How do I tell coverage problems from soil problems?
Coverage problems repeat with the sprinkler pattern. Soil problems follow the ground itself. A screwdriver test or narrow soil plug tells you whether water reached the root zone or only wet the surface. If the top looks wet but the probe stops dry below, infiltration is the limit.
Use root depth as the target
Water only as deep as the active roots need. Anything below that depth is probably wasted irrigation. Shallow turf roots, often found in stressed or compacted areas, need a shorter target than established turf with deeper rooting.
Watch for runoff
Runoff is a stop signal. If water reaches the gutter, the curb, or a low spot outside the turf, that runtime is too long for the soil surface. On clay, slopes, and compacted ground, short cycles are usually more effective than one long run.
Compare soil texture before changing the schedule
Sandy soil may need smaller, more frequent applications because it stores less water. Clay can hold more water, but it absorbs it slowly. That is why the same runtime can work in one bed and fail on a neighboring strip.
Use the worksheet to map dry spots and rank repairs
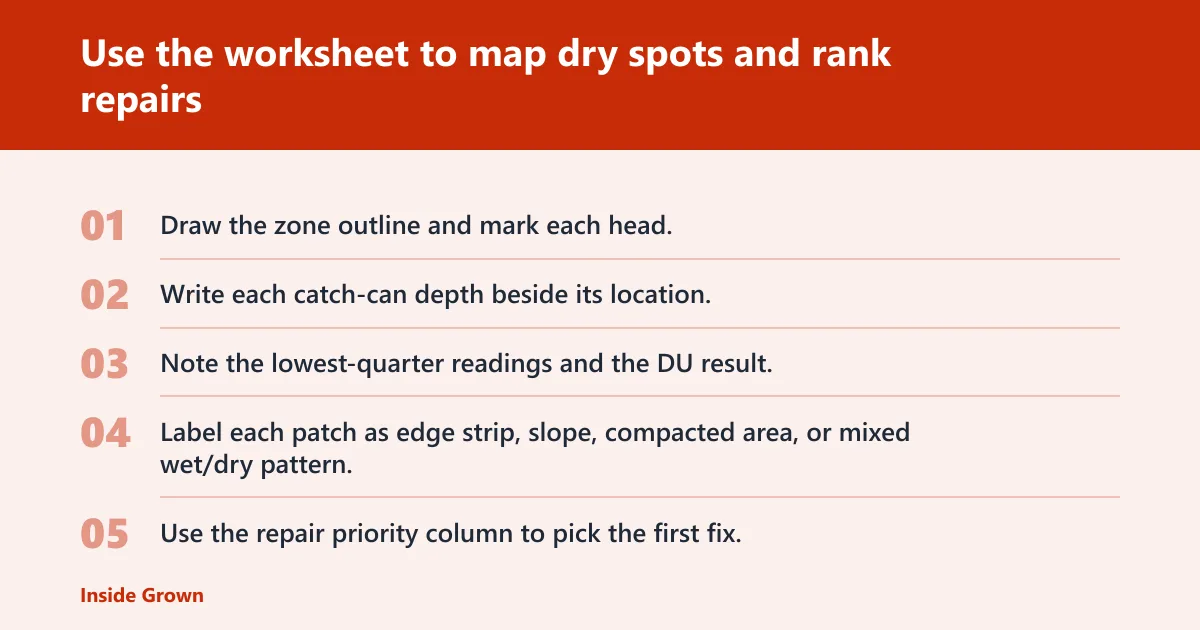
Fill out the zone map, record each catch-can reading, and assign a likely cause to each dry spot pattern. Then sort repairs by impact: blocked nozzle or misalignment first, spacing or pressure next, and schedule changes last. That order prevents you from masking a hardware fault with longer runtime.
- Draw the zone outline and mark each head.
- Write each catch-can depth beside its location.
- Note the lowest-quarter readings and the DU result.
- Label each patch as edge strip, slope, compacted area, or mixed wet/dry pattern.
- Use the repair priority column to pick the first fix.
- Compare adjacent zones for different pressure or head-type behavior.
Say your front strip is 4 feet wide and dry beside the sidewalk while the center stays wet. That pattern often points to edge coverage or arc loss, not a whole-zone runtime problem. Suppose a compacted play area takes longer to soak in than the rest of the yard; the first fix is cycle-and-soak, not more minutes in a single block.
| Zone pattern | Likely cause | First fix | Repair priority |
|---|---|---|---|
| Dry edge strip | Poor spacing or arc | Adjust head aim or replace nozzle | High |
| One dry head area | Blocked nozzle or low pressure | Clean nozzle, check pressure | High |
| Sloped runoff | Infiltration limit | Cycle and soak | High |
| Compact patch | Compaction | Aerate or shorten cycle length | Medium |
How do I know if dry spots are caused by poor coverage or compacted soil?
Poor coverage follows sprinkler throw patterns, while compacted soil follows foot traffic, play areas, or equipment paths. If the catch cans show even output but the screwdriver test stops hard a few inches down, compaction is likely. If the cans are uneven, fix the sprinkler layout first.
Use the signs in order
- Check can readings for uneven output across the zone.
- Probe the dry spot after watering.
- Look for a sharp dry boundary near root depth.
- Compare that spot with nearby high-traffic areas.
When to use cycle and soak
Use cycle-and-soak for slopes, clay soil, and compacted ground when water starts to move before it can soak in. Split the total runtime into shorter segments with pause time between cycles so the surface can absorb the next application.
What do I fix first when a lawn has both wet and dry patches?
Fix the fault that affects the most water first: a bad head, a blocked nozzle, or a clear pressure or layout problem. If the zone balance is poor, longer runtime only makes the wet areas wetter. If the zone balance is acceptable but the soil is dry below the surface, adjust the application method or cycle length.
If that didn’t work, try this next
- Clean or replace the worst-performing nozzle.
- Correct head tilt, arc, or spacing.
- Convert long runs into cycle-and-soak on slopes or heavy soil.
- Recheck root-zone moisture with the screwdriver test.
- Only then change controller runtime.
Prevention
Retest each zone at the start of the warm season and after any head replacement or yard change. A quick audit catches pressure shifts, clogged nozzles, and new dry strips before they spread.
Common mistakes
Strong wind, late-day heat, too few cans, and rushed runtime changes are the biggest sources of bad results. A calm morning gives the cleanest test window. Frozen ground is not a valid test condition, and a rain gauge alone does not show whether water reached the root zone.
- Testing in wind: move the test to a calmer morning.
- Using only two or three cans: add more, especially at edges.
- Chasing runtime first: check DU and soil intake before changing the schedule.
- Trusting surface wetness: probe below the turf.
- Reading a rain gauge as proof of irrigation success: pair it with controller timing and soil checks.
Frequently asked questions
How do I test sprinkler coverage for dry spots in my lawn?
Place at least six identical catch cans across one zone, run that zone for a known time, and compare the depths. Then probe the soil below the turf. If the cans vary a lot or the root zone stays dry, the issue is coverage or infiltration, not just runtime.
Why is one part of my lawn dry even though the sprinklers run?
That usually means the sprinkler pattern misses the area, the nozzle is blocked, pressure is low, or the soil there absorbs water too slowly. Shade, heat from pavement, and disease can also make one area look dry even when the zone is watering normally.
How many catch cans do I need for a sprinkler zone test?
Use six or more in one zone, with at least one near each edge and one in the driest-looking area. More cans make the result easier to trust, but too few can hide a weak corner or an overwatering hotspot.
What is a good sprinkler distribution uniformity score?
A higher lower-quarter DU is better, and many homeowners use roughly 80% of the average as a practical pass-fail line for the driest cups. If the low quarter falls far below the average, fixing runtime alone will not make the zone even.
How do I know if dry spots are caused by poor coverage or compacted soil?
If the cans show uneven output, the sprinkler layout is the first suspect. If the cans are fairly even but a screwdriver or narrow plug stops above the root zone, compaction is more likely. Traffic lanes and play areas are common places to check first.
Should I use cycle and soak for clay soil or slopes?
Yes. Clay, slopes, and compacted ground often need shorter watering cycles with soak time between them so water can move into the soil instead of running off. If water reaches the gutter before the cycle ends, shorten each segment immediately.