How to Repair a Leaking Irrigation Connection Fast
Shut off the water, identify whether the leak is at a fitting, pipe, valve, or sprinkler head, then make the fastest safe repair for that leak type within about 10 minutes. Guessing wrong can flood a zone, waste water, or split a fitting further. This guide shows you how to isolate the zone, spot the leak type, and choose the right repair without wasting time.
What you’ll need
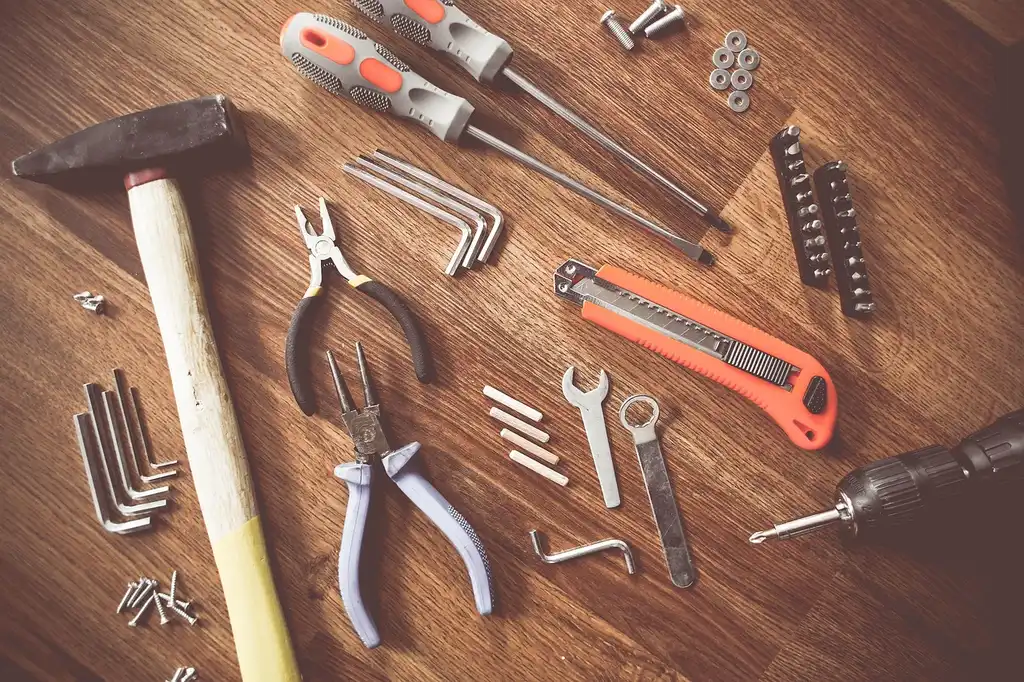


- Adjustable wrench
- Channel-lock pliers
- Flat screwdriver
- Utility knife or tubing cutter
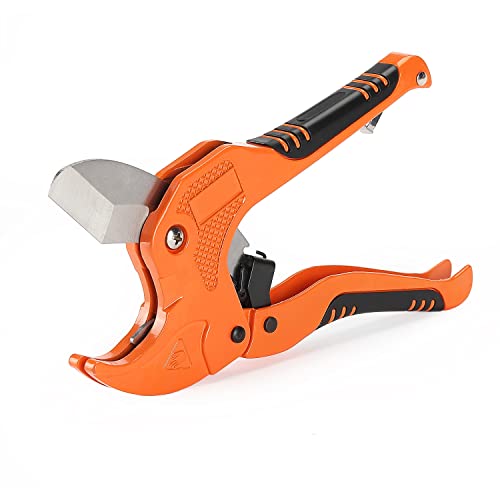
- Pipe cutter for PVC
- Replacement sprinkler head or riser, if the head is damaged
- Drip tubing splice or coupling that matches the tubing size and type
- PVC coupling, primer, and cement for schedule-matched pipe
- Bucket or towels for standing water in a valve box
- Shovel or hand trowel for careful access
- Gloves and eye protection
How do you repair a leaking irrigation valve?
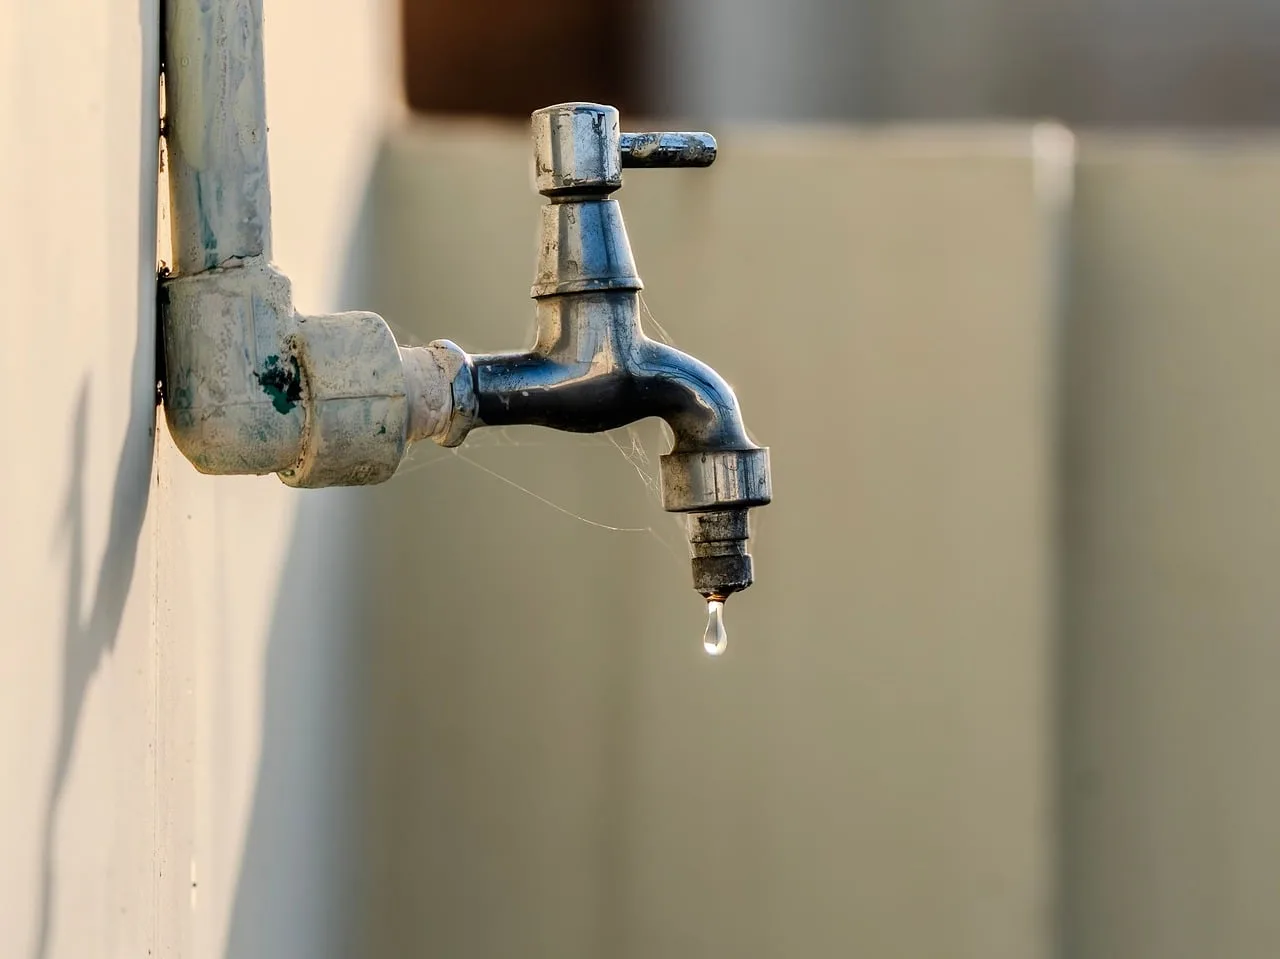
A leaking irrigation valve usually means a problem in the valve box, not a random pipe elsewhere. Check the box first for standing water and debris inside the valve. If the body or manifold area is cracked, badly worn, or the valve still leaks after cleaning, replace the valve or assembly instead of trying to force a simple fix.
1. Open the valve box and inspect it
- Lift the hard plastic or metal lid near the sprinkler heads.
- Look for standing water in the box.
- Check whether the leak is coming from the valve body, bonnet, or nearby manifold.
2. Clean the valve if the model allows service
- Close the irrigation water before removing parts.
- Remove the valve cover and clear visible debris.
- Reassemble and test the zone again if the valve is designed for service.
3. Replace the valve or assembly if the problem is structural
- Stop DIY if the manifold is cracked, the valve housing is split, or the box is so tight that you cannot reach the joints cleanly.
- Replace the valve as an assembly rather than trying to reseal a damaged body.
- Rebuild the manifold only if you can reach every joint cleanly.
If the valve box is full of water and the same zone leaks after you clear out debris, the failure is deeper than a stuck flake of grit. In that case, replacement is the faster fix, not repeated cleaning.
How do you fix a broken irrigation line?
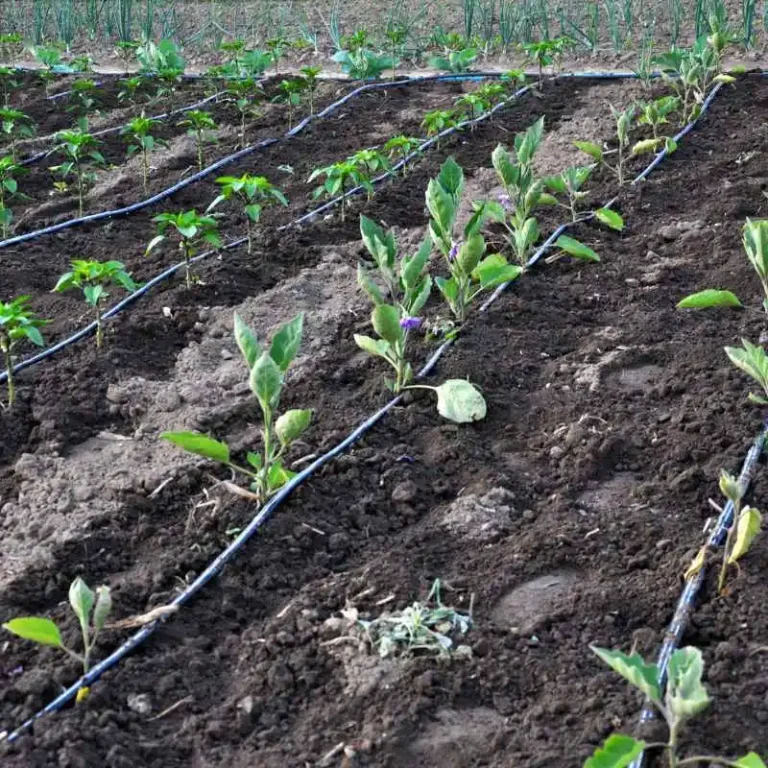
Broken lines need different repairs depending on the material. Cracked PVC supply pipe gets cut out and coupled back in. Drip tubing gets a splice or coupling that matches the tubing size and type. A leaking sprinkler head or pop-up body often needs a new head or a reset connection if the leak is at the joint.
1. Repair cracked PVC with cut-out and couple
- Turn off the water before you dig or cut.
- Expose enough pipe to cut out the damaged section cleanly.
- Prime and cement the replacement coupling and pipe ends.
- Wait for the PVC cement cure time listed on the product before repressurizing.
2. Repair drip tubing with a matching splice
- Cut back to sound tubing ends.
- Install a drip splice or coupling that matches the tubing diameter and type.
- Seat the tubing fully so it does not weep under pressure.
3. Replace a faulty sprinkler head or pop-up connection
- Remove the damaged head.
- Check the riser and threaded connection for cracks or cross-threading.
- Install the replacement head and hand-tighten only as needed for a seal.
Irrigation leak decision matrix
| Symptom | Likely failed part | Fastest safe fix | Tools needed | When to stop DIY | What to test after repair |
|---|---|---|---|---|---|
| Constant leak | Pressurized supply line or valve body | Isolate the irrigation shutoff, then inspect the valve box and exposed line | Meter access, wrench, shovel | Leak stays active after shutoff test | Meter stays still and no seepage returns |
| Zone-only leak | One valve, head, or branch line | Run the single zone, then repair the failed valve, head, or branch | Wrench, screwdriver, cutter | Hidden break or repeated leak | That zone runs dry at the repair point |
| Wet valve box | Debris in valve or cracked assembly | Clean the valve if serviceable; replace if cracked or aged | Bucket, screwdriver, replacement valve | Manifold is cracked or too packed for full access | No standing water after a full zone cycle |
| Weak spray | Faulty connection or clogged head | Replace the head or reset the connection | Replacement head, pliers | Multiple zones are weak or pressure is unstable | Pattern and throw return to normal |
| Broken drip line | Cracked or disconnected tubing | Splice or couple the tubing with matched drip parts | Utility knife, drip coupling | Tubing size or type is unknown | No drip at the splice during a run |
| Cracked PVC supply line | Pressurized PVC pipe | Cut out the bad section and couple in new pipe | Pipe cutter, primer, cement | Crack extends under a manifold or hidden area | Wait for cure time, then repressurize and inspect |
What should you test after the repair?
Run the affected zone again and watch for pressure, spray, and seepage changes. A repaired line should stop leaking at the joint, and a fixed valve should no longer fill the box. If a PVC repair was glued, wait for the cement cure time before repressurizing, or you can ruin the joint.
1. Re-run the same zone
- Open the irrigation supply.
- Run only the repaired zone.
- Watch the repaired point for about 2 to 3 minutes after rerunning the zone.
2. Check for delayed leaks
- Look around the repaired joint after the zone shuts off.
- Check the valve box again for new standing water.
- Recheck any nearby heads for misting or flooding.
3. Retest the other zones if the system is old
- Run each remaining zone one at a time.
- Watch for a second weak point after the first break is corrected.
- Stop if another buried leak appears or pressure drops again.
Common mistakes
One common mistake is using the meter after the irrigation shutoff is already closed and assuming that proves the irrigation line is still leaking. Another is trying to tighten a glued PVC joint, which cannot work because solvent-weld pipe must be cut out and rebuilt.
Another mistake is skipping compatibility checks on drip tubing. A coupler that does not match the tubing size or type will weep again. If a manifold is crowded, brittle, or cracked, stop before the repair turns into a larger break.
If the box is standing in water and the same zone keeps leaking, the valve or manifold is the more likely failure point.
Frequently asked questions
How do I fix a leaking irrigation valve fast?
Use the irrigation shutoff first, then go straight to the valve box near the leaking zone. Clear debris only if the valve is built for service. If the leak returns immediately or the box is crowded with multiple valves, a full assembly replacement is usually the faster safe route.
How do I fix a leaking drip irrigation line?
Cut back to solid tubing and install a drip splice or coupling that matches the tubing size and type. Check the line while it is under pressure, because a loose fit may seem fine when dry. If the tubing is brittle across a long section, replace more than one damaged spot.
How do I repair a broken irrigation pipe?
For PVC supply pipe, cut out the damaged section, dry-fit the replacement, then prime and cement the new section in place. Wait for the cement cure time on the product before repressurizing. For a buried break under a manifold, the repair is often more practical as a full section replacement.
How do I repair irrigation line?
First decide whether the line is PVC, drip tubing, or a head connection. Then use the matching repair: cut-out-and-couple for PVC, splice for drip tubing, and replacement or reset for a leaking sprinkler head. The wrong part type is the fastest way to get another leak.
How do I fix irrigation system leaks?
Isolate the system with the irrigation shutoff, then test each zone one at a time. That separates a supply-line leak from a zone-only leak. Once you know where the failure sits, use the smallest repair that fits the material, and retest the same zone before moving on.