Best Irrigation Layout for Gardens (2026): We Compared
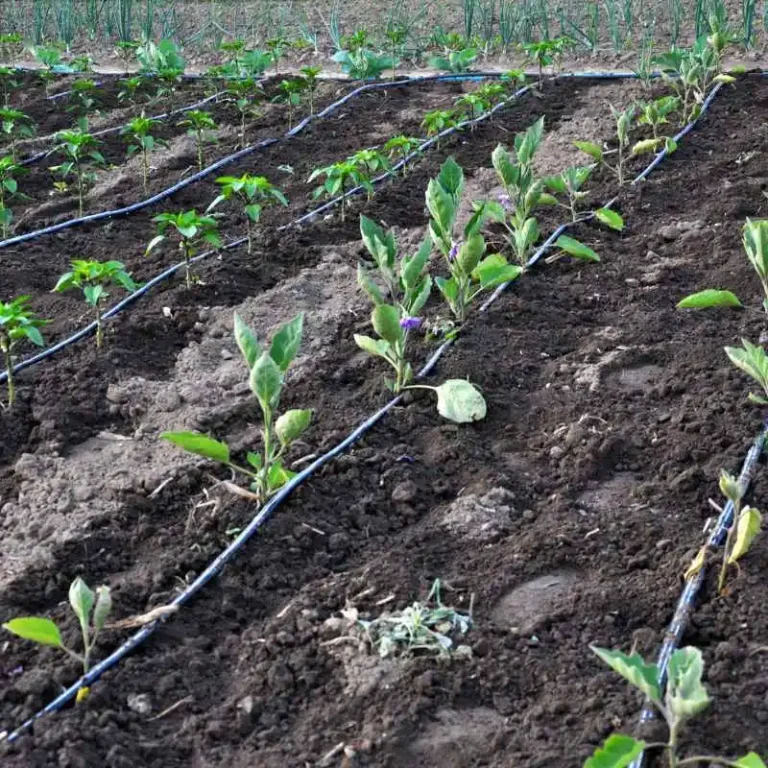
For most rectangular beds, run drip lines along the long side, then size the layout by width, soil, crop spacing, and source pressure. Narrow beds may work with one centerline, while wider or faster-draining beds usually need two runs or a shorter zone to keep the corners wet.
What you’ll need
- Main line tubing, often 1/2-inch for home systems
- Drip line or drip tape with emitter spacing that matches the crop
- Backflow preventer for the spigot assembly
- Filter, such as a 150 mesh filter in the source assembly
- Pressure regulator, typically 25 psi for home drip systems
- Timer for single-zone or multi-outlet scheduling
- Connectors, tees, elbows, and end caps
- Mulch if you plan to bury or cover the lines
- Measuring tape and a simple sketch of the bed
Quick comparison
| Product | Badge | Best for | Price | ||
|---|---|---|---|---|---|
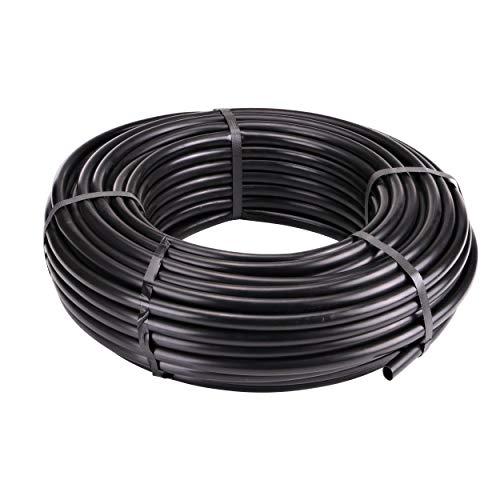 | Raindrip 052020P 1/2-Inch Drip Irrigation Water SupplyRaindrip | Our pick | 1/2-inch · 200 ft · black supply tubing | $46.64 Price as of 17 Nov 2026 | View |
 | Rain Bird ET256-50S Drip Emitter Tubing, 1/4"Rain Bird | Also great | 1/4-inch · 50 ft · emitter tubing | $21.99 Price as of 17 Nov 2026 | View |
 | Tondiamo 3 Pcs 25 PSI Drip Irrigation Pressure RegulatorTondiamo | Pair with it | 25 PSI · 3-pack · hose thread | $9.99 Price as of 17 Nov 2026 | View |
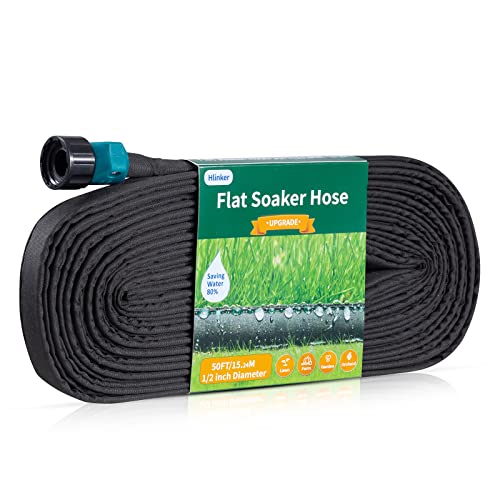 | Hlinker Flat Soaker Hose 50 FT for Garden BedsHlinker | Budget pick | 50 ft · flat · linkable soaker hose | $27.99 Price as of 17 Nov 2026 | View |
 | FOCMKEAS 15 Pcs Adjustable PC DripperFOCMKEAS | Upgrade pick | 15-pack · adjustable · pressure-compensating drippers | $9.69 Price as of 17 Nov 2026 | View |
For a rectangle, the best layout depends on width, length, soil, crop spacing, and water pressure. Long narrow beds usually work with lengthwise runs, while wider beds often need a second run or a different route so the edges do not dry out first.
How we chose
Use four checks: bed proportions, corner coverage, pressure loss along the run, and emitter spacing that matches the crop. A layout earns the nod only if it waters the whole rectangle, not just the center strip.
Drip irrigation is often a strong fit for rectangular beds because it sends moisture to the root zone and reduces evaporation and runoff. Claims about water savings vary by product and conditions, so treat big percentage promises as manufacturer claims unless you can verify them for your setup.
Center-fed layout: best for most beds
A center-fed layout uses one line through the middle of the rectangle and feeds outward with emitters or side branches. It suits beds that are narrow enough for one line to reach both sides, or beds where the crop rows stay close to the center and pressure loss stays modest.
If the outer edges still dry first, the bed is too wide for a single centerline. In that case, add a second line or shift to a layout that puts water closer to the side rows.
Add a second line when the bed behaves like two planting bands instead of one. That is common in wider rectangles, especially under mulch or in sandy soil, where sideways spread is limited. mulch or sandy soil
Should lines run lengthwise or crosswise?
For most rectangular beds, run lines parallel to the long side unless the bed is unusually wide. That keeps each run shorter, reduces connections, and lowers the chance that the far end loses pressure before the rest of the bed is wet.
Use bed width to make the call
Width usually matters more than length. A narrow, long bed can often be covered with one or two lengthwise runs, while a wider bed may need crosswise routing or a perimeter loop to reach the corners without leaving dry bands.
Choose lengthwise for narrow rectangles
Lengthwise runs are the simplest option when the bed is much longer than it is wide. They match the rectangle and make it easier to keep spacing consistent from one end to the other. A vegetable bed gets one centerline only when the width is narrow enough that the edges still receive moisture.
Choose crosswise for wider rectangles
Crosswise runs work when the bed is broader than it is long, or when you need several closely spaced lines across a short span. They shorten each run and can help when the source pressure is not enough to push water evenly down a long route.
How many drip lines do you need?
Start with width, not length alone. One line can be enough in a narrow bed, but once the width grows, a single run often leaves dry strips between the emitters and the side edges.
Drip systems use flexible tubing with different emitter spacing, so line count and spacing have to match the crop. If the spacing is too wide for the root zone, the bed will have wet spots and dry gaps.
Why one run can leave dry strips
One run waters a narrow band. In a rectangle wider than that band, the corners and side edges can dry out first, even if the center looks fine. That problem is more likely in sandy soil or under mulch, where water does not spread sideways as far.
When two or more parallel runs are safer
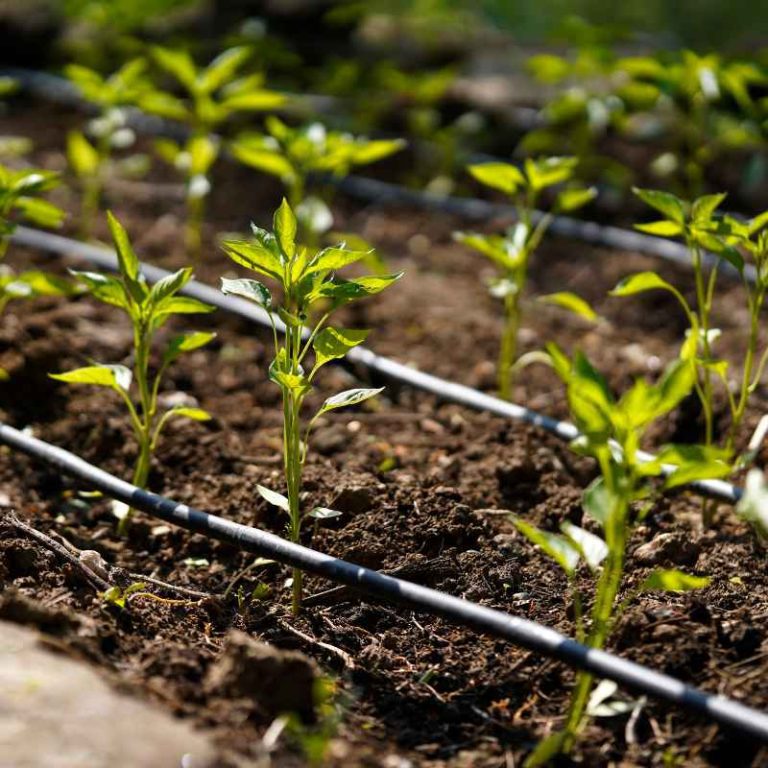
Two runs are often safer for vegetable beds because they spread water more evenly across the width. Use more runs when the bed is wide, the soil drains quickly, or the crop roots are spread across the whole bed instead of in one row.
Drip irrigation works well for rectangular beds because the tubing can be routed around the planting pattern. It also fits buried or surface-laid placement, as long as the connectors and end caps match the layout.
How do you avoid dry corners?
Check the farthest points first. Corners are usually the first places to go dry in a long rectangle, especially if the run is long, the pressure is low, or the emitters are spaced too widely for the crop.
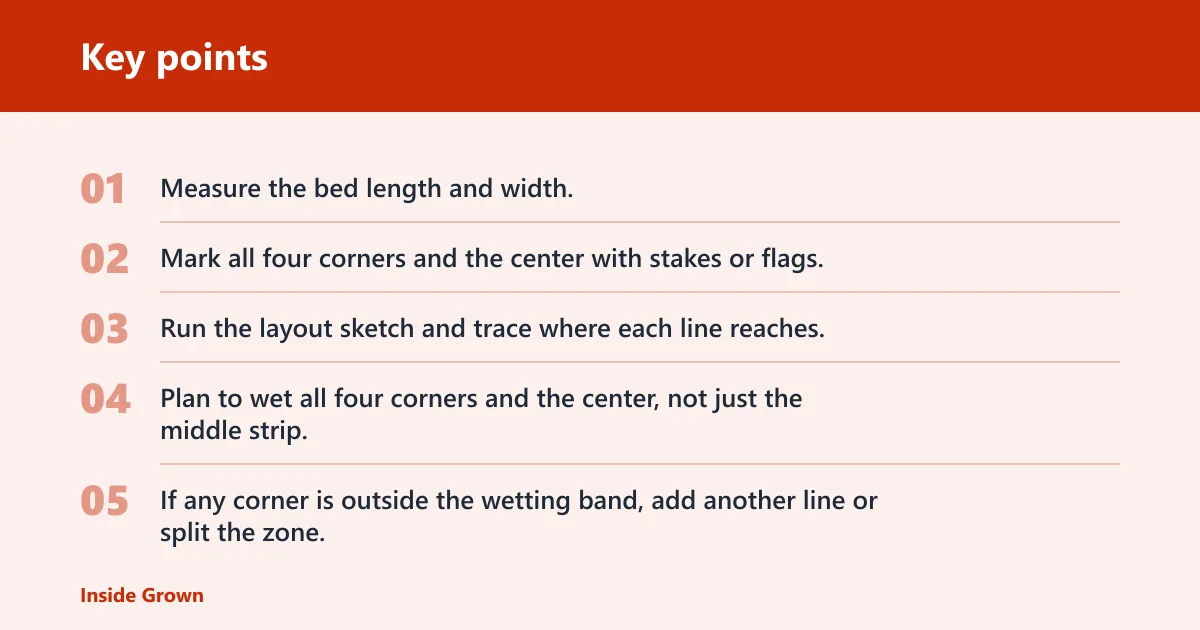
Use the corner coverage test
- Measure the bed length and width.
- Mark all four corners and the center with stakes or flags.
- Run the layout sketch and trace where each line reaches.
- Plan to wet all four corners and the center, not just the middle strip.
- If any corner is outside the wetting band, add another line or split the zone.
A common first-timer mistake is sizing the bed by length only. A 3-by-18-foot bed may seem easy to cover, but the long edges can dry while the center stays wet. Crosscheck both dimensions before you buy tubing or commit to a route.
Add zone splits when the bed is too long
Long beds can lose pressure over distance, so the far end may receive less water than the near end. If one run is long enough for that problem to show up, it is often better to split the bed into two zones or shorten each zone so the layout stays even.
One practical trigger is uneven wetting at the far end after a normal cycle. If the first half looks saturated and the last section still looks dry, the bed needs a shorter zone or a different routing pattern.
Rectangular layout matrix
Use the bed’s width-to-length ratio to choose line direction, number of runs, and a quick way to verify coverage. The matrix below turns the rectangle into a layout decision instead of a guess.
| Width-to-length ratio | Recommended orientation | Run count | Emitter spacing | Quick coverage check |
|---|---|---|---|---|
| 1:4 or narrower | Lengthwise | 1-2 runs | 12 inches for vegetables | Both long sides stay damp within one watering cycle |
| 1:3 to 1:2 | Lengthwise, sometimes center-fed | 2 runs | 12 inches in vegetable beds, wider only if roots are spaced farther apart | All four corners show moisture, and the center is not saturated first |
| Near 1:1 | Crosswise or perimeter loop | 2-4 runs | Match crop spacing closely | Edge strips do not dry faster than the middle strip |
| Wider than long | Crosswise | 3 or more runs | 12 inches in vegetables, adjusted to root spacing | Far corners and the center all wet at the same pace |
| Long narrow bed with mixed crops | Perimeter loop plus interior run | 2-3 runs | Use crop-matched spacing on each section | No dry band between the edge and the inner row |
Perimeter loops help when corners dry first or when the rectangle has a strong edge effect. They are also useful if a single centerline leaves the sides too dry, because the loop places water closer to the full outline of the bed.
How do I size irrigation zones for a rectangular garden?
Size zones by bed length, width, and plant demand. A long bed with one crop can often stay in one zone, but multiple beds or mixed crops usually need separate zones so one part of the garden does not get overwatered while another stays dry.
Use a timer with single-zone or multi-outlet control so each zone can run long enough for its own soil and crop needs. Drip systems save time and reduce wasted water, but only if the zones are grouped logically.
- Group beds by crop and water need.
- Keep long rectangles in shorter zones if pressure loss shows up at the far end.
- Use one outlet per bed or bed group when the planting pattern is uniform.
- Split mixed beds if shallow-rooted crops and deep-rooted crops sit in the same rectangle.
Drip irrigation needs a filter and pressure regulator at the source water spigot. A 25 psi regulator is a common home-garden choice, and a 150 mesh filter is a practical example of the sediment protection used in setup assemblies.
What pressure do I need for drip irrigation?
Most home drip systems use pressure regulation because house spigot pressure is usually too high for small emitters. A 25 psi regulator is a common setup choice, and it belongs at the source so the rest of the line runs under controlled pressure.
High pressure can force emitters to flow unevenly, while low pressure can leave the far end of a long rectangle under-watered. Set the regulator before the tubing leaves the spigot assembly.
Do I need a filter and pressure regulator for drip irrigation?
Yes. A filter protects emitters from sediment, and a pressure regulator protects the system from house pressure. Many setups place the filter before the regulator, which helps keep grit from clogging emitters downstream.
That order matters in garden systems that pull from a spigot with debris in the line. A clogged emitter can create a dry corner that looks like a layout problem when it is really a filtration problem.
- Install the backflow preventer at the spigot assembly.
- Place the filter before the regulator.
- Attach the pressure regulator to bring the system down to drip-safe pressure.
- Run the 1/2-inch main line tubing from the assembly to the bed.
- Branch into drip line, drip tape, or emitter tubing with the right connectors and end caps.
How far apart should emitters be in a vegetable bed?
In vegetable beds, 12-inch emitter spacing is commonly used because it often matches crop root zones and helps reduce dry gaps between plants. Wider spacing can work in some soils or with larger crops, but the spacing has to fit the roots, not the label alone.
Bed width still matters. If the row spacing is wider than the emitter pattern, a single line will miss some roots. If the spacing is too tight for the crop, you may use more water without improving coverage.
Can drip irrigation work under mulch in a rectangular garden?
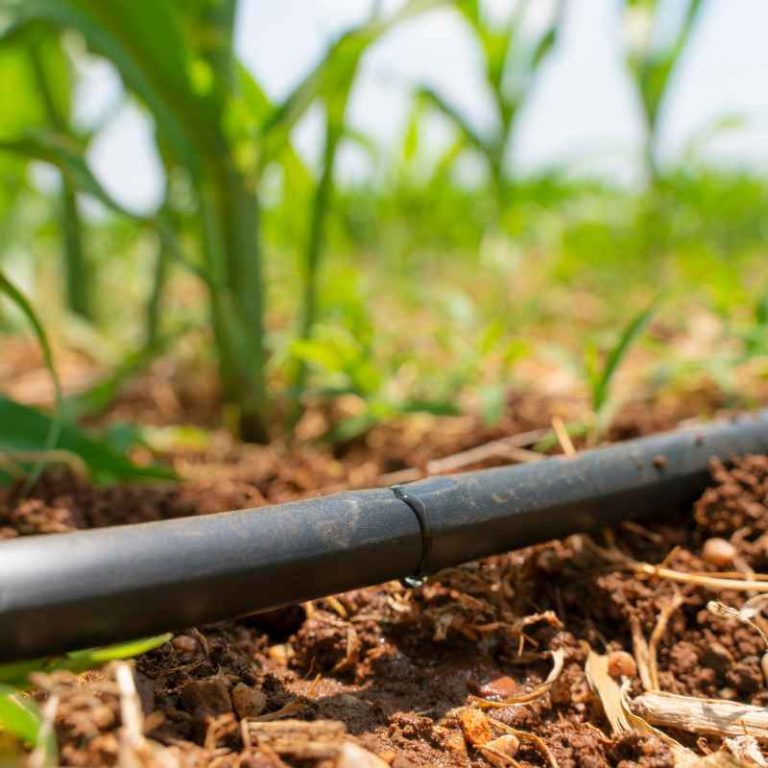
Yes. Mulch often helps by reducing evaporation around the tubing, and drip lines can run under it as long as the emitters are not buried so deeply that maintenance becomes difficult. Surface-laid or shallow-buried lines both work in rectangular beds.
The key is to confirm that the water still reaches the root zone. Mulch can hide dry corners, so use the corner test after the first full watering cycle.
How do I avoid dry spots in a rectangular garden irrigation layout?
Use a layout that reaches the far corners, not just the center strip. Dry spots usually show up when the bed is too wide for one line, when the run is too long, or when emitter spacing does not match the crop.
Picture a 5-by-16-foot bed with tomatoes along both sides. One centerline may wet the middle well, but the edge plants can dry first. Two parallel runs and a shorter zone usually solve that without overcomplicating the system.
- Measure the bed and mark the farthest corner from the source.
- Sketch the run so the far corner sits inside the wetting pattern.
- Add a second run if the bed is wider than one line can cover.
- Shorten the zone if the run is long enough to lose pressure at the end.
- Check the bed again after a full cycle and adjust the spacing by 6 to 12 inches only if a dry strip remains.
Drip irrigation can also be paired with a timer so the cycle matches plant demand. BBC Gardeners’ World recommends watering in the cool of the evening or very early morning, and watering at the base of plants so water soaks to the roots.
Common mistakes
The biggest mistake is treating every rectangle the same. A long, narrow bed and a wide, squat bed need different routing, even if both are technically rectangular.
- Using one centerline in a wide bed: the edges dry first. Add a second line or a perimeter loop.
- Ignoring run length: long runs can lose pressure. Shorten the zone or split it.
- Choosing emitter spacing by habit: match spacing to the crop and the width, not just the tubing roll.
- Skipping the filter: sediment clogs emitters and creates false dry spots.
- Running at full house pressure: use a regulator at the source to protect the system.
Frequently asked questions
How do I lay out drip irrigation for a rectangular garden?
Measure the bed, decide whether the rectangle is narrow or wide, then run tubing lengthwise in narrow beds or crosswise in wider ones. Add a pressure regulator, filter, and timer at the source, and verify that all four corners and the center get water.
How many drip lines do I need for a rectangular bed?
Use the width to decide. One line may work in a narrow bed, but wider rectangles often need two or more parallel runs. If the far edge looks dry after a full cycle, add another line or split the zone.
Should irrigation lines run lengthwise or crosswise in a garden bed?
Lengthwise is usually the first choice for narrow rectangles because it shortens the run and keeps routing simple. Crosswise makes more sense when the bed is wider than it is long or when you need several closely spaced runs across the width.