How to Install Irrigation for a Small Orchard at Home
Give each small orchard tree its own root-zone pattern: 2 to 4 emitters for newly planted trees, 4 to 8 for established trees, and tighter spacing as canopy and roots spread. Bad placement wastes water, stresses roots, and leaves some trees too dry while others stay wet. This guide covers parts, layout, zoning, emitter placement, and troubleshooting.
How small orchard drip systems work


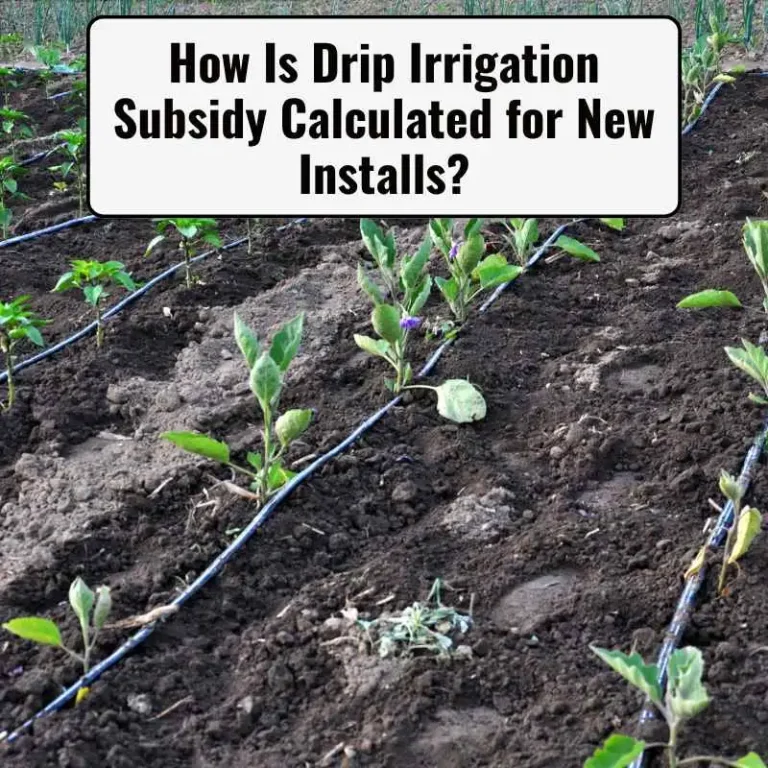
A drip irrigation system sends water straight to roots instead of wetting the whole bed. In a small orchard, that usually means one main line, smaller branch tubing, and emitters or drip line placed where the feeder roots actually sit. Timers can set watering to a repeatable run time for each tree.
Root-zone watering instead of whole-bed watering
Orchard irrigation should follow the tree, not the row as a generic strip. Fruit trees take up water through roots that often extend beyond the trunk but still stay concentrated under the canopy edge and just outside it. Put water there, not against the bark.
That matters because wet foliage is not the target. Drip systems cut down on wet leaves and can lower disease pressure compared with overhead watering, but only if emitters match the tree’s root zone and soil movement.
Main line, branch tubing, and emitters
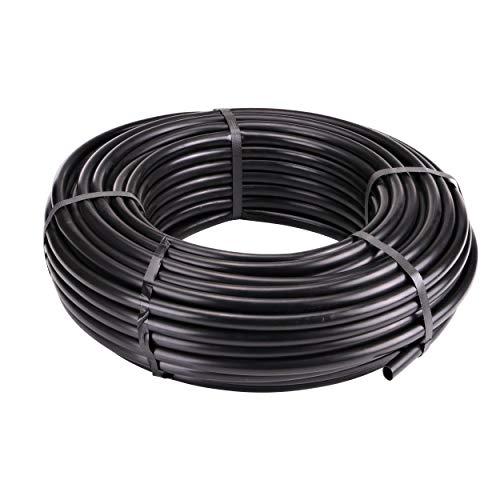
The backbone is usually 1/2-inch main tubing, which feeds shorter 1/4-inch branch tubing to individual trees. Emitters sit near the root zone and release water at a controlled rate. For rows, drip tape can also work, but it is less flexible than point-source emitters for tree-by-tree placement.
For home orchards, pressure-compensating emitters are worth choosing when trees sit on uneven ground or different runs. They keep output steadier across the line, which improves uniformity.
When timers fit into the setup
A hose bib timer or valve timer fits at the water source and controls start and stop times. That keeps watering consistent, which matters more once trees are split into zones by age, soil type, or slope. It also makes it easier to spot a bad zone because the run time is repeatable.
What you’ll need
- Backflow preventer, installed at the faucet or valve if required by local rules
- Pressure regulator, set up with the filter at the water source
- Filter to catch debris before it reaches emitters
- 1/2-inch main tubing for the backbone
- 1/4-inch branch tubing for individual trees
- Pressure-compensating emitters
- Drip tape if you are feeding a row of closely spaced trees
- Soaker hose only for simple, small-area runs where customization is less important
- Timer or zone control valve
- Punch tool, fittings, stakes, end caps, and flush caps
How do you plan the layout for each tree?
Plan the system tree by tree, not bed by bed. Start by mapping tree locations, slope, soil type, and the water source, then group trees by age and demand. Use the worksheet below before buying fittings so you can size emitter count, tubing, and zones before installation.
| Tree age | Emitter count | Emitter placement pattern | Suggested emitter flow rate | Suggested tubing type | Zone grouping | Starting run-time check | Soil-specific adjustment notes | Common troubleshooting checks |
|---|---|---|---|---|---|---|---|---|
| Newly planted | 2 to 4 | Tight pair or small square around root ball; keep off trunk | 1 to 2 gph per emitter, as listed by the manufacturer | 1/4-inch branch tubing from 1/2-inch main line | Group with other young trees on similar soil | Run long enough to wet the root ball and a small ring beyond it, then verify by digging a shallow check hole | Sandy soils usually need tighter spacing and shorter, more frequent runs; clay soils usually need slower cycling or a wider ring to reduce pooling | Wet trunk, dry ring outside emitters, loose punch hole |
| Establishing | 4 to 6 | Wider pair on each side of trunk or partial ring | 1 to 2 gph per emitter, depending on system capacity | 1/4-inch branch tubing; short loop if needed | Separate from mature trees if flow demand rises | Check that moisture reaches the expanding root zone without runoff or standing water after the cycle | Sandy soil often needs a wider wetting pattern over more emitters; clay may need less time per cycle and more rest between cycles | Uneven wetting, low pressure at far end, clogged emitter |
| Mature | 4 to 8 | Ring or loop near canopy drip line | 1 to 2 gph per emitter, or a manufacturer-rated drip line equivalent | 1/4-inch branch tubing or drip line for rows | Often its own zone if trees are large or on slope | Verify the outer canopy and feeder-root area receive water evenly, then adjust run time by zone | Sandy soil often benefits from more emitters or closer spacing; clay usually needs more careful runoff control and shorter cycles | Runoff on slope, dry spots under outer canopy, pressure drop |
Map tree locations, slope, and water source
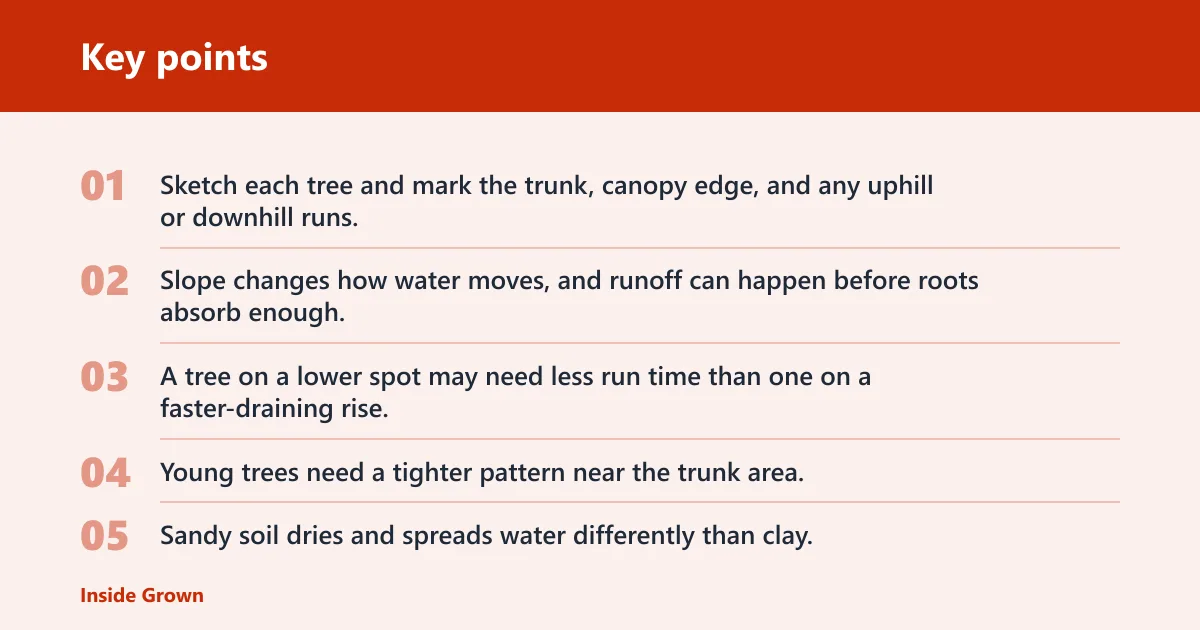
Sketch each tree and mark the trunk, canopy edge, and any uphill or downhill runs. Slope changes how water moves, and runoff can happen before roots absorb enough. A tree on a lower spot may need less run time than one on a faster-draining rise.
Group trees by age and soil type
Young trees need a tighter pattern near the trunk area, while mature trees need water spread farther out. Sandy soil dries and spreads water differently than clay. That means you should not put every tree on one identical emitter spacing if the soil changes across the orchard.
For a small orchard, zone control valves help divide the system into manageable sections when the total flow demand is too high for one line. In drip irrigation, a zone control valve is simply the valve that opens and closes one watering section independently, so you can run young trees, mature trees, or different soils on separate schedules.
Quick choice: emitter, drip tape, or soaker hose
The right product depends on spacing, control, and how much variation the orchard has. Emitters are best for tree-by-tree control; drip tape suits evenly spaced rows; soaker hose is the simplest option but gives the least precision. For orchard work, precision usually matters more than convenience.
| Option | Best use | Main advantage | Main limitation |
|---|---|---|---|
| Emitters | Individual trees, mixed ages, mixed soils | Most flexible for root-zone placement | Needs more planning and fittings |
| Drip tape | Closely spaced rows | Fast to lay out over a row | Less precise for one tree versus another |
| Soaker hose | Simple, small-area watering | Easy to install | Least control over flow pattern |
How do you install drip irrigation for a small orchard at home?
Install the source hardware first, then run the main line, branch to each tree, and test each zone before burying or securing anything permanently. The best order is source protection, pressure control, filtration, then tubing layout. That keeps clogging and pressure problems from starting on day one.
- Shut off the water and attach the backflow preventer at the hose bib or valve.
- Add the pressure regulator and filter together at the source.
- Connect the timer or zone valve assembly after those parts.
- Lay 1/2-inch main tubing along the orchard backbone.
- Run 1/4-inch branch tubing from the main line to each tree.
- Place emitters near the root zone, not against the trunk.
- Cap line ends, then pressurize the system and check every joint.
- Adjust output, then recheck after one full watering cycle.
Suppose a three-tree orchard has one young peach, one establishing plum, and one mature apple on clay soil. The peach may need a close-in emitter ring, the plum can take a wider pair, and the apple may need additional emitters farther from the trunk where the feeder roots are spreading.
What pressure and filter do I need for a small orchard drip system?
Many residential drip components are regulated to the manufacturer’s listed operating range, often around 20–30 psi for point-source systems, rather than a single universal number. Put the pressure regulator and filter together at the water source so pressure stays consistent and debris is stopped before it can clog emitters. Check the component label first.
Water source hardware order
A common installation order is faucet or valve, backflow preventer, pressure regulator, filter, then timer or zone valve. A special water separator on the head, especially where drip lines are feeding rows. Keep those parts together so maintenance stays simple.
A clean filter matters as much as the pressure setting. If the line starts clogging, the first place to check is the screen or disc inside the filter housing, not the tree itself.
Filter mesh and maintenance guidance
Filter mesh should match the emitter type and water quality. Finer filtration is often recommended for small orifice emitters, while coarser screening may be acceptable for larger openings or cleaner supplies; many extension guides and manufacturer docs specify filtration by emitter size rather than by one universal mesh number. Follow the emitter maker’s spec first.
How many emitters should each tree get?
Emitter count should generally rise with tree age and root spread. Newly planted trees usually need about 2 to 4 emitters, establishing trees need more coverage as roots expand, and mature trees often need about 4 to 8 emitters or a ring-style layout around the canopy line. The goal is even soil wetting, not one wet spot.
Newly planted trees
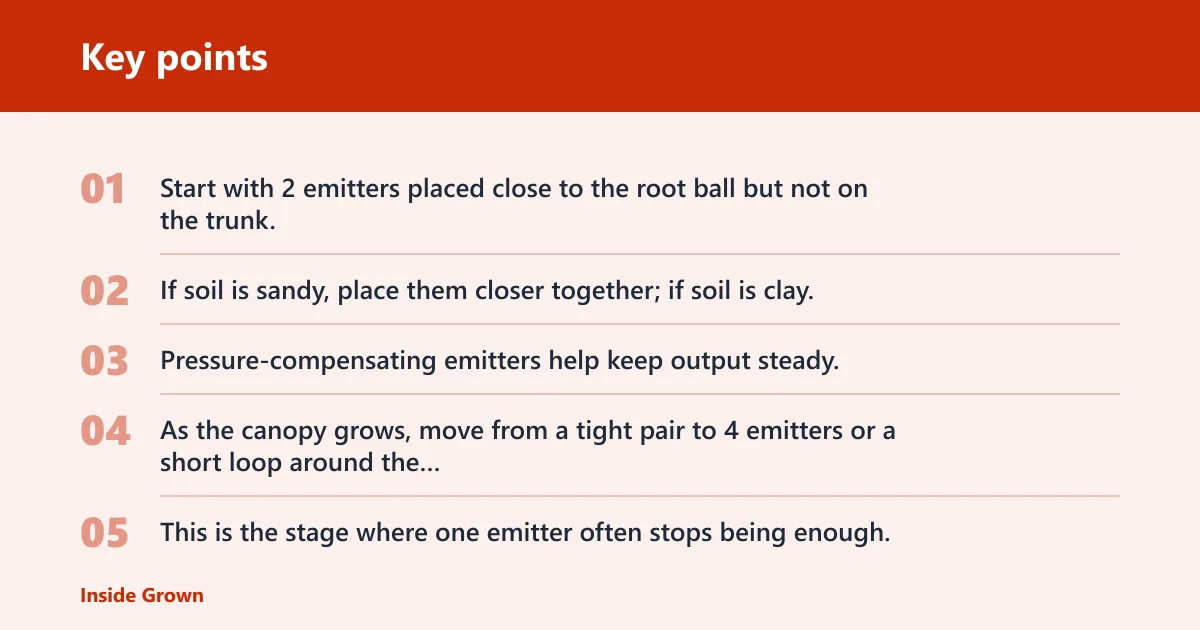
Start with 2 emitters placed close to the root ball but not on the trunk. If soil is sandy, place them closer together; if soil is clay, spread them farther apart and run shorter cycles to avoid surface pooling. Pressure-compensating emitters help keep output steady.
Establishing trees
As the canopy grows, move from a tight pair to 4 emitters or a short loop around the root zone. This is the stage where one emitter often stops being enough. Add emitters in pairs so water spreads on both sides of the trunk and along the active roots.
Mature trees
Mature trees usually need a wider pattern, often 4 to 8 emitters or a loop that follows the drip line of the canopy. Extension and nursery guidance commonly increases emitter count as tree size increases, but the exact number depends on soil intake and emitter output. Larger trees may need more than one watering point.
When to use a ring or loop pattern
Use a ring or loop when the root zone is wider than a couple of point emitters can cover. That is common for mature fruit trees and for rows where drip line runs keep moisture more even. Drip tape with pressure compensation is best for closely spaced rows, especially before canopy closure.
Small orchard planning worksheet
This worksheet is the fastest way to turn tree age, soil type, and slope into a build plan. Fill it out before installation, then use it to decide emitter count, spacing, tubing, and whether one zone can handle the whole orchard or whether the layout needs split control valves.
How do you keep the system from clogging?
Keep the filter clean, flush the lines, and check pressure regularly. A drip orchard system clogs when debris gets past the source hardware or when the line sits with sediment after shutdown. If output changes across trees, treat it as a filtration or pressure issue first.
- Open the end caps and flush each zone until the water runs clear.
- Remove and rinse the filter screen or disc on a set schedule.
- Check for kinks, crushed tubing, or sediment at fittings.
- Test each emitter for even flow and replace clogged parts.
- Before freezing weather, drain exposed lines and store the timer indoors if the manufacturer allows it.
Picture a four-tree row where the first tree is wet and the last tree stays dry. That usually points to pressure loss, a partial clog, or too much demand on one zone. If that happens, split the row or shorten the run before increasing watering time.
Common mistakes are easy to avoid: putting emitters at the trunk, using one fixed spacing for every tree, and running all trees on one line when slope or soil changes. Another is skipping winterization, then finding split tubing or clogged fittings in spring.
Frequently asked questions
Do fruit trees need drip emitters or drip line?
Both can work. Emitters are better when each tree needs its own pattern or soil changes from tree to tree. Drip line fits rows of closely spaced trees, and inner-type drip irrigation tape with pressure compensation is often preferred in row plantings before canopy closure.
How many emitters should I put around each tree?
Use 2 to 4 emitters for newly planted trees, 4 to 6 for establishing trees, and 4 to 8 for mature trees depending on spread and soil. Add emitters in pairs so water covers the active root zone instead of soaking one spot near the trunk.
How far apart should drip emitters be for orchard trees?
Spacing depends on soil. Sandy soil often needs tighter spacing; some orchard and irrigation guidance places emitters about 1 foot apart, while tape slit spacing may be 4 to 6 inches in sandy conditions. Clay can use wider spacing, including up to 24 inches for emitters or 10 to 12 inches for tape slits, depending on infiltration rate.
Should orchard irrigation be zoned by tree age or soil type?
Use both, but start with age. Young, establishing, and mature trees rarely want the same emitter count or run time. Then split zones again if sandy soil, clay, or slope changes enough to create dry spots, runoff, or uneven watering between trees.