How to Improve Landscape Soil After Construction
Fix post-construction planting beds by matching the repair to the damage: loosen compacted soil about 6 to 12 inches deep, amend only the top 3 to 6 inches when structure is intact, import new topsoil for thin or contaminated fill, and rebuild beds when subsoil is badly mixed or buried. If you guess wrong, roots stay shallow, water pools or runs off, and plants fail. This guide shows how to inspect the soil, match the repair to the damage, and avoid wasting time and money.
What construction changes in soil


Construction usually changes more than one thing at once. Heavy equipment compacts the soil, grading can strip away topsoil, fill may be added in uneven layers, and debris can end up buried below the surface. The right fix depends on which problem is present.
Stripped topsoil versus buried subsoil
When the dark upper layer is removed, plants lose most of the organic matter and biology that support roots. If the bed now starts with pale subsoil or imported fill, adding compost alone will not replace missing depth. In that case, topsoil is part of the repair.
How grading and equipment traffic alter structure
Successful soil repair starts with proper grading, soil preparation, and drainage management. Heavy equipment traffic can compact soil even when it looks level on top. The result is slow soak-in, hard root zones, and water that sheets off instead of moving downward.
Why fill soil behaves differently from native soil
Fill soil may be sandy, mixed, or layered with construction spoil. It can drain too fast, repel water when dry, or hide compacted seams below the surface. Soil texture matters here: sand, silt, clay, or mixed soil all respond differently to amendments.
What you’ll need
- Screwdriver or soil probe
- Shovel
- Hand trowel
- Tape measure
- Jar test supplies or a squeeze-test sample container
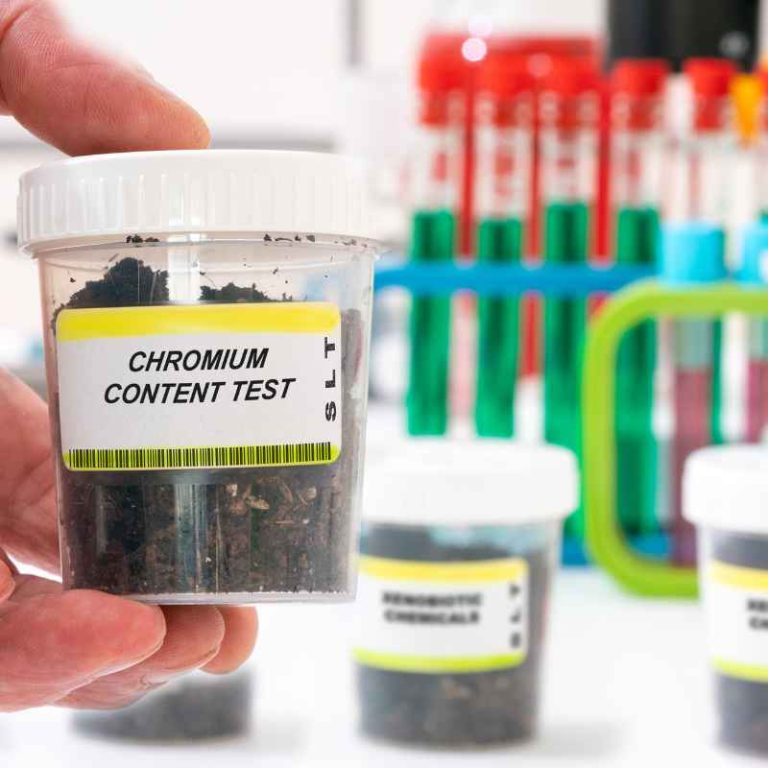
- Soil test kit or lab sample bag
- Finished compost
- Topsoil
- Mulch
How do you know what the problem is?
Start with simple field checks before you add anything. Probe resistance, slow infiltration, layer changes, and buried debris tell you whether the fix is amendment, loosening, import, or a full rebuild. The goal is to avoid treating a drainage failure like a fertility problem.
Check compaction with a probe
- Push a screwdriver or soil probe into the bed in several places.
- Note where resistance increases sharply, especially below the top few inches.
- If the tool stops hard in a consistent layer, compaction is commonly the likely cause.
Soil compaction is common after heavy equipment traffic and reduces drainage and root penetration. A hard, uniform layer usually means the soil needs loosening, not just fertilizer or more watering.
Look for runoff, pooling, or slow soak-in
- Dig a shallow test hole.
- Fill it with water and watch how fast it drains.
- Repeat in more than one spot if the bed changes slope or fill depth.
Drainage matters before planting. If water sits, puddles, or runs off quickly without soaking in, the problem is more than surface dryness. That changes the fix.
Identify soil texture with a jar test
- Place a soil sample in a clear jar with water.
- Shake it and let it settle.
- Compare the layers to judge sand, silt, and clay content.
The mason jar soil test gives you a practical read on soil texture. A squeeze test can help too. Sandy soil falls apart, clay sticks together, and mixed soil sits in between. Texture guides whether compost, topsoil, or both make sense.
Inspect for debris, clay smear, or fill layers
- Use a shovel to cut a clean slice through the bed.
- Look for brick chips, concrete, buried wood, or plastic.
- Check for a slick, smeared clay layer or abrupt fill boundaries.
A clay smear can form when wet soil is worked or graded by machinery. Debris and hard layers can stop roots and water movement, which means the bed may need removal and rebuilding instead of a simple topdress.
Do you need compost, topsoil, or both after construction?
If the soil is present but weak, finished compost is usually the first fix. If the good layer was stripped away, topsoil is needed to restore depth. When you need both structure and depth, combine topsoil with compost on top or mixed into the upper layer.
Use compost when the soil is there but weak
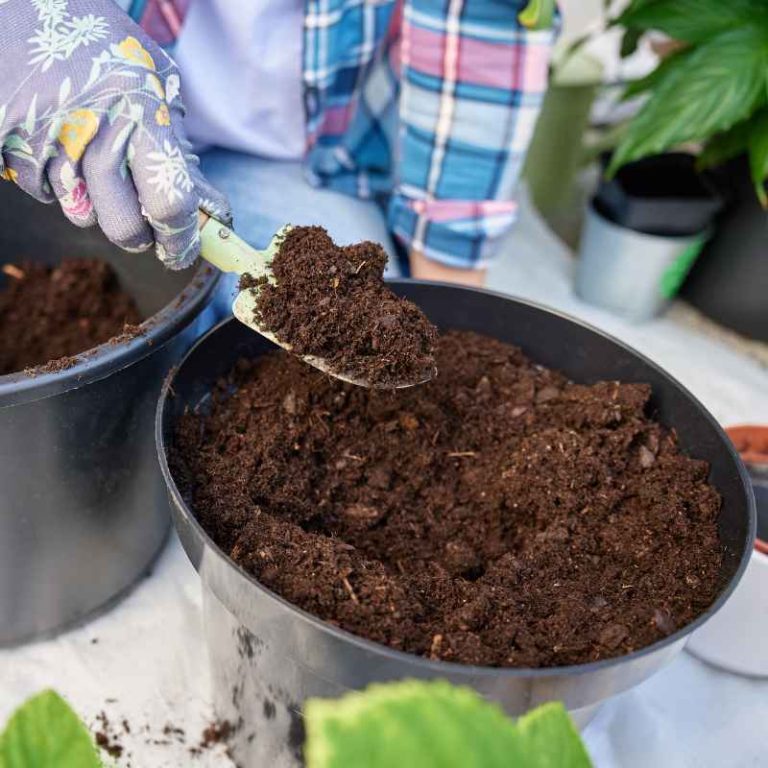
The fastest improvement is adding 2–4 inches of finished compost. Work it into the top 6–8 inches where possible. Compost improves drainage in clay and water retention in sand, and it feeds organic matter back into the bed.
Use topsoil when the good layer was removed
Topsoil replaces missing ground depth after stripping or rough grading. It is often paired with amendments because it gives roots something to grow in, while compost helps rebuild structure. This is the right move when the original upper layer is gone.
Combine both when you need depth and better structure
Use topsoil to restore grade, then add finished compost where roots will live. A common spring topdress is a quarter- to half-inch layer of compost, but new beds usually need more than a surface dress. The repair should match the depth of the damage.
Stop and rebuild when debris, fill, or drainage failure is severe
If the bed contains buried waste, hydrophobic fill, or standing water that does not improve, compost alone is unlikely to solve it. Severe compaction or deep smear may call for mechanical loosening, removal of bad material, or a complete rebuild of the bed.
How do you improve soil after construction?
Start with testing, then choose the least invasive repair that fits the damage. Organic matter is the long-term fix for structure, aeration, and moisture retention, but it does not replace missing soil. Check drainage and pH before you plant.
- Test pH, texture, and drainage before adding amendments.
- Loosen shallow compaction only when the soil is dry enough to crumble.
- Add finished compost and work it into the top 6–8 inches where possible.
- Import topsoil where the original layer is missing.
- Finish with mulch on the surface, not mixed into the root zone.
Mulch reduces evaporation and runoff, suppresses weeds, and moderates temperature. It is a surface layer, not an amendment. Do not mix it into the soil.
Step 1: Test pH, texture, and drainage
Test pH before adding fertilizer, lime, or any other correction. pH affects nutrient availability, and the wrong adjustment wastes time. A soil test also helps you avoid guessing on clay, sand, or mixed fill.
Step 2: Loosen shallow compaction without overworking wet soil
For shallow compaction, use a fork, broadfork, or other physical loosening method rather than repeated rototilling. A common first-timer mistake is working wet soil, which smears clay and makes the structure worse. If the layer is deep, aeration or mechanical loosening may be needed.
Step 3: Add finished compost
Spread finished compost in a 2–4 inch layer, then work it into the top 6–8 inches where possible. A quarter- to half-inch compost topdressing each spring and notes that aerating every other year can help if organic matter is still low.
Step 4: Import topsoil where needed
If the bed is thin, scraped, or built over poor fill, bring in topsoil before planting shrubs or perennials. Soil improvement is not the same as adding a thin compost dressing when the root zone itself is missing. Topsoil gives you depth, compost helps it function better.
Step 5: Mulch the surface
After planting, add mulch over the top to slow evaporation and reduce splashback. Keep it off stems and crowns. This protects the surface while the root zone settles and the organic matter starts to work.
Post-construction soil fix matrix
| Symptom | Likely cause | Best action | What not to do | Estimated timeline |
|---|---|---|---|---|
| Thin, pale bed with little organic residue | Scraped topsoil | Import topsoil, then add finished compost to the upper layer | Rely on mulch alone | One day to several days |
| Hard resistance in the top layer | Shallow compaction | Loosen mechanically and add compost afterward | Till repeatedly when wet | Same day to one week |
| Screwdriver stops well below the surface | Deep compaction | Aerate or loosen, then add organic matter | Only topdress the surface | One week to one season |
| Slick, smeared layer after grading | Clay smear | Break the layer when dry, then amend with compost | Rototill wet clay | Several days to several weeks |
| Soil dries fast and feels loose or gritty | Sandy fill | Add compost and, if needed, topsoil for depth | Use fertilizer as the main fix | Several weeks to one season |
| Pooling water or runoff after rain | Drainage failure | Check grading, relieve compaction, rebuild if needed | Assume compost alone will fix standing water | One day to one season |
Common mistakes to avoid
Construction soil problems get worse when the wrong fix is repeated. The usual errors are easy to avoid once you know what each material does.
- Do not till too much or till wet soil; it damages structure and can spread clay smear.
- Do not add lime or fertilizer before testing pH.
- Do not mix mulch into the root zone.
- Do not use compost where full topsoil replacement is needed.
Suppose a new shrub bed drains slowly after rain and the probe stops at 5 inches. That points to compaction, not low fertility. Loosen the soil first, then add compost. Suppose a front-yard strip has 4 inches of loose fill over hard debris. That is a rebuild or import problem, not a topdress problem.
What to do if the first repair did not work
If composting did not improve infiltration, move from amendment to loosening. If loosening did not restore root depth, move to topsoil import. If water still pools or debris keeps appearing, remove the failed material and rebuild the bed with proper grading and drainage.
How do you improve soil for plants in compacted fill soil?
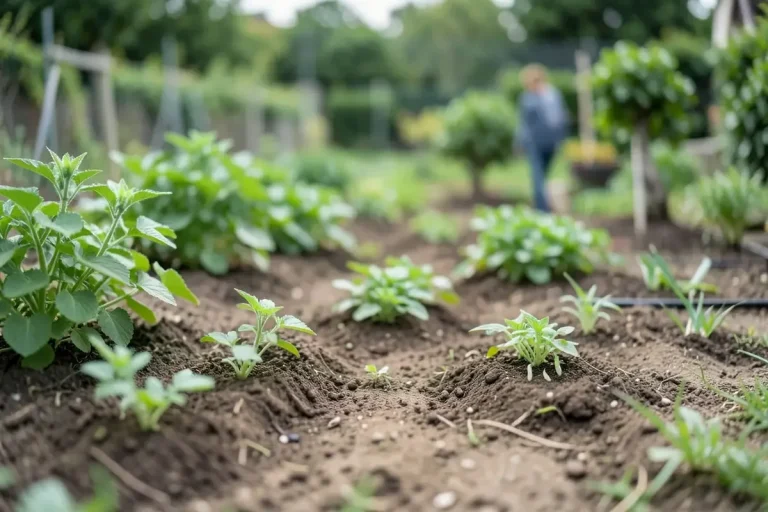
Compacted fill soil usually needs both loosening and organic matter, because the surface may be workable while the layer underneath blocks roots. For shrubs and perennials, correct the root zone before planting. For turf edges, relieve shallow compaction and topdress afterward.
In rain-prone beds, improve grading first so water leaves the planting area instead of collecting there. On slopes, keep mulch thin enough that it stays put and does not shed water over the root zone. Organic matter helps, but grading and compaction control decide whether water actually moves through the bed.
Frequently asked questions
How to improve my garden soil after the builders leave
Use a screwdriver or probe to check for compaction, then dig a small test pit to inspect layers. If the bed still has usable depth, work finished compost into the top 6–8 inches. If the good layer is gone, bring in topsoil before planting.
How do I know if construction compacted my soil?
Push a screwdriver into the bed in several places. If it stops hard at a similar depth across the area, compaction is likely. A slow-soak test helps too: water should move in, not sit on top or run off quickly.
What is the fastest way to improve poor post-construction soil?
The fastest proven improvement is adding 2–4 inches of finished compost and working it into the top 6–8 inches where possible. That helps drainage, fertility, and microbes. If the bed lacks depth or has drainage failure, topsoil or rebuilding comes first.
How to improve soil structure in a new bed
Start with a soil test, then add organic matter and avoid overworking the bed. Compost, leaf mold, clippings, and manure build organic matter over time. If compaction is severe, loosen the soil mechanically first, then add compost so the repaired structure holds.