How to Start Vegetable Gardens Indoors Early
Starting vegetable gardens indoors early is a fantastic way to get a head start on the growing season and enjoy fresh produce sooner. This guide will walk you through everything you need to know to successfully cultivate your own vegetables from seed before the last frost, ensuring a bountiful harvest right from your own home.
Simply put, starting vegetable gardens indoors early involves providing the right conditions – light, warmth, moisture, and nutrients – for seeds to germinate and grow into healthy seedlings ready for transplanting outdoors. This proactive approach maximizes your growing season and yields.
Key Takeaways
- Starting vegetable gardens indoors early extends your growing season and ensures healthier transplants.
- Proper lighting, consistent temperature, and adequate moisture are crucial for seed germination and seedling growth.
- Choosing the right containers, soil, and vegetable varieties sets the stage for success.
- Understanding seedling care, hardening off, and transplanting techniques are vital for a thriving garden.
What is Starting Vegetable Gardens Indoors Early?
Starting vegetable gardens indoors early refers to the practice of sowing seeds for vegetables inside your home, typically several weeks before the average last frost date in your region. This allows tender plants to develop a strong root system and reach a robust size before being transplanted into the outdoor garden beds.
This method is especially beneficial for plants that have a long germination period or require a longer growing season to mature. It’s a strategic approach that gives gardeners more control over the initial growth phase of their crops, mitigating risks associated with unpredictable spring weather and pests.
By germinating seeds indoors, you can bypass the limitations of cold soil temperatures and fluctuating outdoor conditions. This proactive step significantly increases the likelihood of a successful harvest, providing fresh vegetables earlier in the year than would otherwise be possible.
- Extends Growing Season: Allows for earlier planting and harvesting, especially in climates with short summers.
- Healthier Transplants: Seedlings develop stronger roots and are more resilient when moved outdoors.
- Protection from Elements: Shields young plants from frost, harsh winds, and early pest infestations.
- Wider Variety Choice: Enables growing of slow-maturing vegetables that might not otherwise have time to ripen.
- Cost Savings: Growing from seed is often more economical than purchasing established plants.

What You Need to Start Your Indoor Vegetable Garden
To successfully start your vegetable garden indoors, you’ll need a curated set of supplies. Having the right tools and materials from the outset is fundamental to nurturing healthy seedlings. Don’t underestimate the importance of quality inputs; they directly influence the success of your indoor growing efforts.
The key is to replicate the optimal conditions that seeds need to sprout and thrive. This includes ensuring they have access to light, warmth, moisture, and nutrients in a controlled environment. Planning and gathering these items before you begin sowing will make the entire process smoother and more enjoyable.
Consider your space limitations and the types of vegetables you plan to grow when selecting your supplies. A well-prepared setup ensures that your indoor garden becomes a productive extension of your future outdoor plot, setting you up for a rewarding harvest.
| Essential Supplies | Description | Why It’s Important |
|---|---|---|
| Seed Starting Mix | Sterile, lightweight, and finely textured soil blend. | Prevents damping off and provides good drainage for fragile seedlings. |
| Containers | Seed trays, peat pots, biodegradable pots, or small containers with drainage holes. | Allow for drainage, prevent overwatering, and support root development. |
| Seeds | High-quality vegetable seeds suited for your climate and indoor starting. | The foundation of your garden; choose varieties known for reliable germination. |
| Watering Can/Spray Bottle | Fine-nozzled watering can or a misting spray bottle. | Gentle watering prevents dislodging seeds and damaging delicate sprouts. |
| Grow Lights | Fluorescent, LED, or specialized grow lights. | Provide essential light spectrum and intensity for healthy, stocky growth. |
| Heat Mat (Optional) | Electric mat designed to warm soil. | Speeds up germination for many warm-season crops. |
These items form the basic toolkit for anyone looking to start their vegetable gardening journey indoors. Investing in good quality supplies will pay dividends in the health and vigor of your seedlings.
Choosing the Right Vegetable Varieties for Indoor Starting
Not all vegetables are created equal when it comes to starting them indoors. Some plants have delicate root systems that are easily disturbed, while others require very specific conditions to germinate. Selecting the right varieties is a strategic decision that significantly impacts your success rate.
Consider the maturity time of the vegetable. Varieties that typically take longer to produce will benefit the most from an early start indoors. This allows them to reach a harvestable stage within your local growing season, which might be too short otherwise.
Your local climate and the intended transplanting date are also crucial factors. Aim for vegetables that are known to transplant well and are suitable for your region’s specific growing conditions once they move outside. Researching specific cultivars for their performance in containers or when started early can also be beneficial.
- Peppers (Bell, Chili): Thrive when started early, benefit from warmth for germination.
- Tomatoes (Slicing, Cherry): Long growing season requires an indoor head start for best results.
- Eggplant: Similar to peppers and tomatoes, needs warmth and a long season.
- Cabbage, Broccoli, Cauliflower: Cool-season crops that can be started indoors to get a jump on spring.
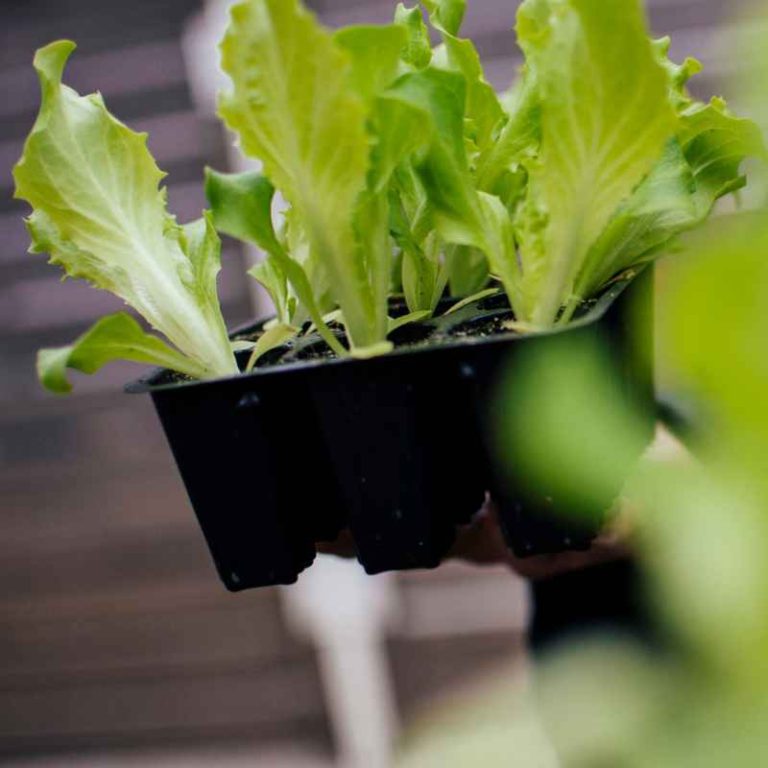
- Lettuce, Spinach, Kale: Quick to germinate and grow, providing an early harvest of greens.
- Onions, Leeks: Can be started indoors for larger bulbs and longer growing periods.
Considerations for Seed Selection:
- Germination Rate: Look for seeds with a high reported germination rate for better success.
- Days to Maturity: Choose varieties appropriate for your climate’s typical frost-free period.
- Disease Resistance: Opt for cultivars that have resistance to common diseases.
- Growth Habit: Some plants are more compact, making them better suited for indoor container growing initially.
- Local Adaptability: Select varieties known to perform well in your specific geographic region.
By carefully selecting your seeds, you’re laying a strong foundation for a productive indoor and subsequent outdoor garden. This thoughtful approach minimizes potential disappointment and maximizes your chances of enjoying a wide array of fresh vegetables.
Setting Up Your Indoor Seed Starting Station
Creating an effective indoor seed-starting station is crucial for providing the optimal environment for your seedlings. This dedicated space needs to address the essential needs of germinating seeds and young plants: light, warmth, and consistent moisture. A well-designed station will support healthy, vigorous growth.
Location is paramount. Choose a spot that is relatively free from drafts and has access to a power source for grow lights. Basements, spare rooms, or even a dedicated shelf in your kitchen can be transformed into a thriving indoor nursery with the right setup.
Beyond the basic requirements, consider ease of access for watering, monitoring, and eventual transplanting. A functional and organized station makes the process enjoyable rather than a chore. Think about airflow, as well; good circulation helps prevent fungal diseases like damping off.
| Component | Details & Recommendations |
|---|---|
| Surface | A sturdy table, bench, or shelf that can support the weight of trays, lights, and water. Consider a waterproof surface or mat to protect furniture. |
| Lighting | Position grow lights about 2-4 inches above the seedlings. Adjustable fixtures are ideal for raising lights as plants grow. Aim for 14-16 hours of light per day. |
| Temperature Control | Most seeds germinate best in temperatures between 65-75°F (18-24°C). A heat mat can be placed under trays to maintain optimal soil temperature, especially for warm-season crops. |
| Watering | Keep the soil consistently moist but not waterlogged. Use a fine-mist spray bottle or a watering can with a narrow spout. |
| Airflow | A small fan set on low can improve air circulation, strengthening stems and preventing fungal issues. |
Establishing this setup will create an environment where your young plants can flourish, setting them on the path to becoming strong candidates for outdoor transplanting.
Sowing Seeds Indoors: Step-by-Step
The act of sowing seeds is where your indoor gardening journey truly begins. Following a systematic approach ensures consistency and maximizes the chances of successful germination for all your chosen vegetables. This process is straightforward but requires attention to detail.
Start by preparing your containers and seed-starting mix. Moisten the soil before filling the containers; it should be damp enough to clump slightly when squeezed, but not so wet that water drips out. This ensures even hydration and avoids the need for heavy watering immediately after sowing, which can dislodge seeds.
The depth at which you sow your seeds is critical, as is providing the right temperature for germination. Different seeds have different needs, so it’s always best to check the seed packet for specific instructions. Once sown, they require a stable environment to sprout.
- Prepare Containers: Fill your seed trays or pots with pre-moistened seed-starting mix. Leave about half an inch of space at the top. Gently firm the soil, but avoid compacting it.
- Sow Seeds: Check your seed packet for the recommended planting depth. Generally, sow seeds at a depth twice their diameter. For tiny seeds, you may only need to press them lightly onto the surface and cover with a very thin layer of mix. Sow 2-3 seeds per cell or pot to account for potential germination failures.
- Water Gently: Lightly mist the surface with water from a spray bottle or use a very gentle stream from a watering can to settle the soil and ensure good seed-to-soil contact.
- Cover and Label: Cover the tray with a clear plastic dome or plastic wrap to retain humidity. Label each cell or pot with the type of vegetable and the date sown. This is crucial for organization.
- Provide Warmth: Place the trays on a heat mat if using one, or in a warm location in your home. Consistent warmth is vital for germination. Aim for temperatures between 65-75°F (18-24°C).
- Provide Light (Post-Germination): As soon as you see the first sprouts emerging, remove any covers and move the trays immediately under your grow lights. Lights should be positioned 2-4 inches above the seedlings.
Maintaining consistent conditions after sowing is key. Keep the soil moist and ensure the seedlings receive adequate light as soon as they break the surface. This careful attention during the initial stages sets the stage for vigorous seedling development.
Caring for Your Seedlings
Once your seeds have germinated and transformed into delicate seedlings, a new phase of care begins. This period is critical for developing strong, healthy plants that will thrive when transplanted outdoors. Consistent attention to their needs is paramount during these formative weeks.
Seedlings are highly susceptible to various issues, including lack of proper nutrients, insufficient light, and inconsistent watering. Understanding and addressing these needs proactively will prevent common problems and ensure your plants grow robustly. Think of it as providing a nurturing environment for growth.
Monitoring your seedlings daily is the best way to catch any developing issues early. Adjustments to light, water, or temperature can often correct problems before they become serious, safeguarding your investment of time and effort.
Warning: Damping off is a common fungal disease that can kill young seedlings overnight. It thrives in overly wet conditions and poor air circulation. Ensure your trays have good drainage and consider using a small fan to keep air moving around the seedlings.
- Lighting: Provide 14-16 hours of light per day. Adjust grow lights as plants grow taller to maintain the 2-4 inch distance. Insufficient light leads to leggy, weak seedlings.
- Watering: Keep the soil consistently moist but never soggy. Water from the bottom by placing trays in a shallow pan of water for about 30 minutes, allowing the soil to wick up moisture. This encourages stronger root growth.
- Fertilizing: Once seedlings develop their first set of true leaves (the leaves that appear after the initial cotyledons), begin fertilizing with a diluted, water-soluble organic fertilizer (e.g., fish emulsion or a balanced liquid feed) at half strength. Do this every 1-2 weeks.
- Thinning: If you sowed multiple seeds per cell, thin them down to the strongest seedling once they have their first set of true leaves. Use small scissors to snip the weaker seedlings at the soil line to avoid disturbing the roots of the remaining one.
- Air Circulation: Use a small fan on a low setting for a few hours a day to strengthen stems and help prevent fungal diseases.
- Temperature: Maintain ideal temperatures, generally between 65-75°F (18-24°C). Seedlings may need slightly cooler temperatures at night.
These steps, diligently followed, will ensure your seedlings grow into strong, healthy plants, ready for the next crucial stage: hardening off.
Hardening Off Seedlings
Hardening off is a critical process that prepares indoor-grown seedlings for the rigors of outdoor conditions. Plants accustomed to the stable, protected environment of your home are vulnerable to direct sunlight, wind, temperature fluctuations, and lower humidity. This transition must be gradual to prevent shock and damage.
Think of it as giving your seedlings an “acclimation period.” Skipping this step can lead to stunted growth, sunburned leaves, or even the death of your young plants. The goal is to slowly introduce them to the elements, allowing them to build resilience.
The timing of hardening off is just as important as the process itself. It should begin about 7-10 days before you plan to transplant them into your garden, ensuring they are fully ready for their new outdoor home.
| Day | Outdoor Exposure | Indoor/Outdoor Location |
|---|---|---|
| Day 1-2 | 1-2 hours in a shaded, protected area (e.g., under a porch or tree). Avoid direct sun and strong winds. | Bring indoors overnight. |
| Day 3-4 | 2-3 hours, still in shade, but perhaps a location with a bit more gentle breeze. | Bring indoors overnight. |
| Day 5-6 | 4-6 hours. Gradually introduce to morning sun (avoiding the intense afternoon sun). Monitor for wilting. | Bring indoors overnight. |
| Day 7-10 | Can stay outdoors longer, possibly overnight if temperatures are consistently above 50°F (10°C) and frost is not expected. Gradually increase exposure to full sun if weather permits. | May be left out overnight if conditions are favorable. |
Always monitor your seedlings closely during this period. If you notice signs of stress like wilting or leaf discoloration, bring them back into a more protected environment and extend the hardening off period. This gradual adaptation ensures they are well-prepared for transplanting.
Transplanting Seedlings Outdoors
The culmination of your indoor seed-starting efforts is transplanting your seedlings into the garden. This is a significant step, and doing it correctly ensures your young plants can continue to thrive and grow into a productive harvest. Timing and technique are essential for success.
Before you even dig the first hole, ensure that your garden soil is adequately prepared. It should be loose, well-draining, and rich in organic matter. This provides an optimal environment for the roots to establish quickly after transplanting.
The weather also plays a crucial role. Transplant on a cloudy day or in the late afternoon to minimize heat stress on the young plants. This allows them to recover and establish themselves in their new home with less direct sun exposure.
Important: Always check your local frost dates. Transplanting tender vegetables like tomatoes or peppers too early, before the danger of frost has passed and the soil has warmed, can be fatal to your seedlings.
- Timing: Transplant after the last expected frost date for your region, when soil temperatures are adequately warm.
- Soil Preparation: Amend garden beds with compost or other organic matter to improve fertility and drainage.
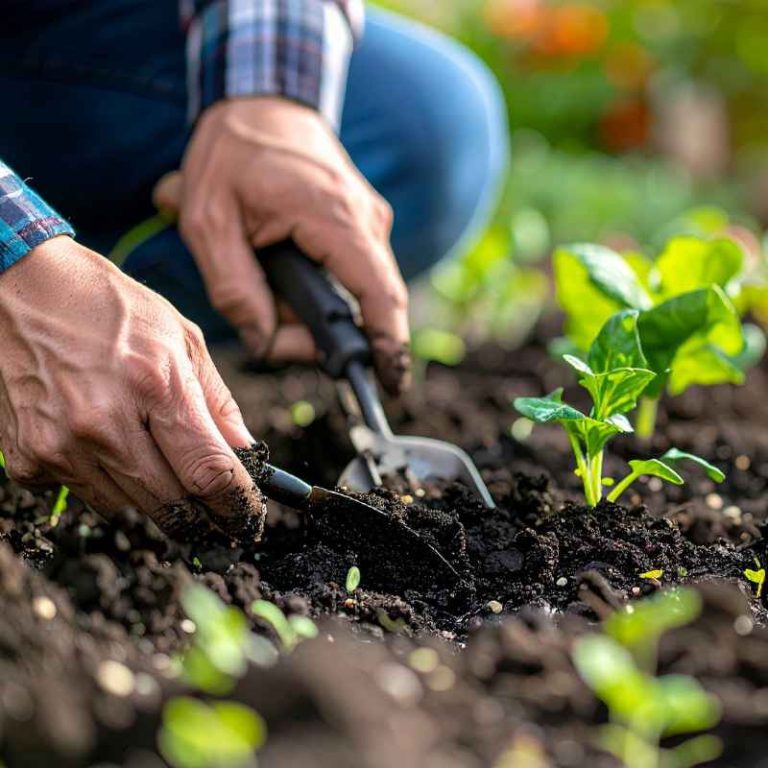
- Digging Holes: Dig holes slightly larger than the seedling’s root ball. Space plants according to the recommendations for each specific variety.
- Removing Seedlings: Gently slide the seedling out of its container, supporting the root ball. If using peat pots, tear down the sides to prevent them from wicking moisture away from the soil.
- Planting Depth: For tomatoes, you can plant them deeper than they were in their containers, as they will form new roots along the buried stem. For most other vegetables, plant them at the same depth they were growing.
- Watering In: Water each plant thoroughly immediately after transplanting. This settles the soil around the roots and reduces transplant shock.
- Mulching: Apply a layer of mulch around the base of the plants to conserve moisture, suppress weeds, and regulate soil temperature.
By following these steps, you give your indoor-started seedlings the best possible chance to transition successfully and continue their growth into a bountiful harvest. Consistent watering and monitoring in the first few weeks after transplanting are key to their continued success.

Frequently Asked Questions
When is the best time to start vegetable seeds indoors?
The best time to start vegetable seeds indoors is typically 4-8 weeks before your region’s average last frost date. This timeline varies depending on the specific vegetable; quick-growing crops like lettuce can be started closer to transplanting time, while slower-growing plants like peppers and tomatoes benefit from an earlier start.
How much light do indoor seedlings need?
Indoor seedlings require significant light, ideally 14-16 hours per day. Specialized grow lights, such as fluorescent or LED fixtures, are essential. Position them 2-4 inches above the plant canopy and adjust the height as the seedlings grow to prevent them from becoming leggy and weak.
Why are my seedlings leggy and thin?
Leggy and thin seedlings are usually a sign of insufficient light. They are stretching desperately to reach a light source. Ensure your grow lights are close enough to the plants and are on for the required duration each day.
Also, good air circulation can help produce sturdier stems.
How often should I water seedlings started indoors?
Water seedlings when the top inch of soil feels dry to the touch. It’s generally better to water thoroughly from the bottom, allowing the soil to wick up moisture, rather than frequent shallow watering from the top. Avoid letting the soil dry out completely or become waterlogged, as both extremes can be detrimental.
Can I use regular potting soil for starting seeds indoors?
While you can technically use regular potting soil, it’s not ideal. Seed-starting mixes are sterile, finely textured, and designed to provide excellent drainage and aeration, which are crucial for delicate new roots and preventing diseases like damping off. Regular potting soil can be too dense and may contain pathogens that harm young seedlings.
Final Thoughts
Starting vegetable gardens indoors early offers a rewarding path to an extended growing season and a more abundant harvest. By carefully selecting your varieties, setting up an optimal indoor environment, and diligently caring for your seedlings through hardening off and transplanting, you can cultivate a thriving vegetable patch right from your home. This proactive approach not only yields delicious produce sooner but also builds confidence for future gardening endeavors.