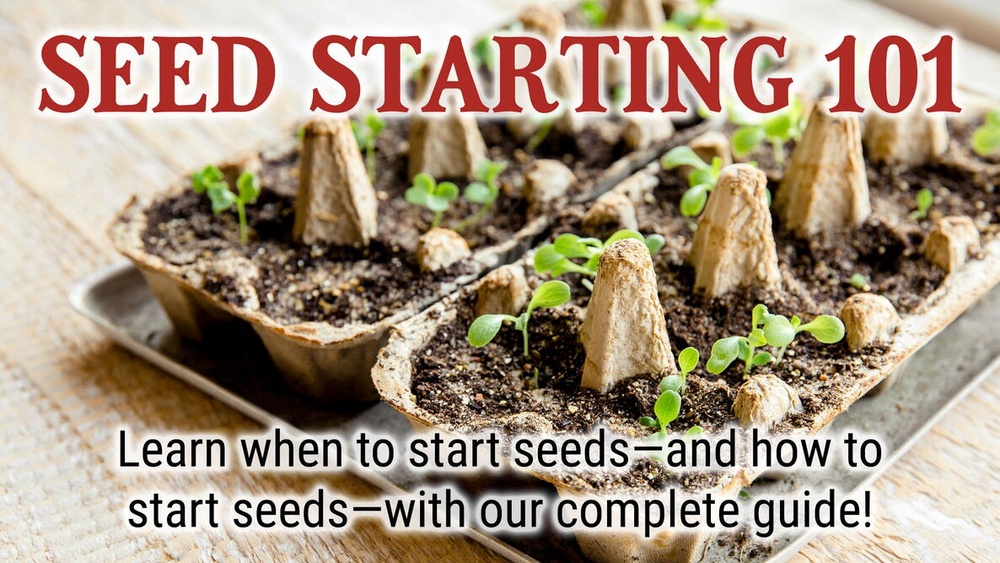
When Should You Start Planting Seeds Indoors? Full Guide
Every successful garden begins with a well-timed start. Knowing when to plant seeds indoors is the cornerstone of a thriving harvest, whether you’re cultivating vegetables, herbs, or flowers. Indoor seed starting offers gardeners control over growing conditions, maximizes plant health, and extends the growing season—especially in regions with unpredictable climates. But the question remains: how do you determine the perfect timing for indoor seed sowing?
This guide delivers authoritative, actionable insights for gardeners of all skill levels. By understanding key factors—such as frost dates, seed type, and growth cycles—you’ll unlock the full potential of your garden. We’ll cover everything from calculating sowing dates to troubleshooting common challenges, complete with data-driven tables, real-world examples, and expert tips.
By the end, you’ll be equipped to confidently plan your indoor seed starting schedule and achieve lush, productive results.
Key Takeaways
- Timing indoor seed planting is crucial for strong transplants and abundant yields.
- Calculate sowing dates based on local frost dates and plant-specific requirements.
- Use indoor seed starting to extend growing seasons and overcome climate limitations.
- Proper equipment, soil, and lighting are essential for healthy seedlings.
- Common mistakes can be avoided by following expert recommendations and monitoring growth.
- Real-world examples and comparison tables help tailor strategies to your unique situation.
Understanding Indoor Seed Starting
Planting seeds indoors is more than simply putting seeds into pots—it’s a strategic process that lays the foundation for a garden’s success. This section explains why indoor seed starting is beneficial, which plants benefit most, and how it compares to direct sowing outdoors.
Benefits Of Indoor Seed Starting
Starting seeds indoors gives gardeners a head start on the growing season. Here’s why it matters:
- Extended growing season: Seeds started indoors mature earlier, allowing for longer harvests and earlier yields. For example, tomatoes started indoors may be ready to harvest up to a month earlier than those direct-sown.
- Controlled environment: Temperature, moisture, and light can be optimized for germination, ensuring more consistent and predictable results. This is especially important in regions where late frosts or erratic spring weather can threaten young plants.
- Better survival rates: Seedlings are protected from pests, frost, and adverse weather. Indoors, you eliminate threats like birds eating seeds, heavy rain washing them away, or unexpected cold snaps killing tender sprouts.
- Variety selection: Gardeners can grow unique or heirloom varieties not available as transplants. This opens the door to exploring rare flavors, colors, and plant shapes, enhancing both the beauty and productivity of your garden.
- Cost savings: Starting from seed is often significantly less expensive than purchasing nursery-grown transplants, especially for larger gardens or those who want to grow multiple varieties.
A study published by the National Institutes of Health found that seedlings started indoors typically have a higher survival rate and produce stronger plants compared to those started outdoors, especially in regions with erratic spring weather. Moreover, indoor seed starting empowers gardeners to overcome poor soil, manage pests organically, and avoid chemical treatments at the earliest stages of growth.
Indoor Vs. Outdoor Sowing
Indoor sowing isn’t always necessary or ideal for every plant. Here’s a comparison:
| Factor | Indoor Seed Starting | Direct Outdoor Sowing |
|---|---|---|
| Climate Control | Optimal temperature & humidity | Subject to weather |
| Pest Protection | Reduced risk | High risk |
| Variety Availability | Wide selection | Limited to hardy types |
| Time to Harvest | Earlier yields | Standard timeline |
| Effort Level | Higher (requires equipment) | Lower |
Expanding further, indoor seed starting offers a unique advantage for those in short-season climates, allowing them to grow crops that otherwise wouldn’t mature in time. However, it does come with increased upfront effort and requires tools like grow lights and seed trays.
In contrast, direct sowing is simpler and more hands-off, but provides less flexibility and can be riskier due to environmental unpredictability.
Plants Best Suited For Indoor Starting
Not all seeds benefit from indoor sowing. The following types are ideal candidates:
- Tender vegetables: Tomatoes, peppers, eggplants, and okra. These plants require warm soil and a long season to mature, making them perfect for an indoor head start.
- Herbs: Basil, oregano, parsley, sage, thyme, and dill. Many herbs are slow to germinate or grow, so starting them indoors ensures a steady supply once outdoor conditions are suitable.
- Annual flowers: Petunias, marigolds, zinnias, impatiens, snapdragons, and coleus. Many annual flowers have long germination or maturation periods.
- Slow germinators: Broccoli, cabbage, cauliflower, onions, leeks, and celery. These crops require early starting to reach transplant size by the time the weather is suitable.
Conversely, hardy crops like carrots, radishes, beans, peas, corn, and squash are best direct-sown outdoors due to their sensitivity to root disturbance and rapid growth rates. Attempting to transplant these often leads to poor yields or stunted growth.
Real-world Example: Northern Climate Advantage
In northern climates, such as Minnesota, the growing season may be as short as 120 days. By starting tomatoes indoors six weeks before the last frost, gardeners can harvest ripe fruit weeks earlier than if seeds were sown directly outside.
This strategy transforms limited growing windows into abundant harvests. Similarly, in Canadian provinces or mountainous regions with unpredictable late frosts, indoor seed starting makes it possible to grow crops like peppers and eggplants that otherwise would not have enough time to mature.

Credit: shop.gardenary.com
How To Calculate The Best Time To Start Seeds Indoors
Determining when to sow seeds indoors isn’t one-size-fits-all. The ideal timing depends on plant type, local climate, and your garden’s goals. Here’s how to calculate your schedule with confidence.
Step 1: Know Your Local Frost Dates
The most critical factor is the average last spring frost date for your area. The U.S. Department of Agriculture (USDA) provides regional frost date maps, or you can use resources like the Old Farmer’s Almanac to pinpoint your location.
- Last frost date: Date after which outdoor temperatures reliably stay above freezing; crucial for determining when it’s safe to transplant seedlings outdoors.
- First frost date: Marks the end of the growing season in fall; important for fall crops or succession planting.
Frost dates can vary by several weeks even within the same state, so use your zip code or local extension office resources for accuracy. In regions with microclimates (such as urban heat islands or valleys), consider keeping your own records for greater precision.
Step 2: Consult Seed Packet Instructions
Most reputable seed companies print recommended indoor sowing times on their packets. Look for phrases like “start indoors 6-8 weeks before last frost. ” These guidelines are based on each plant’s growth cycle and optimal transplanting conditions.
Examples:
- Tomatoes: 6-8 weeks before last frost
- Peppers: 8-10 weeks before last frost
- Lettuce: 4-6 weeks before last frost
- Broccoli: 5-7 weeks before last frost
- Eggplant: 8-10 weeks before last frost
Some specialty crops—like artichokes, leeks, or onions—may require even longer lead times, sometimes up to 12 weeks before last frost.
Step 3: Count Backwards From Frost Date
Once you know your last frost date, count backwards using the number of weeks listed on your seed packets. For example, if your last frost is May 15 and you’re starting peppers (8 weeks), sow seeds around March 20.
Formula:
Indoor sowing date = Last frost date – Number of weeks recommended
This method ensures seedlings are the right size and maturity for transplanting. Overly large seedlings may suffer from transplant shock or root binding, while small seedlings may be too delicate for outdoor conditions.
Step 4: Adjust For Growth Rate And Transplant Size
Some plants grow faster or slower indoors than expected. Monitor seedlings and adjust sowing dates in subsequent seasons if needed.
Case Study:
A gardener in Chicago started tomato seeds 8 weeks before the last frost, but the seedlings grew too large for their pots by transplant time. The next year, they adjusted to 6 weeks, resulting in healthier, more manageable plants.
Additionally, if you have access to a greenhouse or cold frame, you may be able to transplant earlier, shaving a week or two off your indoor growing time. Conversely, if your outdoor soil warms slowly, you may need to keep seedlings indoors longer.
Table: Example Seed Starting Timeline
| Plant | Weeks Before Last Frost | Typical Last Frost (Zone 5) | Recommended Indoor Sowing Date |
|---|---|---|---|
| Tomatoes | 6-8 | May 15 | March 18–April 1 |
| Peppers | 8-10 | May 15 | March 6–March 20 |
| Basil | 6 | May 15 | April 3 |
| Broccoli | 6 | May 15 | April 3 |
Step 5: Use Online Calculators For Precision
For more accuracy, use seed starting calculators such as the one from Gardener’s Supply Company. Enter your zip code and plant type for personalized schedules. Some calculators also factor in succession planting or fall crops, helping you maximize every square foot of your garden.

Credit: www.almanac.com
Essential Equipment And Materials For Indoor Seed Starting
Proper equipment is the backbone of successful indoor seed starting. Investing in quality materials prevents common issues like weak seedlings, disease, and poor germination.
Seed Trays And Pots
Choose containers that offer drainage and are sized appropriately for each plant.
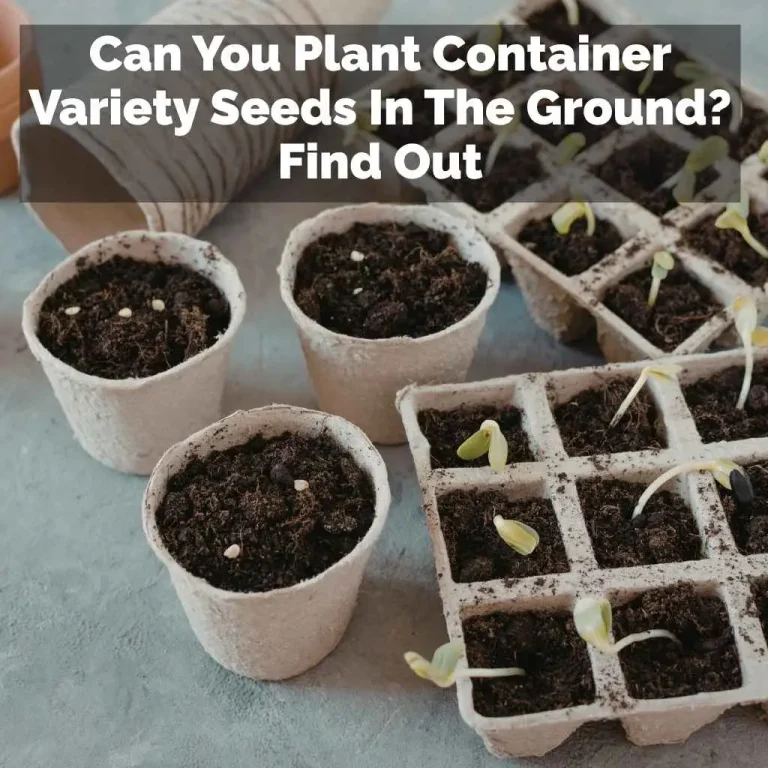
- Seed trays: Ideal for mass sowing; can be divided into cells. Look for sturdy, reusable trays with matching humidity domes.
- Biodegradable pots: Reduce transplant shock and are eco-friendly. Peat pots, coco coir pots, or newspaper pots decompose right in the soil, minimizing root disturbance.
- Plastic pots: Durable but must be cleaned between seasons. Use food-grade plastic to avoid chemical leaching.
When selecting containers, make sure they’re deep enough for root development but compact enough to fit under lights. For large seeds or plants prone to root binding (like squash), start in 3–4 inch pots.
Growing Medium
Use a sterile, lightweight seed starting mix—not garden soil—to minimize disease and optimize root growth.
- Ingredients: Peat moss, coconut coir, vermiculite, perlite. These components ensure good drainage and water retention.
- Avoid: Heavy soils, compost, or reused mixes. Garden soil can introduce pests, weed seeds, and pathogens.
The Purdue Extension recommends using a commercial mix specifically designed for seedlings to ensure uniform moisture and nutrient content. Some mixes are pre-moistened or contain mild starter fertilizer, making them even more convenient.
For eco-conscious gardeners, look for peat-free mixes to reduce environmental impact.
Lighting Systems
Seedlings require intense light—often more than a sunny window provides.
- Fluorescent lights: Affordable and suitable for most seedlings. T5 or T8 bulbs provide a good spectrum for growth.
- LED grow lights: Energy-efficient, long lifespan, customizable spectrum. Full-spectrum LEDs mimic sunlight and produce less heat.
- Natural light: Only adequate for certain plants; supplement if needed. South-facing windows may suffice for some herbs and flowers.
Position lights 2-4 inches above seedlings and adjust as they grow. Keeping lights close prevents stretching and weak stems. Use a timer to ensure 14–16 hours of light daily, as consistent photoperiod is crucial for robust growth.
Temperature And Humidity Control
Most seeds germinate best at 70–75°F. Use heat mats for warmth and humidity domes to maintain moisture during germination.
- Heat mats: Boost soil temperature for faster sprouting, especially for heat-loving crops like tomatoes and peppers. Some mats have adjustable thermostats.
- Humidity domes: Retain moisture until seedlings emerge, reducing the need for frequent watering.
If your home is cool or drafty, consider placing trays on top of a refrigerator or near a heating vent (but avoid excessive heat, which can dry out seeds).
Watering Tools
Gentle watering prevents soil disturbance and avoids disease.
- Spray bottles: Ideal for delicate seedlings. Fine mist prevents washing seeds away.
- Bottom watering: Keeps foliage dry and reduces fungal risk. Place trays in a shallow pan of water and allow the mix to absorb moisture from below.
Consistent moisture is key—never let seed starting mix dry out completely, but avoid sogginess which can cause rot.
Real-world Example: Urban Apartment Setup
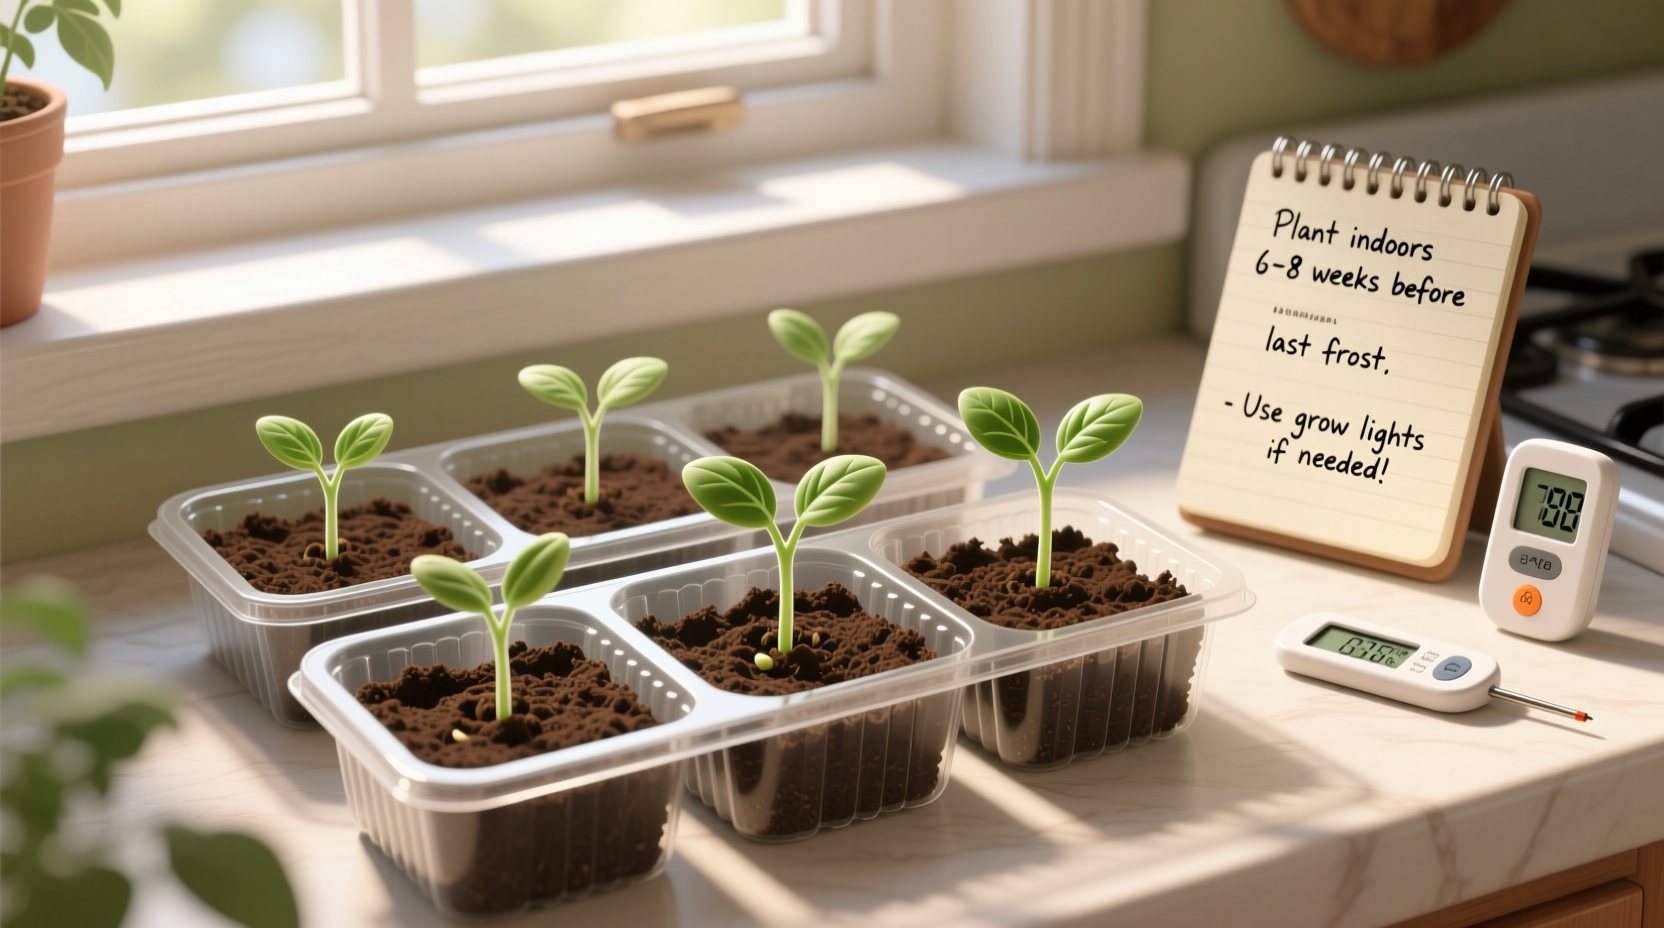
A gardener in New York City used a basic seed tray, LED light, and heat mat to start basil and tomatoes indoors. Despite limited space and light, their seedlings thrived, outperforming outdoor-sown counterparts due to controlled conditions and consistent monitoring.
This illustrates how even small-space gardeners can achieve professional-grade results with minimal investment.
Credit: lifetips.alibaba.com
Step-by-step Guide To Indoor Seed Planting
Success starts with following a proven process. These steps will help you maximize germination rates and produce robust transplants.
Step 1: Prepare Containers And Medium
- Clean and sanitize all pots and trays to prevent disease. A 10% bleach solution works well for disinfection.
- Fill with damp seed starting mix, leaving ¼ inch from the top. Pre-moisten the mix to ensure even moisture.
Step 2: Sow Seeds
- Plant seeds at the depth recommended on the packet (usually 2–3 times the seed diameter). Tiny seeds like lettuce can be surface sown and gently pressed in.
- Space seeds evenly to prevent overcrowding. For very fine seeds, mix with sand for even distribution.
- Label each container with plant name and sowing date to track progress and avoid confusion.
Step 3: Provide Optimal Conditions
- Cover trays with humidity domes until seeds sprout. If domes are not available, use clear plastic wrap.
- Place under grow lights for 14–16 hours daily. Use timers for consistency.
- Maintain soil temperature at 70–75°F. For cool-loving crops (like broccoli), slightly lower temperatures (65–70°F) may be ideal.
Step 4: Water Carefully
- Mist soil lightly or bottom water as needed. Ensure even moisture throughout the mix.
- Avoid overwatering, which can cause damping-off disease. Soil should be moist but not soggy.
Step 5: Monitor Growth
- Remove humidity domes once seedlings emerge to prevent excess moisture and fungal growth.
- Thin seedlings to prevent competition. Use scissors to snip extras at the soil line rather than pulling, which can disturb roots.
- Rotate trays to ensure even light exposure and prevent seedlings from leaning.
Step 6: Harden Off Before Transplanting
- Gradually acclimate seedlings to outdoor conditions by moving them outside for increasing periods over 7–10 days. Start in a sheltered, shady spot and gradually increase sun and wind exposure.
- Reduce watering slightly to toughen seedlings, but do not allow them to wilt.
Case Study: School Garden Project
A middle school garden club in Oregon started flower seeds indoors using a step-by-step process. Their seedlings flourished, and the students achieved a 95% transplant success rate, attributed to careful watering, lighting, and hardening off. The project fostered hands-on learning and a sense of accomplishment, demonstrating the power of proper indoor seed starting techniques.
Common Mistakes And How To Avoid Them
Even seasoned gardeners encounter pitfalls when starting seeds indoors. Avoid these frequent errors for healthier, more productive seedlings.
Mistake 1: Starting Too Early Or Too Late
Seeds started too early may become leggy and stressed before transplanting. Starting too late delays harvest and may result in undersized plants.
Solution:
Follow calculated sowing dates and adjust based on plant growth and past experience. Keep a seed log to fine-tune your schedule over time.
Mistake 2: Insufficient Light
Weak, spindly seedlings result from inadequate lighting, often seen when relying solely on windowsills.
Solution:
Use grow lights positioned close to seedlings for at least 14 hours per day. If using natural light, rotate trays daily and consider reflective surfaces to increase brightness.
Mistake 3: Overwatering
Excess moisture leads to fungal diseases and root rot. Symptoms include yellowing leaves, mushy stems, and sudden collapse (damping-off).
Solution:
Water sparingly and allow the top layer of soil to dry between waterings. Use bottom watering for best results, and always ensure good drainage.
Mistake 4: Poor Air Circulation
Stagnant air encourages disease and mold growth.
Solution:
Use a small fan to gently circulate air around seedlings. This also strengthens stems and mimics outdoor breezes.
Mistake 5: Ignoring Hardening Off
Directly transplanting indoor seedlings can shock plants, leading to stunted growth or even death.
Solution:
Gradually expose seedlings to outdoor conditions for a week before transplanting, increasing time and sunlight exposure each day.
Real-world Example: Avoiding Damping-off
A hobbyist gardener in Seattle lost an entire batch of lettuce seedlings to damping-off fungus. By switching to a sterile mix, bottom watering, and improved air circulation, their next crop thrived. This highlights the importance of cleanliness and environmental control in seed starting success.
Data-driven Comparison: Indoor Seed Starting Vs. Direct Sowing
To quantify the advantages of indoor seed starting, consider this comparison based on USDA and university extension studies.
| Parameter | Indoor Seed Starting | Direct Sowing |
|---|---|---|
| Average Survival Rate | 85–95% | 60–75% |
| Time to First Harvest | 2–4 weeks earlier | Standard timeline |
| Yield per Plant | Higher (up to 30%) | Lower |
| Pest/Disease Exposure | Lower (controlled environment) | Higher |
| Equipment Cost | $50–$200 (startup) | $0–$30 |
Sources: University of Minnesota Extension, Gardening Know How
These numbers underscore the value of indoor seed starting for gardeners aiming for maximum productivity and plant health. While the initial investment in equipment is higher, the payoff is substantial in terms of yield, plant vigor, and harvest timing.
Advanced Tips For Maximizing Indoor Seed Success
Once you’ve mastered the basics, advanced strategies can boost your results and efficiency.
Tip 1: Use Soil Thermometers And Moisture Sensors
Monitoring soil temperature and moisture ensures optimal germination. Digital thermometers and sensors are affordable and provide real-time data, helping you avoid problems like premature drying or excessive heat.
Tip 2: Stagger Sowing Dates
For continuous harvests, sow seeds in batches every 1–2 weeks. This is especially effective for fast-growing crops like lettuce, basil, or cilantro, allowing for a steady supply of fresh produce throughout the season.
Tip 3: Fertilize Seedlings Appropriately
Once seedlings develop their first true leaves, feed with a diluted, balanced liquid fertilizer every 2 weeks. Avoid over-fertilizing, which can cause burning and weak growth. Organic fertilizers like fish emulsion or seaweed extract are gentle and effective.
Tip 4: Track Progress With A Seed Log
Keep records of sowing dates, germination rates, growth stages, and outcomes. This helps refine your strategy year-to-year and identify which varieties perform best in your conditions.
Tip 5: Experiment With Uncommon Varieties
Indoor seed starting allows for growing unique plants not available locally, such as rare heirloom tomatoes, specialty hot peppers, or exotic herbs like lemongrass and shiso. This expands your gardening repertoire and culinary options.
Tip 6: Grafting And Advanced Techniques
Experienced gardeners may experiment with grafting tomatoes or peppers for disease resistance and higher yields, or starting perennial flowers and shrubs indoors for landscape projects.
Tip 7: Use Reflective Surfaces And Multi-tier Shelving
Increase light efficiency by placing reflective material (such as mylar or foil) around your seedling area. Multi-tier shelving units maximize space and allow you to start hundreds of seedlings in a compact footprint.
Real-world Example: Year-round Greens
A gardener in Boston used staggered sowing and grow lights to maintain a steady supply of fresh greens indoors throughout winter. Their harvests rivaled summer yields, providing healthy salads even in January. By combining careful scheduling, regular feeding, and environmental control, they achieved near-commercial results in a home setting.
Frequently Asked Questions
What Is The Best Month To Start Seeds Indoors?
The ideal month depends on your local climate and the plant’s requirements. In most U.S. regions, February to April is common for vegetables like tomatoes and peppers. Always consult your local frost dates and count backwards as described. In warmer climates, indoor seed starting may begin as early as January for spring planting.
How Can I Tell If My Seedlings Are Ready To Be Transplanted?
Seedlings are ready when they have 2–3 sets of true leaves, strong stems, and a well-developed root system. They should also be properly hardened off before moving outdoors. Gently check roots by sliding a seedling from its pot; roots should hold the soil together but not be circling excessively.
Can I Start Seeds Indoors Without Grow Lights?
While some seeds can be started in bright natural light, most require supplemental lighting to avoid weak, leggy growth. Grow lights are strongly recommended for best results, especially for vegetables and flowers that need full sun.
Do All Plants Need To Be Started Indoors?
No. Hardy vegetables like carrots, beans, and peas are best direct-sown outdoors. Indoor starting benefits tender or slow-growing plants most. Consult your seed packet or local extension for guidance on individual crops.
What Should I Do If Seeds Don’t Germinate?
Check for common issues: old seed, improper temperature, insufficient moisture, or poor-quality soil. Try reseeding with fresh mix and monitor closely. If problems persist, consult extension services like Penn State Extension for troubleshooting advice. Consider pre-soaking hard seeds or using a humidity dome to improve germination rates.
The success of your garden depends on timing, preparation, and attentive care. By understanding when and how to start seeds indoors, you unlock the potential for healthier plants, larger harvests, and greater satisfaction. Whether you’re a first-time gardener or a seasoned pro, these strategies will elevate your growing experience and ensure each seed gets the best possible start.
Happy gardening!