What Size Wire to Use for Low Voltage Lighting
Low-voltage outdoor lighting wire size depends on system voltage, total wattage, and one-way run length because voltage drop increases as current and distance increase. For most 12V systems, 16 AWG suits short, light runs, 14 AWG fits moderate runs, and 12 AWG is safer for longer or heavier circuits. For 24V systems, the same load can usually travel farther before voltage drop becomes a problem, which is why the voltage matters as much as the gauge.
What you’ll need

- Pure copper for better conductivity
- Direct burial for outdoor installs
- Flexible PVC insulation
- Transformer output voltage that matches the fixture system, usually 12V or 24V
- Total fixture wattage for the whole circuit, plus a buffer for future additions
- One-way run length from the transformer to the farthest fixture
- Layout notes for daisy-chain runs, branches, and fixture count
- Outdoor-rated or direct burial wire
- Waterproof splice connectors or gel-filled connectors
- Wire cutters, stripper, and a tape measure
How do wattage and distance set wire size?
Add the wattage of every fixture on the circuit, then measure the one-way distance from the transformer to the farthest light. Those two numbers determine current and voltage drop, which is why total wattage and run length are the first inputs in every sizing decision. Low-voltage lighting is typically sized to keep voltage drop within a practical limit, not just to “fit” a gauge label.
Start with the total load
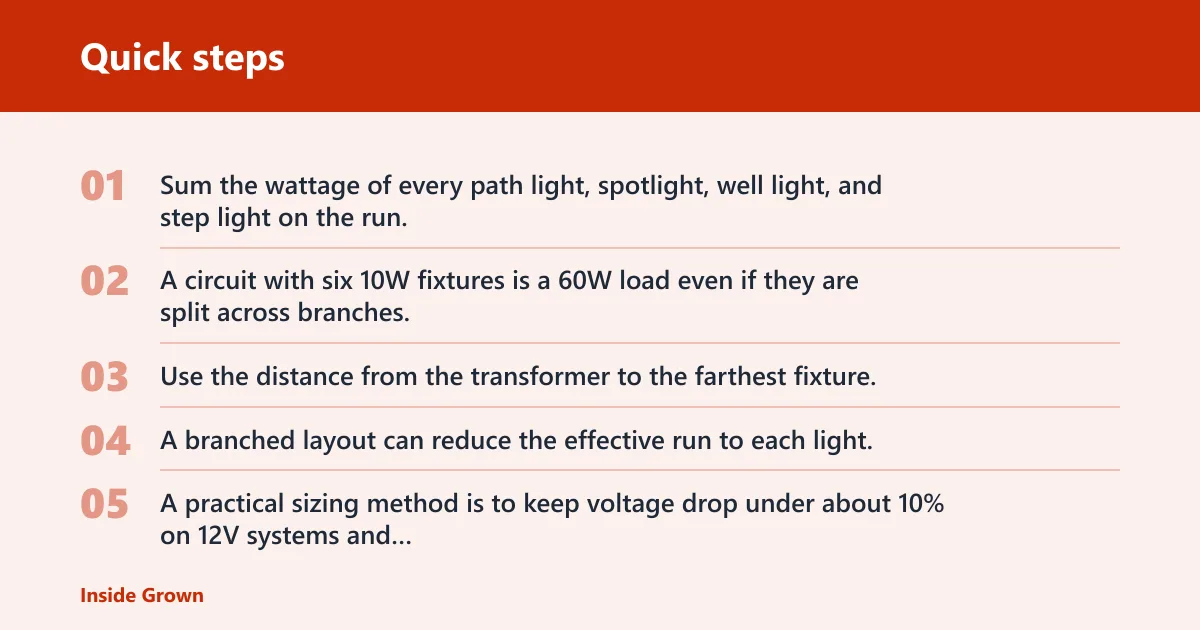
Sum the wattage of every path light, spotlight, well light, and step light on the run. A circuit with six 10W fixtures is a 60W load even if they are split across branches, and that total load is what the transformer and wire must support.
Measure the farthest one-way run
Use the distance from the transformer to the farthest fixture, not the total length of all wire on the job. A branched layout can reduce the effective run to each light, which often lets you keep a smaller gauge on short branches while still protecting the long trunk.
Use a voltage-drop target to pick the gauge
A practical sizing method is to keep voltage drop under about 10% on 12V systems and under about 5% on 24V systems, based on common low-voltage lighting guidance and voltage-drop practice. If the math lands near the limit, move up one gauge or shorten the run.
Choose the gauge for your run
Pick the gauge based on the farthest fixture, then oversize the trunk line if the circuit may grow later. That gives you more headroom for new lights and helps the transformer keep steadier output at the end of the run. The same load can justify different wire on 12V and 24V systems, so always size for the actual system voltage.
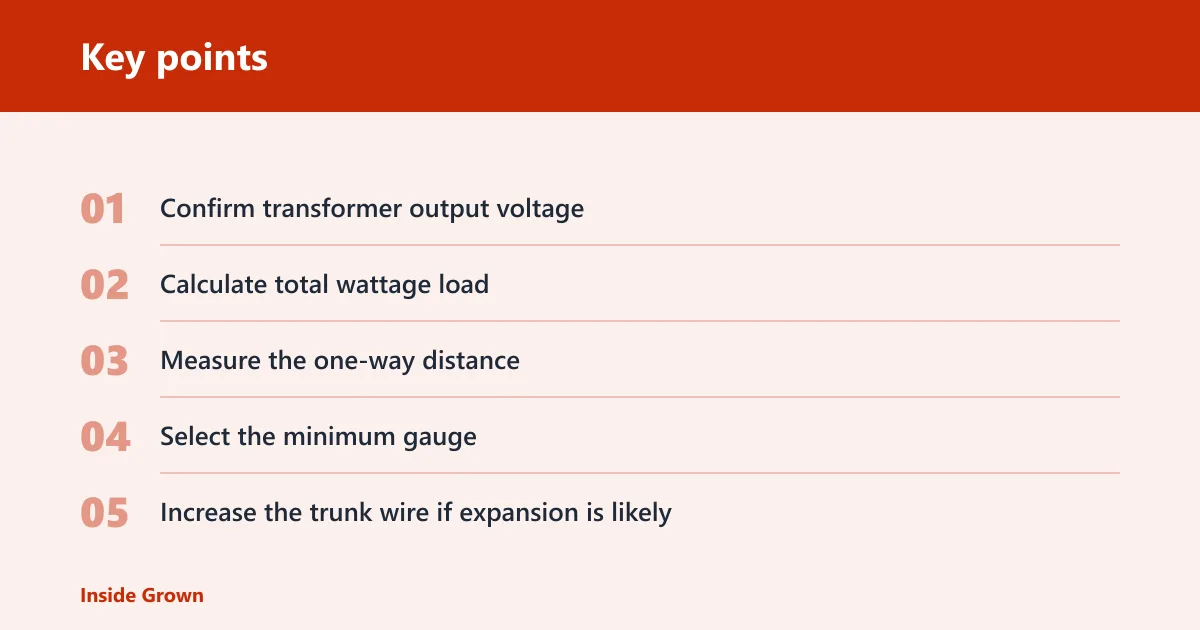
- Confirm transformer output voltage. Match the transformer to the fixture system, usually 12V or 24V.
- Calculate total wattage load. Add every fixture on the circuit and leave room for added fixtures later.
- Measure the one-way distance. Use the route to the farthest light, not the total loop length.
- Select the minimum gauge. Use 16 AWG for short, light circuits, 14 AWG for moderate runs, and 12 AWG for longer or heavier runs.
- Increase the trunk wire if expansion is likely. Use a thicker main line now if you plan to add more fixtures later.
Example: a 12V system has four 7.5W path lights on a 20-foot one-way run. Total load is 30W, so current is 2.5A (30W ÷ 12V). With a practical 10% voltage-drop target, the circuit should stay close to the transformer output, so 16 AWG can work for a short, simple run. If the same layout were 24V, the current would be only 1.25A, which gives more margin on the same distance.
Suppose the circuit grows to eight 12.5W fixtures on a 60-foot run. Total load is 100W, so current is 8.3A on 12V or 4.2A on 24V. That longer run plus heavier load makes 12 AWG the safer choice on a 12V system, while 24V may still tolerate a lighter wire depending on the exact layout and acceptable drop.
When should you use 12 AWG instead of 14 AWG?
Use 12 AWG when the load is moderate to heavy, the run is long, or the last fixtures are already close to the acceptable voltage-drop limit on 14 AWG. It is also the better choice when you want extra capacity for future lights without redoing the main line.
Look for end-of-run dimming risk
If the first fixtures look normal and the last ones are visibly dimmer, the circuit is already near its practical limit. Thicker wire cuts voltage drop, so 12 AWG often fixes that problem better than trying to squeeze more load onto 14 AWG. The symptom is especially obvious on 12V systems because they have less voltage headroom.
Use 12 AWG for headroom
A trunk line in 12 AWG is useful when the circuit may expand next season. If the current layout is close to the limit on 14 AWG, the thicker wire keeps the system more stable when you add more path lights or spotlights later. That extra margin is often worth the slight added cost.
Can you mix wire gauges on one run?
Yes. A heavier trunk line with lighter fixture tails is a common layout for low-voltage lighting. Use the thicker wire for the long main run, then keep short tails to individual fixtures as short as possible so the smaller gauge only covers a brief distance.
Keep the trunk heavy
Use 12 AWG or 14 AWG for the main feed if the run is long, then step down only near the fixture. That keeps the part of the circuit that carries the most current on the thickest conductor and helps control voltage drop where it matters most.
Keep transitions short and protected
Make gauge changes at accessible splice points, and seal each connection with waterproof connectors. The National Electrical Code requires listed fittings and enclosures suitable for wet locations where applicable, and corrosion-resistant, weatherproof splicing helps prevent resistance losses that can mimic an undersized wire.
Wire sizing matrix
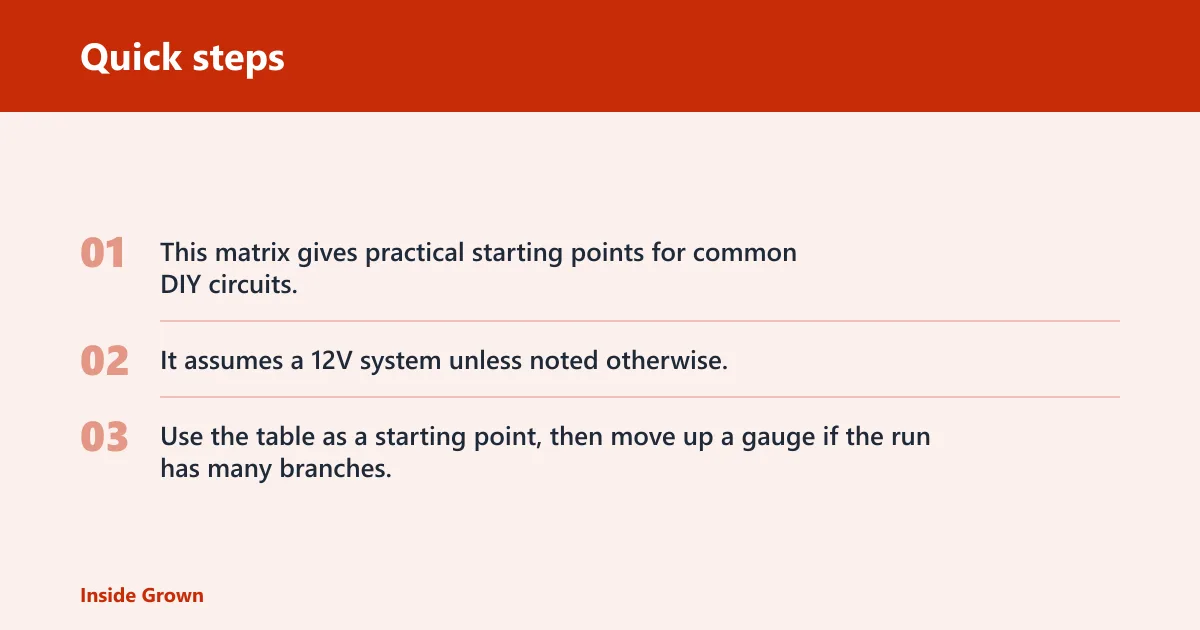
This matrix gives practical starting points for common DIY circuits. It assumes a 12V system unless noted otherwise, and the 24V recommendations show where the same load can often travel farther before voltage drop becomes a problem. Use the table as a starting point, then move up a gauge if the run has many branches, a high fixture count, or a plan to expand later.
| Total fixture wattage | One-way run length | 12V recommended minimum wire gauge | 24V recommended minimum wire gauge | Notes for branch runs or future expansion |
|---|---|---|---|---|
| 30W | Up to 25 ft | 16 AWG | 16 AWG | Good for a short daisy-chain. Move to 14 AWG if you expect more fixtures later. |
| 30W | 26-50 ft | 14 AWG | 16 AWG | Use a heavier trunk if the circuit branches to multiple path lights. |
| 30W | Over 50 ft | 12 AWG | 14 AWG | Best for a long main line where voltage drop starts to matter. |
| 60W | Up to 25 ft | 16 AWG | 16 AWG | Acceptable only for compact runs with few connection points. |
| 60W | 26-50 ft | 14 AWG | 16 AWG | Typical choice for mixed fixture types and a few branches. |
| 60W | Over 50 ft | 12 AWG | 14 AWG | Use 12 AWG if the farthest light must stay bright at the end of the run. |
| 100W | Up to 25 ft | 14 AWG | 16 AWG | Possible on short runs, but a trunk upgrade helps if more fixtures are coming. |
| 100W | 26-50 ft | 12 AWG | 14 AWG | Safer for spotlights, well lights, and branches that carry several fixtures. |
| 100W | Over 50 ft | 12 AWG | 12 AWG | Use a heavier trunk and keep branches short to limit drop. |
| 150W | Up to 25 ft | 12 AWG | 14 AWG | Strong choice when the circuit is dense or planned for expansion. |
| 150W | 26-50 ft | 12 AWG | 12 AWG | Use a branched layout and keep splices tight and waterproof. |
| 150W | Over 50 ft | 12 AWG | 12 AWG | Do not downsize the trunk; add more branch points instead. |
What happens if the wire is too small?
Undersized wire increases voltage drop, so the last fixtures on the run can look dimmer than the first ones. It can also make the transformer work harder, raise splice resistance problems, and increase the chance of nuisance failures over time. Those issues are not cosmetic; they are the practical result of too much resistance in the circuit.
Watch for the warning signs
Dim end-of-run fixtures are the most common clue. Uneven brightness, lights that look fine at dusk but fade later, and warm or unreliable splices also point to a circuit that is too small for its load and distance. If the far-end lights dim first, voltage drop is usually the cause.
Fix the sizing, not the symptom
Do not try to solve dimming by adding more fixtures to the same small wire. Move up to a thicker trunk, shorten the run, or split the load across two circuits if the transformer has room for it. The better fix is usually to reduce resistance, not to mask the problem.
Common mistakes
- Using wire that is too small for a long run. Check the farthest fixture distance before buying cable.
- Ignoring total wattage. Add every fixture on the circuit, including any added later.
- Using cheap splices. Loose or corroded connections can cause dimming and failure.
- Skipping direct burial wire. Use outdoor-rated wire for soil contact and protect it from damage.
- Forgetting transformer capacity. Keep the transformer within its rated output and match it to 12V or 24V fixtures.
Direct burial wire should be used wherever the cable will contact soil or remain outdoors. UL-listed landscape lighting cable and direct-burial-rated cable are designed for wet, outdoor exposure, while ordinary indoor cable is not. Pair it with waterproof connections, and keep splices accessible enough for future maintenance instead of burying them where they cannot be reached.
Frequently asked questions
What gauge wire to use for low voltage outdoor lighting?
For a short, light run, 16 AWG is often enough. For moderate runs, 14 AWG is a better starting point. For longer runs or heavier loads, use 12 AWG. The right choice depends on total wattage, one-way distance, and whether the circuit may grow later, with 12V systems needing more caution than 24V systems.
What gauge wire do you use for low voltage lighting?
Use the smallest gauge that still keeps voltage drop under control. In practice, that means 16 AWG for short runs, 14 AWG for mid-length runs, and 12 AWG for longer runs or circuits with more fixtures. The transformer output voltage also matters because a 24V system can usually tolerate more distance than a 12V system before the same percentage drop is reached.
How far can you run low voltage lighting wire?
There is no single safe distance because wattage, voltage, and gauge all change the answer. A 30W run can travel farther on 12 AWG than a 150W run on the same wire, and a 24V circuit can generally travel farther than a 12V circuit at the same wattage. If the farthest fixture looks dim, shorten the run or move to a thicker conductor.
Can you mix wire gauges on low voltage lighting?
Yes. A heavier trunk line with lighter fixture tails is a practical setup. Keep the long main feed thick, limit the lighter sections to short tails, and make every splice waterproof. That approach often gives better reliability than using the same thin wire everywhere, especially on longer 12V runs.
How do you choose between 12 gauge and 14 gauge wire?
Choose 12 AWG when the run is longer, the load is higher, or you want room for more fixtures later. Choose 14 AWG when the run is shorter and the total wattage stays modest. If the end of the circuit already looks dim, move up to 12 AWG. A 24V system may let 14 AWG cover more distance than a 12V system with the same load.
What happens if the wire is too small for outdoor lights?
The farthest lights can dim, brightness can vary from fixture to fixture, and the transformer may be pushed harder than it should be. Undersized wire also makes poor splices more likely to fail, especially in damp soil or where the cable changes direction often. In low-voltage lighting, those failures usually show up as voltage drop before they become total outages.