
How to Fix Dim Landscape Lights
Use a 3-step triage: check voltage at the transformer first, then inspect the cable run for a short or nick, then test one dim fixture on a known-good tap or bulb; if voltage is low before the run, the problem is power delivery, if only one branch is dim, it is wiring, and if one fixture stays dim, it is fixture-level failure. Ignoring it can waste energy, shorten lamp life, and hide a fault that can spread across the system. This guide shows the next test for each failure point.
What you’ll need


- Multimeter
- Screwdriver or nut driver for enclosure covers
- Replacement silicone-filled direct-burial connectors
- Spare bulb or fixture with the same rating
- Notebook or phone to record tap settings and voltage readings
Why are my outdoor lights dim?

Dim outdoor lights usually point to one of three places: the transformer, the cable run, or the fixture itself. On a low-voltage system, the dimming pattern matters. If every light is weak, start at the power source. If one branch is weak, think resistance or a bad splice. If one fixture is weak, isolate the lamp, socket, or driver.
- Walk the run and mark which lights are dim, flicker, or start dimming first.
- Reset the GFCI only if it has tripped, then confirm the transformer has input power.
- Write down the transformer label, active tap, and fixture type before changing parts.
- Use the symptom pattern to choose the next test, not the first replacement part you see.
Say your front path has eight fixtures and the last two are dimmer than the rest. That pattern points away from a single bad lamp and toward voltage drop on the run. Suppose only one wall wash on the side yard is dim while the other branch looks normal. That pattern points to the weak branch, splice, or fixture.
Is the transformer output low?
Check the transformer output with a multimeter before replacing lights. A normal transformer reading is within 10–14V, but a low reading can also come from overload, wrong tap selection, or a wiring fault downstream. If the transformer reads low with proper input power, the next move is to verify load and tap setting, not to swap random bulbs.
- Set the multimeter to AC volts.
- Probe the active output tap and the common terminal at the transformer.
- Record the reading beside the label for the selected 12V, 13V, 14V, or 15V tap.
- Compare the reading against the system load and fixture count.
- If the output stays low after the input side checks out, replace the transformer or re-zone the circuit.
A reading below about 10V can suggest a failing transformer only after the input side, tap choice, and total load have been checked. Moisture intrusion and age can damage the unit, and overload can pull the output down even when the transformer itself still powers on.
Can voltage drop make the far lights dim?
Yes. Voltage drop is one of the most common reasons the farthest fixtures look weak or flicker. It gets worse on long runs and thin wire. The key test is not the transformer alone. Measure voltage at the last fixture, because a healthy reading at the transformer can hide a poor reading at the end of the line.
- Measure the transformer output first, then move to the farthest fixture.
- Record the voltage at the farthest fixture with the lights on.
- Compare that reading with the target voltage at each fixture: 11.5V to 12V.
- If the last fixture is under 11V, expect dim output and shorter LED life.
- If the run is long, compare the wire gauge, run length, and total wattage before changing the layout.
For runs over 50 feet, 12-gauge wire is recommended. Anything beyond 100 feet may require a dedicated circuit or a second transformer. A practical example: a 24-fixture system at 4W each totals 96W before headroom, so the cable and transformer should be sized for more than the bare wattage alone.
Do corroded connectors or bad wire cause the problem?
Yes. Corroded splices, loose copper, and damaged cable can dim one branch or one fixture even when the transformer output looks fine. Standard wire nuts can corrode within two seasons, especially underground or in wet enclosures. Silicone-filled connectors resist moisture better and are the right repair for buried or direct-burial splices.
- Open each suspect splice and look for green corrosion, loose copper, or water intrusion.
- Replace questionable splices with silicone-filled direct-burial connectors.
- Inspect cable for cuts, crushed sections, or a severed conductor.
- Check the branch feeding the weak run if only one section is dim.
- If the cable is damaged under a buried section, stop and repair the run before re-energizing it.
Use a flashlight and a note of the wire path before digging. Cable is usually buried 6 to 12 inches deep, so a shallow nick can happen during edging, planting, or aeration.
Troubleshooting matrix
| Check | All lights dim | One branch dim | One fixture dim | Next action |
|---|---|---|---|---|
| GFCI / transformer | Confirm GFCI is reset and transformer has input power. | Confirm the branch shares the same energized transformer output. | Confirm the same transformer powers the fixture. | If the transformer has input power but output stays low, stop DIY and replace the transformer or re-zone the circuit. |
| Voltage reading | Measure at the transformer, then at the farthest fixture. | Compare the dim branch reading to the bright branch. | Measure at the fixture base and at a known-good fixture. | If the farthest fixture drops below 11V while the transformer is normal, treat it as voltage drop and upgrade the run, wire gauge, or layout. |
| Connector inspection | Check every splice on the main run. | Check the splice feeding the weak branch first. | Check the socket connector or pigtail at the fixture. | Repair corrosion with silicone-filled direct-burial connectors; if one branch stays dim after repair, re-zone or shorten the run. |
| Fixture swap | Swap one fixture only after power and wiring checks. | Swap a fixture from the bright branch to the dim branch. | Swap the dim fixture with a known-good lamp or head. | If the problem follows the fixture, replace it. If it stays with the branch, keep tracing the cable. |
How do I repair LED outdoor lights?
Repair LED lights by isolating the fixture before replacing the whole unit. LED bulbs and integrated fixtures can fail suddenly, or dim because of driver or socket issues. Match the replacement to the original voltage and wattage specifications. If the fixture is over 12.5V, it can run hot and shorten LED life.
- Swap the dim LED with a known-good LED of the same rating.
- Test the socket or fixture pigtail for loose contact or corrosion.
- Replace the fixture only if the dimming follows the lamp or driver.
- Keep the output target near 11.5V to 12V at the fixture.
Halogen lamps help with pattern checks because they often dim gradually before burning out. If a halogen fixture fades slowly while nearby LED fixtures fail suddenly, that difference can help separate lamp wear from a wiring issue.
If that didn’t work, try this next
If the first checks do not isolate the fault, move from the power source toward the fixture in order. That keeps you from replacing parts blindly. The next step depends on where the voltage changes, not on which part looks oldest.
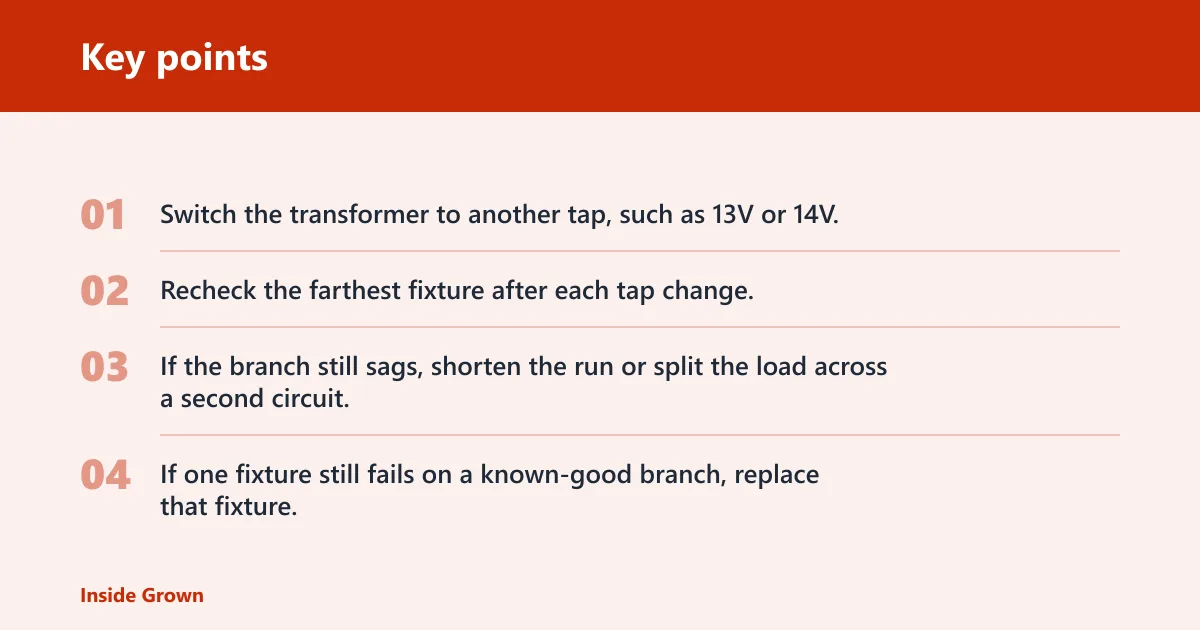
- Switch the transformer to another tap, such as 13V or 14V, only if the measured fixture voltage is low and the transformer still has headroom.
- Recheck the farthest fixture after each tap change.
- If the branch still sags, shorten the run or split the load across a second circuit.
- If one fixture still fails on a known-good branch, replace that fixture.
Do not keep raising the tap after the fixture already reads near 12.5V. Extra voltage can make the fixture run hot and shorten LED life.
Common mistakes
- Checking only the transformer and skipping the farthest fixture voltage reading.
- Replacing bulbs before inspecting connectors and wire condition.
- Using regular wire nuts underground instead of direct-burial connectors.
- Treating every dim LED as a transformer failure.
- Ignoring the different fade pattern of halogen lamps.
- Assuming one wire gauge fits every long run without checking total wattage and layout.
What about solar outdoor lights? Those dim for different reasons: dirty panels, weak batteries, shaded placement, or a failed controller. The fix is not a transformer check. Clean the panel, confirm the battery is charging, and replace the battery only if the panel and wiring path are sound.
Frequently asked questions
How do I know if my transformer is bad?
A transformer is suspect when input power is present, the selected tap is correct, and the output still stays low. Use a multimeter at the active tap. If the reading remains below 10V after the load is reasonable, the unit may be failing from age, moisture intrusion, or overload.
How do I test voltage at outdoor lights?
Set the multimeter to AC volts, then probe the fixture leads with the lights on. Test the farthest fixture first, because that reading reveals voltage drop. The target voltage at each fixture is 11.5V to 12V. A reading under 11V points to dim output and shorter LED life.
Can corroded connectors make outdoor lights dim?
Yes. Corroded splices add resistance and can dim one branch or one fixture even when the transformer is fine. Open the splice, look for green copper or water intrusion, and replace it with a silicone-filled direct-burial connector. Standard wire nuts can corrode within two seasons.
What causes voltage drop in outdoor lighting?
Long cable runs, thin wire, and high total wattage all increase resistance. That is why the farthest fixtures dim first. For runs over 50 feet, 12-gauge wire is recommended. Anything beyond 100 feet may need a dedicated circuit or a second transformer, depending on the load and layout.
Do I need a bigger transformer for dim lights?
Only if the transformer is undersized after you count the real load and headroom. A 24-fixture system at 4W each totals 96W before headroom, and sizing usually adds 20 percent by multiplying by 1.25. If the output is still low after that check, the transformer may need replacement or the circuit may need re-zoning.
How do I replace an outdoor light?
Match the replacement to the fixture’s voltage and wattage rating, then confirm the branch voltage first. If the old fixture was the only dim point and the voltage at the branch is normal, a swap is reasonable. If the branch itself is dim, fix the wiring before installing a new fixture.