
Landscape Lighting Safety Tips for DIY Installs
Call 811 before any digging. Use a GFCI-protected outdoor circuit, and keep all splices above grade or in listed underground enclosures. Skip those steps, and you risk shock, cable damage, code violations, and avoidable repair costs. For code-sensitive details, verify local requirements and follow the installation instructions that come with the specific transformer, cable, and connectors you buy. This guide covers electrical checks, trenching safety, pre-bury testing, and the decisions that keep DIY outdoor lighting safer.
Outdoor lighting safety checklist


| Hazard | Why it matters | Safe action | Red-flag stop conditions |
|---|---|---|---|
| Electrical fault at the transformer | An overloaded transformer can overheat, trip, or deliver weak output at the farthest fixtures. | Match total fixture wattage to transformer capacity with headroom; use a 12V or 15V low-voltage transformer with an indoor or outdoor rating that fits the location. Transformer sizing is typically based on connected load plus reserve capacity, not just the number of fixtures. | Transformer hums loudly, gets hot to the touch, or trips repeatedly. |
| Digging into buried utilities | Unknown gas, electric, data, or irrigation lines can be damaged during trenching. | Call 811 and wait for marked utilities before digging; check local burial rules before starting. Utility-locate services are the standard pre-dig step in the U.S., and marked lines should still be treated as approximate until verified. | No locate marks are present, or the route crosses an unverified utility corridor. |
| Cable damage after burial | Shallow cuts, shovel strikes, and repeated traffic can nick insulation and create faults later. | Use direct-bury cable rated for the job, route it away from driveways and edging tools, and protect crossings where needed. Follow the manufacturer’s burial and connector instructions for the specific cable and fittings. | Cable jacket is nicked, crushed, or routed under a likely dig line. |
| Glare and trip hazards | Unshielded path lights can blind users, and poorly placed stakes can catch feet or mower wheels. | Choose fixtures with controlled beam spread, mount them off walking lines, and keep light aimed down and away from eyes. | Lights shine into windows, across steps, or directly at eye level. |
| Water intrusion at splices | Moisture in a splice can corrode conductors and cause intermittent failure. | Use gel-filled or waterproof splice methods rated for burial, with proper strain relief and corrosion resistance. Follow the connector manufacturer’s direct-bury or underground-splice instructions exactly. | Splices are twisted bare, taped only, or sitting in standing water. |
What you’ll need
- Low-voltage outdoor lighting transformer, 12V or 15V output, with wattage capacity above the connected load
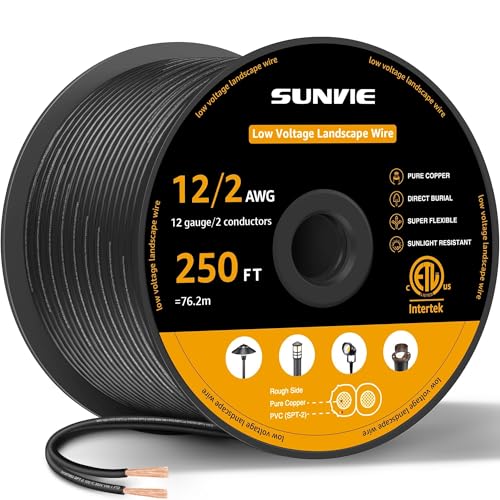
- Outdoor lighting cable, commonly 12/2, 14/2, or 16/2, with direct-bury suitability and UV-resistant insulation if exposed
- Wet-location outdoor fixtures, stakes or hardscape mounts, and compatible LED lamps
- Gel-filled or waterproof connectors rated for burial use
- Outdoor-rated GFCI receptacle or GFCI protection at the supply point
- Utility flags, marking paint, tape measure, and a layout string
- Spade shovel or trenching tool with a shallow-dig edge
- Voltage tester or multimeter for pre-bury checks
- Timer or photocell control, if not built into the transformer
- Safety glasses, gloves, and closed-toe shoes
How do you plan a safe layout?
Route planning and hazard mapping
Plan the route before any trench is opened. Put lights where they improve visibility without creating glare at eye level. Mark steps, slopes, driveway edges, mower paths, and any place a shovel or wheelbarrow is likely to cross. Keep the transformer accessible, dry, and close enough for maintenance, but not where spray or splash will hit it.
- Walk the property and mark walking paths, changes in grade, and vehicle edges.
- Place fixtures so beams fall across the surface, not into eyes.
- Keep cable routes away from planting beds that will be reworked often.
- Call 811 and wait for utility marks before staking the final line.
- Leave the transformer where the outlet, timer, and reset button are easy to reach.
Say your path runs beside two stone steps and a short slope. Put the fixtures on the downhill side and aim them across the treads, not straight outward. That reduces glare and helps people read the step edges without creating bright spots that hide the next footing.
How do you choose the right power setup?
Low-voltage vs. line-voltage basics
For most DIY installs, low-voltage lighting is the safer starting point, but it still needs the right transformer and wiring. Low-voltage systems typically use a transformer to step standard household power down to about 12V or 15V. Line-voltage outdoor wiring is a different category: it follows stricter burial, conduit, and inspection rules, and it is not a casual DIY substitute.
Transformer sizing and voltage-drop choices
Choose a transformer with about 12V or 15V output, an indoor or outdoor rating that matches the install site, and wattage capacity above the connected fixture load. Add headroom so the system does not run at the limit. For voltage-drop guidance, rely on the transformer’s installation instructions and wire-length recommendations, then verify that the farthest fixtures still receive usable light at the end of the run.
| Run length / load tendency | Common gauge choice | What to expect | Decision trigger |
|---|---|---|---|
| Short run, light load | 16/2 | Often adequate for compact layouts with only a few fixtures close to the transformer. | If the last lights dim or flicker, move up a gauge or shorten the branch. |
| Moderate run or mixed fixture count | 14/2 | Common middle-ground choice when the route is longer or the load is no longer minimal. | Use this when 16/2 is borderline but 12/2 is more than the layout needs. |
| Long run or heavier load | 12/2 | Better for longer branches because it reduces voltage drop at the far end. | Move to 12/2 when the layout stretches out or the last fixtures look weak during testing. |
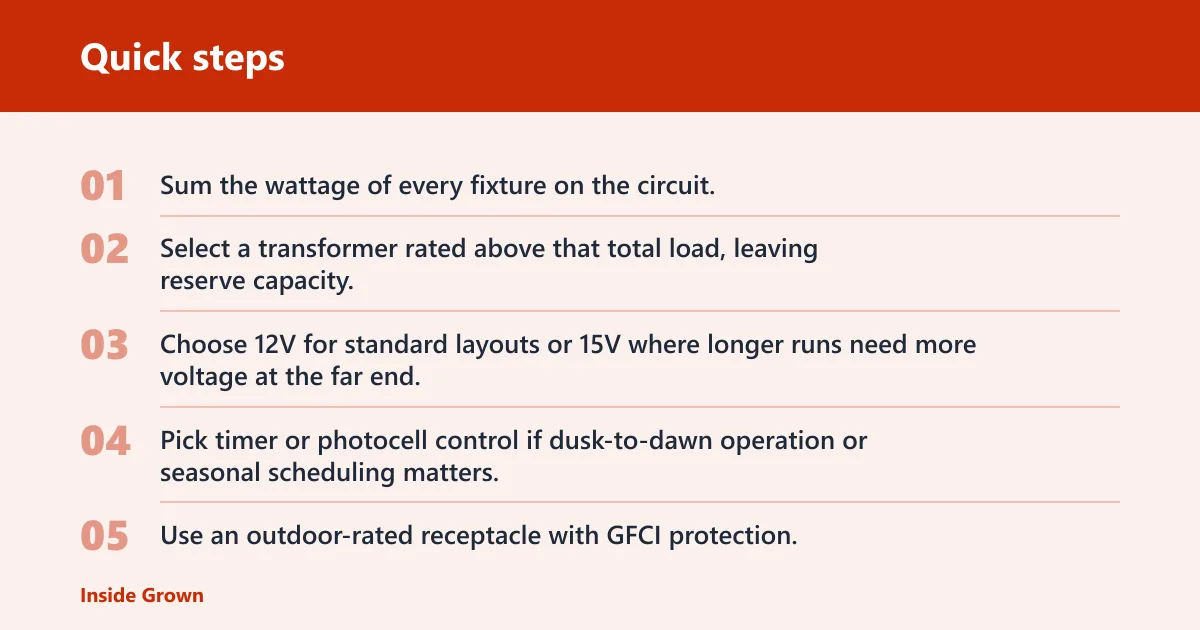
- Sum the wattage of every fixture on the circuit.
- Select a transformer rated above that total load, leaving reserve capacity.
- Choose 12V for standard layouts or 15V where longer runs need more voltage at the far end.
- Pick timer or photocell control if dusk-to-dawn operation or seasonal scheduling matters.
- Use an outdoor-rated receptacle with GFCI protection, and confirm the reset location is easy to reach.
Choose wire gauge with voltage drop in mind. A common rule of thumb is that 12/2 handles longer runs better than 14/2, and 16/2 is generally best kept to shorter, lighter-load branches. If the farthest fixtures look dim during testing, that is a routing or gauge issue, not a reason to bury and hope. Transformer guidance from major manufacturers typically emphasizes connected load, branch length, and acceptable brightness at the far end rather than fixture count alone.
How should you install wire and fixtures safely?
Code-sensitive burial guidance
Set trench depth by wire type and local code. Low-voltage cable is often buried shallowly, while line-voltage wiring typically needs deeper burial and stricter inspection rules. The table below is a practical, hedged guide only; verify local code, the cable listing, and any manufacturer instructions before digging.
| Cable type | Common depth range | When conduit or crossing protection may be needed | Verify local code |
|---|---|---|---|
| Low-voltage landscape cable | Shallow burial is common; many layouts use only a few inches of cover. | Use additional protection at driveway crossings, under hardscape, near other utilities, or where tools may strike the route. | Yes — depth can vary by jurisdiction and by whether the route is in a protected or exposed area. |
| Direct-bury line-voltage cable | Deeper burial is typically required than for low-voltage cable. | Conduit, warning tape, or other protection may be required, especially for crossings and exposed segments. | Yes — line-voltage rules are more strict and may require permit or inspection. |
| Line-voltage in conduit | Depth depends on conduit type, location, and code. | Conduit is commonly used where added mechanical protection is needed or where code requires it. | Yes — minimum cover and conduit rules vary by locality. |
Use direct-bury cable where allowed, keep UV-resistant insulation from prolonged sun exposure, and protect any exposed span. Wet-location fixtures belong in the path, garden, or hardscape only when their mounting style fits the site.
- Lay cable on the surface first and dry-fit every fixture.
- Dig only after confirming utility marks and burial depth requirements.
- Place splices in listed underground enclosures or above grade in approved locations.
- Use gel-filled or waterproof connectors and add strain relief at each junction.
- Mount fixtures with the correct stake or hardscape hardware, then aim beams low.
- Keep lights far enough from walking lines that a foot or mower deck cannot hit them.
Suppose a 30-foot side yard has a narrow walkway and a sprinkler head near the edge. Run the cable on the inside of the bed, not along the walkway edge. That keeps digging away from the heaviest foot traffic and lowers the chance of a future nick from edging tools. Narrow-run layouts also benefit from fewer changes in direction, because each extra turn can add avoidable loss and make the route harder to service later.
What light output and color temperature are safest?
Brightness by task
Safety is not just about wiring. Light level and color temperature affect whether a path feels clear or harsh. For most residential work, modest output is easier on the eyes than overlighting. Path lights are often most useful when they illuminate the walking surface without producing a bright hotspot; steps generally need enough light to read the edges; accent lighting should be lower still so it adds definition without becoming glare.
| Area | Recommended lumen range | Goal | Glare risk |
|---|---|---|---|
| Path lighting | About 100 to 200 lumens per fixture | Show the walking line without shining into eyes. | Higher output can become harsh if fixtures sit too close to eye level. |
| Step lighting | About 50 to 150 lumens per fixture | Define tread edges and landings clearly. | Too much brightness can flatten contrast and make steps harder to read. |
| Accent lighting | About 30 to 100 lumens per fixture | Add visual cueing to plants, walls, or features without overpowering the scene. | Overbright accents can distract from the walkway. |
Color temperature and glare control
Warm-white light, often in the roughly 2700K to 3000K range, usually feels softer and is less likely to create a cold, clinical look. Overly cool or overly bright light can increase glare, especially on shiny stone, water, or pale concrete, and it can make a path feel less comfortable even when visibility seems high. Keep beams shielded and aimed downward so the light serves the surface rather than the eyes.
What is the safest pre-bury test sequence?
Above-ground verification
Test everything above ground before backfilling. A pre-bury check catches reversed connections, dim runs, bad splices, and control problems while access is still easy. Power the system, verify each fixture, and confirm the timer, photocell, and manual override all work before any trench is closed.
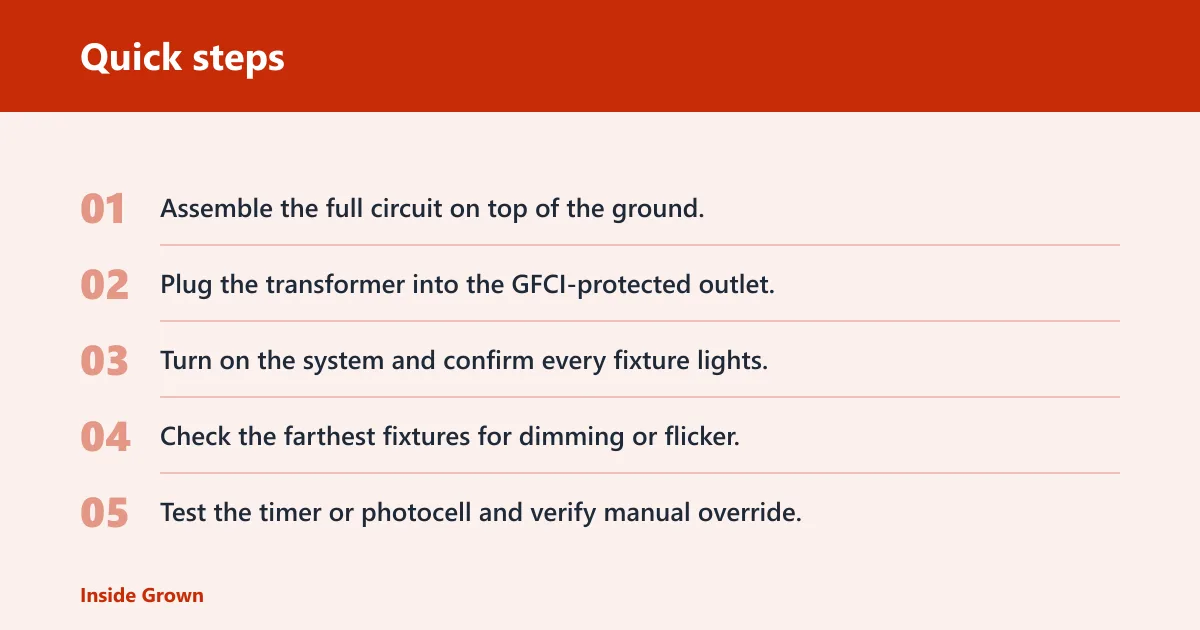
- Assemble the full circuit on top of the ground.
- Plug the transformer into the GFCI-protected outlet.
- Turn on the system and confirm every fixture lights.
- Check the farthest fixtures for dimming or flicker.
- Test the timer or photocell and verify manual override.
- Feel the transformer housing and connectors for unusual heat after 15 minutes.
- Recheck each splice for moisture seepage, looseness, or corrosion risk.
- Only then backfill, leaving access to the transformer and any service point.
A common first-timer mistake is burying a branch before confirming the end of the run. If the last three fixtures are dim in the open-air test, move the tap point, shorten the run, or move to a heavier gauge before soil covers the cable. Add depth in 2-inch increments only where code and cable type allow it, then recheck the route.
Common mistakes
Overloading the transformer is the fastest way to weak output and short service life. Ignoring voltage drop can make the far end look dull even when the near lights seem fine. Burying untested wire turns a simple wiring error into a digging job twice over. Using a fixture or connector without the right wet-location or burial rating invites water intrusion.
Skip line-voltage work if the circuit, burial depth, or enclosure requirements are unclear. A low-voltage system is safer for many DIY jobs, but it does not cancel code rules or eliminate shock risk. If the layout crosses a driveway, slope, or step landing, keep the cable route out of the way and use hardscape-rated fixtures where needed.
- Do not use taped splices as a permanent burial method.
- Do not place path lights where they become trip points.
- Do not aim beams into windows or faces.
- Do not bury cable until the transformer load, control, and output have all passed the test sequence.
Simple wire-routing review list
- Does the route avoid known utility corridors and unmarked ground?
- Does the cable stay away from mower paths, edging zones, and frequent digging beds?
- Are crossings minimized and protected where they cannot be avoided?
- Are splices accessible, listed for burial, and kept dry by design?
- Will the farthest fixture still be bright enough after the cable is buried?
Frequently asked questions
How deep should I bury outdoor lighting wire?
Low-voltage cable is usually buried shallowly, but the exact depth depends on local code, wire type, and whether the run crosses a traffic area. Line-voltage wiring generally needs deeper burial and stricter protection. Check local requirements before digging, then keep the route clear of future shovel lines and mower paths. Manufacturer instructions and local code should both be checked because burial depth can change with cable listing, conduit use, and crossing conditions.
Do I need a transformer for low voltage outdoor lights?
Yes. Low-voltage outdoor lighting needs a transformer to step standard power down to about 12V or 15V. Choose one with enough wattage capacity for the full load, plus extra headroom. Built-in timer or photocell options make dusk control easier and reduce the need for manual switching.
What safety precautions should I take when installing outdoor lights myself?
Use a GFCI-protected outdoor circuit, call 811 before digging, and keep splices in listed underground enclosures or above grade. Plan the route around steps, slopes, and driveways, then test the entire system before burying anything. If the job needs new line-voltage wiring, stop and review local rules first. NEC-adjacent outdoor wiring guidance also emphasizes proper fault protection, approved burial methods, and equipment listed for wet or underground locations.
Can I install outdoor lighting without an electrician?
Many low-voltage layouts are suitable for careful DIY installation if you stay within the transformer rating, follow local code, and use proper burial and splice methods. Line-voltage work is a different category and may require a licensed electrician. When the route involves new service, uncertain grounding, or questionable burial depth, do not guess.
How do I keep outdoor lighting wires from getting damaged?
Use direct-bury cable with UV-resistant insulation where exposure is possible, route it away from edging and digging zones, and protect crossings that see foot or vehicle traffic. Keep splices sealed against moisture and leave service access at the transformer. A buried cable that cannot be reached easily later is harder to inspect and repair. Follow the direct-bury connector manufacturer’s installation steps closely, because improper preparation, stripping, or sealing can defeat the rating.
What wire gauge should I use for a DIY outdoor lighting system?
For short runs with light loads, 16/2 may be enough. For longer runs or heavier loads, 14/2 or 12/2 reduces voltage drop and helps the farthest fixtures stay bright. Match the gauge to the total load and distance, not just the number of fixtures. If the last lights look dim, upsize the cable before burial. Transformer and voltage-drop guidance from lighting manufacturers generally points to the same decision: longer branch length and heavier load favor thicker cable.
Should outdoor lights be on a GFCI circuit?
Yes, outdoor lighting should usually be supplied from a GFCI-protected outlet or circuit in most DIY setups. The reset must stay accessible so nuisance trips can be cleared without digging or moving equipment. If the circuit trips repeatedly, treat it as a fault until the wiring, fixture seals, or connections are checked.
How do I avoid glare and tripping hazards with path lights?
Choose fixtures with a narrow enough beam to light the walking surface, not the eyes. Keep the fixture heads low, place stakes outside the main walking line, and avoid bright sources at corners or step edges. Warm white light often reads softer than cool white, and a controlled beam angle helps the path stay visible without harsh spill.
What is the safest way to test outdoor lighting before burying the wire?
Set up the whole circuit above ground, power it from the GFCI-protected outlet, and confirm each fixture, splice, and control setting before backfilling. Check for dim ends, flicker, heat, and moisture at the connectors. If any light fails, fix the issue while the cable is still exposed. This is also the best time to confirm timer settings, photocell behavior, and the full load against the transformer rating.