
How to Install a Landscape Lighting Timer
For a low-voltage outdoor lighting system, a common setup is to install a 120-volt outdoor timer on the transformer’s supply side, rated for the transformer’s wattage and amperage; if the transformer has a built-in photocell and timer, use that instead of a separate inline low-voltage timer. Wire it wrong or undersize it, and you can get flickering, nuisance trips, dead transformers, or a system that stays on all night. This guide shows how to pick the right timer, confirm compatibility, wire it in the correct path, and avoid the failures that show up before you ever program a schedule.
What you’ll need
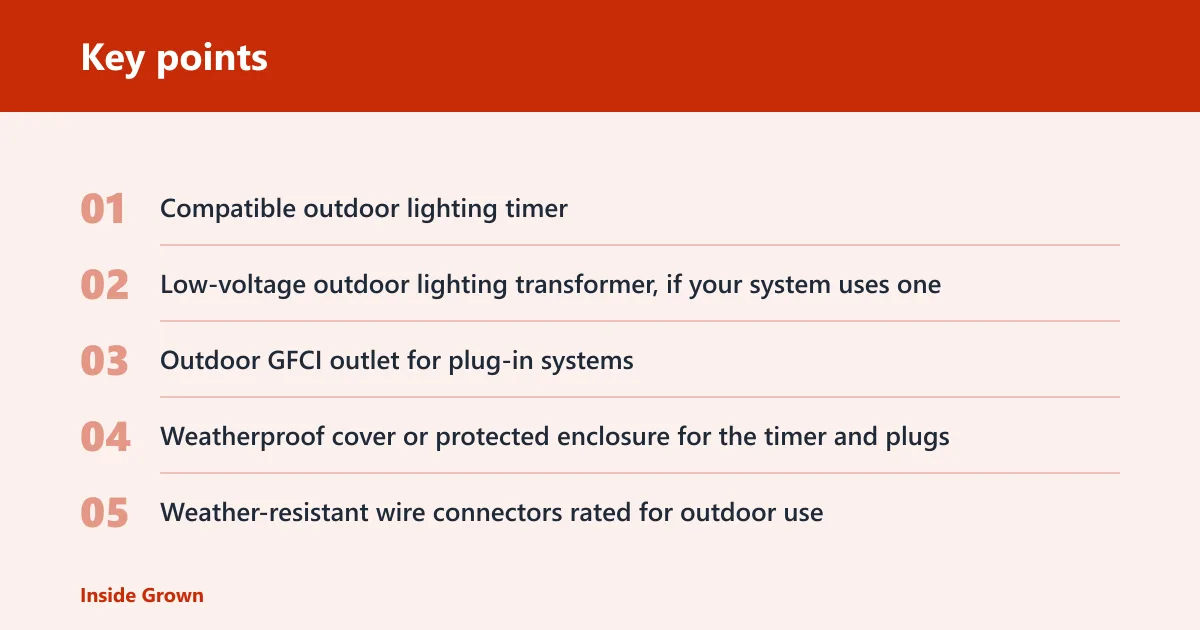


- Compatible outdoor lighting timer
- Low-voltage outdoor lighting transformer, if your system uses one
- Outdoor GFCI outlet for plug-in systems
- Weatherproof cover or protected enclosure for the timer and plugs
- Weather-resistant wire connectors rated for outdoor use
- Digital multimeter for voltage and continuity checks
- Screwdriver and wire strippers, if the timer is hardwired
- Owner’s manual for the timer and transformer
- Label or tape for marking circuits before power is shut off
Safety checks before you start: confirm that the outlet is grounded, confirm GFCI protection where required, and inspect outdoor wiring for cracked insulation, loose caps, or water intrusion. If the timer sits outdoors, choose hardware meant for outdoor-rated use or place it in a protected location.
Timer selection matrix
| System type | Required timer type | Pre-install checks |
|---|---|---|
| Plug-in transformer | Plug-in outdoor timer or plug-in digital timer rated for the transformer load | Wattage load, outdoor outlet/GFCI, weatherproof cover, memory backup |
| Hardwired low-voltage transformer | Timer built into the transformer or a line-voltage timer approved for the supply side | Wattage load, grounding, protected placement, schedule controls, memory backup |
| Solar | Usually no external timer; use the built-in controller or a solar-compatible control only | Panel exposure, battery or capacitor condition if present, preset modes, manual override |
Match the timer to the power path first. A plug-in timer sits between the outdoor outlet and the transformer. A hardwired timer controls the supply feeding the transformer. Solar fixtures typically rely on onboard controls, so a separate inline timer usually is not the right choice.
How do you choose the right timer?
Choose a timer that matches the system voltage, the transformer style, and the total wattage load. Leave headroom above the connected fixtures so startup demand does not push the timer or transformer to its limit. If the timer is outdoors, use an outdoor-rated unit or place it where rain and splash cannot reach it.
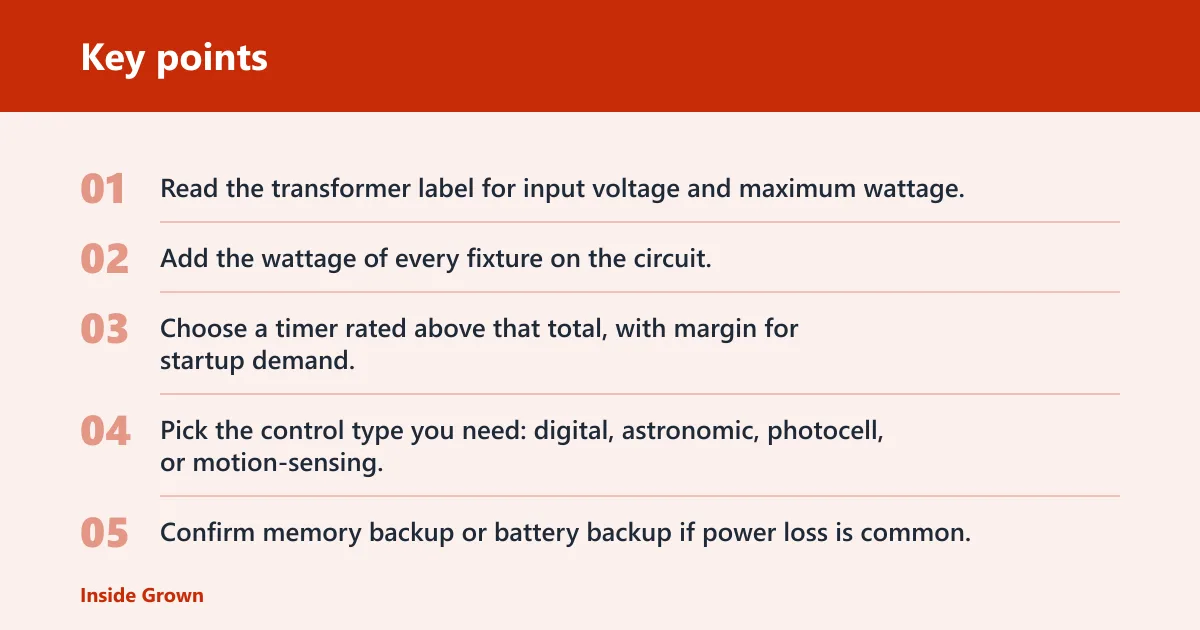
- Read the transformer label for input voltage and maximum wattage.
- Add the wattage of every fixture on the circuit.
- Choose a timer rated above that total, with margin for startup demand.
- Pick the control type you need: digital, astronomic, photocell, or motion-sensing.
- Confirm memory backup or battery backup if power loss is common.
A common first-timer mistake is mounting the timer where the weatherproof cover can’t close properly. Suppose a transformer serves eight fixtures at 10 watts each. The circuit totals 80 watts, but the timer still needs a higher rating than that total, not an equal one, because control electronics and startup demand can create nuisance failures.
How do you install the timer?
Turn off power, connect the timer in the correct power path, and protect every outdoor connection before restoring power. For plug-in systems, the path is outlet to timer to transformer. For hardwired systems, the timer belongs on the supply side feeding the transformer, not on the low-voltage lighting run itself.
- Switch off the breaker or unplug the circuit.
- Verify the circuit is dead with a digital multimeter.
- Connect the timer to the supply side of the system.
- Secure outdoor wiring with weather-resistant connectors.
- Place plugs, splices, and the timer in protected, dry locations.
- Restore power and check that the display or indicator lights come on.
If the timer has a separate backup battery, install it before power-up so the clock does not reset during setup. If the transformer already includes a timer or photocell, use the built-in control path unless the manufacturer allows an external controller.
Say your plug-in transformer sits on a covered porch with a grounded GFCI outlet nearby. The timer goes between the outlet and transformer, while the low-voltage cables stay on the transformer side. That layout keeps the line-voltage control in the right place and leaves the outdoor lighting run on the low-voltage side only.
How do you set the schedule?
Set the on and off times first, then confirm the clock and any preset mode. Many timers also offer runtime duration, sunrise-sunset control, or astronomic timing. If the unit supports multiple schedules, program only the ones you need so the system does not conflict with itself.
- Open the timer menu or set the dial to program mode.
- Set the current day and time before entering a schedule.
- Choose on and off times, or pick sunrise-sunset mode.
- Save the program and exit to run mode.
- Check the display after a short pause to confirm the schedule stored.
Some timers also accept a motion sensor or photocell as an added control. That can reduce manual timing needs, but it should not be used to mask a bad schedule or a miswired transformer. If the timer offers astronomic mode, confirm your location setting so seasonal shifts remain close to local sunset.
How do you test a lighting timer after installation?
Test the timer by forcing an on cycle, then checking both the display and the load side. If the lights do not respond, use the multimeter to verify supply voltage, then confirm that the transformer and fixture circuit are intact. A working schedule still needs a working power path.
- Set the timer to manual on or test mode.
- Confirm that the transformer hums or powers up normally.
- Check fixture output at the low-voltage side.
- Advance the clock past the off time to confirm automatic shutoff.
- Restore the normal schedule and recheck the next cycle.
Picture a timer that powers the transformer manually but never switches off on schedule. That points more to programming or clock retention than to the lighting run. If the display resets after a power loss, the unit may need battery backup or a different timer class.
Common mistakes
Most installation problems come from mismatched power requirements, poor outdoor protection, or settings that do not survive power loss. Fix those first, because they create the majority of “timer not working” complaints on outdoor lighting systems.
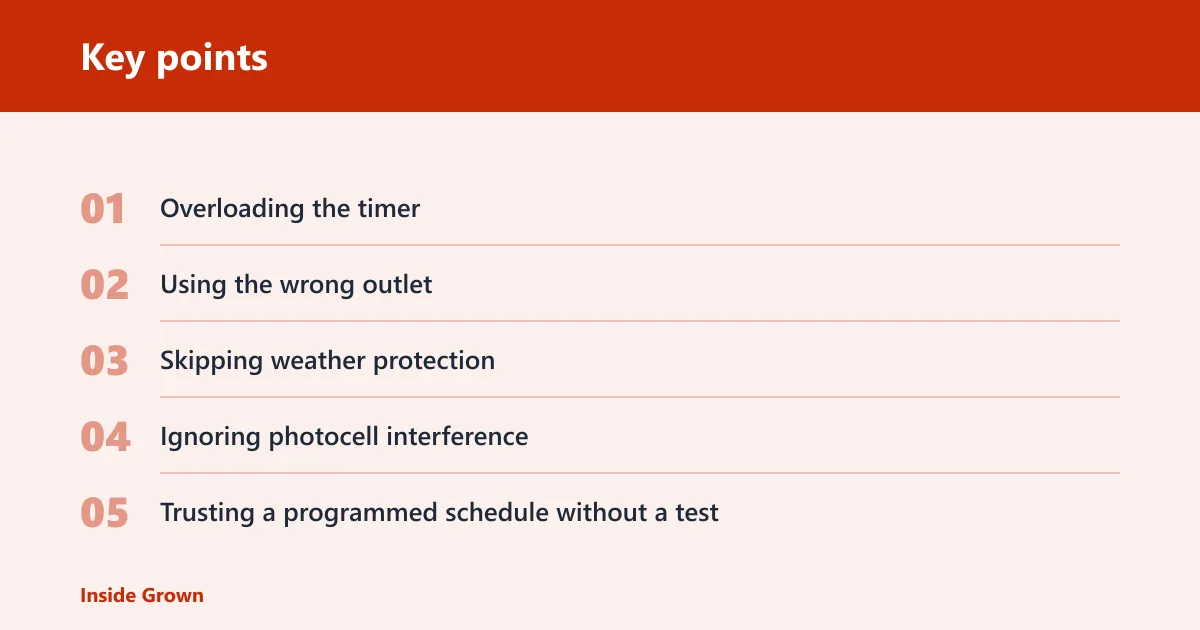
- Overloading the timer: sum every fixture’s wattage and stay below the timer and transformer ratings.
- Using the wrong outlet: a plug-in setup should use a grounded outdoor GFCI outlet.
- Skipping weather protection: keep plugs, splices, and the timer in protected placement.
- Ignoring photocell interference: a covered photocell can stop the system from turning on when expected.
- Trusting a programmed schedule without a test: run a manual cycle and verify shutoff before closing the job.
If that didn’t work, try this next: check the transformer label, then check the timer rating, then check the outlet with a multimeter. A damaged connector or a tripped GFCI often looks like a programming problem until the circuit is tested.
Outdoor lighting timer setup matrix
| System type | Required timer type | Pre-install checks |
|---|---|---|
| Plug-in transformer | Outdoor plug-in timer rated for line voltage | Wattage, outdoor outlet/GFCI, weatherproof cover, memory backup |
| Hardwired low-voltage transformer | Line-voltage timer or built-in transformer timer | Wattage, grounding, protected placement, schedule settings, memory backup |
| Solar | Built-in controller or solar-compatible timer only | Panel exposure, battery or capacitor, preset modes, manual override |
Frequently asked questions
How do I install an outdoor light timer?
Shut off power, verify the circuit with a digital multimeter, then place the timer on the supply side of the lighting system. For plug-in transformers, connect outlet to timer to transformer. For hardwired systems, install the timer on the line-voltage feed that powers the transformer.
What timer works with low-voltage outdoor lighting?
Use a timer rated for the transformer’s line-voltage supply and total wattage load. For plug-in transformers, choose an outdoor plug-in timer. For hardwired transformers, use a compatible line-voltage timer or the timer built into the transformer itself.
How do I wire a lighting timer to an outdoor outlet?
Plug the timer into a grounded outdoor GFCI outlet, then plug the transformer into the timer. Keep the timer and any connectors in protected placement with a weatherproof cover if the location is exposed to rain or spray.
How do I program the on and off times on a lighting timer?
Set the current day and time first, then enter the on time and off time or choose sunrise-sunset mode. Save the program, return the timer to run mode, and confirm that the display keeps the correct clock after the change.
Why is my outdoor lighting timer not working?
The usual causes are no power, a tripped GFCI, a bad schedule, load overload, a covered photocell, or a loose connector. Check the outlet first, then the timer display, then the transformer load, and finally the outdoor wiring path.