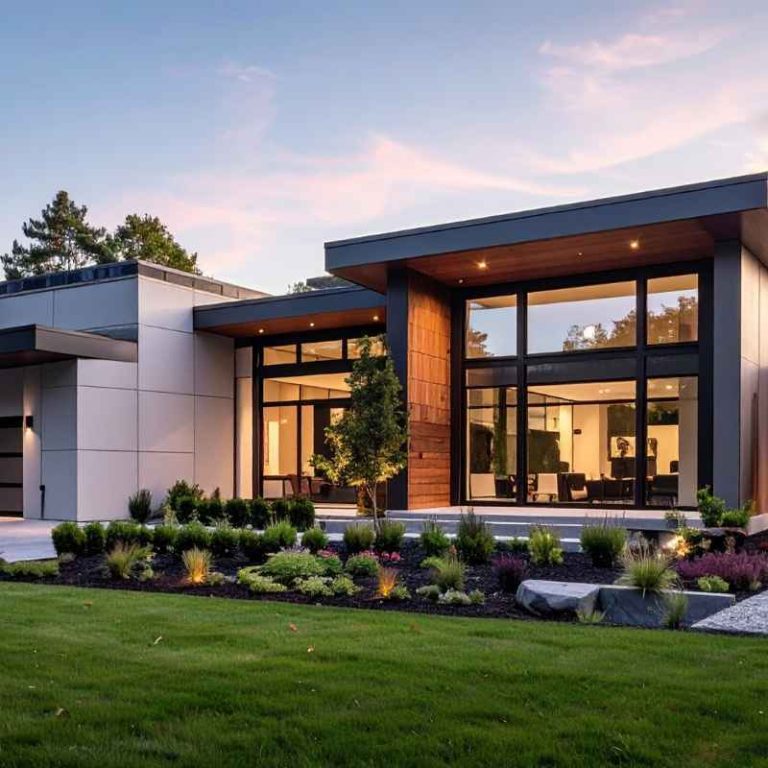
How to Plan Landscape Lighting for a Front Yard
Plan front-yard lighting backward: map nighttime walking routes and the driver’s curb view first, then choose fixtures, aiming for about 1–2 layers of light per path and as few dark trip points as practical. Poor planning leaves glare, wasted power, and dark steps or drive edges people miss. I’ve had better results starting with the route, then fitting the lights to it. This guide shows how to map movement, set fixture counts, place light where it matters, and avoid buying the wrong type too early.
How do you plan front yard lighting?
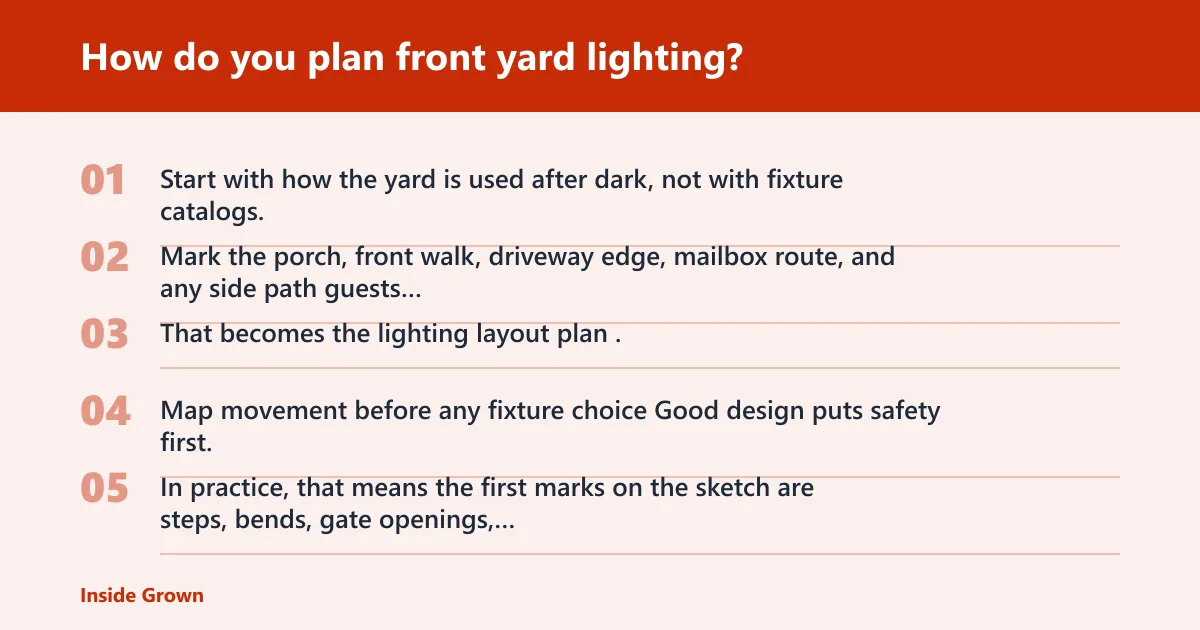


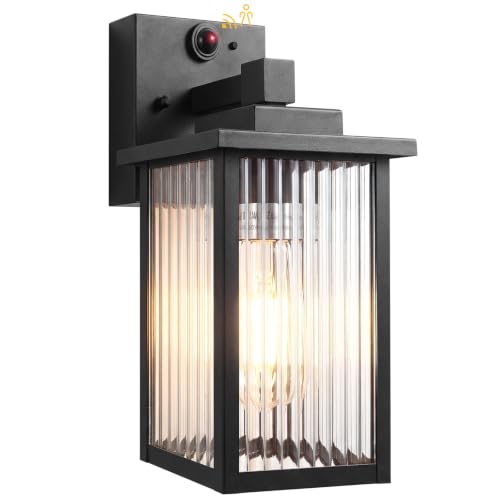
Start with how the yard is used after dark, not with fixture catalogs. Mark the porch, front walk, driveway edge, mailbox route, and any side path guests follow, then note what a driver sees from the street and what a visitor sees on foot. That becomes the lighting layout plan.
Map movement before any fixture choice
Good design puts safety first. In practice, that means the first marks on the sketch are steps, bends, gate openings, and the places where a guest changes direction. Those are the spots that need reliable light before any decorative layer is added.
After the route is drawn, divide the yard into a few jobs: safety light, soft fill, and focal points. Safety light covers walking lines. Soft fill keeps the front of the house from dropping into blackness. Focal points get a little extra attention, but only where they help the eye understand the entry.
Use a simple decision order
A plan is a list of steps with timing and resources. For front-yard lighting, a practical order is to map movement, mark sightlines, assign zones, estimate counts, then check power and cable routes. That sequence keeps the plan tied to use instead of decoration.
Planning can mean the creation of a plan, but here it should be a working sketch that survives a night walk. If the sketch cannot explain where a visitor steps, where a driver looks, and where glare might land, it is not ready.
What should be lit first in front-yard yard lighting?
Light paths first for safe movement, then add the entry so the door does not disappear into shadow. After that, use accent lighting only where a tree, porch detail, or wall feature needs a focal point. The order matters because safety comes before style.
Build the route in layers
Path lights should create overlapping pools of light. That overlap keeps the walk readable without forcing the eye to jump from one bright spot to the next. It also helps around small changes in grade, where one weak fixture can leave a hidden edge.
Once the route is readable, add the porch transition. Front doors, steps, and stoops often fail here. The entry needs enough light to show the handle, threshold, and landing, but not so much that a guest walks into a bright wall and loses depth perception.
How do path lights, spotlights, and accent lighting work together?
Path lights handle walking safety, spotlights handle focal points, and accent lighting adds depth without making the yard uniformly bright. That mix creates layered lighting, which separates movement areas from the house face and keeps the front yard from looking flat.
Assign one job to each layer
Path lights are used first for safety and belong along walkways, steps, and any route that a guest actually follows. They should be spaced with purpose rather than evenly for its own sake. A bend, landing, or change in width may need tighter spacing than a straight run.
Spotlights are best for trees, entryways, or one key feature. They should be used sparingly to avoid over-lighting. Accent lighting highlights one or two important features and gives the front yard depth, not a brighter version of everything.
Layered lighting can combine path, accent, tree, architectural, and ambient layers. Each layer should do one job. When all five try to do the same thing, the result is usually glare and a yard with no visual hierarchy.
How do you size a lighting layout by yard size?
Front yards usually read better when the plan matches the scale of the space. Small yards need a tight set of path lights and a couple of accents. Medium yards can support a path layer, accent layer, and porch or patio light zone. Large yards need layered zones across the property.
Use yard size as a planning frame
| Yard size | Primary zones | Planning goal |
|---|---|---|
| Small | Path lights plus 1–2 accent lights | Make the walk clear and pick one focal point |
| Medium | Path, accent, and patio lighting | Separate movement, entry, and sitting areas |
| Large | Layered zones across the property | Link drive, walk, porch, trees, and facade |
A large yard does not need more fixtures everywhere. It needs more zones with clearer purpose. A long walk may need a safety line, a tree may need one spotlight, and the house face may need only soft fill to keep the whole frontage from going flat.
Use this front-yard lighting worksheet before you buy fixtures
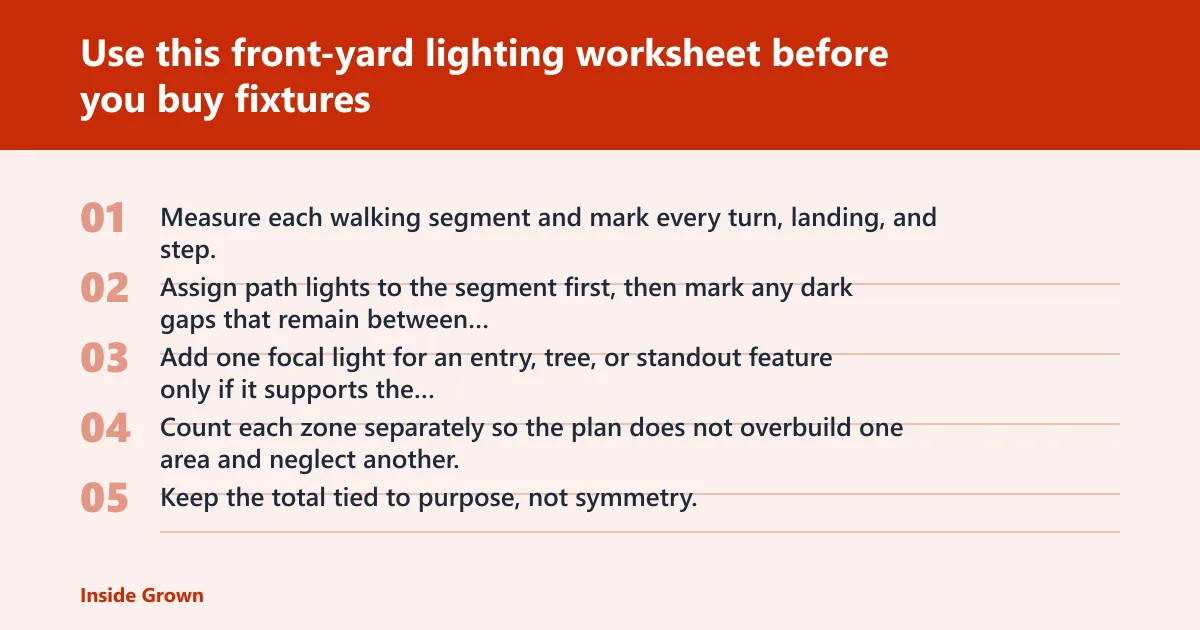
A worksheet keeps the plan grounded in the actual yard. Draw the zones, count the fixtures by area, check glare risk, and run a night-walk test before buying anything. That prevents the common mistake of buying light types before the layout is settled.
Front-yard lighting planning worksheet
| Worksheet part | What to mark | Decision to make |
|---|---|---|
| Zone map | Walks, steps, porch, driveway edge, mailbox route, focal points, soft fill areas | Which zones need safety, accent, or ambient light |
| Fixture-count estimator | Each path segment, entry point, and feature area | How many fixtures each zone needs before shopping |
| Glare-risk checklist | Driver sightlines, porch views, windows, and eye-level sightlines | Where fixtures must be shielded or moved |
| Night-walk test | Steps, turns, door landing, and any shadow gaps | What still feels unsafe or visually confusing |
Fixture-count estimator by area
- Measure each walking segment and mark every turn, landing, and step.
- Assign path lights to the segment first, then mark any dark gaps that remain between pools of light.
- Add one focal light for an entry, tree, or standout feature only if it supports the route or the front view.
- Count each zone separately so the plan does not overbuild one area and neglect another.
- Keep the total tied to purpose, not symmetry.
This method is intentionally simple. It is not a shopping list. It is a layout check that helps a homeowner see whether the front yard needs another path light, a better entry light, or only a softer wash across the facade.
What layout mistakes cause glare, clutter, or dark gaps?
The most common failures are too many path lights in a straight line, porch transitions that stay too dark, fixtures aimed into eye level, and systems that ignore transformer output or cable route limits. Those mistakes create glare, clutter, or black pockets where people still need to walk.
Watch for these failure cases
Too many path lights can make a walkway feel crowded and bright in one spot, then oddly dim in the next. Random even spacing often causes that. The better method is to follow the real walking line and let the spacing respond to turns, steps, and changes in width.
Fixtures aimed into a driver’s view or a guest’s eye line create glare control problems fast. Fixtures should not create direct glare into the line of sight. Bright hotspots next to pitch-black shadows are another warning sign, especially near the porch or the driveway apron.
If the yard already has a system, transformer output must be checked before adding more fixtures. A whole-yard outage shifts attention to transformer, controls, and source power. A single dark fixture points more toward local parts or splice issues. Cable route also matters, because a useful layout may be impossible if the wire path cannot support it.
Frequently asked questions
How do I plan front yard lighting for a front yard?
Plan front-yard lighting by starting with night movement: porch, walk, drive, mailbox, and any route guests use. Mark sightlines from the street and from the front door, then assign each zone to safety, soft fill, or a focal point. Buy fixtures only after that map is clear.
What should be lit first in front yard lighting?
Light paths first, because safe movement matters before decoration. After the route reads clearly, add the entryway so the door, steps, and landing are visible. Only then add accent lighting for a tree or feature, and keep that layer restrained so it does not steal attention from the walk.
How far apart should front-yard path lights be placed?
There is no fixed spacing rule that works for every front yard. Path lights should create overlapping pools of light along the real walking line, not an even pattern for its own sake. Tighten spacing at steps, turns, and landings, and spread it farther only where the route stays straight and clear.
What lights work best for entryways and walkways?
Path lights work best for walkways and steps because they define the route first. For entryways, add softer light that shows the door, threshold, and landing without blasting the visitor in the face. Spotlights can help a porch feature or tree, but they should stay sparse.
How many yard lights do I need for a front yard?
The right count depends on yard size and how many zones need light. Small yards usually use path lights plus 1–2 accent lights. Medium yards add path, accent, and patio lighting. Large yards need layered zones across the property, with each zone counted separately before buying.
How do I avoid glare in yard lighting?
Keep fixtures out of direct sightlines, especially near the porch and street. Manage contrast so bright hotspots do not sit beside pitch-black shadows. Use only enough accent and spotlighting to define the yard, and aim each fixture so it lights the target, not a driver or guest’s eyes.