How to Make Landscape Lighting Look Professional
Make outdoor lighting look professional by using 3 layers—path, accent, and wash—keeping fixtures hidden when possible, spacing path lights about 6 to 8 feet apart, and aiming beams to graze surfaces instead of blasting them directly. Skip those rules and the yard looks flat, patchy, and obviously DIY, with glare that wastes light and draws attention to the fixtures. This guide shows the spacing, beam angles, concealment tricks, placement rules, layout workflow, and control basics that create a custom look.
What makes outdoor lighting look professional?



A professional look comes from three things working together: layered light, consistent color temperature, and fixtures you notice only when they are on. Low-voltage outdoor lighting is commonly chosen because transformer-based wiring supports controlled brightness and fixture-by-fixture control, which can help the layout read as planned instead of random. Solar lighting can still be useful for simple accents, but it is usually less consistent in output and easier to outgrow when the goal is a polished front-yard layout.
Layer the light by zone
Use path lights for movement, uplights for vertical accents, and wash light for broad surfaces such as walls or dense planting beds. That mix gives depth. A yard with only one fixture type usually looks flat because every surface gets the same treatment.
Keep color temperature consistent
Warm white often looks best on brick, stone, and planting beds because it feels calmer and helps keep colors from turning harsh. A warm-white range is the safest choice for most homes when the goal is a finished, residential look. Cool white can make stone look stark and can make mixed fixtures stand out in a bad way. Pick one color temperature for the whole front yard and keep it consistent across fixtures.
Hide the hardware
Professional systems hide the lamp source, the stake, and the wire as much as possible. You should see the effect of the light, not the equipment. If a fixture points straight at the viewer or a wire makes a loop in mulch, the installation reads as store-bought.
How do you design outdoor lighting?
Start with the front-yard focal points, then add path and safety lighting, then fill in depth with trees, beds, walls, or steps. Good design balances symmetry and asymmetry. The goal is not identical spacing everywhere; it is a visual rhythm that fits the house and the planting layout.
Begin with the front elevation
Choose the features that matter most from the street, such as a doorway, a tree, a porch column, or a stone wall. Those become the anchor points. If every object gets equal attention, the yard loses hierarchy and the layout feels busy.
Add path and safety zones
Path lights should guide movement without becoming the main event. Keep them low and consistent, and avoid placing them where they point directly into sightlines from the street or porch. For a typical front walk, about 6 to 8 feet apart is a common starting point when the fixtures are low and evenly shielded.
Build depth with asymmetry
Use matching lights only where the architecture calls for balance, such as paired columns or a centered entry. Elsewhere, vary the emphasis. A tree on one side and a wall wash on the other can still feel balanced if the brightness and visual weight are similar.
Landscape lighting layout
A clean layout usually works best when the plan is built in order, zone by zone, instead of choosing fixtures first and forcing them into place. Measure the front-yard zones, mark the sightlines from the street and porch, assign each fixture a single job, map the cable runs, place the transformer close to the power source and out of direct view, test the lighting at night, and then finalize spacing once the beams are visible on the actual surfaces. That sequence helps the layout feel intentional and reduces the need for later rework.
- Map the visible zones. Mark the entry, paths, trees, beds, steps, walls, and any edge that catches the eye from the street. That gives you a layout before you pick fixtures.
- Assign one job per fixture. Use each light for a clear purpose: guide, accent, wash, or safety. A fixture that tries to do everything usually does none of it well.
- Test the sightlines. Stand where guests arrive and where cars pull in. Adjust so the lamp source stays out of direct view and the beam lands where it should.
Choose the right fixtures and transformer
Outdoor lighting fixtures do different jobs, and the transformer has to support all of them. Pathway lights guide movement. Uplights draw attention upward. Downlights mimic moonlight from above. In-ground lights mark edges or graze a wall. Wall lights and floodlights handle broader architectural coverage when used with restraint.
Match the fixture to the surface
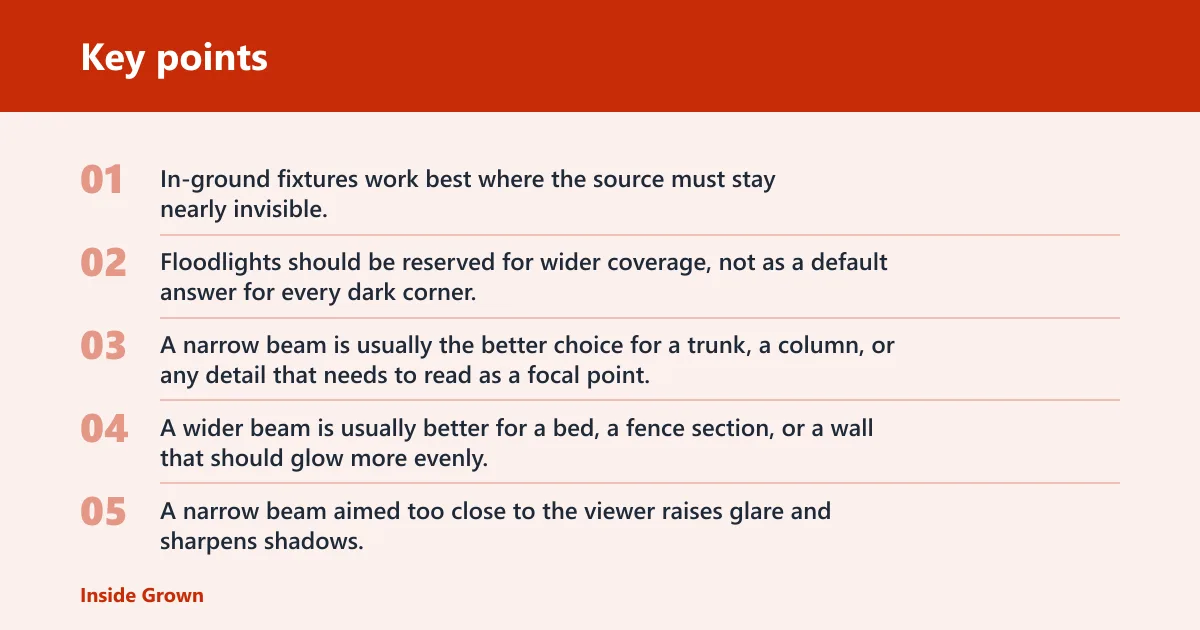
Use pathway lights for walks and bed edges, uplights for trunks and architectural features, and downlights for softer overhead effects on patios or steps. In-ground fixtures work best where the source must stay nearly invisible. Floodlights should be reserved for wider coverage, not as a default answer for every dark corner.
Use beam spread with intent
Narrow beam spread creates stronger accents. Wide beam spread creates a softer wash. A narrow beam is usually the better choice for a trunk, a column, or any detail that needs to read as a focal point. A wider beam is usually better for a bed, a fence section, or a wall that should glow more evenly. A narrow beam aimed too close to the viewer raises glare and sharpens shadows. A wider beam aimed at a wall or broad shrub softens the edges and makes the light feel more built-in.
Size and place the transformer correctly
The lighting transformer should match the total fixture load and sit near the power source. That keeps the system within safe low-voltage operation and makes routing simpler. Place it where it can stay protected, serviced, and out of view, but still close enough to shorten wire runs and reduce uneven brightness. If the run has many fixtures or long cable paths, keep the load balanced so the farthest lights do not fall off in brightness.
Timers and controls
For a polished, consistent look, use controls that switch the system on and off automatically rather than relying on manual operation. Dusk-to-dawn operation works well when the goal is hands-off consistency. Photocells are useful when the lights should respond to ambient light, timers work well when the schedule needs more control, and scheduling can fine-tune when the yard comes on and goes off. The best choice is the one that keeps the front yard lit at the same time every night without creating glare at the wrong hour.
If a front walk is about 24 feet long and uses low fixtures along both sides, a steady rhythm of lights may work better than crowding them too closely. Six lights spaced in a steady rhythm can work better than eight crowded lights, because too many fixtures create hot spots and visible overlap. The cleaner look comes from control, not quantity.
How many lights do you need for a front yard?
The right number depends on tree height, bed width, path length, and how many features need their own light. You do not want to fill every dark patch. You want enough fixtures to establish rhythm, shape, and safe movement without creating a runway of bright points.
Size to the feature, not the yard
A tall tree usually needs fewer, better-aimed uplights than a wide bed with small shrubs. A narrow bed can look crowded fast. A broad bed may need more spacing between lights so each beam reads as separate and intentional.
Avoid hot spots
Hot spots happen when beams overlap too tightly or when the beam spread is too narrow for the surface. Keep spacing loose enough that each light has room to do its job. If a tree trunk or wall looks striped instead of evenly lit, the spacing or beam spread needs adjustment.
Use the light to mark rhythm
Think in intervals, not piles of fixtures. On paths, an even rhythm helps the eye move forward. Around beds, slightly irregular spacing can feel more natural if the beam angles and brightness stay controlled.
Front-yard count rules that work
For a short walk, a few evenly spaced path lights often feel cleaner than a dense line. For a medium bed, fewer well-aimed accents usually look better than filling every gap. For a small tree, one or two uplights can be enough if the beam spread matches the canopy. For a larger tree, use only what is needed to define trunk and canopy without turning the tree into a spotlighted landmark. The safest rule is to add fixtures only when they create a clear job, not because the area still feels dark in daylight.
Professional look checklist
This checklist gives you the zone-by-zone rules that make a DIY layout look planned, balanced, and hidden. Use it before you bury wire or lock in fixture positions.
| Target zone | Fixture type | Recommended beam spread | Aiming angle | Spacing rule | Glare risk | Wire-hiding method | Common mistake to avoid |
|---|---|---|---|---|---|---|---|
| Entry | Wall light or downlight | Wide | Angle down and slightly away from view | Mirror the other side only if the entry is centered | Medium if the source is visible from the door | Run wire along the foundation edge | Pointing the beam straight at the front door |
| Path | Pathway light | Medium to wide | Keep the lens aimed at the ground plane | About 6 to 8 feet apart for a steady rhythm | Low when shielded | Follow bed edges or hardscape seams | Using too many fixtures too close together |
| Trees | Uplight | Narrow for trunk accents | Angle upward from the base or off-center | Scale to tree height and canopy width | High if the lamp source faces the street | Bury the cable under mulch near the trunk zone | Lighting every tree with the same beam size |
| Beds | Uplight or wash light | Wide | Grazing angle across leaves or stone | Space by bed width, not by habit | Medium | Route wire along the back edge of the bed | Leaving fixtures visible at the front edge |
| Steps | Downlight or in-ground light | Wide | Place the beam across the tread, not into eyes | One fixture per key run, not every step | Medium to high | Hide wire in the side seam or adjacent planting bed | Overlighting each step with exposed lamps |
| Fence | Wall light | Wide wash | Angle downward to graze the surface | Even spacing across the visible span | Low to medium | Hide wire at the fence base or behind posts | Creating bright stripes from poor spacing |
| Wall | Wash light | Wide | Angle to spread light across the face of the wall | Space to keep the wall glow even | Medium | Run cable tight to the wall line or behind landscaping | Placing fixtures so close that the wall looks blotchy |
| Porch | Downlight or wall light | Wide | Direct light downward and away from seated views | Coordinate with door width and column spacing | Medium | Hide cable behind trim line or foundation edge | Using a bright source that overwhelms the porch |
| Driveway edge | Pathway light or low in-ground light | Medium | Keep light low and aimed across the edge | Space for visible rhythm without crowding the curb line | Medium | Follow the driveway seam or adjacent mulch strip | Letting fixtures read like runway markers |
| Mailbox | Accent light | Medium | Angle toward the face, not the road | Use only enough light for clear visibility | Medium | Hide wire at the post base or bordering bed | Blasting the mailbox from too close |
| Column | Uplight or wash light | Narrow to medium | Angle to show height without exposing the source | Match the paired column only if the architecture is balanced | High if aimed into view | Route cable behind the column line or in nearby mulch | Using mismatched beams on paired columns |
| Foundation planting bed | Wash light | Wide | Grazing angle across shrubs and stone | Space to keep the glow continuous | Low to medium | Run cable along the back of the bed near the house line | Leaving the fixture stuck in front of the shrubs |
How do you hide outdoor lighting wires neatly?
Hide wires by planning their route before you install the fixtures, then keep them low, direct, and out of obvious sightlines. Good wire concealment uses burial depth, edge routing, and placement near mulch or hardscape so the cable disappears into the yard instead of looping across it.
Follow edges and seams
Route cable along the back edge of beds, beside mulch lines, or at the base of hardscape where it can disappear into a visual break. Avoid crossing open lawn unless there is no other path. The cleaner the route, the less the system reads as added later.
Keep slack under control
Visible loops are one of the quickest ways to make a layout look unfinished. Leave only the slack needed for service and fixture adjustment. Coil excess cable out of sight under mulch or in a protected pocket near the fixture base, not on top of the soil.
Use cleaner concealment depths and routes
Short cable runs are easier to hide than long detours. Keep routes close to the perimeter of the bed, foundation, fence, or hardscape rather than cutting through open areas. Where the cable must cross a visible zone, do it once and keep that path as straight and short as possible so the line reads intentional rather than improvised.
Suppose you have a stone front bed with three uplights. If one cable arcs over the mulch and another sits across the stone edge, the eye goes to the wiring first. If both cables run along the back edge and disappear under the mulch line, the fixtures feel built in.
- Plot the cable path first. Mark a route that stays near edges, planters, or seams. That prevents last-minute detours that leave wire exposed.
- Set each fixture with slack hidden. Leave enough cable for aiming and maintenance, then tuck the extra where it cannot be seen from the street or walkway.
- Check the line at night. Turn the system on after dark and inspect for loops, bright cable shadows, or any section that draws the eye away from the light itself.
Fix the mistakes that make DIY lighting look amateur
Most amateur-looking systems fail for the same reasons: too much light, mixed beam spreads with no pattern, exposed lamp sources, and inconsistent color temperature. Fix those four problems and the yard usually looks more intentional without adding a single fixture.
Stop overlighting surfaces
When a wall, bed, or tree gets hit from too many angles, the scene flattens. Use only the fixtures needed to define shape. A smaller number of well-aimed lights usually looks more finished than a dense cluster of bright ones.
Keep beam spreads coordinated
Mixing narrow and wide beams can work, but only if each one has a role. For example, a narrow uplight at a trunk and a wider wash on the canopy can work together. Random beam choices make the yard feel patched together.
Control glare at the source
Use shielded fixtures and keep the cutoff where the viewer cannot see the lamp directly. Adjust the aiming angle so the beam lands on the surface, not into eye level. If you can see the bulb from the street, the fixture needs to move or tilt.
Match the color temperature
Mixed temperatures make brick, stone, and planting beds look uneven. A warm white system usually feels more unified on residential exteriors. Keep the same tone across path lights, uplights, and wall fixtures so the whole front yard reads as one system.
Frequently asked questions
How do I make outdoor lighting look professional?
Use layered lighting, keep fixtures hidden, and control beam direction. Path lights guide movement, uplights add height, and wash lighting softens walls or beds. Keep the color temperature consistent and avoid exposed lamp sources, which are the fastest way to make a layout look improvised.
How do I do outdoor lighting?
Begin with a low-voltage plan, choose fixtures by job, and route the transformer near the power source. Then set beam spread, angle, and spacing before you bury wire. If the light source stays hidden and the beams land cleanly, the system will look planned rather than added late.
What makes outdoor lights look professionally installed?
Professional-looking outdoor lights are usually hidden, evenly organized, and aimed with restraint. The wire does not snake across open ground. The beams do not blast straight into sightlines. The same color temperature runs through the whole yard, so the result feels deliberate and cohesive.
How many outdoor lights do I need for a front yard?
There is no fixed number that works for every yard. Count by zone instead: one set for the path, a few for the entry, and only the number needed to define trees, walls, or beds. If fixtures start competing with one another, you likely have too many.
Should I use solar or low voltage lights for a polished look?
For a more polished look, low-voltage lighting is the better fit. It supports steadier output, more fixture control, and cleaner layering. Simple solar lights can work for basic accents, but they usually give less consistent brightness and less control over the final look.
What color temperature looks best for outdoor lighting?
Warm white usually looks best on brick, stone, and most planting beds because it keeps exterior materials from looking cold or stark. More important than the exact tone is consistency. Mixed color temperatures make the system look pieced together, even if the fixtures are good.